
ASUS LC 120 RGB
ASUS TUF Gaming LC 120 RGB All-in-one Liquid CPU Cooler User Manual
Model: LC 120 RGB
Introduction
The ASUS TUF Gaming LC 120 RGB is a durable all-in-one liquid CPU cooler designed to provide efficient cooling for your system. This manual provides essential information for the proper installation, operation, maintenance, and troubleshooting of your liquid cooler.
What's in the Box
Verify that all components are present in your package:
- TUF Gaming LC 120 RGB Liquid Cooler (with pump and radiator)
- 120mm TUF RGB Radiator Fan
- Accessory Pack of Screws and Brackets (for various CPU sockets)
- Quick Start Guide
- Thermal Compound (pre-applied on cold plate)
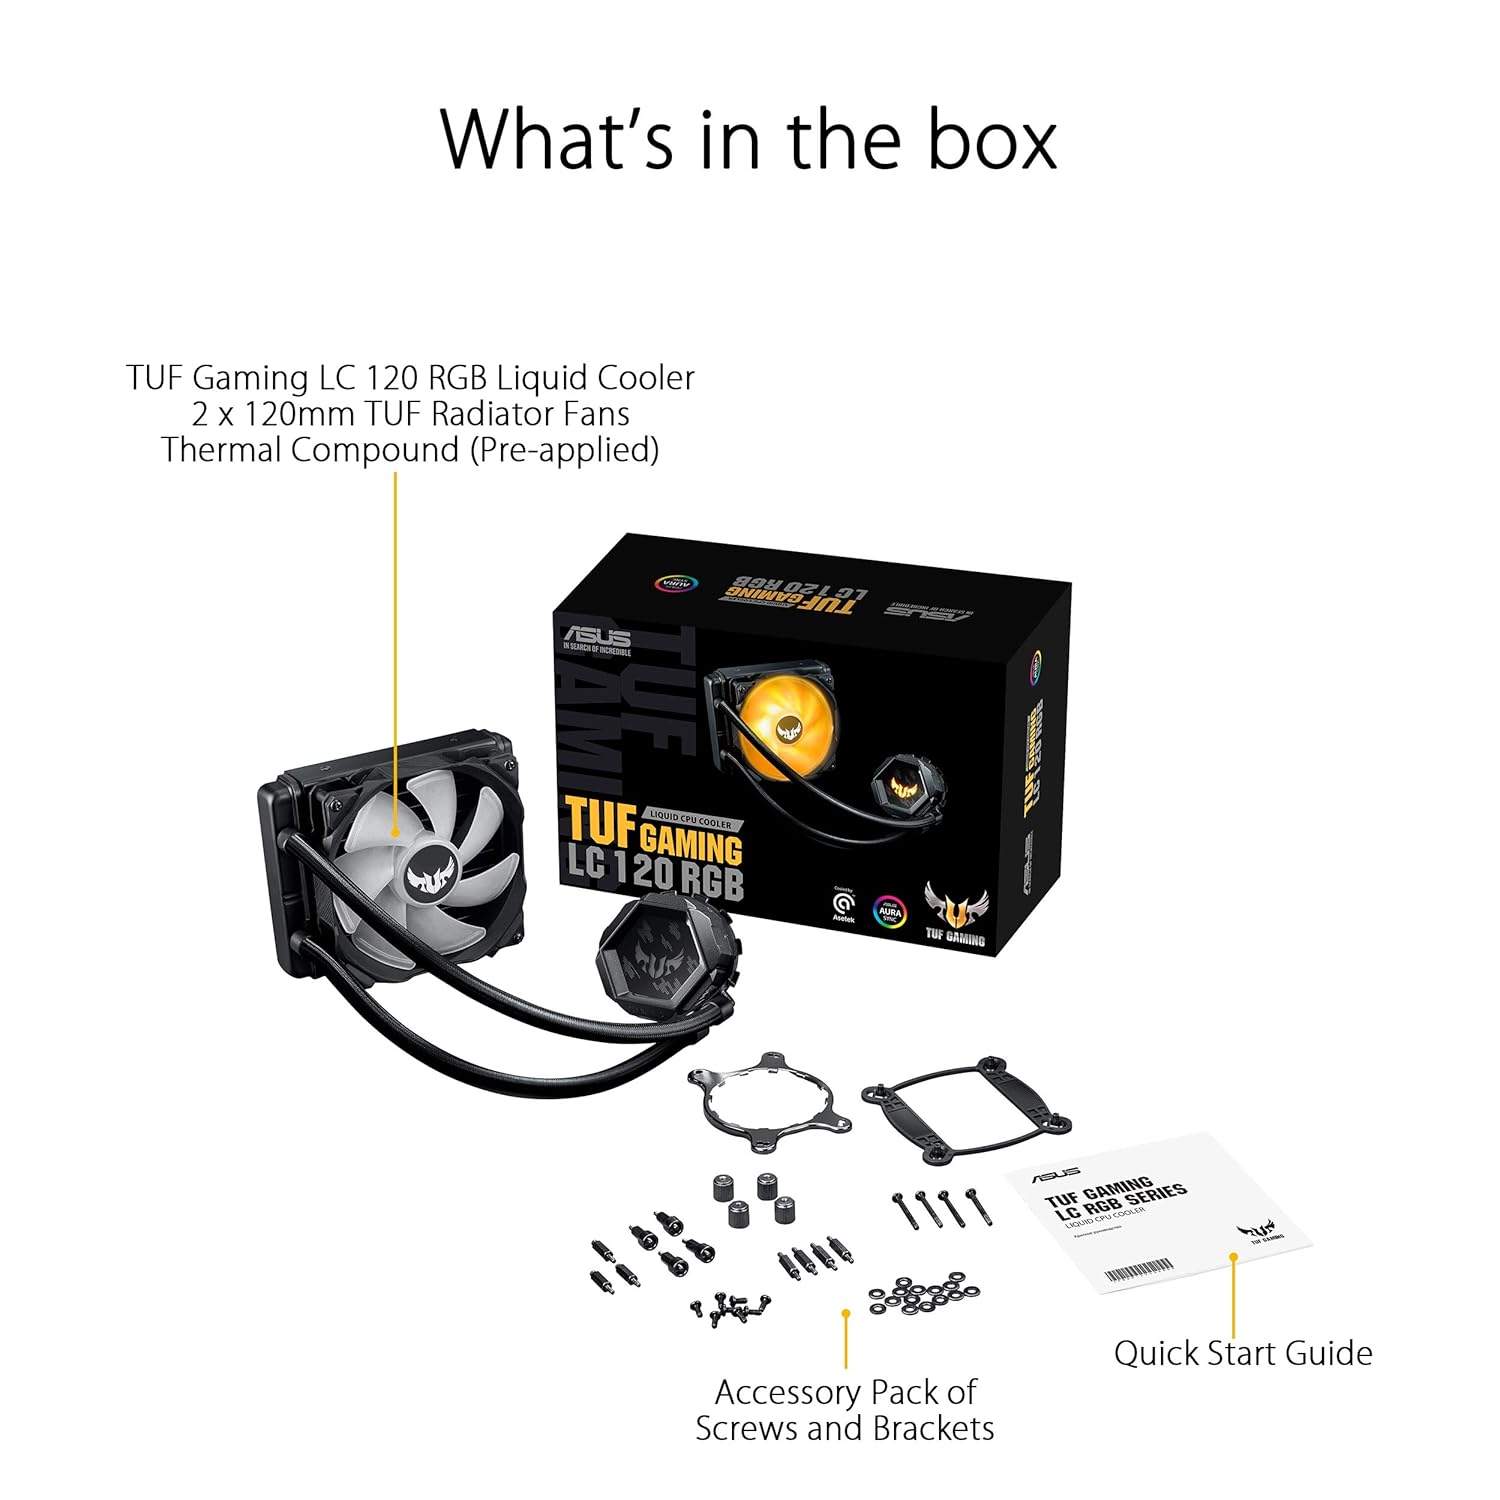
Image: Contents of the ASUS TUF Gaming LC 120 RGB Liquid CPU Cooler package.
Key Features
- Optimized Airflow: TUF Gaming radiator fans feature a fan blade groove design for enhanced airflow and reduced noise.
- Durable Design: Reinforced, sleeved tubing ensures increased durability and longevity.
- Aesthetic Integration: NCVM-coating pump cover accentuates the rugged, modern aesthetics, designed to complement TUF Gaming motherboards.
- Easy Installation: Pre-applied thermal grease and tool-free mounting kits simplify the installation process.
- High-Performance Pump: Equipped with a high-performance pump for efficient liquid circulation.

Image: Optimized fan blade design for improved airflow.
Setup and Installation
Before beginning installation, ensure your system is powered off and disconnected from the power source. Refer to your motherboard's manual for specific CPU socket mounting instructions if needed.
CPU Socket Compatibility:
- Intel: LGA 1200, 1150, 1151, 1152, 1155, 1156, 1366
- AMD: AM4
Installation Steps:
- Prepare the CPU: Ensure your CPU is clean and free of old thermal paste. The cooler comes with pre-applied thermal paste.
- Install Mounting Brackets: Attach the appropriate mounting brackets for your CPU socket to the pump unit.
- Mount Radiator and Fan: Secure the 120mm radiator and fan to an available fan mount in your PC case. Ensure proper airflow direction (typically exhausting air out of the case).
- Secure Pump to CPU: Carefully place the pump unit onto the CPU, aligning it with the mounting holes. Tighten the screws in a criss-cross pattern until snug.
- Connect Cables: Connect the pump power cable to the AIO_PUMP header on your motherboard. Connect the fan cable to the CPU_FAN or CHA_FAN header. Connect the RGB cable to a compatible 4-pin RGB header on your motherboard for lighting control.
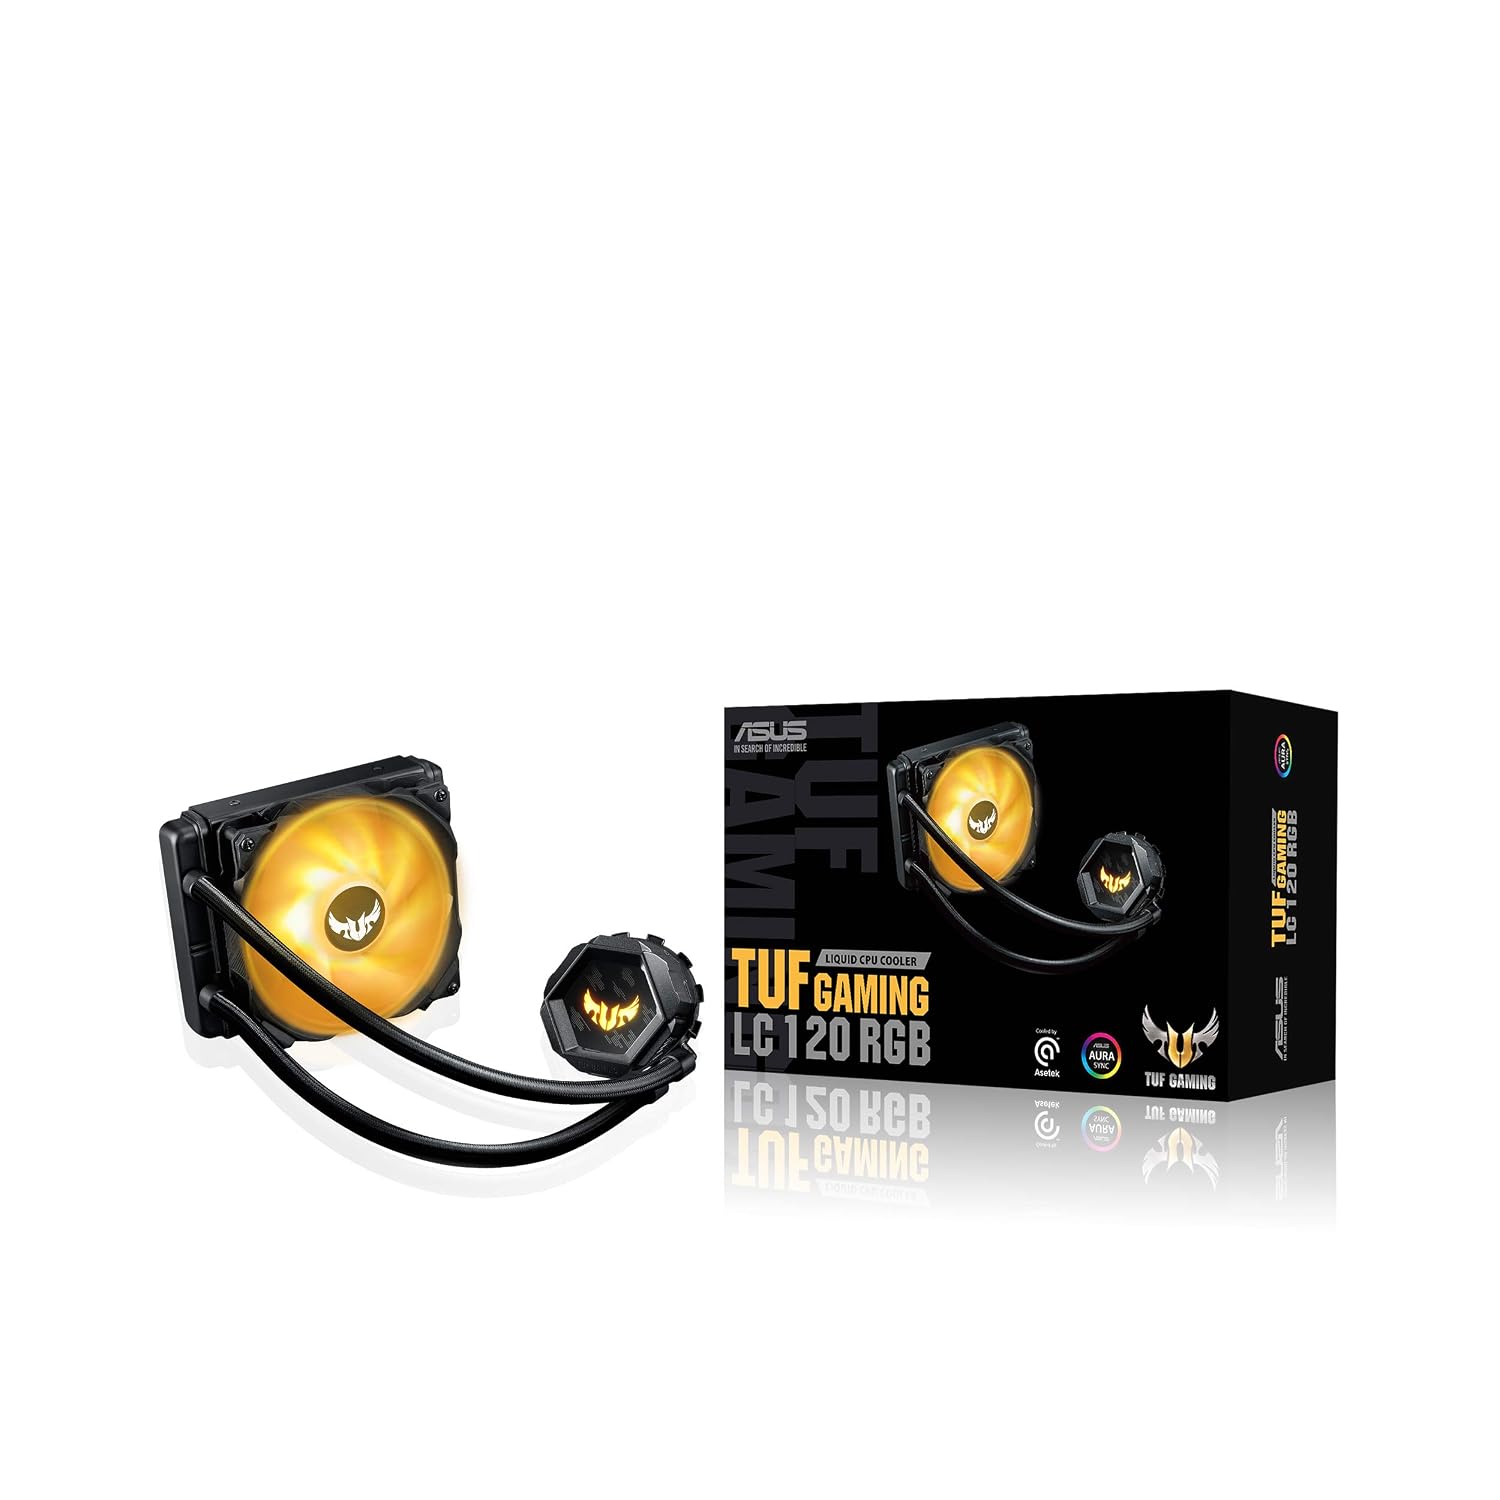
Image: Exploded view of the pump and cold plate components.
Installation Video Guide:
Video: A user demonstrating the installation process of the ASUS TUF Gaming LC 120 RGB cooler. This video provides a visual guide to help with mounting and setup.
Operating Instructions
Once installed, the ASUS TUF Gaming LC 120 RGB cooler operates automatically to maintain optimal CPU temperatures.
- Fan Control: The radiator fan speed is typically controlled by your motherboard's BIOS/UEFI settings or through ASUS software (e.g., Armoury Crate) if available. Ensure fan curves are set to provide adequate cooling under load.
- RGB Lighting: The RGB lighting on the pump and fan can be customized using ASUS Aura Sync software. Connect the RGB cable to a compatible 4-pin RGB header on your motherboard to enable synchronization and control.
- Noise Level: The cooler is designed for efficient operation with a typical noise level of 29 Decibels.

Image: The ASUS TUF Gaming LC 120 RGB cooler installed in a system, displaying its RGB lighting.
Maintenance
Regular maintenance helps ensure optimal performance and longevity of your liquid cooler.
- Dust Removal: Periodically clean dust from the radiator fins and fan blades using compressed air or a soft brush. Excessive dust can impede airflow and reduce cooling efficiency.
- Tubing Inspection: Inspect the reinforced, sleeved tubing for any signs of wear, kinks, or leaks. While designed for durability, regular checks are recommended.
- Pump Unit: Ensure the pump unit remains securely mounted to the CPU. No user-serviceable parts are inside the pump unit.
Troubleshooting
- High CPU Temperatures:
- Verify that the pump is running and connected correctly to the AIO_PUMP header.
- Ensure the fan is spinning and connected to the CPU_FAN or CHA_FAN header.
- Check that the pump unit is securely mounted to the CPU and making good contact.
- Confirm that the thermal paste application is adequate (the cooler comes with pre-applied paste, but reapplication might be necessary if re-seating).
- Ensure proper airflow within your PC case, with the radiator fan correctly oriented.
- Note that a 120mm AIO cooler may not be sufficient for heavily overclocked high-end CPUs. Consider your CPU's thermal design power (TDP) and cooling requirements.
- RGB Lighting Not Working:
- Check that the RGB cable is securely connected to a compatible 4-pin RGB header on your motherboard.
- Ensure ASUS Aura Sync software is installed and configured correctly.
- Missing Parts:
- Carefully check all packaging materials for small components. If parts are genuinely missing, contact ASUS customer support.
Specifications
| Feature | Detail |
|---|---|
| Model Number | 90RC0081-M0UAY0 |
| Product Dimensions | 22.2"L x 12.5"W x 8.7"H |
| Cooling Method | Fan, Water |
| Compatible Devices | Radiator (CPU) |
| Noise Level | 29 Decibels |
| Voltage | 12 Volts |
| CPU Socket Support | Intel: LGA 1200, 1150, 1151, 1152, 1155, 1156, 1366; AMD: AM4 |
| UPC | 192876745243, 195553883955 |
Warranty Information
ASUS products are manufactured to the highest quality standards. For detailed warranty information, please refer to the warranty card included with your product or visit the official ASUS support website. Keep your proof of purchase for warranty claims.
Support
For technical support, driver downloads, FAQs, and more information, please visit the official ASUS support website:
You can also visit the ASUS Store on Amazon for product information: ASUS Store
Ask a question about this manual
Ask about setup, troubleshooting, compatibility, parts, safety, or missing instructions. Manuals+ will review the question and use this page’s manual context to help answer it.