
1. Introduction
This manual provides detailed instructions for the installation, operation, and maintenance of your Ezonetronics 2DIN Android 13 Car Stereo. Please read this manual thoroughly before using the product to ensure proper functionality and safety. This unit is designed for specific Isuzu D-Max (2012-2018) and MU-X (2013-2017) vehicle models.

Image: Ezonetronics car stereo unit designed for Isuzu D-Max and MU-X vehicles.
2. Safety Information
- Professional Installation Recommended: Due to the complexity of car electrical systems, professional installation is highly recommended to prevent damage to the unit or vehicle.
- Power Supply: Ensure the unit is connected to a 12V DC power supply with negative grounding.
- Wiring: Do not modify or cut any wires. Incorrect wiring can cause damage or fire.
- Driving Safety: Do not operate the unit in a way that distracts you from driving. Always prioritize road safety.
- Temperature: Avoid exposing the unit to extreme temperatures or direct sunlight for prolonged periods.
3. Package Contents
Verify that all components are present in the package:
- Ezonetronics Android Car Stereo Display Unit
- Power Harness
- GPS Antenna
- USB Cables (2x)
- RCA Cables (Audio/Video Output)
- External Microphone (optional, may vary by package)
- User Manual (this document)
4. Setup and Installation
4.1. Pre-Installation Checks
- Disconnect the vehicle's negative battery terminal before starting installation.
- Ensure the vehicle's dashboard opening matches the 2DIN size of the stereo.
- Identify all necessary wiring harnesses and connectors in your vehicle.
4.2. Wiring Connections
Connect the provided wiring harnesses to the corresponding ports on the car stereo and your vehicle's wiring system. Refer to your vehicle's specific wiring diagram and the stereo's included wiring diagram for precise connections. Key connections include:
- Power: Constant 12V (Yellow), Accessory 12V (Red), Ground (Black).
- Speakers: Connect to vehicle's speaker wires (ensure correct polarity).
- GPS Antenna: Connect to the GPS antenna port and mount the antenna in a location with a clear view of the sky.
- USB: Connect USB cables for external devices or data transfer.
- Reverse Camera (Optional): Connect the video input and trigger wire for automatic display when reversing.
- Steering Wheel Control (SWC): Connect SWC wires to enable steering wheel button functionality.
4.3. Mounting the Unit
Carefully slide the car stereo into the dashboard opening. Secure it using the mounting brackets and screws provided with your vehicle or the stereo. Reconnect the vehicle's negative battery terminal after all connections are made and the unit is securely mounted.
5. Operating Instructions
5.1. Basic Interface Navigation
The unit features a 9-inch capacitive touchscreen. Tap icons to open applications, swipe to navigate between screens, and use the back/home buttons for system navigation.
5.2. CarPlay and Android Auto
The unit supports both wireless and wired CarPlay and Android Auto. Connect your compatible smartphone via USB or Bluetooth/Wi-Fi to access navigation, music, calls, and messages directly on the car stereo display.

Image: CarPlay and Android Auto functionality on the Ezonetronics car stereo.

Image: Wireless and wired connectivity options for CarPlay and Android Auto.
5.3. GPS Navigation
The unit has a built-in GPS receiver. Use pre-installed navigation apps like Google Maps or download others from the Google Play Store. Online maps require a Wi-Fi connection (via hotspot or built-in Wi-Fi). Offline maps can be downloaded for use without an internet connection.

Image: GPS Navigation interface with various map application icons.

Image: Online GPS map navigation on the car stereo.
5.4. Bluetooth Connectivity
Pair your smartphone via Bluetooth 5.0 for hands-free calling, contact synchronization, call records, and audio streaming. Access the Bluetooth menu to search for devices and pair.

Image: Bluetooth 5.0 features including hands-free calling and music streaming.

Image: Bluetooth 5.0 upgrade for stable connection and quick pairing.
5.5. FM & RDS Radio
Tune into FM radio stations. The RDS (Radio Data System) feature displays station information, song titles, and traffic announcements where available. You can save up to 18 preset stations.

Image: FM & RDS Radio interface with station presets.

Image: FM and RDS radio functionality with 18 preset stations.
5.6. Steering Wheel Control (SWC)
The unit supports your vehicle's original steering wheel buttons. To configure, navigate to the SWC learning menu in the settings. Follow the on-screen prompts to assign functions (e.g., volume up/down, track change, answer call) to your steering wheel buttons.

Image: Steering Wheel Control functionality for safe operation.

Image: Steering wheel control setup menu.
5.7. Split Screen Function
Utilize the split-screen feature to run two applications simultaneously, such as navigation on one side and music playback on the other. This enhances multitasking capabilities.
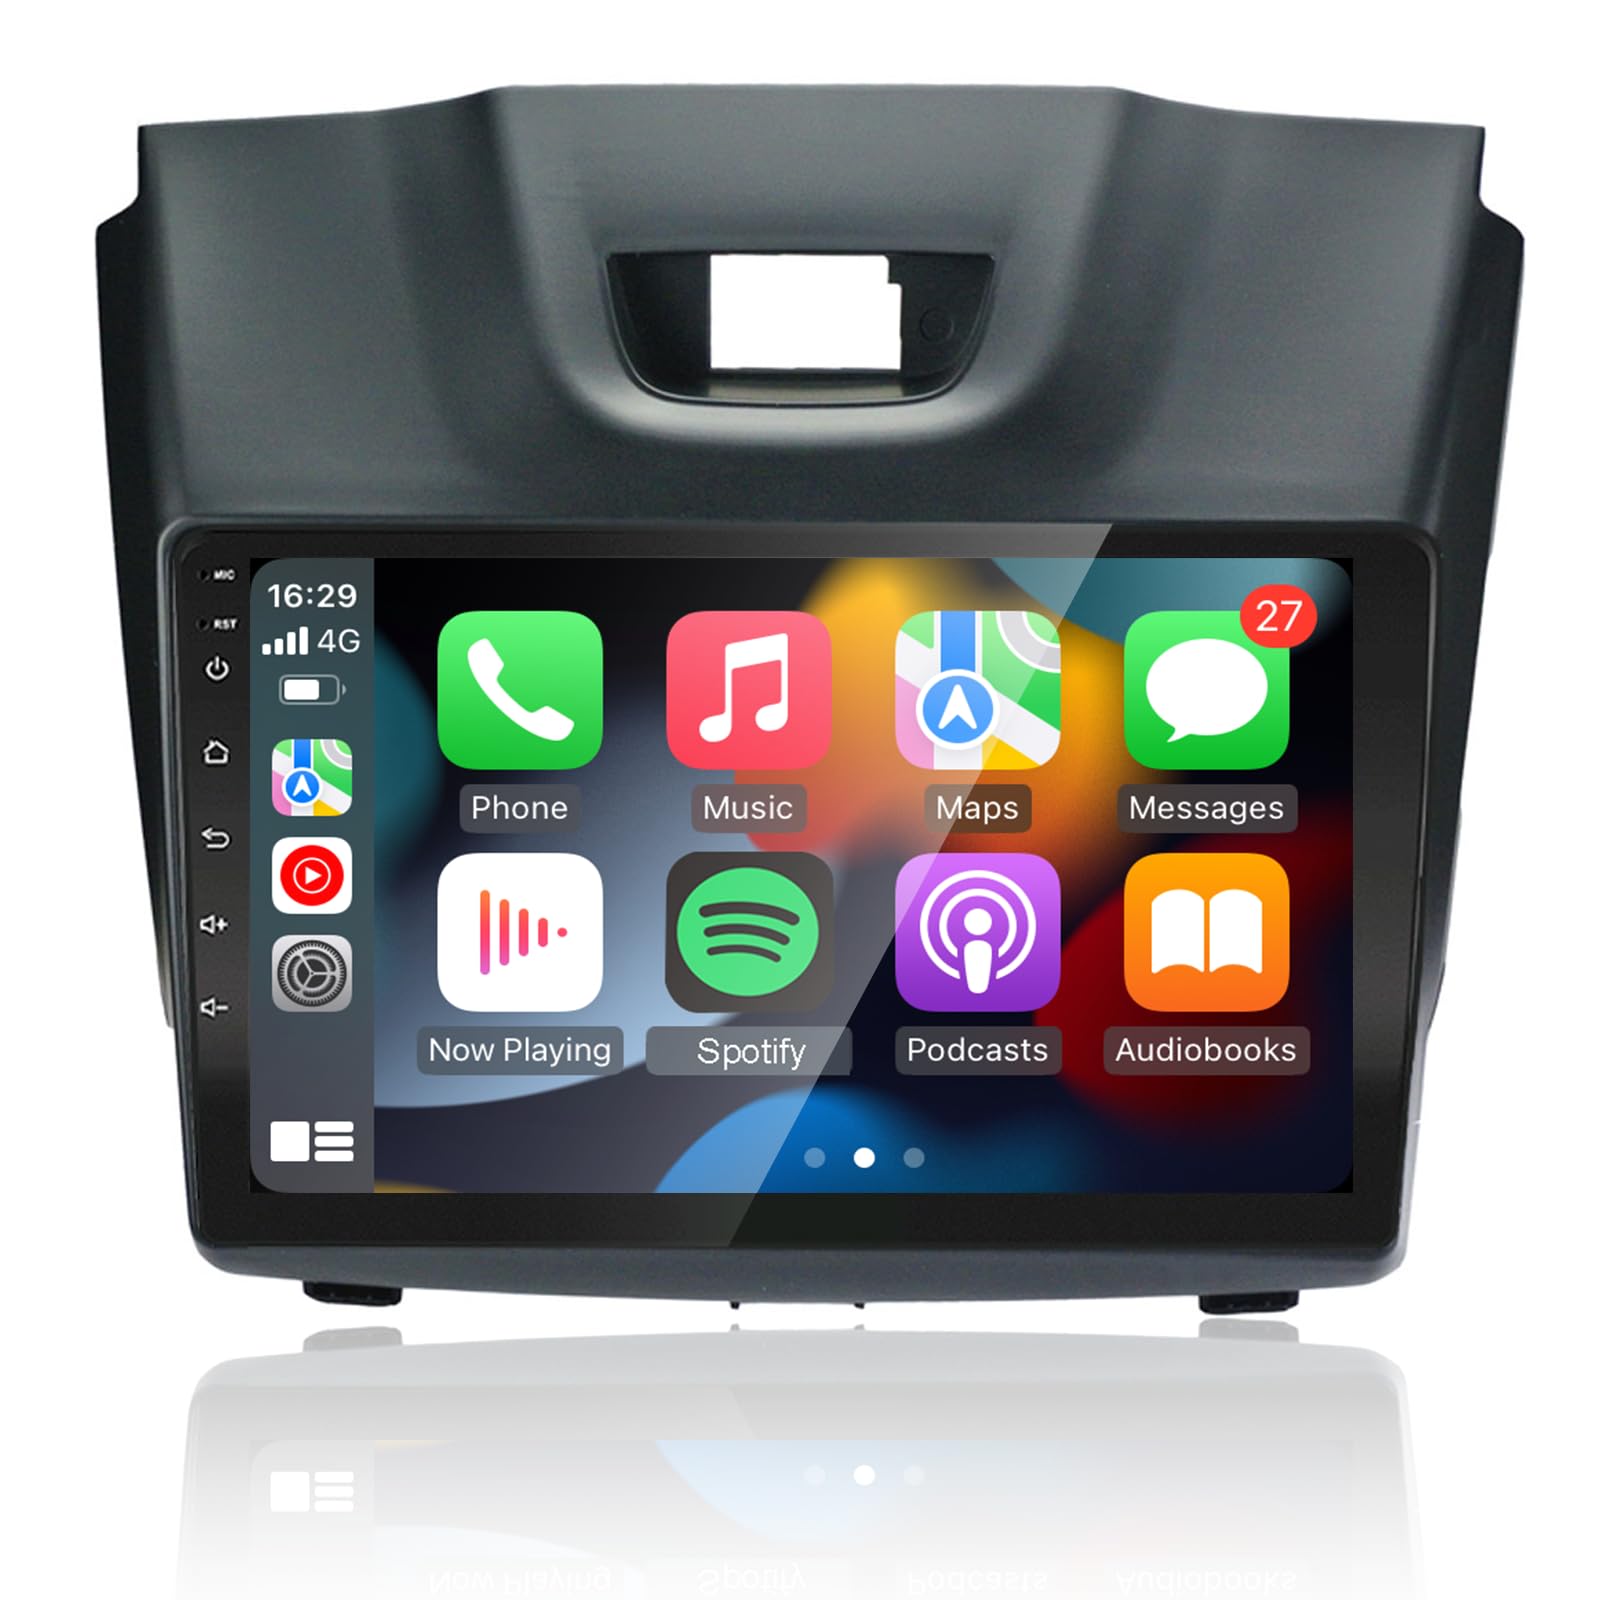
Image: Split Screen functionality displaying two applications simultaneously.

Image: Split screen function for multitasking.
5.8. AHD Camera Support
The unit supports AHD (Analog High Definition) reversing cameras, providing high-definition images when backing up. The screen automatically switches to the camera view when the vehicle is in reverse gear.

Image: AHD Camera display for clear reversing visuals.
5.9. Built-in DSP 32 EQ
The integrated Digital Sound Processor (DSP) with a 32-band equalizer allows for precise audio adjustments. Customize sound profiles to match your preferences and vehicle acoustics.

Image: Built-in DSP 32-band Equalizer for advanced audio customization.
5.10. Wi-Fi and Hotspot Connection
Connect the unit to a Wi-Fi network or your smartphone's mobile hotspot to access online features, download apps, browse the internet, and use online navigation services.
6. Maintenance
- Screen Cleaning: Use a soft, lint-free cloth to clean the touchscreen. Do not use abrasive cleaners or solvents.
- Software Updates: Periodically check for software updates through the system settings to ensure optimal performance and access to new features.
- General Care: Avoid spilling liquids on the unit and protect it from excessive dust.
7. Troubleshooting
If you encounter issues, refer to the following common problems and solutions:
| Problem | Possible Cause | Solution |
|---|---|---|
| No Power | Incorrect wiring, blown fuse, loose connection. | Check power and ground connections. Inspect vehicle fuses. Ensure all harnesses are securely connected. |
| No Sound | Incorrect speaker wiring, volume too low, mute activated. | Verify speaker connections. Increase volume. Check if mute is active. Adjust DSP settings. |
| GPS Not Working | GPS antenna not connected or poorly positioned, no internet for online maps. | Ensure GPS antenna is connected and has a clear view of the sky. Connect to Wi-Fi for online maps or download offline maps. |
| Bluetooth Connection Issues | Device not in pairing mode, incorrect pairing process, interference. | Ensure your phone's Bluetooth is on and discoverable. Re-attempt pairing. Clear previous pairings. |
| Steering Wheel Controls Not Responding | Incorrect SWC wiring, SWC learning not performed. | Verify SWC wiring. Perform the SWC learning procedure in the unit's settings. |
| Unit Freezes or Slows Down | Too many apps running, software glitch. | Close unnecessary applications. Restart the unit. Perform a factory reset if the issue persists (backup data first). |
8. Specifications
| Feature | Detail |
|---|---|
| Model Number | RMCT-ISZ-DMX12-2G16 |
| Operating System | Android 13 |
| RAM | 2GB |
| ROM | 32GB |
| Screen Size | 9 Inches |
| Display Type | Touchscreen |
| Connectivity | Bluetooth 5.0, USB, Wi-Fi, GPS |
| Special Features | Apple CarPlay (Wireless/Wired), Android Auto (Wireless/Wired), Mirror Link, Steering Wheel Control, DSP 32-band EQ, FM/RDS Radio, AHD Camera Input, Split Screen |
| Output Power | 4 x 45 Watts (RMS), 180 Watts (Peak) |
| Compatible Vehicles | Isuzu D-Max (2012-2018), MU-X (2013-2017) |
| Weight | 1.51 Kilograms |
9. Warranty and Support
Ezonetronics is committed to providing quality products and customer satisfaction.
- Customer Service: 24-hour customer support is available for any inquiries or assistance.
- Return Policy: Enjoy a 30-day return period for refunds or exchanges.
- Product Warranty: The unit is covered by a 365-day warranty from the date of purchase.

Image: Ezonetronics customer support and warranty details.
For support, please contact Ezonetronics via the provided contact information on your purchase platform or the official Ezonetronics website.