
1. Product Overview
This manual provides instructions for the LUITON charging base, designed for use with Retevis RT22 and RT22S walkie talkies, as well as compatible models such as LUITON LT-316, WLN KD-C1, Zastone X6, Zeadio ZS-B1, TIDRADIO TD-M8, RADTEL RT-10, and RADIODDITY R1. The charging base allows for convenient and efficient charging of both the radio and its battery.
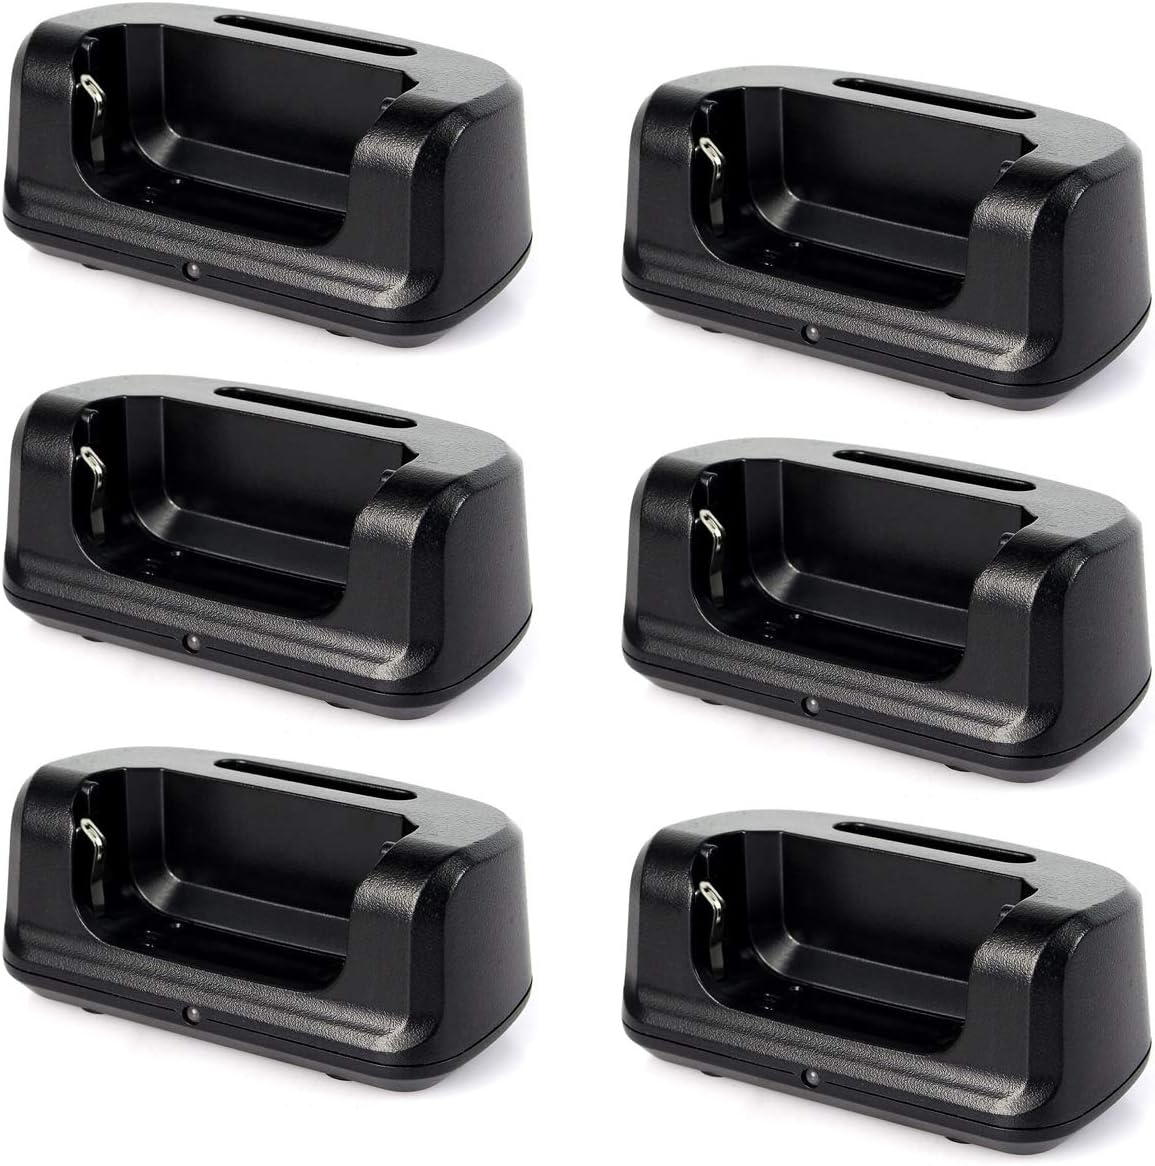
Figure 1: Multiple LUITON charging bases. Each base is designed to charge one walkie talkie or battery.
2. Setup Instructions
- Unpack the Charging Base: Carefully remove the charging base from its packaging.
- Connect Power: Connect a compatible USB cable (not included) to the micro-USB port on the back of the charging base. Then, connect the other end of the USB cable to a suitable USB power adapter (not included). Ensure the power adapter provides 5 Volts output.
- Placement: Place the charging base on a stable, flat surface away from direct sunlight and heat sources.

Figure 2: Illustration showing that the USB cable and power adapter are not supplied with the charging base.
3. Operating Instructions
- Insert Radio or Battery: Gently place the walkie talkie (with battery attached) or the battery alone into the charging slot of the base. Ensure it is seated correctly and makes proper contact with the charging terminals.
- Monitor Charging Indicator: The charging base features an indicator light:
- Red Light: Indicates that the battery is currently charging.
- Green Light: Indicates that the battery is fully charged. If a fully charged radio is docked, the light will immediately show green.
- Remove When Charged: Once the indicator light turns green, the battery is fully charged and the radio or battery can be removed from the base.
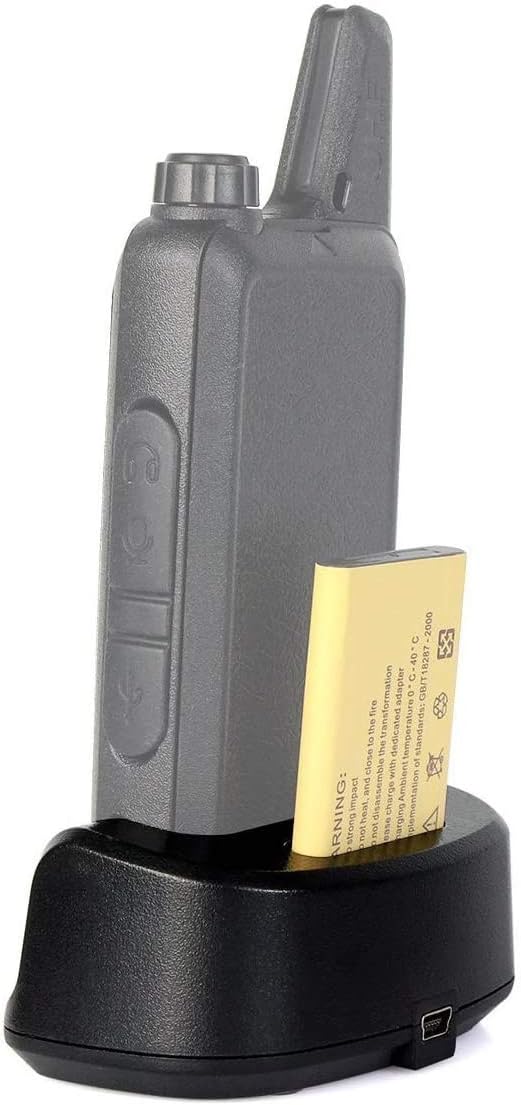
Figure 3: A walkie talkie correctly placed in the charging base for charging.
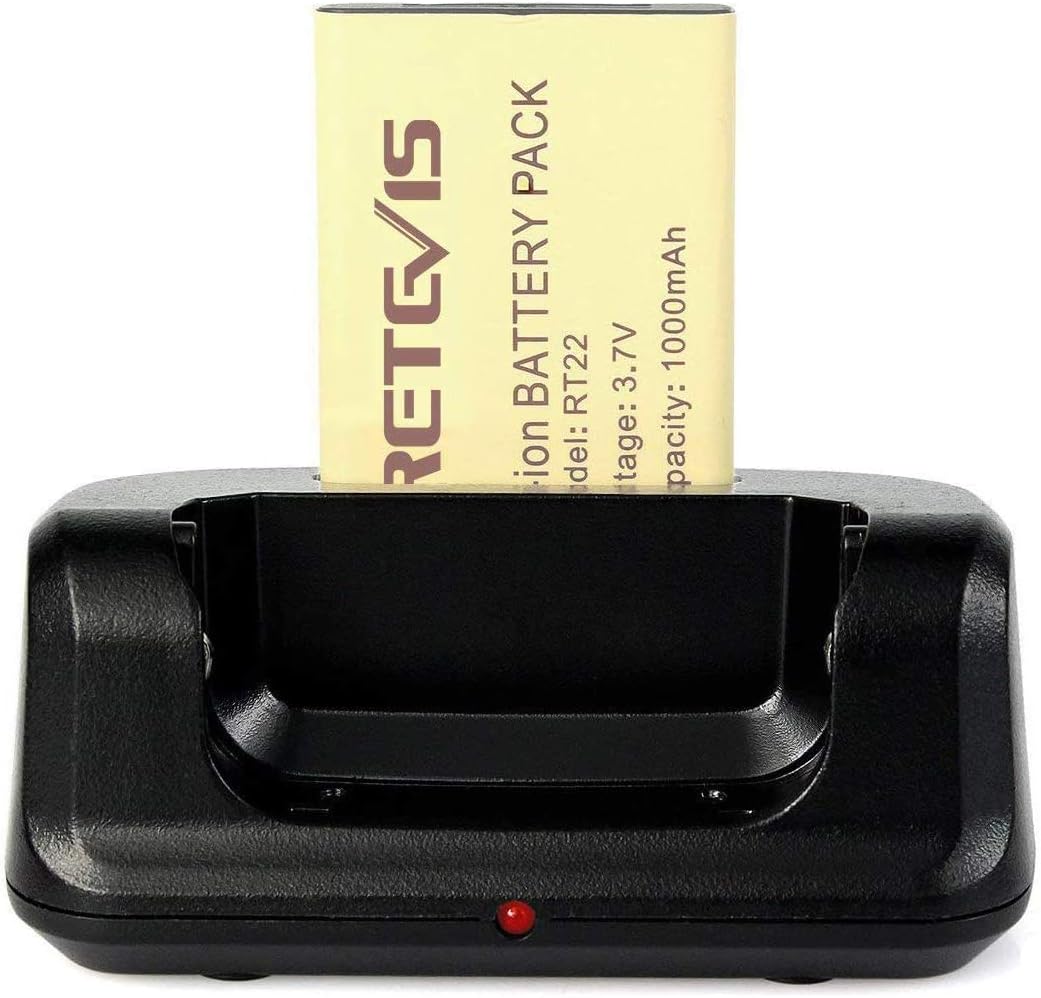
Figure 4: The charging base showing a red light, indicating active charging of the battery.
4. Maintenance
- Cleaning: Use a soft, dry cloth to clean the charging base. Do not use liquid cleaners or solvents.
- Storage: When not in use, store the charging base in a cool, dry place.
- Inspect Contacts: Periodically check the charging contacts inside the base for any debris or corrosion. Clean gently if necessary to ensure proper connection.

Figure 5: Detailed view of the charging contacts within the base, which should be kept clean.
5. Troubleshooting
- Charger not working / No indicator light:
- Ensure the USB cable is securely connected to both the charging base and the power adapter.
- Verify that the power adapter is plugged into a working electrical outlet.
- Check if the power adapter provides the correct output voltage (5 Volts).
- Try using a different USB cable and power adapter to rule out faulty accessories.
- Battery not charging / Light stays green when battery is low:
- Ensure the walkie talkie or battery is correctly seated in the charging slot and making firm contact with the charging terminals.
- Clean the charging contacts on both the base and the battery/radio to remove any dirt or debris.
- Confirm that the battery itself is not damaged or at the end of its lifespan.
6. Specifications
| Feature | Detail |
|---|---|
| Brand | LUITON |
| Model Compatibility | Retevis RT22, RT22S, LUITON LT-316, WLN KD-C1, Zastone X6, Zeadio ZS-B1, TIDRADIO TD-M8, RADTEL RT-10, RADIODDITY R1 |
| Input Voltage | 5 Volts |
| Output Voltage | 5 Volts |
| Item Weight | 10 ounces (0.29 Kilograms) |
| Package Dimensions | 7.09 x 5.67 x 2.09 inches |
7. Warranty and Support
This LUITON charging base comes with a warranty valid for 6 months from the date of purchase. For warranty claims or technical support, please refer to the contact information provided with your purchase or visit the official LUITON website.
For further assistance, please contact your retailer or the manufacturer directly.