
1. Introduction
This manual provides detailed instructions for the installation, operation, and maintenance of your EZoneTronics Android 13 Car Radio. This unit is specifically designed for Hyundai Tucson IX35 models manufactured between 2011 and 2015. It features a 10-inch touchscreen, Android 13 operating system, integrated CarPlay and Android Auto, GPS navigation, Bluetooth, Wi-Fi, and various multimedia functions.

Image 1.1: The EZoneTronics Android 13 Car Radio main unit, showcasing its 10-inch display integrated into a vehicle's dashboard.
2. Setup and Installation
2.1 Package Contents
Before installation, verify that all components are present:
- Main Head Unit
- Power Cable
- USB Cables (2x)
- GPS Antenna
- RCA Output/Input Cables
- Camera Input Cable

Image 2.1: Included accessories and cables for the car radio installation.
2.2 Pre-Installation Checks
- Ensure the vehicle is a Hyundai Tucson IX35 (2011-2015).
- Disconnect the vehicle's battery before starting installation.
- Review your vehicle's specific wiring diagram if available.
2.3 Wiring and Mounting
- Carefully remove the original car radio unit and trim.
- Connect the power cable to the vehicle's wiring harness. Ensure correct connections for constant power (B+), accessory power (ACC), and ground (GND).
- Connect the GPS antenna and position it in a location with a clear view of the sky, typically on the dashboard or under the windshield.
- Connect any additional accessories such as USB cables, camera input, and RCA cables as required for external devices or amplifiers.
- Mount the new EZoneTronics head unit into the dashboard opening. Secure it using the appropriate mounting brackets.
- Reconnect the vehicle's battery.
3. Operating Instructions
3.1 Initial Power On and User Interface
After installation, turn on the vehicle's ignition. The unit will boot up, displaying the Android 13 interface. Navigate through the menus using the touchscreen.
3.2 CarPlay and Android Auto
The unit supports both wireless and wired CarPlay and Android Auto. This feature allows integration of your smartphone for navigation, calls, and music.
- Wireless Connection: Enable Bluetooth and Wi-Fi on your smartphone. Follow the on-screen prompts on the car radio to pair your device.
- Wired Connection: Connect your smartphone to one of the unit's USB ports using a compatible USB cable.

Image 3.1: CarPlay and Android Auto functionality on the EZoneTronics car radio.
3.3 GPS Navigation
The unit comes with an integrated GPS receiver and an offline Google Map application pre-installed. You can download offline map data for specific regions as needed. Other navigation applications can be installed from the Google Play Store.
- To use offline maps, ensure the required map data is downloaded via a Wi-Fi connection.
- For online navigation, connect the unit to a Wi-Fi hotspot or use a connected smartphone's data.

Image 3.2: GPS Navigation display with route guidance.
3.4 FM/RDS Radio
The unit includes an FM/RDS radio tuner with 18 preset stations. The RDS (Radio Data System) feature displays station information where available.
- Access the Radio application from the main menu.
- Use the scan function to find available stations.
- Press and hold a preset button to save the current station.
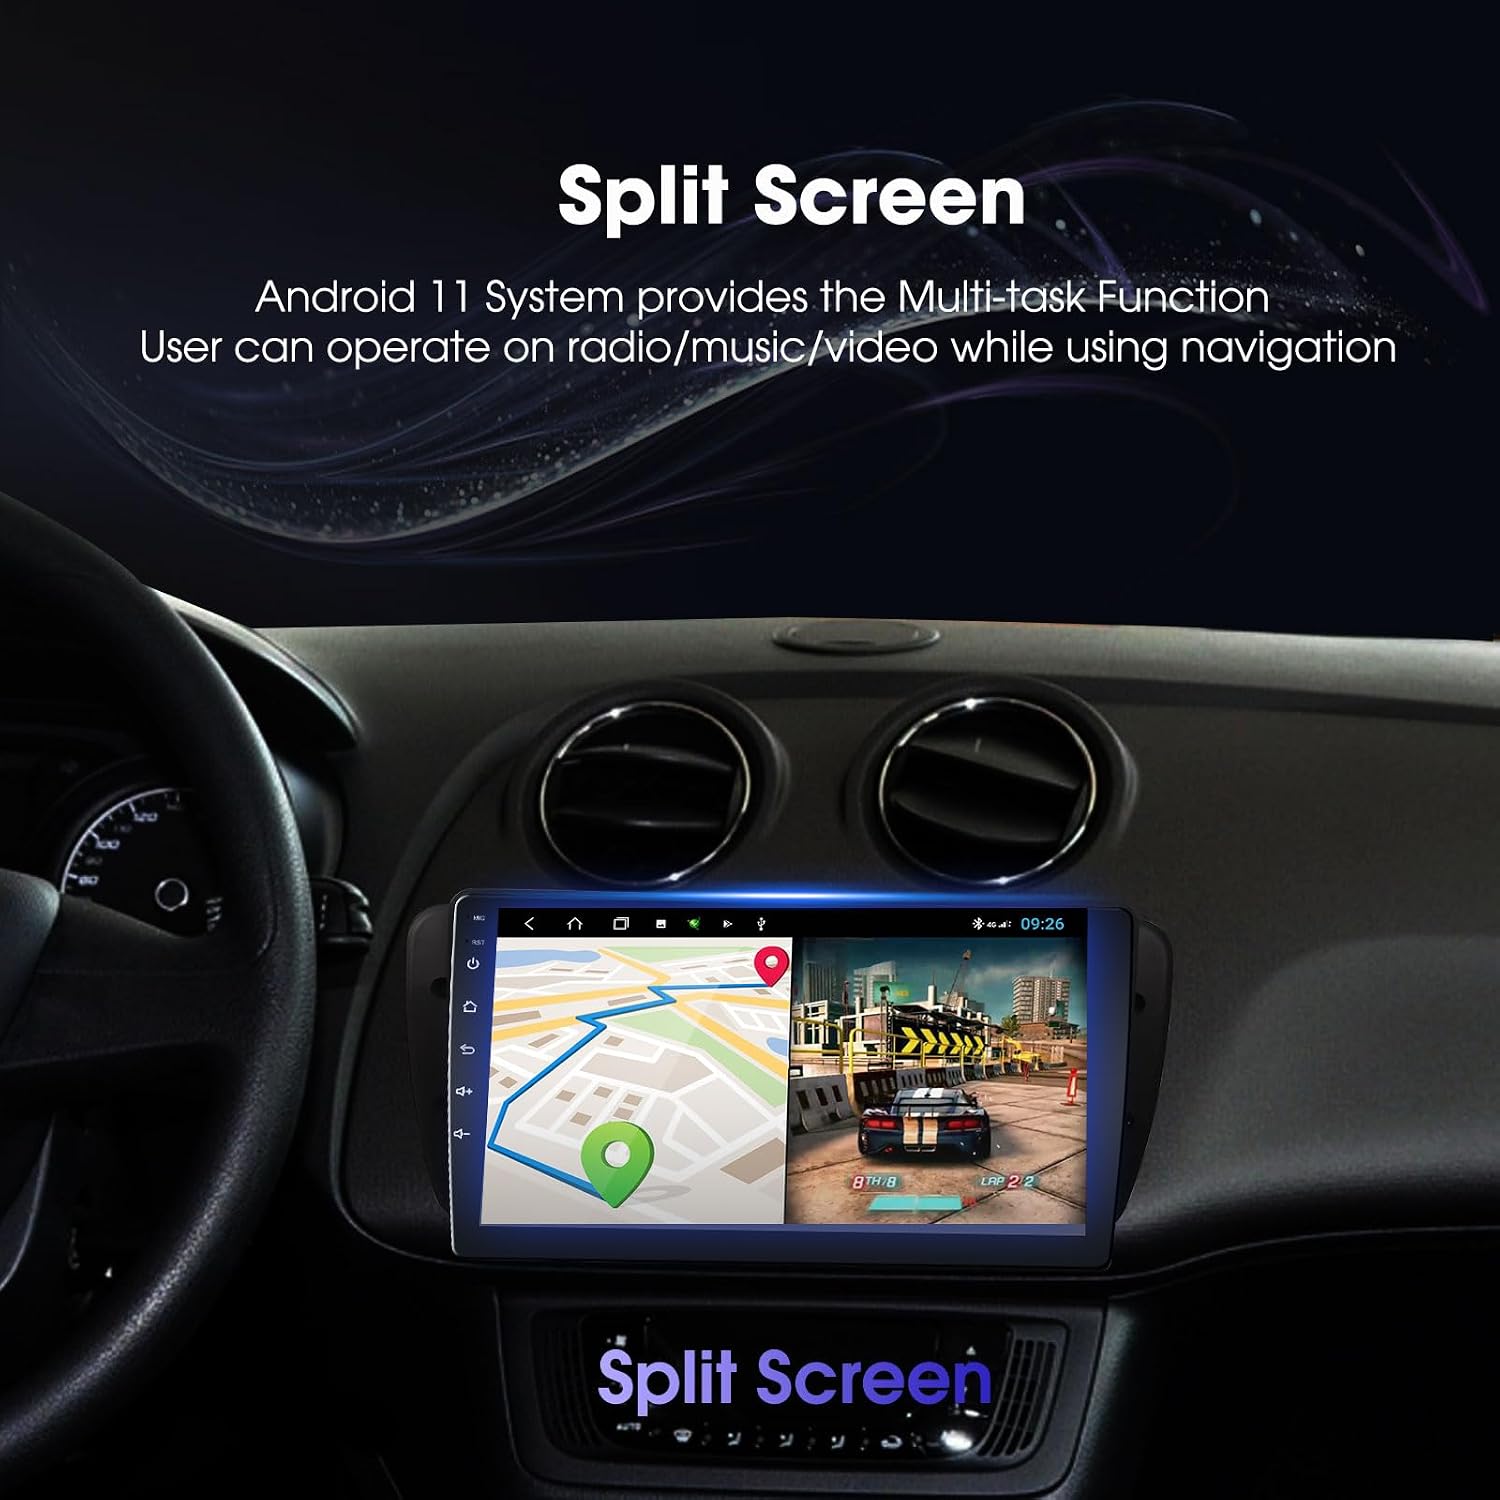
Image 3.3: FM & RDS Radio interface.
3.5 Bluetooth 4.0
Connect your smartphone via Bluetooth for hands-free calling, contact synchronization, and audio streaming.
- Enable Bluetooth on your smartphone and the car radio.
- Search for available devices on the car radio and select your phone to pair.
- Once paired, you can make/receive calls, access your phonebook, and play music through the unit.

Image 3.4: Bluetooth 4.0 features and interface.
3.6 Mirror Link
Mirror Link allows you to display your smartphone's screen on the car radio. Connect your iOS device via AirPlay mirroring or an Android device via a USB cable.
- For Android, connect your phone via USB and follow the prompts to enable screen mirroring.
- For iOS, ensure both devices are on the same Wi-Fi network and use the AirPlay function on your iPhone.
3.7 Steering Wheel Control (SWC)
The unit supports the vehicle's original steering wheel buttons, allowing you to control functions like track changes, volume adjustments, and call answering without taking your hands off the wheel.
- Access the SWC settings in the unit's system menu.
- Follow the on-screen instructions to map your vehicle's steering wheel buttons to the desired functions.

Image 3.5: Steering Wheel Control integration.
3.8 Split Screen Function
The split-screen feature allows you to run two applications simultaneously, such as navigation on one side and a music player or video on the other.
- To activate, open an application, then long-press the recent apps button or drag another app from the recent apps list to the side of the screen.

Image 3.6: Split Screen functionality.
3.9 Rear View Camera Input
When a compatible AHD rear view camera is connected, the unit automatically displays the camera feed when the vehicle is shifted into reverse. This includes parking lines for assistance.

Image 3.7: AHD Camera display when reversing.
3.10 Audio Settings (Built-in DSP 32 EQ)
The unit features a built-in Digital Sound Processor (DSP) with a 32-band equalizer, allowing for precise audio adjustments to suit your preferences.
- Access the EQ settings from the audio menu.
- Adjust frequency bands, balance, fader, and other sound effects.

Image 3.8: Built-in DSP 32-band Equalizer interface.
4. Maintenance
4.1 Cleaning the Unit
- Use a soft, dry, lint-free cloth to clean the touchscreen and exterior surfaces.
- For stubborn smudges, lightly dampen the cloth with water or a screen-safe cleaner. Avoid harsh chemicals or abrasive materials.
- Ensure the unit is powered off before cleaning.
4.2 Software Updates
Periodically check for software updates to ensure optimal performance and access to new features. Updates can typically be found on the manufacturer's website or through the unit's system settings when connected to Wi-Fi.
5. Troubleshooting
If you encounter issues, refer to the following common problems and solutions:
| Problem | Possible Cause | Solution |
|---|---|---|
| Unit does not power on. | Incorrect wiring, blown fuse, vehicle battery disconnected. | Check power connections and fuses. Ensure vehicle battery is connected. |
| No sound. | Volume too low, incorrect audio source, speaker wiring issues. | Increase volume. Select correct audio source. Check speaker connections. |
| GPS signal is weak or inaccurate. | GPS antenna obstructed or improperly placed. | Ensure GPS antenna has a clear view of the sky. Check antenna connection. |
| Bluetooth connection issues. | Pairing error, device not discoverable. | Ensure Bluetooth is enabled on both devices. Re-pair the device. Restart both devices. |
| Steering wheel controls not responding. | Incorrect wiring, SWC settings not configured. | Verify SWC wiring. Configure buttons in the unit's SWC settings menu. |
| System is slow or freezes. | Too many applications running, software glitch. | Close unnecessary applications. Restart the unit. If issues persist, perform a factory reset (note: this will erase all user data). |
6. Specifications
| Feature | Detail |
|---|---|
| Model | RMCT-HYU-TCS11-2G16 |
| Operating System | Android 13 |
| Screen Size | 10-inch Touchscreen |
| Resolution | 1024 x 600 pixels |
| Processor | Quad Core |
| RAM | 2 GB |
| ROM | 32 GB |
| Connectivity | Bluetooth 4.0, Wi-Fi, USB, Cellular (via external dongle, if supported) |
| Car Integration | Wireless/Wired CarPlay, Android Auto, Mirror Link, Steering Wheel Control (SWC) |
| Navigation | Built-in GPS receiver, offline Google Map app pre-installed |
| Radio Tuner | FM/RDS with 18 preset stations |
| Audio Output | Stereo, 2.1 Channel Surround Sound Configuration |
| Output Power | 90 Watts (RMS), 180 Watts (Peak) |
| Equalizer | Built-in DSP 32 EQ |
| Video Decoding | H.264, H.265/HEVC |
| Supported Languages | English, French, Italian, German, Spanish, Portuguese, Chinese, Japanese, and more. |
| Dimensions (D x W x H) | 26D x 11W x 20H centimeters |
| Color | Black |
7. Warranty and Support
7.1 Warranty Information
This EZoneTronics product is covered by a 1-year warranty from the date of purchase. Please retain your proof of purchase for warranty claims.
7.2 Return Policy
A 30-day return, refund, or exchange policy is available from the date of purchase. Please contact customer service for details.
7.3 Customer Support
For technical assistance, warranty inquiries, or any other questions, please contact EZoneTronics customer service:
- Email: support@ezonetronics.com
- Service Availability: 24-hour customer service is provided.


