
Hart HV600
Hart 6 Gallon Stainless Steel Wet & Dry Vacuum 5.0 Peak HP Instruction Manual
Model: HV600
Introduction
This manual provides essential information for the safe operation, maintenance, and troubleshooting of your Hart 6 Gallon Stainless Steel Wet & Dry Vacuum. Please read it thoroughly before initial use and retain it for future reference.

Figure 1: The Hart 6 Gallon Stainless Steel Wet & Dry Vacuum, showcasing its main components including the stainless steel tank, white motor head, and black hose with attachments.
Safety Information
Always follow basic safety precautions when using this appliance to reduce the risk of fire, electric shock, or injury.
- Ensure the power source matches the voltage specified on the vacuum's rating label.
- Do not operate the vacuum with a damaged cord or plug.
- Keep hair, loose clothing, fingers, and all parts of the body away from openings and moving parts.
- Do not pick up flammable or combustible materials, or anything that is burning or smoking.
- Use extra care when cleaning on stairs.
- Unplug from outlet when not in use and before servicing.
Components and Accessories
Your vacuum comes with the following standard components:
- 6-foot by 1 7/8-inch hose
- Two extension wands
- Utility nozzle
- Crevice tool
- Reusable cloth filter (for dry vacuuming)
- Foam wet filter (for wet vacuuming)

Figure 2: Included accessories: hose, extension wands, crevice tool, utility nozzle, and filters.
Setup
- Unpacking: Carefully remove all contents from the packaging.
- Caster Assembly: Attach the casters to the base of the vacuum tank for mobility.
- Hose Connection: Insert the hose into the intake port on the front of the tank. Ensure it is securely locked in place.
- Accessory Storage: The vacuum features on-board storage for the hose, cord, and accessories. Utilize the designated clips and holders to keep components organized.
- Filter Installation:
- For dry vacuuming, ensure the reusable cloth filter is securely installed over the filter cage.
- For wet vacuuming, remove the cloth filter and install the foam wet filter.
Operating Instructions
Dry Vacuuming
- Ensure the reusable cloth filter is installed.
- Attach the desired accessory (utility nozzle or crevice tool) to an extension wand, or directly to the hose.
- Plug the 8-foot power cord into a suitable electrical outlet.
- Turn the large on/off dust-sealed switch to the "ON" position.
- Begin vacuuming dry debris.

Figure 3: Demonstrating dry vacuuming on a workbench using the utility nozzle.
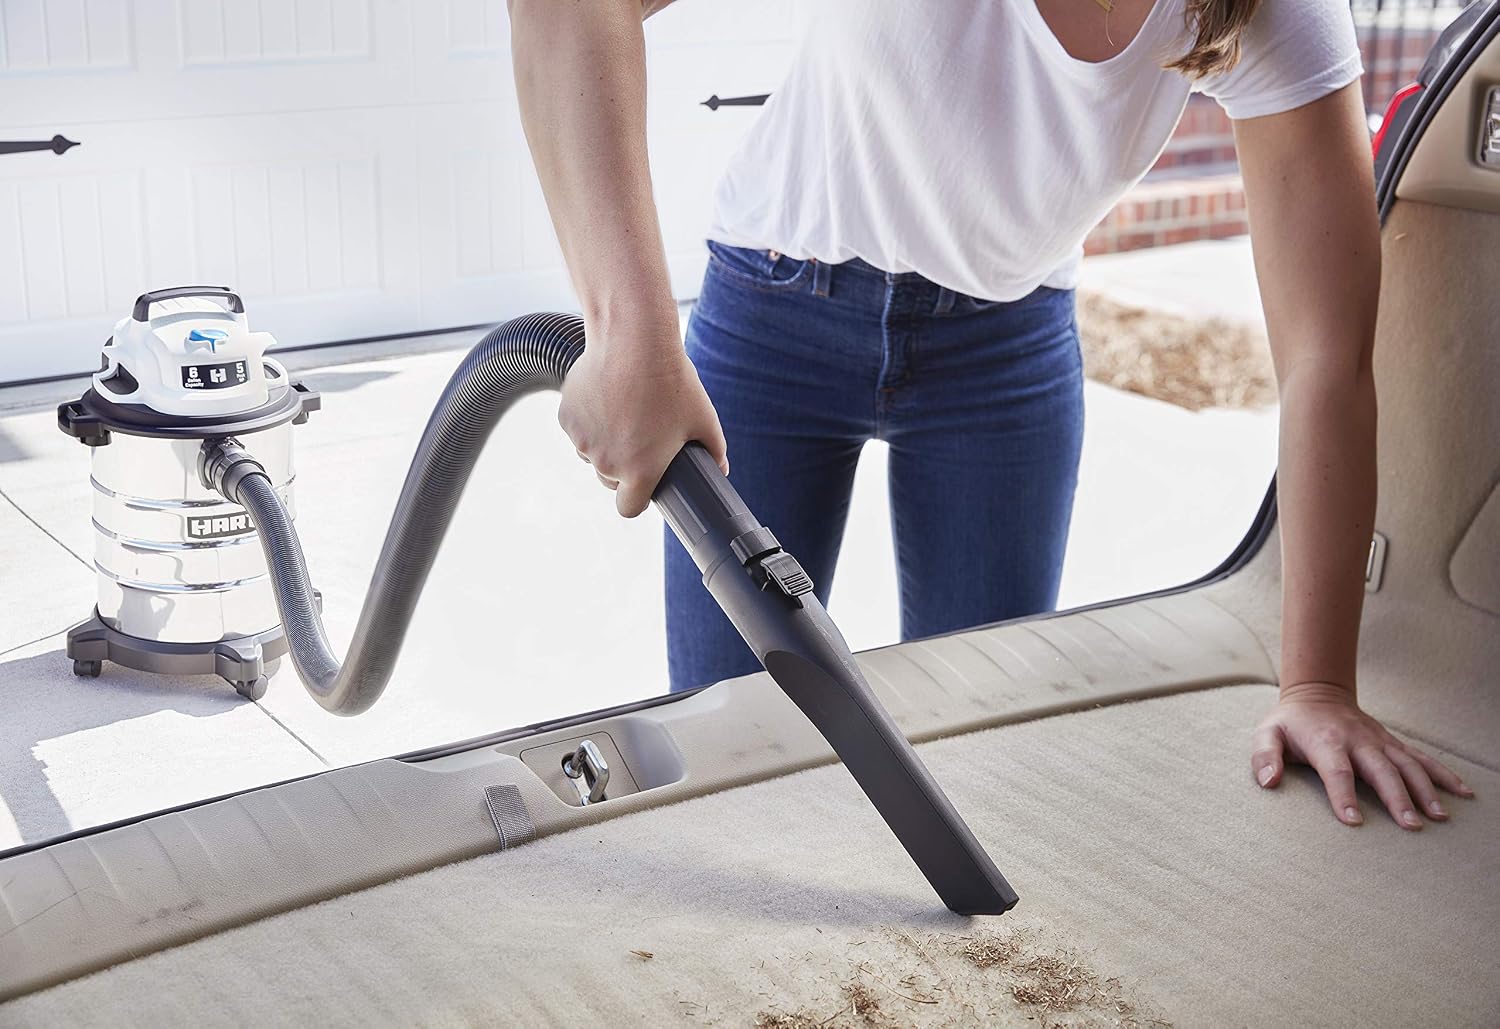
Figure 4: The crevice tool is ideal for cleaning tight spaces, such as car interiors.
Wet Vacuuming
- Remove the reusable cloth filter and install the foam wet filter.
- Attach the utility nozzle directly to the hose or an extension wand.
- Plug the power cord into a suitable electrical outlet.
- Turn the switch to the "ON" position.
- Begin vacuuming liquids. The vacuum will automatically shut off when the tank is full.

Figure 5: The vacuum effectively picks up liquid spills from hard surfaces.
Blower Function
The vacuum can easily convert to a powerful blower:
- Locate the blower port on the motor head (opposite the intake port).
- Insert the hose securely into the blower port.
- Turn the vacuum "ON" to use it as a blower for clearing debris from surfaces or workspaces.

Figure 6: The blower function is useful for clearing leaves or sawdust from outdoor areas.
Maintenance
Emptying the Tank
To empty the stainless steel tank:
- Unplug the vacuum from the power outlet.
- Release the latches securing the motor head to the tank.
- Carefully lift the motor head off the tank.
- Pour out any collected liquids or dispose of dry debris.
- Replace the motor head and secure the latches.
Filter Cleaning and Replacement
- Reusable Cloth Filter: For dry debris, tap the filter gently to dislodge dust. For heavier cleaning, rinse with water and allow to air dry completely before reinstallation.
- Foam Wet Filter: Rinse with water after wet vacuuming and allow to air dry completely.
- Inspect filters regularly for damage. Replace if torn or excessively worn to maintain optimal performance.
Troubleshooting
| Problem | Possible Cause | Solution |
|---|---|---|
| Vacuum does not start. | No power, faulty switch, or motor issue. | Check power cord connection and outlet. Ensure switch is ON. If problem persists, contact customer support. |
| Loss of suction. | Clogged hose/filter, full tank, or improper filter. | Clear hose/attachments of blockages. Empty tank. Ensure correct filter is installed and clean. |
| Water leaking from exhaust. | Tank is full during wet vacuuming. | Empty the tank. The float mechanism should shut off suction when full. |
Specifications
- Capacity: 6 Gallons
- Motor: 5.0 Peak HP
- Power Cord Length: 8 feet
- Hose Length: 6 feet
- Hose Diameter: 1 7/8 inches
- Dimensions (L x W x H): 20" x 24" x 31.7"
- Item Weight: 13.02 pounds
- Noise Level: 80 dB
- Filter Types: Reusable Cloth, Foam Wet
- Recommended Use: Wet and Dry Cleanup

Figure 7: The compact design allows for convenient storage with the hose wrapped around the unit.
Warranty and Support
For warranty information or technical support, please refer to the warranty card included with your product or visit the official Hart Tools website. Keep your purchase receipt as proof of purchase.
For further assistance, you may contact Hart customer service through their official channels.
Ask a question about this manual
Ask about setup, troubleshooting, compatibility, parts, safety, or missing instructions. Manuals+ will review the question and use this page’s manual context to help answer it.