
Introduction
This manual provides essential information for setting up, operating, and maintaining your PowerA Enhanced Wireless Controller for Nintendo Switch. This officially licensed controller features a vibrant Mario Pop design, Bluetooth 5.0 technology, and advanced gaming buttons for an enhanced gaming experience.

Image: The PowerA Enhanced Wireless Controller featuring a colorful Mario Pop design.
Package Contents
Ensure all items are present in your package:
- PowerA Enhanced Wireless Controller (Mario Pop)
- 10 ft (3m) USB-C Charging Cable
- User Manual (this document)

Image: The PowerA Enhanced Wireless Controller and its included 10 ft USB-C charging cable.
Controller Features
The PowerA Enhanced Wireless Controller is designed with several features to optimize your gaming experience:
- Wireless Connectivity: Utilizes Bluetooth 5.0 technology for a stable connection to your Nintendo Switch, Switch Lite, or OLED Model.
- Rechargeable Battery: Features a built-in lithium-ion battery providing up to 30 hours of gameplay per charge.
- Advanced Gaming Buttons: Two mappable buttons on the back of the controller allow for on-the-fly customization.
- Anti-Friction Rings: Embedded rings around the thumbsticks ensure smooth and precise control.
- Ergonomic Design: Shaped for comfort during extended gaming sessions.
- Motion Controls: Supports intuitive motion controls for compatible games.

Image: A detailed diagram highlighting various features of the PowerA Enhanced Wireless Controller, including anti-friction rings, player indicator LED, program button, advanced gaming buttons, low battery indicator LED, rechargeable battery, and USB-C charge cable port.
Setup
Charging the Controller
Before first use, fully charge your controller. The controller charges via the included USB-C cable.
- Connect the USB-C end of the charging cable to the port on the front of the controller.
- Connect the USB-A end of the charging cable to a powered USB port (e.g., on your Nintendo Switch dock, a USB wall adapter, or a computer).
- The LED indicator on the controller will illuminate red while charging. It will turn off when fully charged.

Image: A close-up view of the bottom edge of the PowerA Enhanced Wireless Controller, clearly showing the USB-C charging port located between the shoulder buttons.
Pairing the Controller
To pair your PowerA Enhanced Wireless Controller with your Nintendo Switch:
- Ensure your Nintendo Switch console is powered on and updated to the latest system software.
- From the HOME Menu, select Controllers, then Change Grip/Order.
- On the PowerA controller, press and hold the SYNC Button on the top edge for at least three seconds. The Player LED lights will begin to flash.
- Once the controller pairs, the Player LED will remain solid, indicating successful connection.
Operating the Controller
Advanced Gaming Buttons
The controller features two mappable Advanced Gaming Buttons (AGBs) on the back. These can be programmed to replicate any standard button function for quick access.
- Press the Program Button on the back of the controller. The Program LED will flash.
- Press the button you wish to map (A/B/X/Y/L/R/ZL/ZR/Left Stick Press/Right Stick Press/D-pad). The Program LED will flash rapidly.
- Press the AGB (left or right) you wish to assign the function to. The Program LED will turn off, indicating the button has been successfully mapped.
- To clear a mapped button, press the Program Button, then press the AGB you wish to clear twice.

Image: A graphic illustrating the location and function of the mappable Advanced Gaming Buttons on the underside of the controller.
Motion Controls
This controller supports motion controls, allowing for immersive gameplay in titles that utilize this feature. Simply tilt and move the controller as instructed by the game.
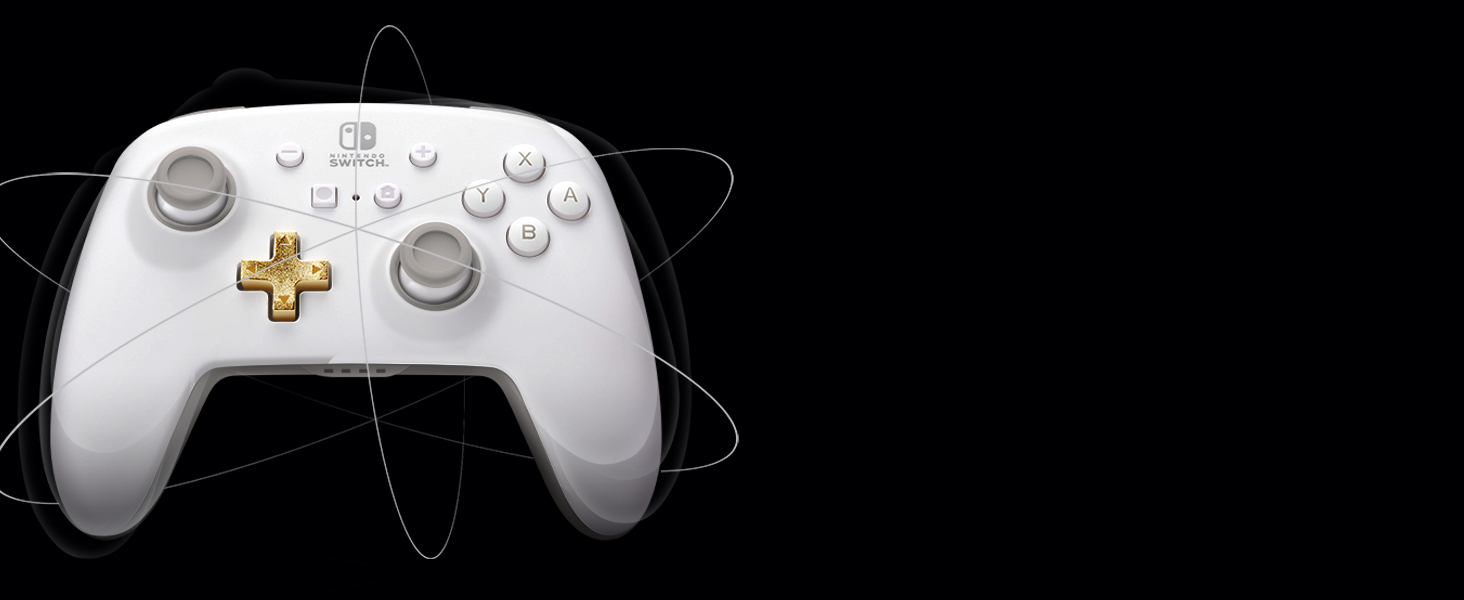
Image: A graphic demonstrating the motion control capabilities of the PowerA Enhanced Wireless Controller, showing it being tilted to control in-game actions.
Maintenance
Cleaning
To clean your controller, use a soft, dry cloth. Avoid using harsh chemicals or abrasive materials, as these can damage the finish or internal components.
Storage
Store the controller in a cool, dry place away from direct sunlight and extreme temperatures. When not in use for extended periods, ensure the controller is fully charged before storing to maintain battery health.
Troubleshooting
- Controller not pairing: Ensure the controller is charged and within range of the Nintendo Switch. Re-attempt the pairing process as described in the 'Pairing the Controller' section.
- Input lag or unresponsiveness: Check for interference from other wireless devices. Ensure the controller is fully charged. If issues persist, try re-pairing the controller.
- Battery not charging: Verify the USB-C cable is securely connected to both the controller and a powered USB port. Try a different USB port or charging cable.
- Controller drift: While this controller is designed for durability, if you experience stick drift, try recalibrating the joysticks through the Nintendo Switch system settings. If the issue persists, contact PowerA support.
Specifications
| Feature | Detail |
|---|---|
| Compatible Devices | Nintendo Switch, Nintendo Switch Lite, Nintendo Switch - OLED Model, Nintendo Switch 2 (C button not available) |
| Controller Type | Gamepad |
| Connectivity Technology | Bluetooth 5.0 |
| Power Source | Battery Powered (Rechargeable Lithium-ion 900mAh) |
| Battery Life | Up to 30 hours per charge (varies with usage) |
| Additional Features | Rumble, Motion Controls, Two Mappable Advanced Gaming Buttons, Embedded Anti-Friction Rings |
| Item Weight | 8 ounces |
| Item Dimensions | 6.02 x 4.41 x 2.48 inches |
| Color | Mario Pop |
Warranty and Support
This PowerA Enhanced Wireless Controller comes with a Two-year limited warranty. For detailed warranty information and support, please visit the official PowerA website:


