Introduction
This manual provides detailed instructions for the installation, operation, and maintenance of your Auraglow AG629 Integrated LED Motion Sensor Outdoor Wall Light. Please read this manual thoroughly before installation and retain it for future reference. This fixture is designed to provide efficient and reliable outdoor lighting with integrated motion sensing capabilities.
Safety Information
WARNING: Risk of electric shock. Disconnect power at the fuse or circuit breaker before installation or servicing.
- Ensure the main power supply is switched off before commencing any electrical work.
- Installation should be performed by a qualified electrician or competent person.
- This product is designed for outdoor use and has an IP54 rating, indicating protection against dust and splashing water.
- Do not attempt to modify the fixture. Any modifications may void the warranty and pose a safety risk.
- Keep packaging materials away from children.
Package Contents
Verify that all components are present before beginning installation:
- Auraglow Integrated LED Motion Sensor Outdoor Wall Light (Model AG629)
- Mounting hardware (screws, wall plugs)
- Instruction Manual (this document)
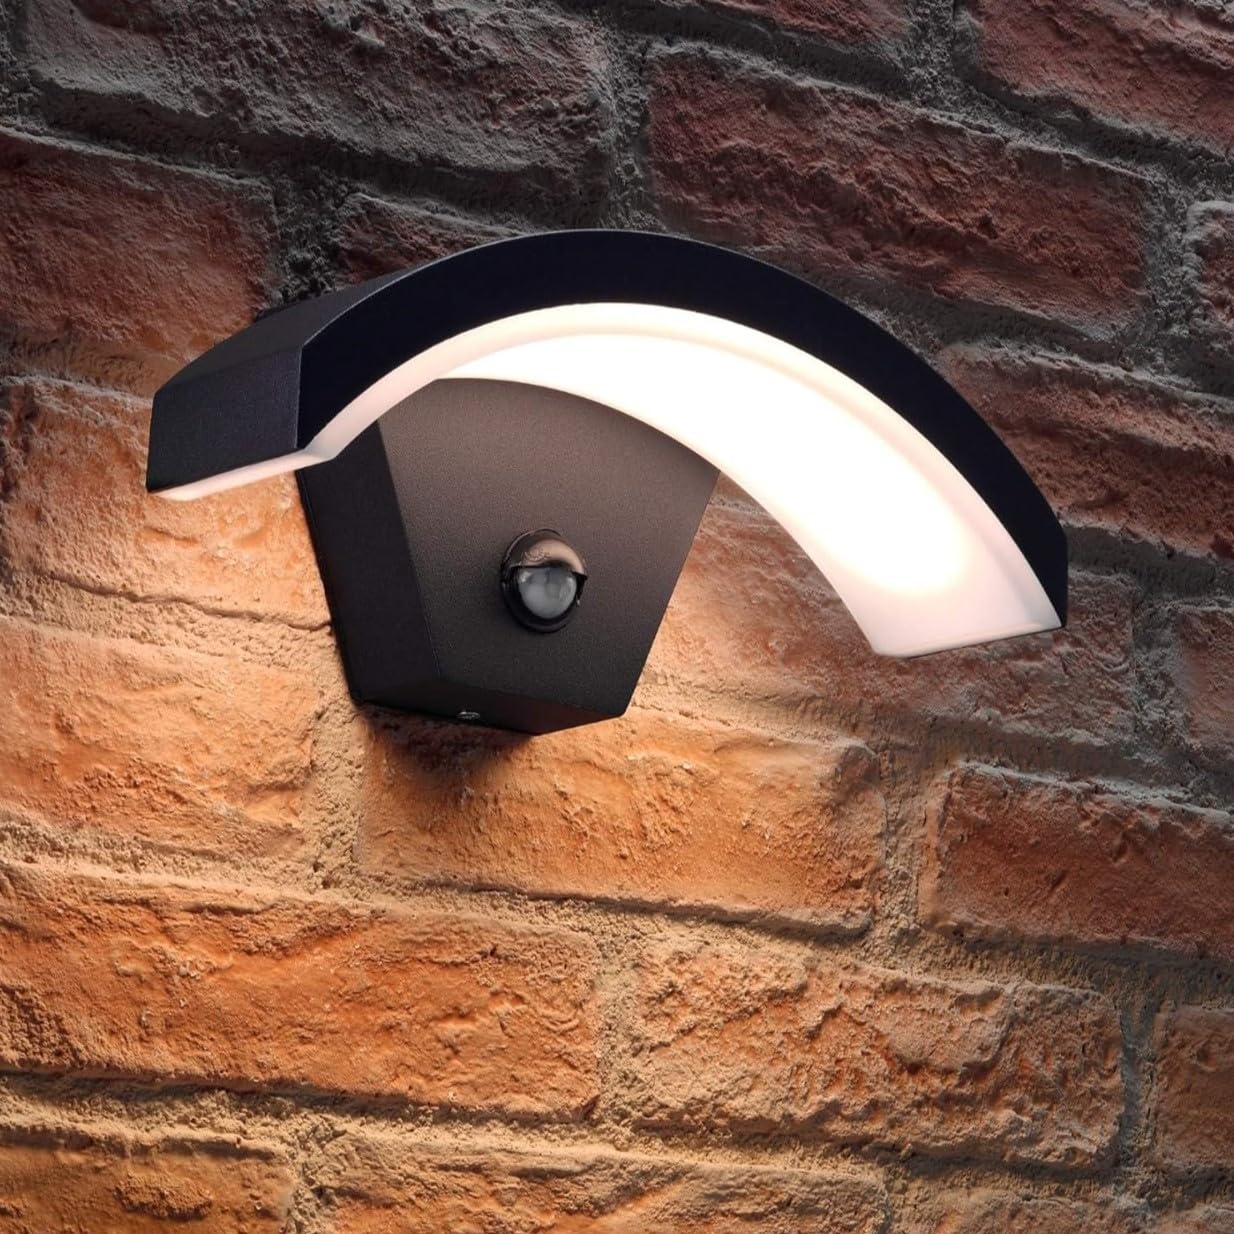
Image: The Auraglow AG629 Integrated LED Motion Sensor Outdoor Wall Light, showcasing its modern arch design and integrated PIR sensor.
Setup and Installation
This section outlines the general steps for installing your wall light. Professional installation is recommended.
- Preparation: Ensure the power supply to the installation area is switched off at the main circuit breaker. Gather necessary tools (screwdriver, drill, wire strippers, etc.).
- Mounting Location: Choose a suitable outdoor location, such as a porch, garden wall, or driveway, ensuring the motion sensor has a clear field of view. Avoid mounting near heat sources or reflective surfaces that could interfere with sensor operation.
- Secure the Fixture: Mark the drilling points on the wall using the fixture's mounting plate as a template. Drill holes, insert wall plugs (if necessary), and secure the mounting plate to the wall. Attach the light fixture to the mounting plate using the provided screws.
- Electrical Connection: Connect the mains wiring to the fixture's terminals. Ensure correct polarity (Live, Neutral, Earth) according to local electrical codes. All connections must be secure and insulated.
- Final Assembly: Once wiring is complete and secure, attach the main body of the light fixture to the mounting plate, ensuring a tight seal for weatherproofing.
- Restore Power: Once installation is complete, restore power at the main circuit breaker.
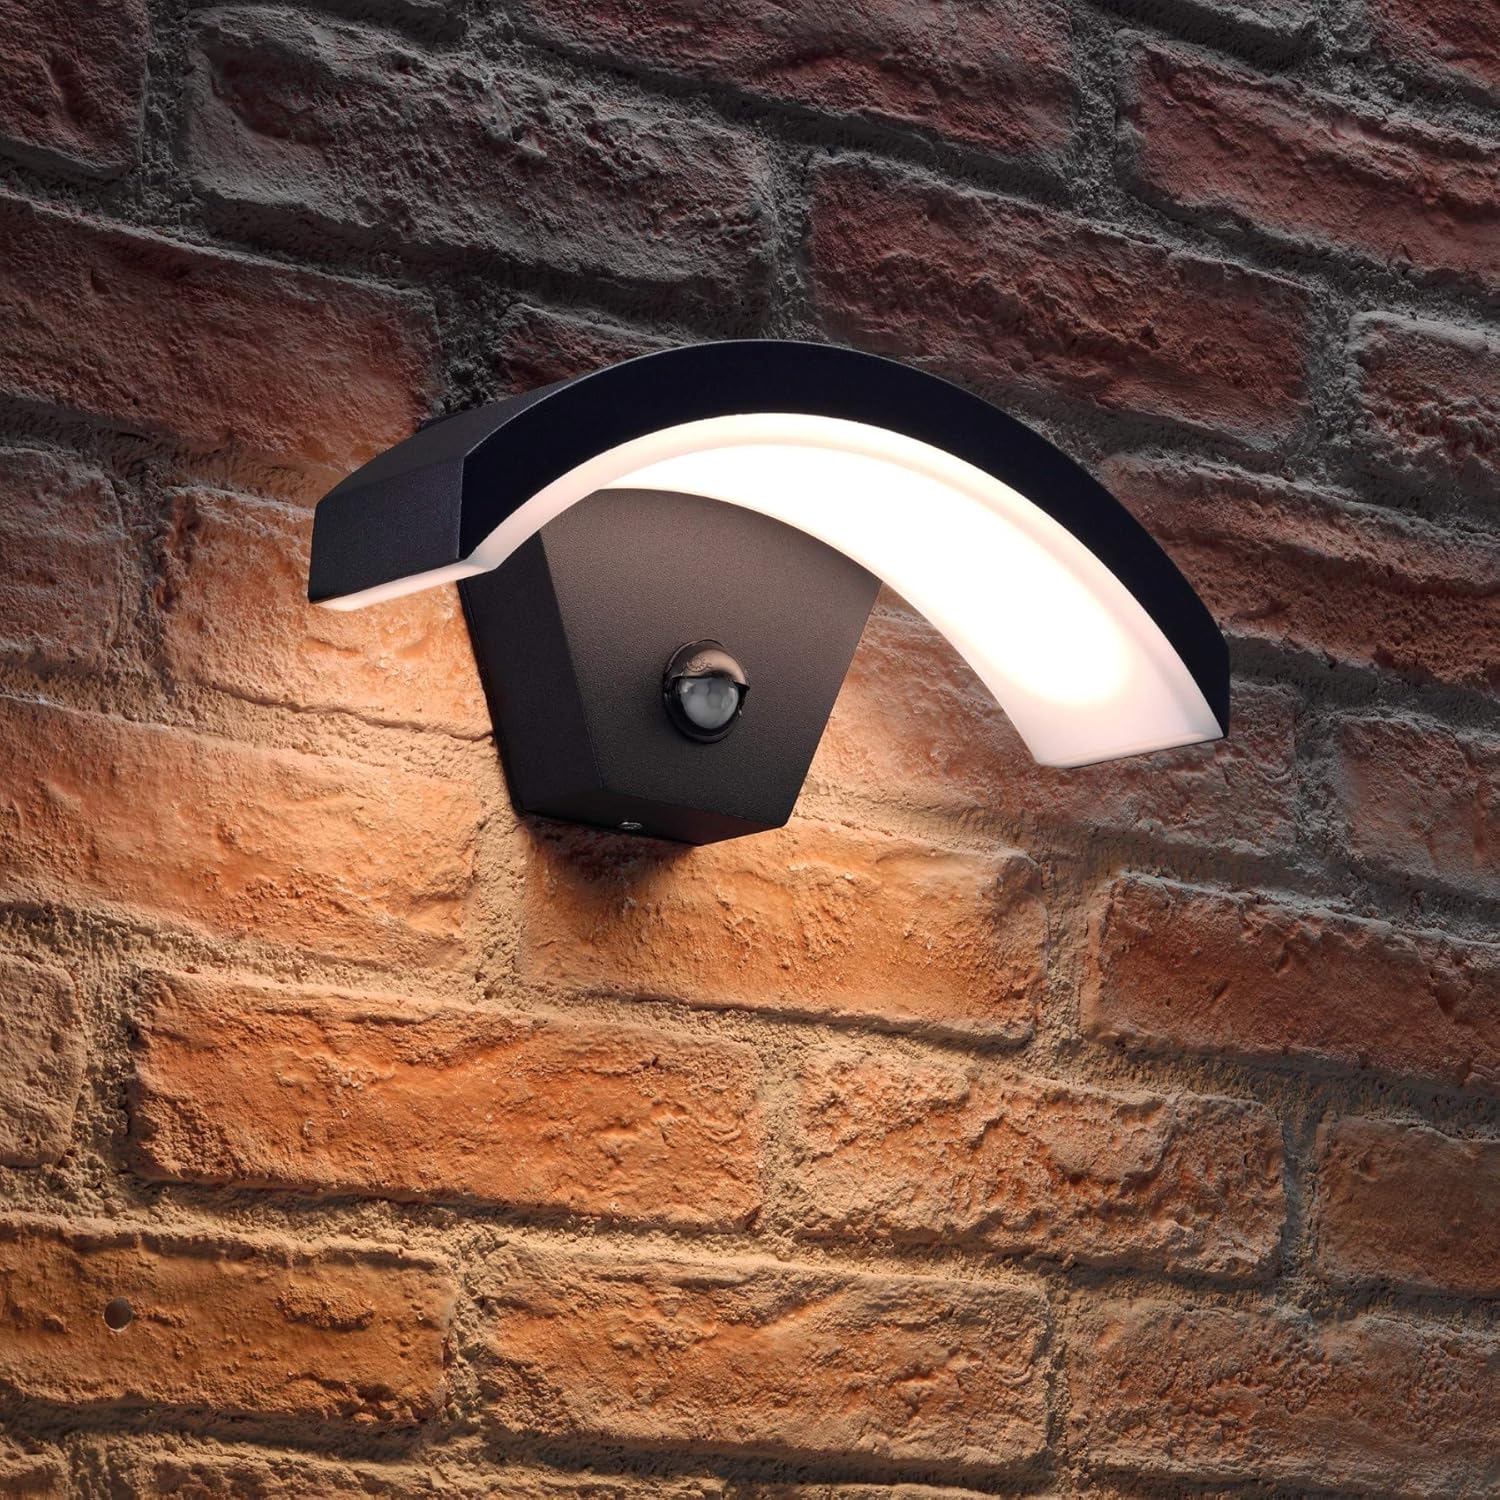
Image: The Auraglow AG629 light fixture installed on a brick wall, demonstrating its appearance when illuminated.

Image: The Auraglow AG629 light fixture installed on a brick wall, showing its design when not illuminated.
Operating Instructions
The Auraglow AG629 features an integrated PIR motion sensor with adjustable settings.
Motion Sensor Settings:
The sensor typically has dials for adjusting sensitivity (LUX) and illumination time (TIME). These dials are usually located on the underside or front of the sensor module.
- TIME Setting: This dial controls how long the light remains on after motion is detected. Adjust it to your desired duration, typically between 60 seconds and 10 minutes.
- LUX Setting: This dial determines the ambient light level at which the sensor becomes active.
- Set to the 'sun' icon for the sensor to operate during both day and night.
- Set to the 'moon' icon for the sensor to operate only when it is dark (at night).
Override Function:
The light includes an override function, allowing it to be used as a standard light without motion detection. To activate this:
- Switch the mains power switch for the light OFF.
- Immediately switch the mains power switch ON.
- Immediately switch the mains power switch OFF again.
- Immediately switch the mains power switch ON for a third time.
The light should now remain continuously ON. To return to motion sensor mode, switch the mains power OFF for more than 10 seconds, then switch it back ON.
Maintenance
Regular maintenance ensures optimal performance and longevity of your light fixture.
- Cleaning: Clean the fixture periodically with a soft, damp cloth. Do not use abrasive cleaners or solvents, as these can damage the finish or electrical components.
- Inspection: Periodically inspect the fixture for any signs of damage, loose connections, or wear. If any issues are found, disconnect power and consult a qualified electrician.
- LEDs: The integrated LED module is designed for long life and is not user-replaceable.
Troubleshooting
| Problem | Possible Cause | Solution |
|---|---|---|
| Light does not turn on. | No power supply. Incorrect LUX setting. Sensor malfunction. |
Check circuit breaker/fuse. Adjust LUX setting (try 'sun' icon). Contact support. |
| Light stays on continuously. | Override function activated. Constant motion detected. Sensor malfunction. |
Reset override function (power off >10s). Check sensor area for obstructions/movement. Contact support. |
| Light turns on during the day. | LUX setting too high (towards 'sun' icon). | Adjust LUX setting towards 'moon' icon. |
| Light flashes or flickers. | Loose wiring connection. Power fluctuations. Faulty LED driver. |
Disconnect power and check wiring (qualified electrician). Consult electrician. Contact support. |
Product Specifications
| Model Number | AG629 |
| Power Consumption | 7.5W |
| Lumen Output | 385lm |
| Color Temperature | 3000K (Warm White) |
| Dimmable | No |
| Voltage | Mains 220-240V |
| Weatherproof Rating | IP54 |
| Color | Black |
| Material | Aluminum |
| Dimensions (L x W x H) | 27.5 x 11.7 x 11.1 cm |
| Bulb Type | Integrated LED |
Warranty and Support
This Auraglow product comes with a 2-year warranty from the date of purchase, covering defects in materials and workmanship under normal use.
For technical support, warranty claims, or further assistance, please contact Auraglow customer service through their official website or the retailer where the product was purchased. Please have your model number (AG629) and proof of purchase available.

