
TOOLPORT 59033
TOOLPORT 10x20 ft Pop-Up Canopy Tent Instruction Manual
Model: 59033
Important Safety Information
Please read all instructions carefully before setting up and using your canopy tent. Failure to follow these instructions may result in injury or damage to the product.
- Always ensure the tent is assembled correctly.
- This gazebo has not been tested for wind and snow loads.
- In case of moderate snowfall, promptly clear the roof.
- In case of emerging wind, use a storm set (not included, but recommended).
- For strong winds, heavy snowfall, or heavy rainfall, temporary disassembly is recommended.
- Keep the tarpaulin away from heat sources and open flames.
Product Overview
The TOOLPORT 10x20 ft Pop-Up Canopy Tent is designed for quick and easy setup, providing reliable shelter for various outdoor events. Its lightweight aluminum frame and waterproof polyester tarpaulin ensure durability and protection against weather elements.

Front view of the TOOLPORT 10x20 ft Pop-Up Canopy Tent, showing its white canopy, aluminum frame, and one sidewall with a panorama window. An inset shows a cross-section of the aluminum frame.

The canopy tent fully extended without sidewalls, illustrating its open structure and multiple support legs. Icons above indicate no wood, heavy-duty, and lightweight features.
Key Features:
- Lightweight and Mobile: Easy to transport and set up by 1-2 people without tools.
- 100% Waterproof Roof Tarpaulin: Made from approx. 300 g/m² heavy-performance polyester with PVC coating.
- Modern Construction: Stylish brushed aluminum frame with scissor mechanism for quick assembly and disassembly.
- Adjustable Height: Adjustable to 5 different heights.
- Corrosion-Resistant: Aluminum frame ensures durability and resistance to rust.
- Included Accessories: Roof cover, side panels, guy ropes, pegs, carry bag.
Package Contents
Verify that all components are present before beginning assembly:
| Item | Quantity | Description |
|---|---|---|
| Pop-up Gazebo Frame | 1 | Aluminum construction with scissor mechanism |
| Gazebo Roof Cover | 1 | PES 700 polyester with PVC coating |
| Side Panels | 2 | One with panorama window, one solid |
| Guy Ropes | Set | For securing the tent |
| Pegs | Set | For anchoring the tent |
| Carry Bag / Cover | 1 | For storage and transport |
| Assembly Instructions | 1 | German (refer to this manual for English) |
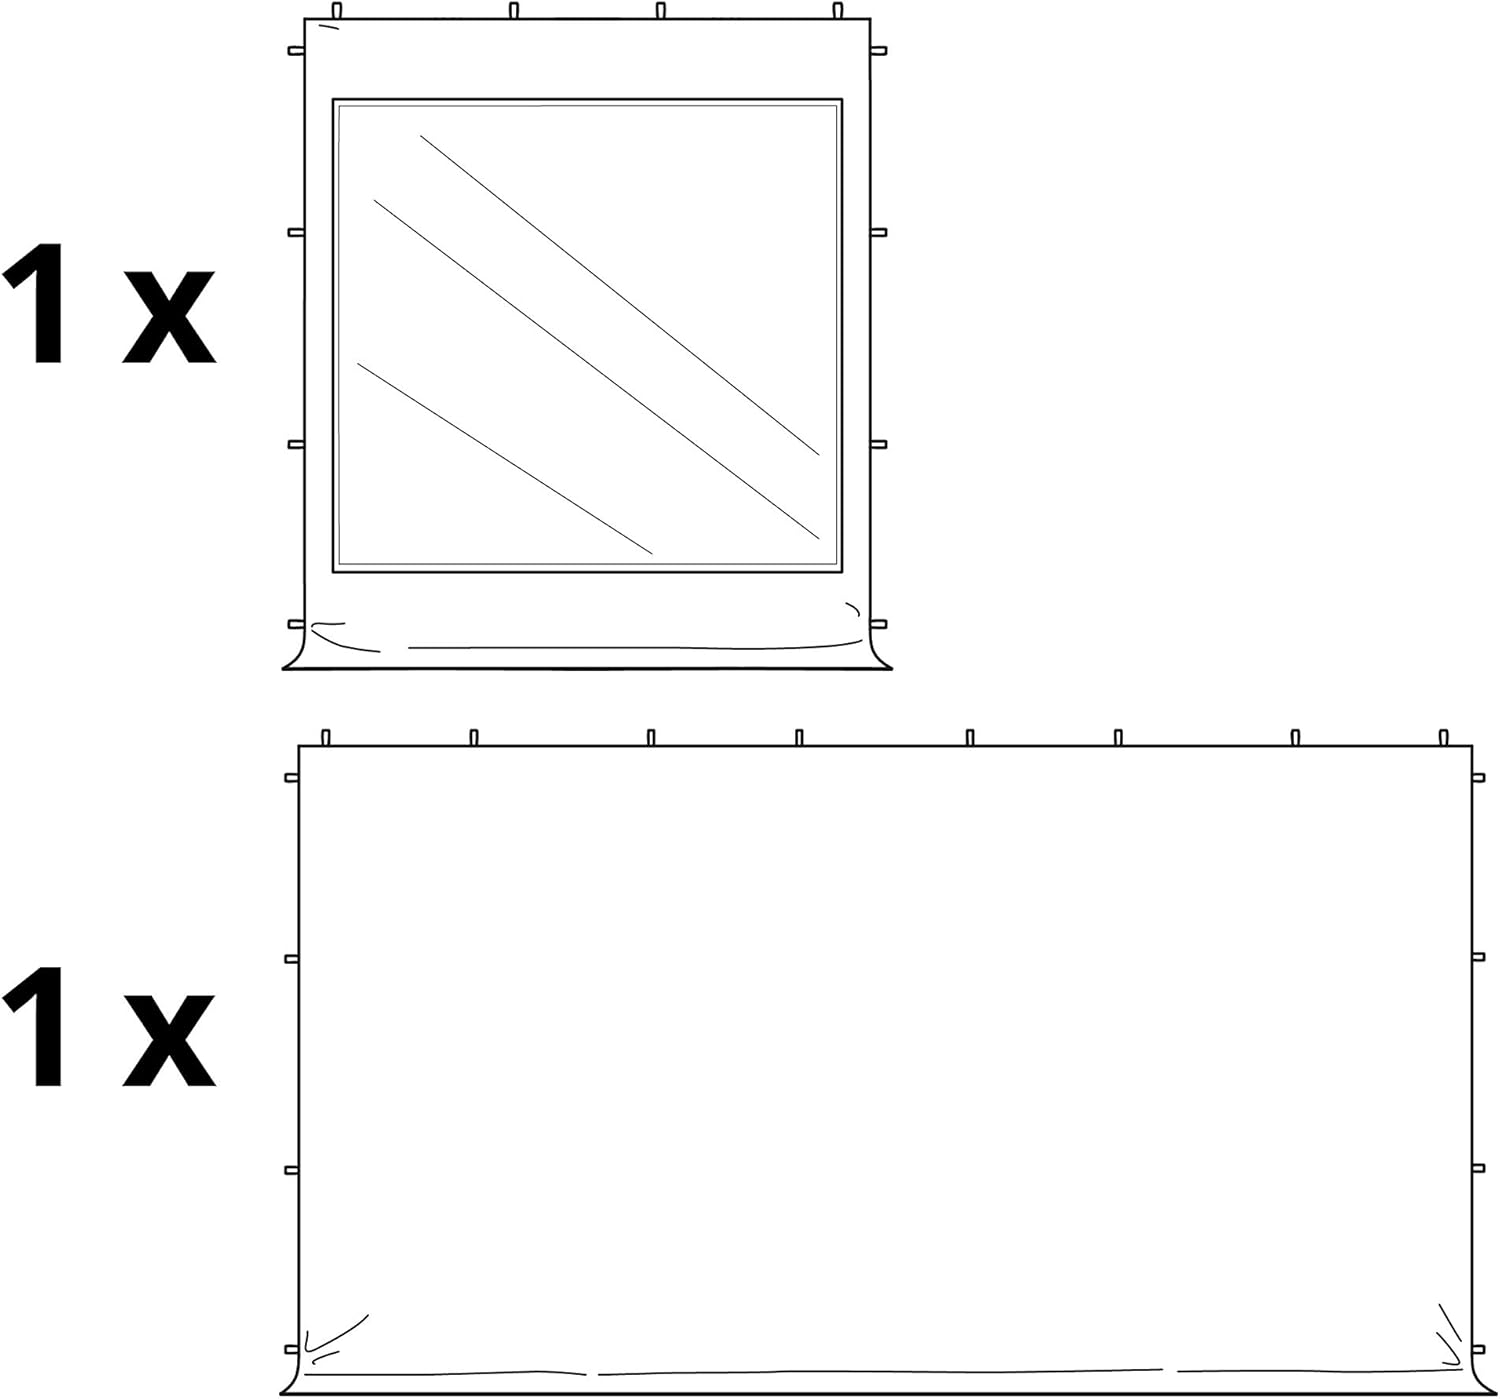
Illustration of the two types of side panels included: one with a panorama window and one solid panel.
Setup Instructions
The TOOLPORT Pop-Up Canopy Tent is designed for quick assembly by 1-2 people. No tools are required.
- Unpack and Lay Out: Remove the frame from the carry bag and lay it flat on a clean, level surface. Ensure there is enough space for the tent to expand.
- Partially Expand Frame: With a person at each end, gently pull the legs outwards until the frame is partially expanded. Do not fully extend yet.
- Attach Canopy Roof: Carefully place the roof cover over the partially expanded frame. Align the corners and secure the canopy to the frame using the integrated hook-and-loop fasteners or clips. Ensure the canopy is centered and taut.

Detail of the robust scissor mechanism and polymer composite connections of the tent frame, designed for stability and easy folding.
- Fully Extend Frame: Once the canopy is attached, continue to pull the legs outwards until the frame is fully extended and the locking mechanisms click into place.
- Adjust Height: Press the release buttons on each leg and slide the inner leg upwards to your desired height. There are 5 adjustable height settings. Ensure all legs are set to the same height for stability.

Close-up of the adjustable leg mechanism, showing the pull-pin for height adjustment and secure locking.
- Attach Side Panels (Optional): If using, attach the side panels to the frame using the integrated hook construction. The side panels can be suspended via hook construction.

A hand demonstrating how to attach a side panel to the tent frame using the integrated hook system.
- Secure the Tent: Use the provided guy ropes and pegs to anchor the tent securely to the ground. This is crucial for stability, especially in windy conditions.
Operating Instructions
Usage Environment:
This canopy tent is suitable for temporary outdoor events, parties, and gatherings. It provides shade and protection from light rain. It is not designed for permanent installation or use in extreme weather conditions.
Disassembly:
- Remove Anchoring: Detach all guy ropes and remove pegs from the ground.
- Lower Height: Press the release buttons on each leg and lower the tent to its lowest height setting.
- Collapse Frame: Gently push the frame inwards from the center until it collapses. Ensure no fabric is pinched in the frame.
- Remove Canopy and Sidewalls: Detach the roof cover and any attached side panels. Fold them neatly.
- Store: Place the collapsed frame, folded canopy, and side panels into the provided carry bag for storage and transport.

The folded canopy tent frame neatly stored inside its black carry bag, ready for transport or storage.
Maintenance
- Cleaning: The PVC-coated polyester tarpaulins are designed for easy cleaning. Use a mild soap solution and water to clean the fabric. Avoid harsh chemicals or abrasive cleaners. Rinse thoroughly and allow to air dry completely before storage.

Close-up view of water beading on the waterproof canopy fabric, demonstrating its water-resistant properties.
- Frame Care: The aluminum frame is corrosion-resistant. Wipe down the frame with a damp cloth to remove dirt or debris. Do not use abrasive materials that could scratch the finish.
- Storage: Store the tent in its carry bag in a dry, cool place, away from direct sunlight and extreme temperatures. Ensure all components are clean and dry before storage to prevent mold or mildew.
- Inspection: Periodically inspect the frame, fabric, and connections for any signs of wear, damage, or loose parts. Address any issues promptly to ensure continued safe operation.
Troubleshooting
| Problem | Possible Cause | Solution |
|---|---|---|
| Tent difficult to open/close | Frame not aligned; fabric pinched; dirt in joints. | Ensure frame is on a level surface. Check for pinched fabric. Clean joints if necessary. Apply a silicone-based lubricant if movement is stiff. |
| Water pooling on roof | Canopy not taut enough; incorrect height setting. | Ensure canopy is securely attached and stretched tightly. Adjust height to ensure proper slope for water runoff. |
| Tent unstable in light wind | Not properly anchored; legs not fully extended/locked. | Always use guy ropes and pegs. Ensure all legs are fully extended and locked at the same height. Consider purchasing a storm kit for added stability. |
| Side panels don't fit | Incorrect orientation; frame not fully extended. | Ensure side panels are oriented correctly. Verify the frame is fully extended and locked. |
Specifications
- Model: 59033
- Dimensions (L x W x H): 118.11 x 236.22 x 133.07 inches (approx. 10 x 20 x 11 ft)

Dimensional diagram of the canopy tent, indicating length, width, and adjustable height ranges in both meters and feet.
- Weight: 77.2 pounds (approx. 35 kg)
- Frame Material: Aluminum (6063-T5 alloy)
- Tarpaulin Material: Approx. 300 g/m² PES (Polyester) with PVC coating
- Water Resistance: Waterproof
- Color: White
- Assembly Required: No (Pop-up design)
- Adjustable Heights: 5 settings
Warranty and Support
For warranty information or technical support, please contact TOOLPORT customer service. Refer to your purchase documentation for specific warranty terms and contact details.
You can also visit the official TOOLPORT store on Amazon for more information and support resources: TOOLPORT Amazon Store
Ask a question about this manual
Ask about setup, troubleshooting, compatibility, parts, safety, or missing instructions. Manuals+ will review the question and use this page’s manual context to help answer it.