
DEREAL 93f0f2b5-e26f-490c-af89-53a101fb55dc
DEREAL Pro Cordless Drill Driver Kit User Manual
Model: 93f0f2b5-e26f-490c-af89-53a101fb55dc | Brand: DEREAL
Introduction
The DEREAL Pro 20V MAX Cordless Drill/Driver is a versatile and durable tool designed for various drilling and fastening tasks. It features a powerful 350 in-lb torque, 23+1 clutch settings for precise control, and a 3/8-inch keyless chuck for easy bit changes. This manual provides essential information for the safe and efficient operation, maintenance, and troubleshooting of your DEREAL Pro drill/driver.
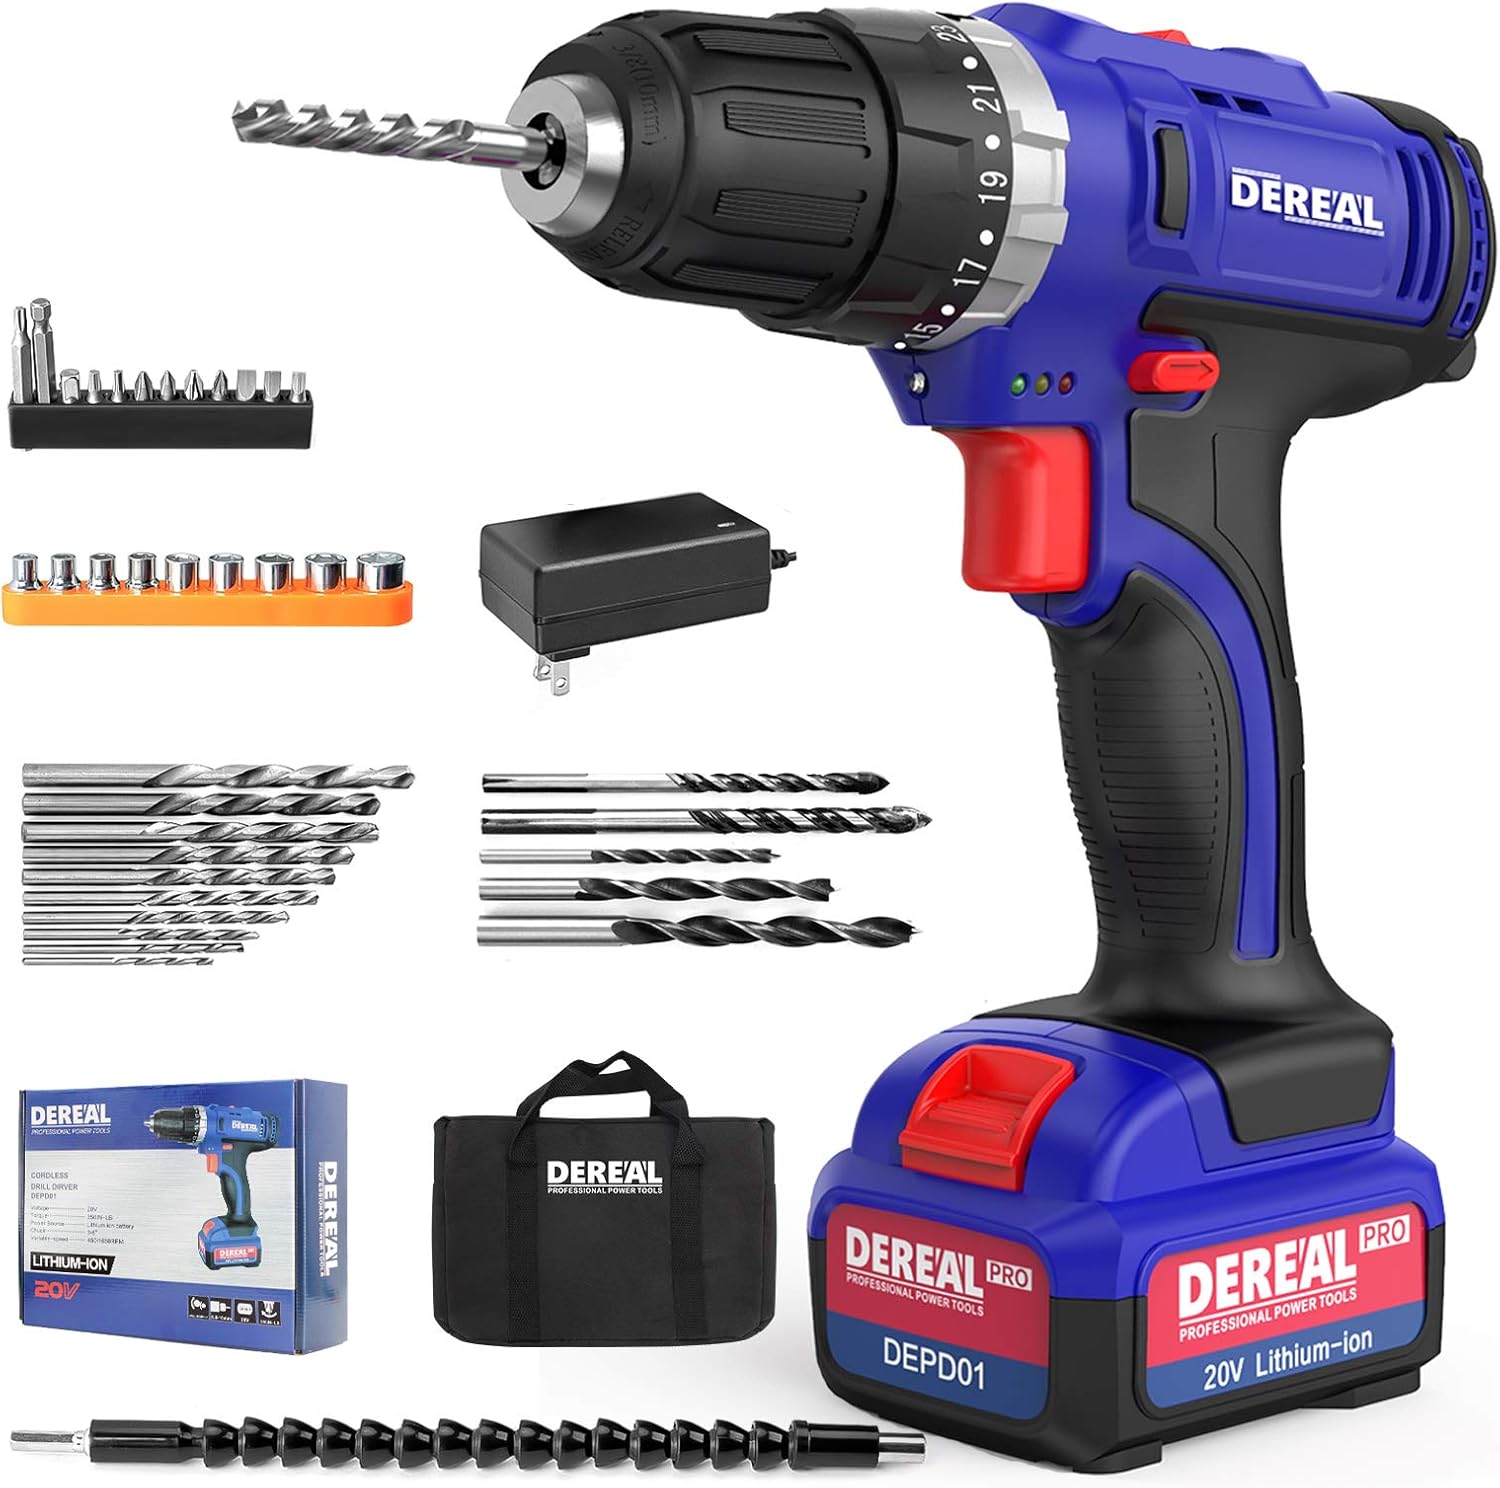
Figure 1: DEREAL Pro Cordless Drill Driver Kit with included accessories.
What's Included
Your DEREAL Pro 20V Li-ion Drill Driver Kit (2.0Ah) comes with the following components:
- 1 x DEREAL Cordless Drill/Driver
- 1 x 20-Volt Lithium-Ion Battery (2.0Ah)
- 1 x Fast Charger
- 1 x Carrying Bag
- 10 x Twist Drill Bits
- 5 x Brad Point Drill Bits
- 1 x Flexible Drill Shaft (250mm Long Universal Soft Shaft)
- 9 x Socket Wrenches
- 12 x Screwdriver Bits
- 1 x User Manual
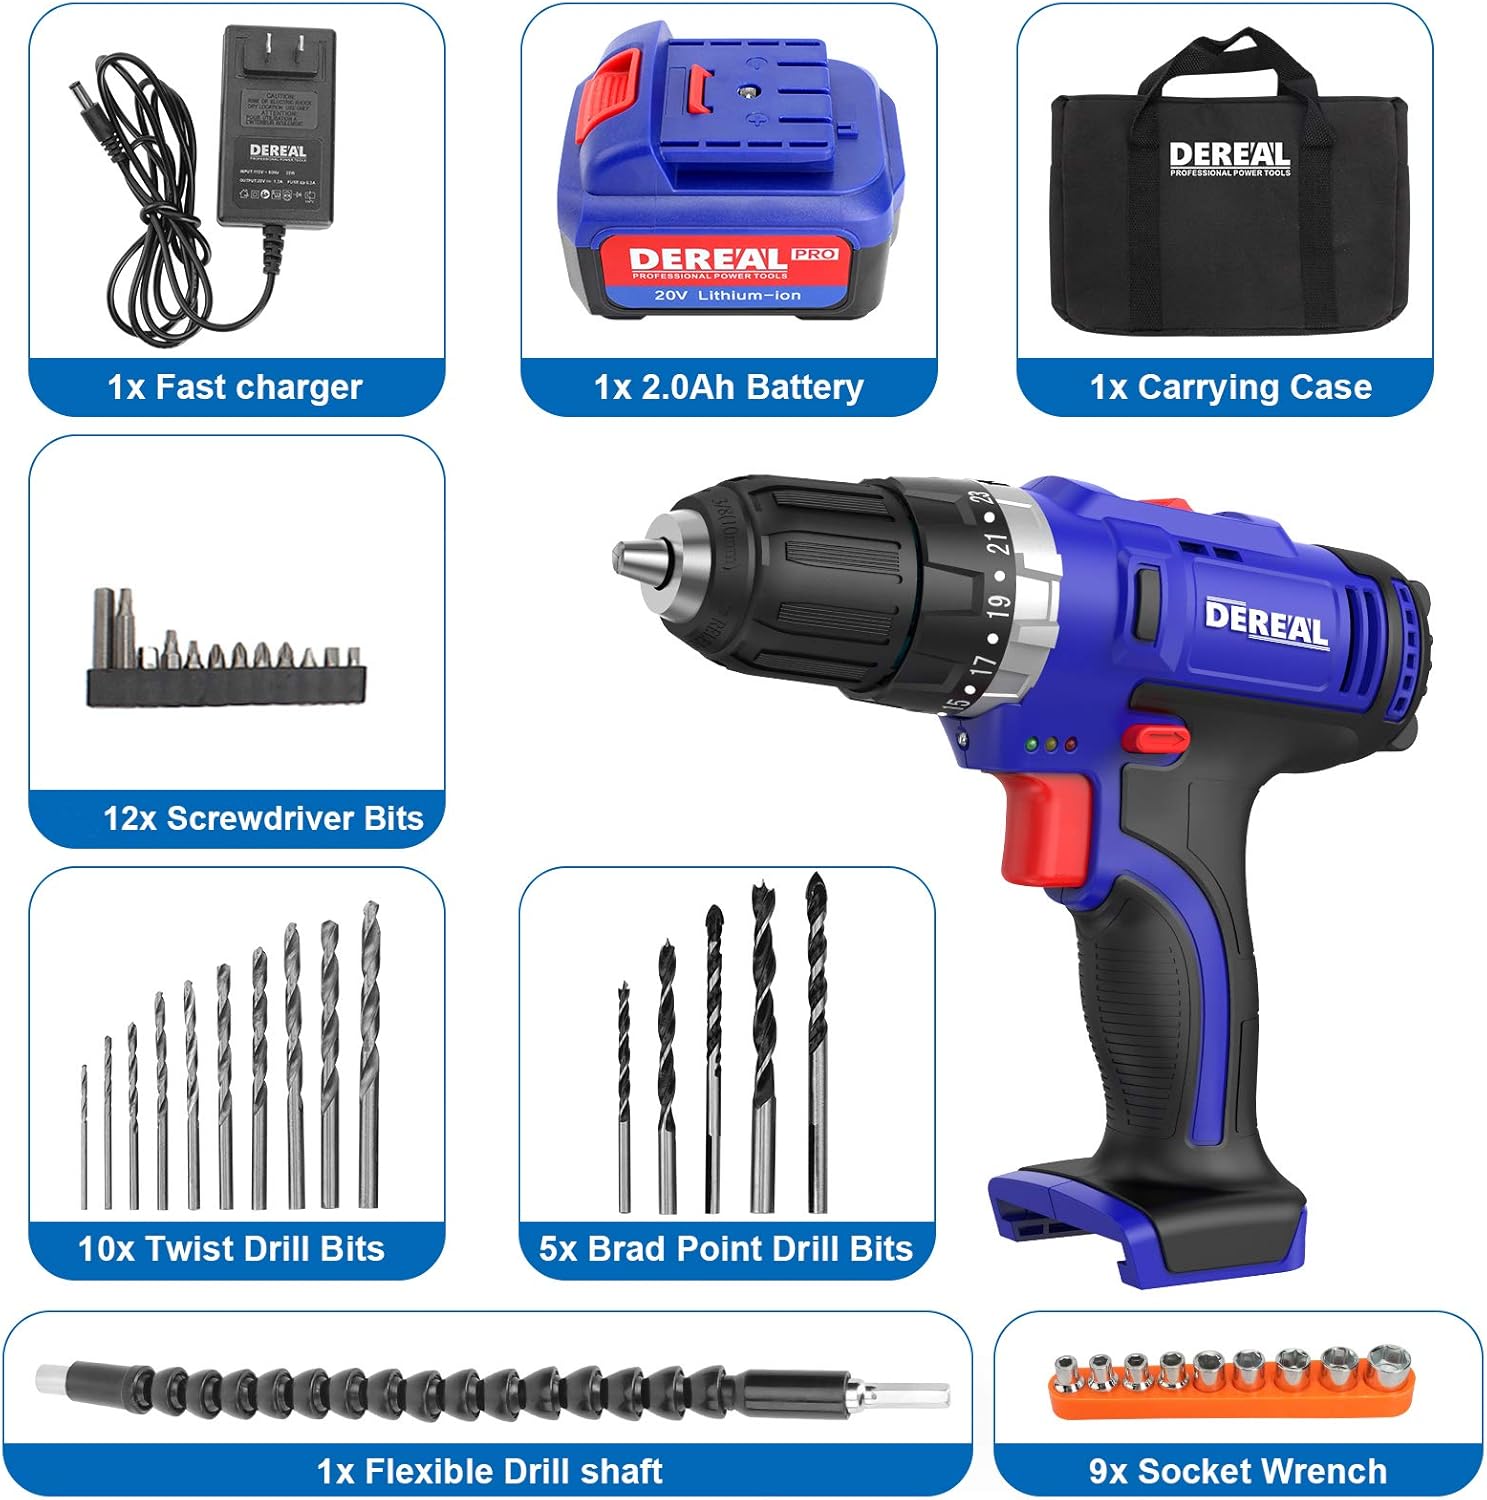
Figure 2: All components included in the DEREAL Pro Cordless Drill Driver Kit.
Setup
Battery Charging and Installation
- Charge the Battery: Connect the fast charger to a standard electrical outlet. Insert the 20-Volt Lithium-Ion battery into the charger. The charging time is approximately 60-70 minutes. Ensure the battery is fully charged before first use.
- Install the Battery: Align the battery with the base of the drill handle. Slide the battery into place until it clicks securely.
- Remove the Battery: Press the battery release button (usually located on the side of the battery pack) and slide the battery out of the drill.
Installing/Removing Drill Bits
- Open the Chuck: Rotate the keyless chuck counter-clockwise until the jaws are wide enough to insert the desired drill bit or screwdriver bit.
- Insert the Bit: Insert the shank of the drill bit fully into the chuck jaws.
- Tighten the Chuck: Rotate the keyless chuck clockwise until the jaws firmly grip the bit. Ensure the bit is centered and securely tightened to prevent slippage during operation.
- Remove the Bit: Rotate the keyless chuck counter-clockwise to loosen the jaws and remove the bit.
Operating Instructions
Variable Speed Trigger and Forward/Reverse Switch
- The drill features a variable speed trigger. Press the trigger lightly for slower speeds and increase pressure for higher speeds.
- The forward/reverse push rod (switch) is located above the trigger. Push it to the left for forward rotation (screwing in, drilling) and to the right for reverse rotation (removing screws). When the switch is in the middle position, the machine is stopped.
Torque and Speed Settings
- 23+1 Position Clutch: The adjustable torque collar allows you to select from 23 torque settings for screwdriving and 1 drill mode. This prevents stripping screws and over-driving. Adjust the collar to the desired torque setting based on the material and screw size.
- 2-Speed Transmission: A switch on top of the drill allows selection between two speed ranges:
- Speed 1 (Low): 0-450 RPM, ideal for high-torque applications like driving screws or drilling larger holes.
- Speed 2 (High): 0-1650 RPM, suitable for faster drilling in softer materials.
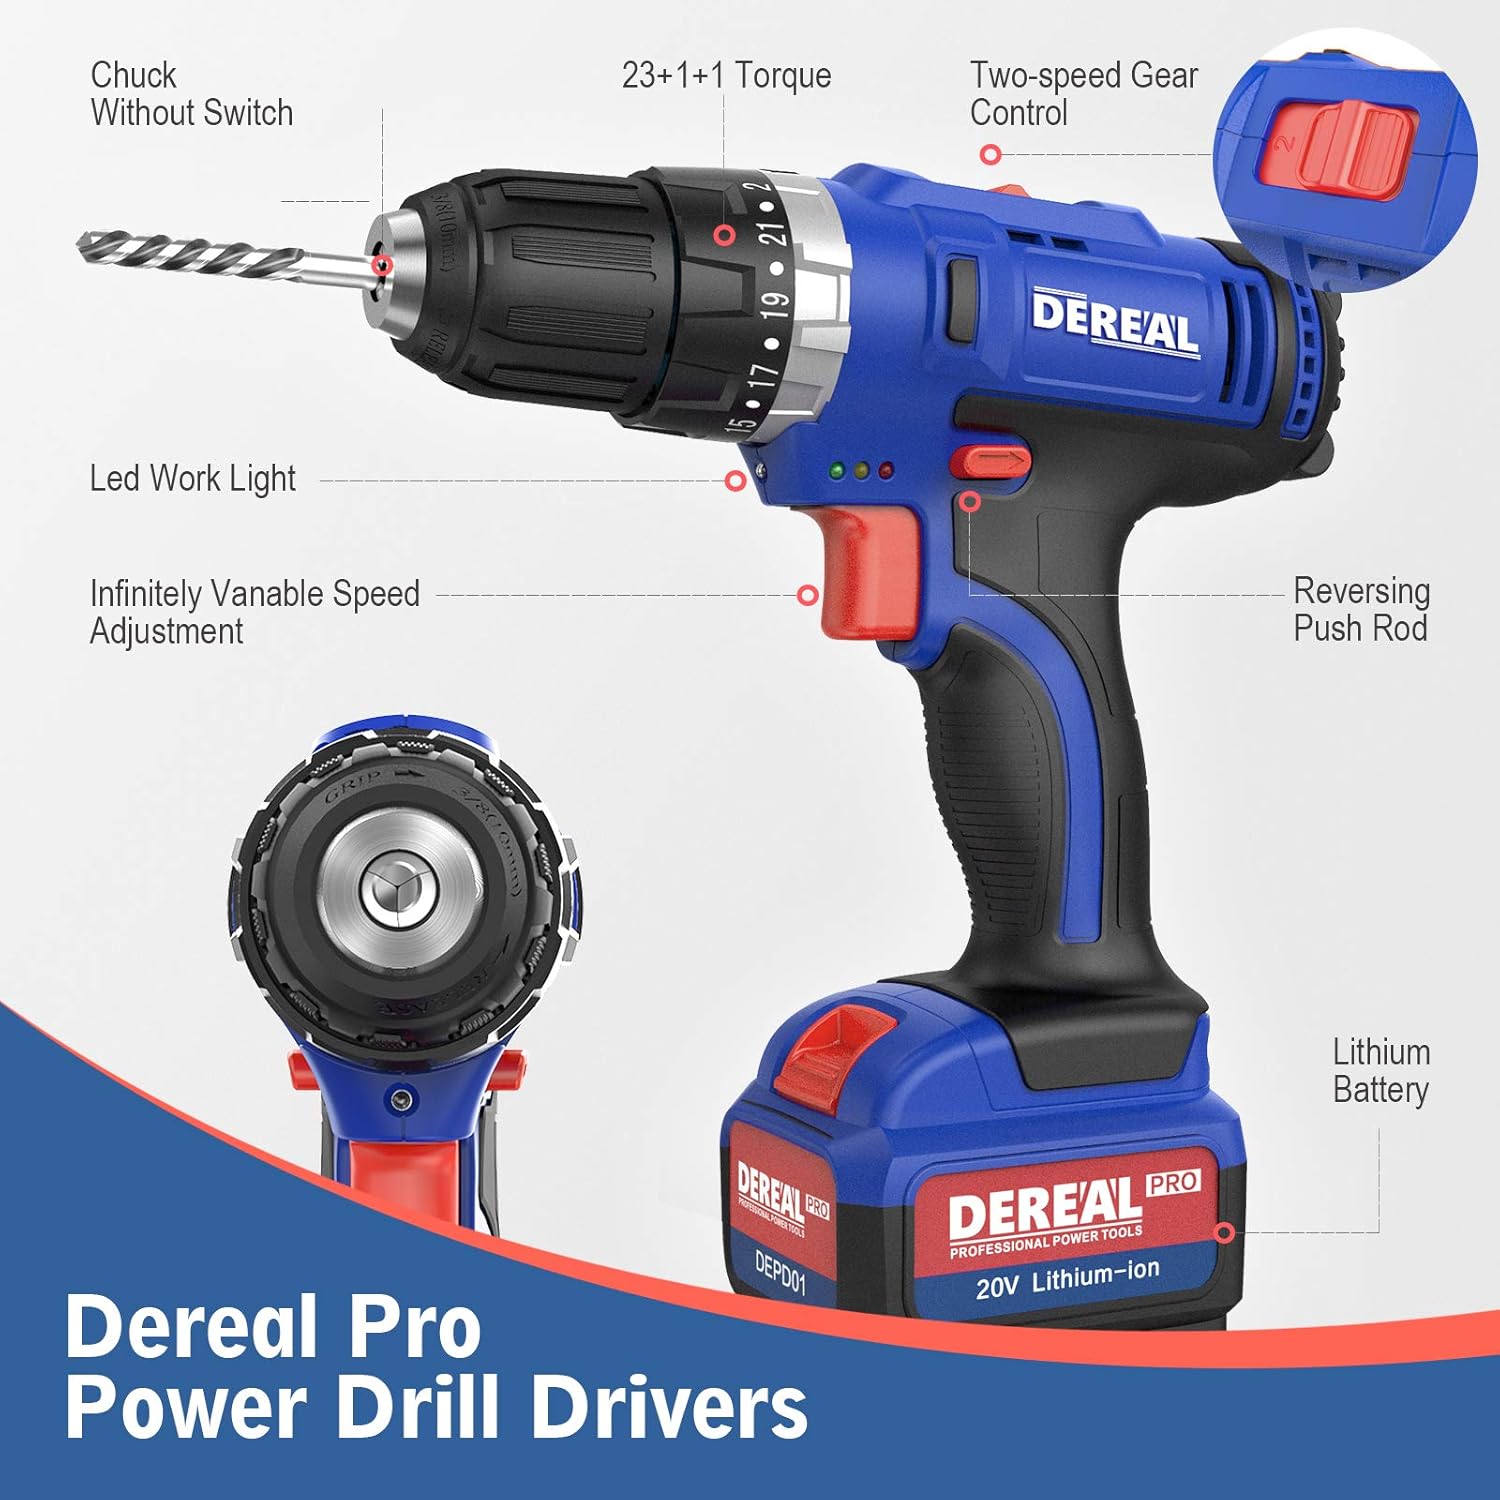
Figure 3: Key features of the DEREAL Pro Drill Driver, including torque and speed controls.

Figure 4: Explanation of the 2-speed transmission for variable speed control.
Drilling Capabilities
The DEREAL Pro drill/driver is capable of drilling into various materials:
- Wood: Max drilling capacity of 28mm.
- Metal (Steel/Aluminum): Max drilling capacity of 12mm.
- Concrete (with impact function): Max drilling capacity of 10mm.

Figure 5: Examples of drilling into different materials: wood, plastic, iron, and metal.
LED Work Light
An integrated LED light illuminates the work surface, improving visibility in dark or dimly lit areas.

Figure 6: The integrated LED work light provides optimum illumination.
Flexible Drill Shaft
The included flexible drill shaft allows access to screws and drilling points in tight or awkward spaces where a standard drill might not fit. Simply attach it to the drill chuck and then attach your desired bit to the other end of the flexible shaft.
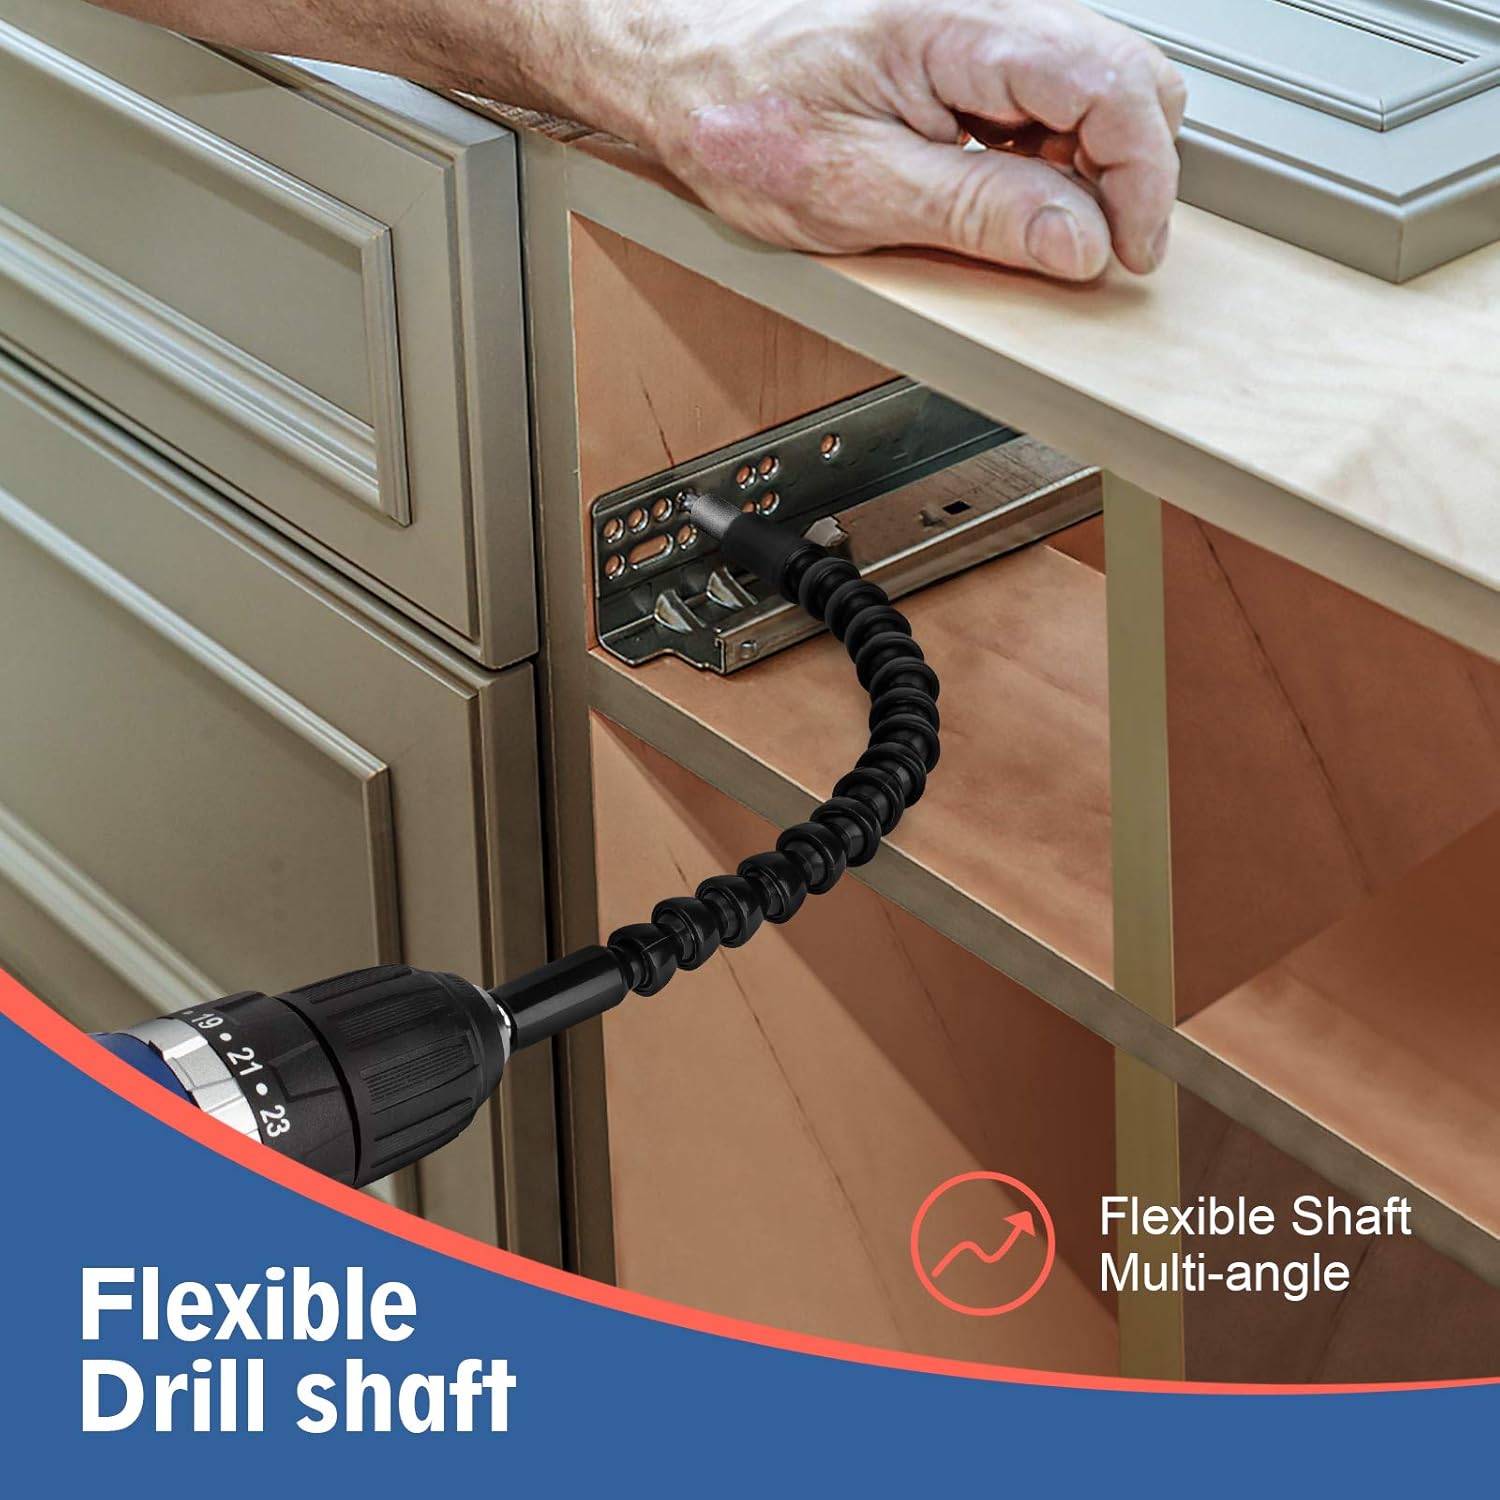
Figure 7: The flexible drill shaft for multi-angle access in confined areas.
Battery Indicator
The drill features an indicator that shows the real-time capacity of the battery, allowing you to monitor power levels during use.
Maintenance
- Cleaning: Regularly clean the drill and its accessories with a soft, dry cloth. Do not use harsh chemicals or abrasive cleaners.
- Battery Care: Store the battery in a cool, dry place away from direct sunlight and extreme temperatures. Do not expose the battery to water.
- Bit Storage: Keep drill bits and accessories clean and organized in the provided carrying bag to prevent damage and loss.
Troubleshooting
Drill Not Operating
- Check Battery: Ensure the battery is fully charged and properly installed. The battery indicator lights should confirm charge level.
- Forward/Reverse Switch: Verify that the forward/reverse switch is not in the middle (locked) position.
Battery Not Charging
- Charger Connection: Ensure the charger is securely plugged into a working electrical outlet and the battery is correctly inserted into the charger.
- Battery Condition: If the battery has been stored for a long period or is severely depleted, it may take longer to initiate charging. If the battery still does not charge, it may need replacement.
Bit Slipping in Chuck
- Tighten Chuck: Ensure the keyless chuck is tightened firmly around the drill bit.
- Bit Shank: Check if the bit shank is clean and free of debris or damage.
Specifications
| Feature | Specification |
|---|---|
| Brand | DEREAL |
| Model Number | 93f0f2b5-e26f-490c-af89-53a101fb55dc |
| Rated Voltage | 20V |
| Battery Capacity | 2.0Ah Lithium Ion |
| No-load Speed (Low) | 0-450 RPM |
| No-load Speed (High) | 0-1650 RPM |
| Max Torque | 350 IN-LB |
| Torque Settings | 23+1 (Drill Mode) |
| Max Drilling Dia. in Wood | 28mm |
| Max Drilling Dia. in Steel | 12mm |
| Max Drilling Dia. in Aluminum | 12mm |
| Max Chuck Capability | 10mm (3/8") Keyless |
| Charging Time | 60-70 minutes |
| Item Weight | 5.37 pounds |
| Color | Blue, Black |
Warranty and Support
DEREAL offers a 2-Year Quality Promise for this product. For any warranty claims, technical support, or inquiries, please refer to the contact information provided in your product packaging or visit the official DEREAL website.
Ask a question about this manual
Ask about setup, troubleshooting, compatibility, parts, safety, or missing instructions. Manuals+ will review the question and use this page’s manual context to help answer it.