1. Introduction and Overview
This manual provides essential instructions for the safe and efficient use of your Yamaha RX-V6A AV Receiver. The RX-V6A is designed to deliver a powerful 7-channel surround sound experience, featuring Dolby Atmos Height Virtualizer, integrated MusicCast wireless system, and multiple HDMI connections optimized for next-generation gaming consoles. It also supports turntable connectivity for vinyl enthusiasts.

Image 1.1: Yamaha RX-V6A AV Receiver and included remote control. This image displays the front panel of the receiver, including the central volume knob, display screen, input selectors, and front-facing ports, alongside its dedicated remote control.
Key Features:
- 7-Channel Surround Sound: Delivers immersive audio for movies and music.
- Dolby Atmos Height Virtualizer: Creates a virtual surround and height effect without dedicated height speakers.
- MusicCast Wireless System: Enables streaming of digital music content and multi-room audio.
- Gaming Optimization: Multiple HDMI connections support advanced gaming features.
- YPAO R.S.C. Sound Optimization: Analyzes room acoustics for optimal sound calibration.
- Turntable Connectivity: Dedicated PHONO input for vinyl playback.
2. Setup
Proper setup ensures optimal performance of your RX-V6A AV Receiver. Follow these steps for initial installation.
2.1 Unpacking and Placement
- Carefully remove the receiver and all accessories from the packaging.
- Place the receiver on a stable, level surface with adequate ventilation. Avoid placing it in an enclosed cabinet without proper airflow.
- Ensure sufficient space around the unit for heat dissipation.
2.2 Connecting Speakers
The RX-V6A supports a 7.1 channel speaker configuration. Connect your speakers to the corresponding terminals on the rear panel. Ensure correct polarity (+ to + and - to -) for each speaker.

Image 2.1: Rear panel connections of the Yamaha RX-V6A AV Receiver. This image highlights the various input and output ports, including speaker terminals, HDMI ports, and network connections.
2.3 Connecting Audio/Video Devices
Use HDMI cables to connect your video sources (e.g., Blu-ray player, game console, streaming device) to the HDMI INPUT ports on the receiver. Connect your TV to the HDMI OUT (ARC/eARC) port.
- HDMI: Connect up to 7 HDMI input devices and 1 HDMI output to your TV.
- Optical/Coaxial: For digital audio sources.
- RCA (Analog Audio): For traditional audio components.
- PHONO: Dedicated input for turntables.

Image 2.2: Detailed view of the Yamaha RX-V6A rear panel connections. This image provides a close-up of the various audio and video input/output options, including HDMI, optical, coaxial, RCA, and speaker terminals, with labels for each.
2.4 Network Connection
Connect the receiver to your home network for access to streaming services and firmware updates.
- Wired: Connect an Ethernet cable from your router to the NETWORK port on the receiver.
- Wireless: Use the built-in Wi-Fi. Follow the on-screen instructions or use the MusicCast app for setup.
2.5 YPAO R.S.C. Sound Optimization
Use the included YPAO microphone to automatically calibrate the sound settings for your room's acoustics. This process measures speaker distances, levels, and equalization to optimize audio performance.
3. Operating the Receiver
Familiarize yourself with the basic controls and functions of your RX-V6A.
3.1 Front Panel Controls
- Power Button: Turns the unit on/off.
- Input Selector: Cycles through available input sources.
- Volume Knob: Adjusts the master volume level.
- Display: Shows current input, volume, sound mode, and other information.
- USB Port: For connecting USB storage devices.
- Phones Jack: For headphone connection.
3.2 Remote Control
The included remote control provides full access to all receiver functions. Point the remote directly at the receiver's front panel sensor.
3.3 Input Selection
Press the desired input button on the remote control or rotate the Input Selector knob on the front panel to switch between connected devices (e.g., HDMI 1, PHONO, OPTICAL).
3.4 Sound Modes
The RX-V6A offers various sound modes to enhance your listening experience.
- Dolby Atmos: For immersive, object-based audio.
- Cinema DSP 3D: Yamaha's proprietary sound field processing for various environments (e.g., Concert Hall, Jazz Club).
- Stereo: For two-channel audio playback.
3.5 Music Streaming and Multi-room Audio
Utilize the MusicCast app (available for iOS and Android) to control streaming services, manage multi-room audio, and access network features. The receiver also supports AirPlay 2 for Apple devices.
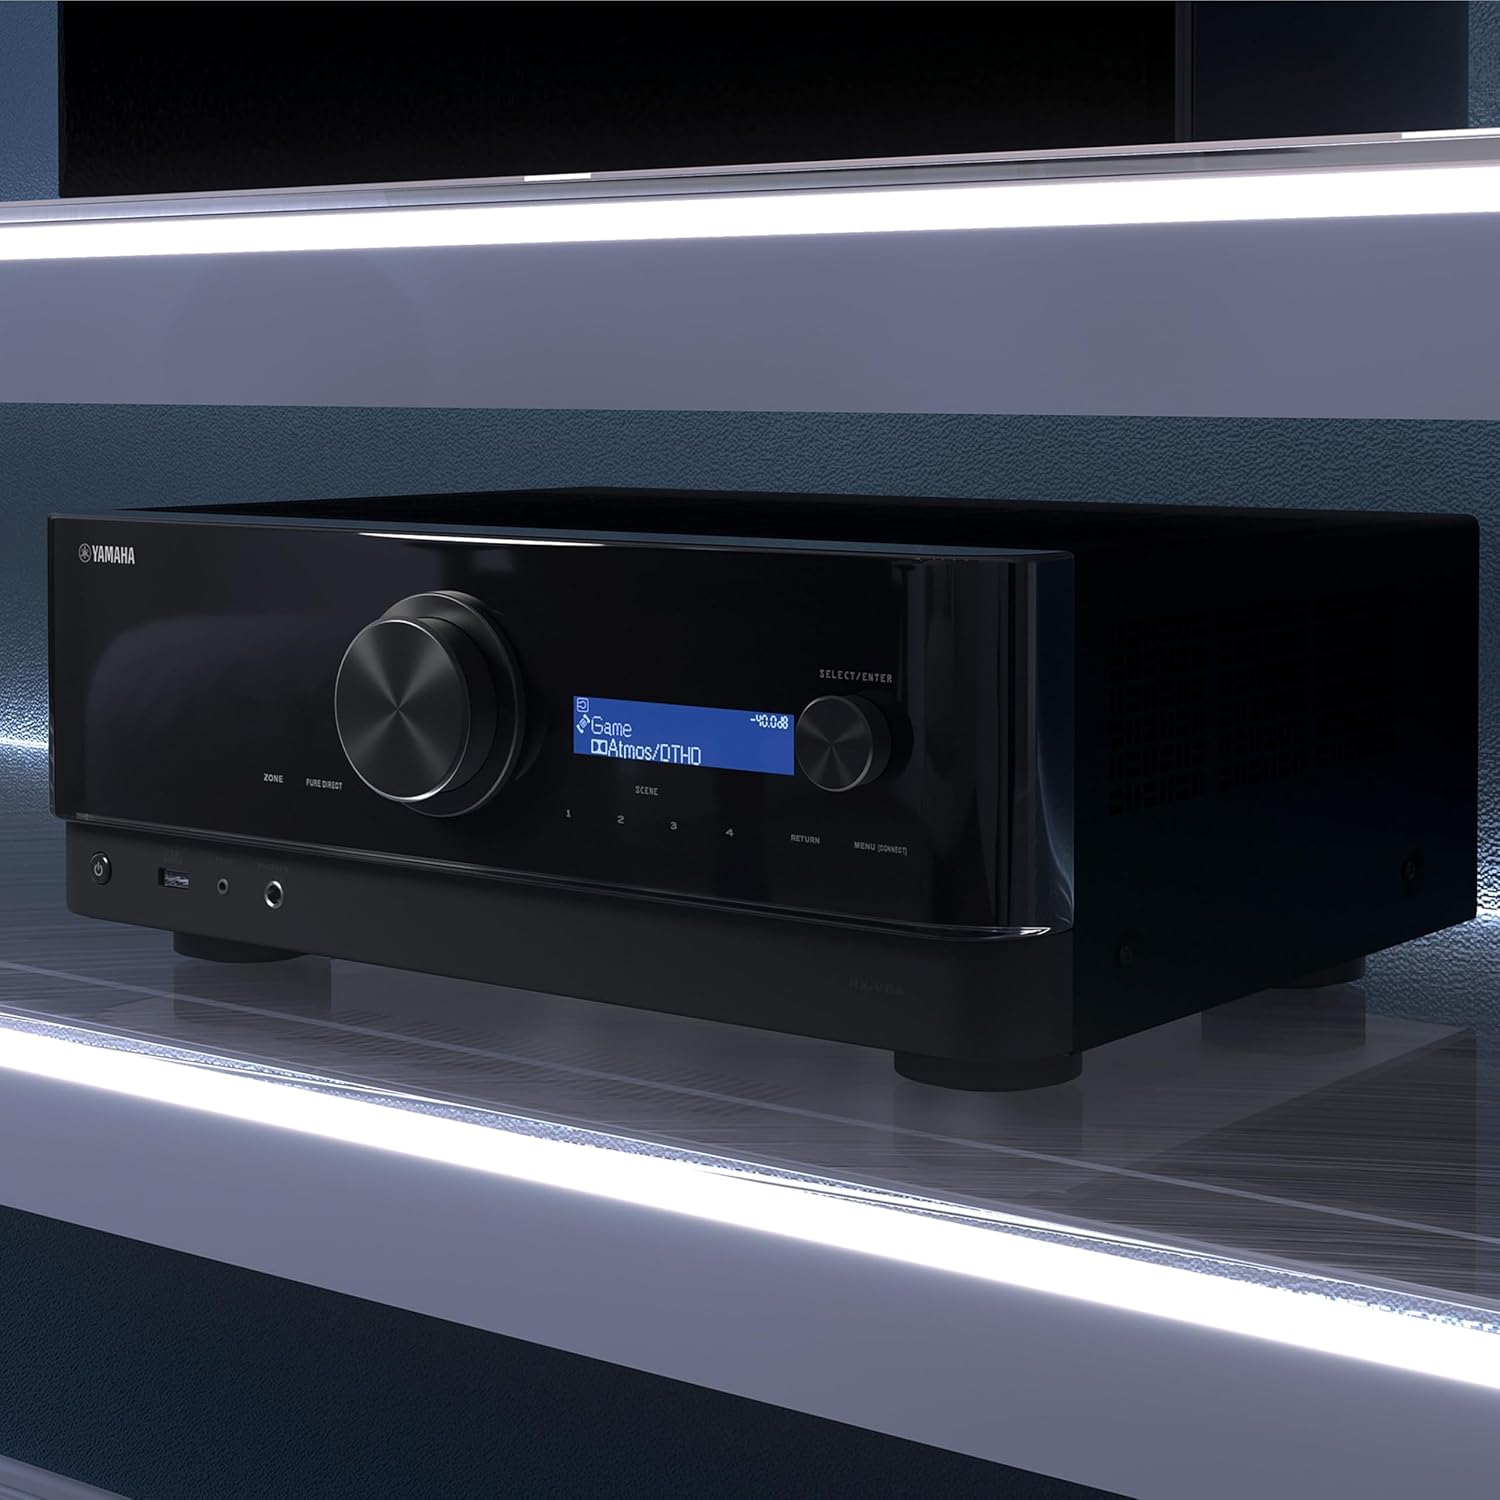
Image 3.1: Key features of the Yamaha RX-V6A. This diagram visually represents functionalities such as eARC via HDMI, MusicCast Controller, AV Setup Guide, Roon Tested Program, and AirPlay 2 Compatibility, highlighting the receiver's versatility.
4. Maintenance
Regular maintenance helps ensure the longevity and performance of your receiver.
4.1 Cleaning
- Disconnect the power cord before cleaning.
- Use a soft, dry cloth to wipe the exterior surfaces.
- Do not use liquid cleaners, abrasive pads, or chemical solvents, as these can damage the finish.
4.2 Firmware Updates
Periodically check for firmware updates via the network connection. Updates can provide new features, performance improvements, and bug fixes. Follow the on-screen instructions for any available updates.
5. Troubleshooting
If you encounter issues with your RX-V6A, refer to the following common troubleshooting steps. For more detailed solutions, consult the comprehensive owner's manual available on the Yamaha support website.
5.1 No Power
- Ensure the power cord is securely plugged into both the receiver and a working wall outlet.
- Check if the power outlet is functional by plugging in another device.
5.2 No Sound
- Verify that the correct input source is selected.
- Check speaker connections for proper polarity and secure attachment.
- Ensure the volume is not muted and is set to an audible level.
- Confirm that your speakers are enabled in the receiver's settings.
5.3 No Picture
- Confirm that the HDMI cables are securely connected to both the source device, the receiver's HDMI INPUT, and the TV's HDMI input.
- Ensure the TV is set to the correct HDMI input channel.
- Try bypassing the receiver by connecting the source directly to the TV to isolate the issue.
5.4 Network Connection Issues
- Restart your router and modem.
- If using Wi-Fi, ensure the receiver is within range of your wireless router.
- Verify network settings in the receiver's menu.
6. Specifications
Detailed technical specifications for the Yamaha RX-V6A AV Receiver.

Image 6.1: Dimensions and weight of the Yamaha RX-V6A AV Receiver. This diagram provides measurements for height (171 mm / 6-3/4"), depth (377 mm / 14-7/8"), and width (435 mm / 17-1/8"), along with its weight (9.8 kg / 21.6 lbs).
| Feature | Specification |
|---|---|
| Model | RX-V6A |
| Output Wattage | 150 Watts (per channel) |
| Speaker Surround Sound Channel Configuration | 7.1 |
| Audio Encoding | Dolby Atmos |
| Connectivity Technology | Wireless (Wi-Fi, Bluetooth), HDMI, USB, RCA, Optical, Digital Coax, Ethernet |
| Total HDMI Ports | 7 In / 1 Out (eARC compatible) |
| Compatible Devices | Game Console, Personal Computer, Smartphone, Speaker, Television |
| Product Dimensions (W x H x D) | 43.5 x 17.1 x 37.7 cm (17-1/8" x 6-3/4" x 14-7/8") |
| Item Weight | 9.8 kg (21.6 lbs) |
| Included Components | AV Receiver, Remote Control |
7. Warranty and Support
Yamaha products are designed for reliability and performance. For specific warranty details, please refer to the warranty card included with your product or visit the official Yamaha website for your region.
7.1 Product Support
For technical assistance, troubleshooting beyond this manual, or service inquiries, please contact Yamaha customer support. You can find contact information and additional resources, including the full owner's manual and FAQs, on the official Yamaha website:


