Introduction
This document serves as a comprehensive instruction manual for the Kenmore Sewing Machine, model 385.15516000. It provides essential information regarding the setup, operation, maintenance, and troubleshooting of your sewing machine. Please read this manual thoroughly before operating the machine to ensure safe and efficient use.
This manual is a professionally printed reprint based on the best available scans of the original documentation. While it is not an original, it contains all necessary information to guide you through using your Kenmore sewing machine effectively.
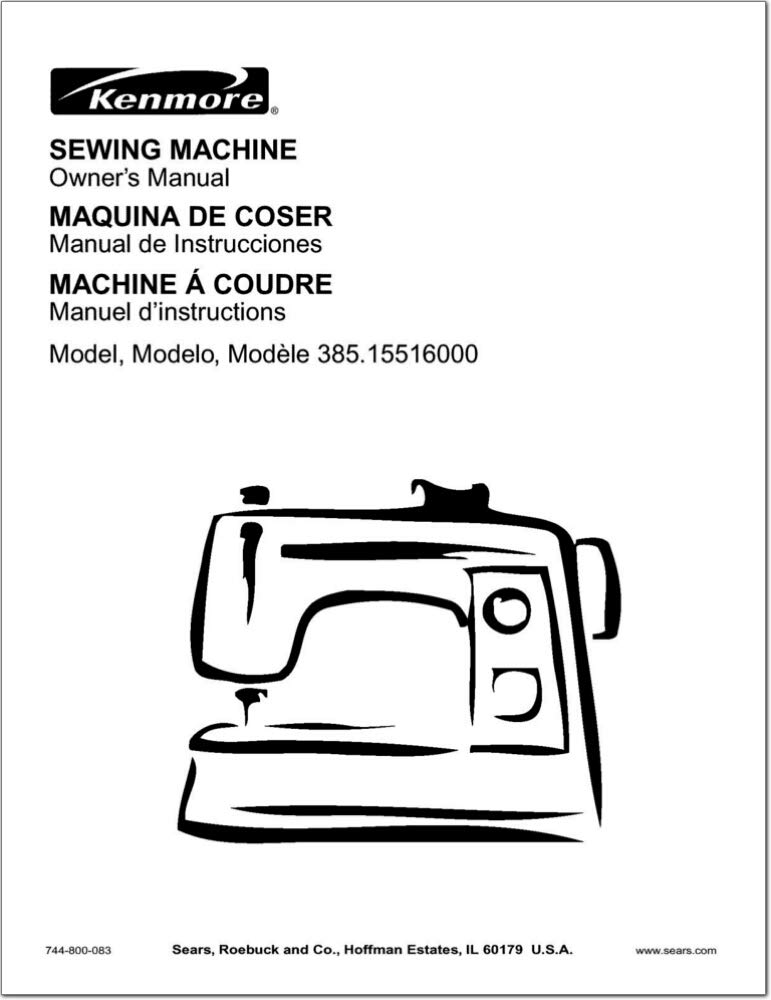
Figure 1: Kenmore 385.15516000 Sewing Machine. This image displays the general appearance of the sewing machine, highlighting its main body and controls.
1. Setup
Proper setup is crucial for optimal performance and safe operation of your sewing machine. Follow these steps carefully.
1.1 Unpacking and Placement
- Carefully remove the sewing machine from its packaging. Retain all packaging materials for future storage or transport.
- Place the machine on a stable, flat surface with adequate lighting. Ensure there is enough space around the machine for comfortable operation and fabric handling.
1.2 Power Connection
- Ensure the machine's power switch is in the "OFF" position.
- Connect the power cord to the machine's power input jack, then plug the other end into a standard electrical outlet.
- Connect the foot controller plug into the designated jack on the machine.
1.3 Needle Installation
- Turn the handwheel towards you to raise the needle to its highest position.
- Loosen the needle clamp screw.
- Insert a new needle with the flat side facing the back of the machine, pushing it up as far as it will go.
- Tighten the needle clamp screw securely.
1.4 Bobbin Winding
- Place a spool of thread on the spool pin.
- Guide the thread through the upper thread guide and around the bobbin winding tension disc.
- Place an empty bobbin onto the bobbin winder spindle.
- Wind the thread a few times manually around the bobbin.
- Push the bobbin winder spindle to the right.
- Press the foot controller gently to start winding. Stop when the bobbin is full.
- Cut the thread and push the bobbin winder spindle back to the left.
1.5 Threading the Machine
- Raise the needle to its highest position and raise the presser foot.
- Place the spool of thread on the spool pin.
- Follow the numbered threading path indicated on the machine, guiding the thread through all guides, tension discs, and the take-up lever.
- Thread the needle from front to back.
- Insert the wound bobbin into the bobbin case, ensuring the thread feeds correctly.
- Pull the bobbin thread up through the needle plate opening using the upper thread.
2. Operating Instructions
This section covers the basic operation of your Kenmore 385.15516000 sewing machine.
2.1 Basic Stitching
- Select the desired stitch pattern using the stitch selector dial.
- Adjust the stitch length and width as needed for your fabric and project.
- Place the fabric under the presser foot, aligning the edge with the seam guide.
- Lower the presser foot.
- Gently press the foot controller to begin sewing. Guide the fabric smoothly.
- To secure the stitch, use the reverse lever or button at the beginning and end of your seam.
2.2 Adjusting Thread Tension
Correct thread tension is essential for balanced stitches. The upper and lower threads should interlock evenly between the fabric layers.
- Upper Thread Tension: Adjust using the tension dial. Turn to a higher number for tighter tension, lower for looser tension.
- Lower Thread Tension: This is typically pre-set. Adjust only if necessary by turning the small screw on the bobbin case. Consult a qualified technician if unsure.
2.3 Changing Stitch Patterns
Your machine offers various stitch patterns. To change them:
- Ensure the needle is in its highest position and the machine is stopped.
- Rotate the stitch selector dial to the desired stitch symbol.
- Adjust stitch length and width settings according to the chosen stitch and fabric type.
3. Maintenance
Regular maintenance ensures the longevity and smooth operation of your sewing machine.
3.1 Cleaning
- Before Cleaning: Always unplug the machine from the power outlet.
- Feed Dogs: Remove the needle plate and use a small brush to clear lint and dust from the feed dogs.
- Bobbin Area: Remove the bobbin case and bobbin. Clean out any lint or thread scraps from the bobbin housing.
- Exterior: Wipe the exterior surfaces with a soft, dry cloth. Do not use harsh chemicals or abrasive cleaners.
3.2 Lubrication (Oiling)
Refer to the original machine's service manual for specific oiling points and frequency. Generally, a few drops of sewing machine oil are applied to moving metal parts in the bobbin area and under the needle plate. Do not over-oil.
3.3 Needle Replacement
Replace the needle regularly (after 8-10 hours of sewing or at the start of a new project) and whenever it becomes bent, dull, or burred. A damaged needle can cause skipped stitches or fabric damage.
4. Troubleshooting
This section addresses common issues you might encounter and provides solutions.
| Problem | Possible Cause | Solution |
|---|---|---|
| Skipped Stitches | Incorrect needle, bent needle, improper threading, incorrect tension. | Replace needle with correct type/size, re-thread machine, adjust tension. |
| Thread Breakage | Improper threading, high tension, damaged needle, poor quality thread. | Re-thread machine, reduce tension, replace needle, use quality thread. |
| Fabric Puckering | Too much tension, incorrect stitch length, wrong presser foot. | Reduce tension, increase stitch length, use appropriate presser foot. |
| Machine Jams | Thread tangled in bobbin area, lint buildup, incorrect bobbin insertion. | Remove needle plate and bobbin case, clear all tangled threads and lint, re-insert bobbin correctly. |
If the problem persists after attempting these solutions, it is recommended to consult a qualified sewing machine technician.
5. Specifications
Key specifications for the Kenmore 385.15516000 Sewing Machine:
- Model Number: 385.15516
- Brand: Kenmore
- Material: Primarily Plastic and Metal components
- Color: White (typical for this model)
- Power Source: Electric (Manual operation refers to non-computerized controls)
- Date First Available (Original Product): August 17, 2020 (as per product listing, actual manufacturing date may vary)
6. Warranty Information
This document is a reprint of an instruction manual. Warranty information for the Kenmore 385.15516000 Sewing Machine would have been provided with the original purchase of the machine. Please refer to your original purchase documentation or contact Kenmore directly for specific warranty terms and conditions applicable to your sewing machine.
7. Customer Support
For further assistance, technical support, or inquiries regarding your Kenmore 385.15516000 Sewing Machine, please refer to the following:
- Original Product Documentation: Consult any other manuals or guides that came with your sewing machine.
- Manufacturer's Website: Visit the official Kenmore website for support resources, FAQs, and contact information.
- Authorized Service Centers: For repairs or professional maintenance, locate an authorized Kenmore service center in your area.
This manual reprint does not include direct contact information for support, as it is a generic reproduction of the original instructions.


