
AlveyTech 24 Volt 10 Ah Rack Mount Battery Pack
AlveyTech 24 Volt 10 Ah Rack Mount Battery Pack User Manual
For Currie eZip and IZIP Electric Bikes
1. Introduction
This manual provides essential information for the safe and effective use of your AlveyTech 24 Volt 10 Ah Rack Mount Battery Pack. This battery pack is designed as a replacement for specific Currie eZip and IZIP electric power scooters and ebikes. It features two 12 Volt Sealed Lead Acid (SLA) Absorbent Glass Mat (AGM) batteries pre-wired within the case for convenient installation.
Please read this manual thoroughly before installation and operation to ensure proper function and longevity of your battery pack.

Image 1.1: The AlveyTech 24 Volt 10 Ah Rack Mount Battery Pack, a black rectangular unit with the AlveyTech logo and an XLR charging port.
2. Safety Information
Observe the following safety precautions to prevent injury or damage to the battery pack and connected equipment:
- Battery Type: This battery pack contains Sealed Lead Acid (SLA) AGM batteries. Do not use a lithium charger with this battery pack. Only use an SLA-rated battery charger.
- Polarity: Always verify correct polarity before connecting the battery pack to your device. Incorrect polarity can cause severe damage to the battery and the ebike/scooter.
- Charging Environment: Charge the battery in a well-ventilated area, away from flammable materials.
- Physical Damage: Do not attempt to open, modify, or disassemble the battery pack. If the battery casing is damaged, discontinue use immediately and contact support.
- Temperature: Avoid exposing the battery pack to extreme temperatures, direct sunlight, or freezing conditions.
- Disposal: Dispose of old or damaged batteries according to local regulations. Do not dispose of batteries in household waste.
3. Compatibility
This AlveyTech 24 Volt 10 Ah Rack Mount Battery Pack is compatible with a wide range of Currie, eZip, and IZIP electric bikes and scooters. Please ensure your model is listed below for proper fit and function.
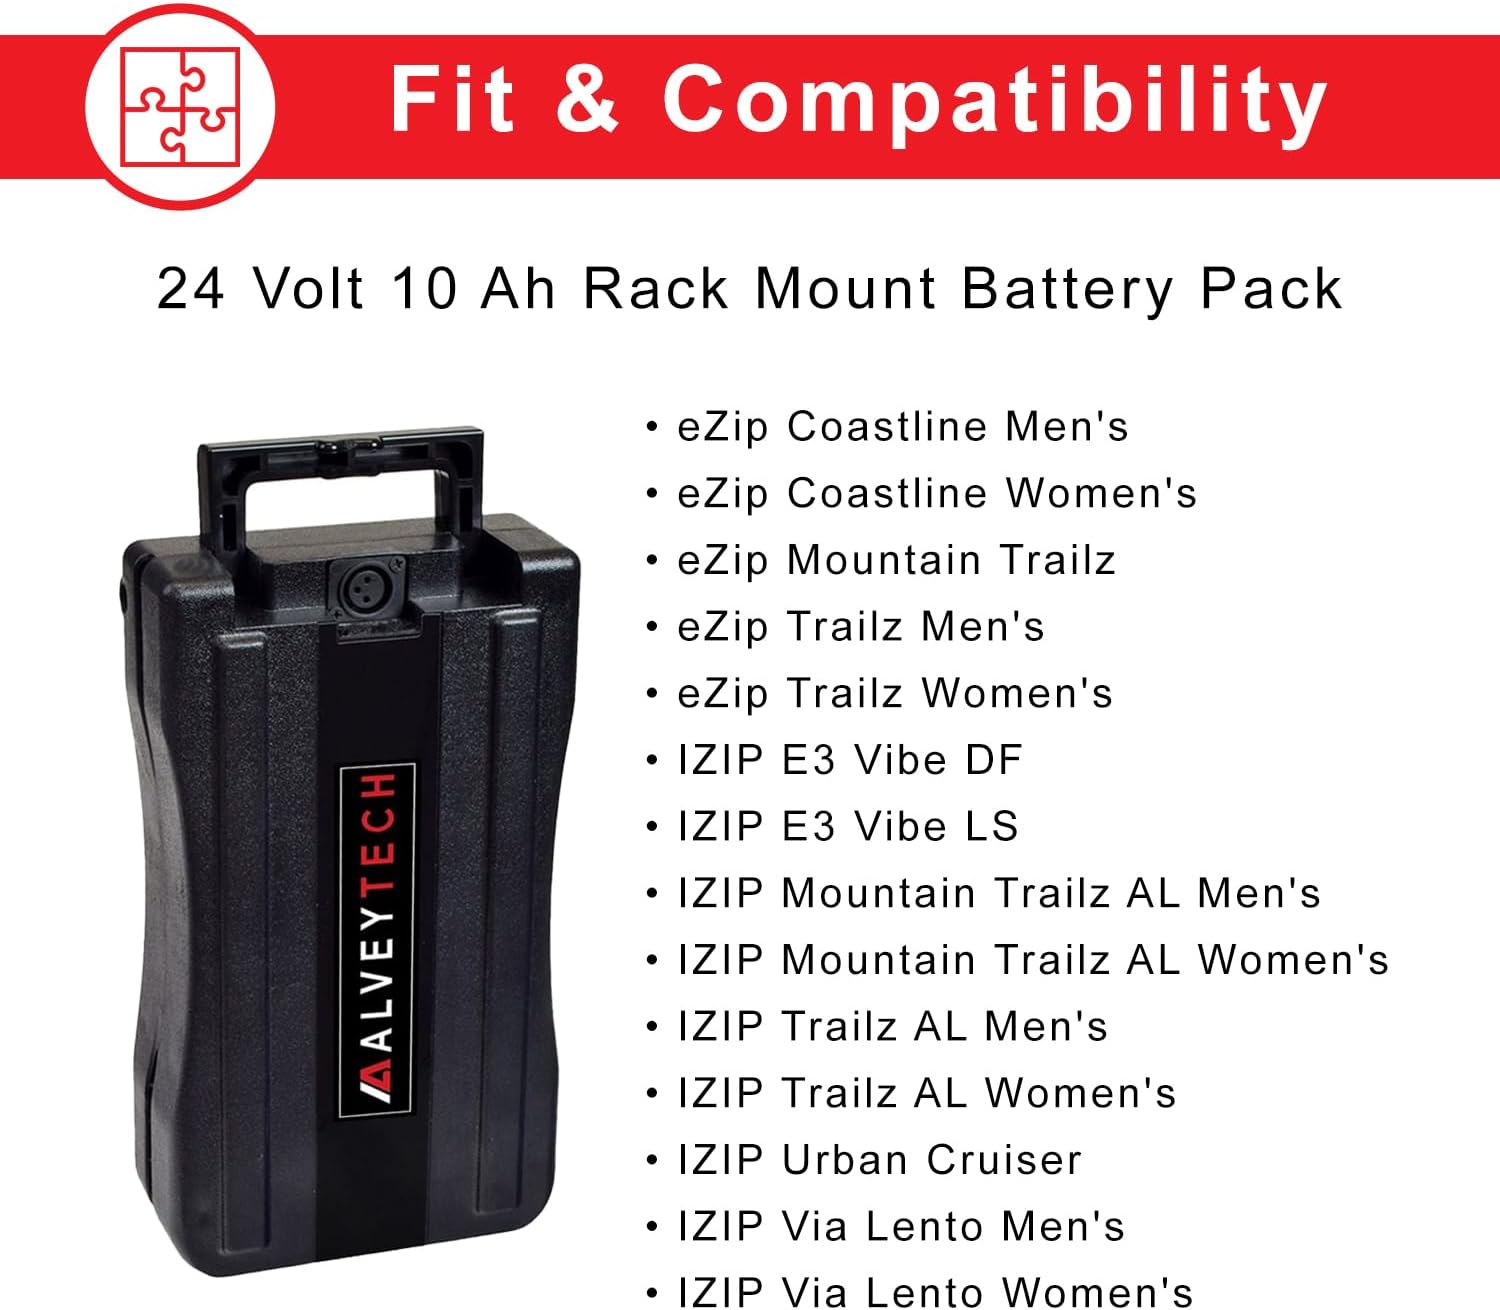
Image 3.1: Visual representation of the battery pack and a list of compatible eZip and IZIP models.
Compatible Models:
- eZip: Coastline Men's, Coastline Women's, Mountain Trailz, Trailz Men's, Trailz Women's
- IZIP: E3 Vibe DF, E3 Vibe LS, Mountain Trailz AL Men's, Mountain Trailz AL Women's, Trailz AL Men's, Trailz AL Women's, Urban Cruiser, Via Lento Men's, Via Lento Women's
Important Note: While earlier Currie battery packs used blade-style contact terminals, this newer version utilizes round button-style terminals. These brass discs are located on the bottom of the battery box. Ensure your ebike/scooter is designed for button-style terminals or has an adapter for compatibility.

Image 3.2: A close-up view of the bottom of the battery pack, highlighting the two round button-style brass terminals.
4. Product Features
The AlveyTech 24 Volt 10 Ah Rack Mount Battery Pack offers several key features for ease of use and reliable performance:
- Plug & Play Design: Engineered for simple installation, allowing you to quickly replace your old battery.
- Button-Style Terminals: Equipped with modern button-style brass disc terminals for secure connection.
- Integrated SLA/AGM Batteries: Contains two 12 Volt SLA AGM batteries pre-wired for 24 Volt output.
- XLR Charging Port: Features a built-in XLR port on the battery case for convenient charging access.
- Easily Removed: Designed for straightforward removal from the bike's rack mount.

Image 4.1: An image of the battery pack with icons and text indicating its key features.

Image 4.2: An open view of the battery pack, revealing the two 12 Volt SLA batteries wired in series to provide 24 Volts.
5. Setup and Installation
Follow these steps to install your new AlveyTech battery pack:
- Power Off: Ensure your electric bike or scooter is completely powered off before beginning installation.
- Remove Old Battery (if applicable): If replacing an existing battery, carefully remove it from the rack mount receptacle. Note how the old battery was oriented.
- Inspect Receptacle: Check the battery receptacle on your bike for any debris or damage. Ensure the contact points are clean and free of corrosion.
- Insert New Battery: Align the AlveyTech 24 Volt 10 Ah Rack Mount Battery Pack with the receptacle on your bike's rack. Gently slide the battery pack into place until it clicks or seats securely. Ensure the button-style terminals on the bottom of the battery pack make firm contact with the bike's terminals.
- Secure Battery: Confirm the battery pack is firmly seated and locked into the rack mount to prevent dislodging during operation.
- Initial Charge: It is recommended to fully charge the battery pack before its first use. Refer to the "Operating and Charging" section for details.

Image 5.1: The AlveyTech battery pack securely mounted on the rear rack of an electric bicycle, demonstrating its plug-and-play installation.

Image 5.2: The AlveyTech battery pack positioned near an electric bike on a scenic path, illustrating its intended use.
6. Operating and Charging
6.1. Operation
Once the battery pack is securely installed and fully charged, you can operate your electric bike or scooter as usual. Refer to your ebike/scooter's user manual for specific operating instructions.
6.2. Charging
The AlveyTech battery pack features an XLR charging port for convenient recharging. Follow these guidelines:
- Use Correct Charger: Always use an SLA-rated 24 Volt battery charger with an XLR connector. Do not use a lithium-ion charger.
- Connect Charger: Plug the charger's XLR connector into the charging port on the battery pack. Then, plug the charger into a standard wall outlet.
- Charging Indicator: The charger will typically have an indicator light (e.g., red for charging, green for fully charged). Monitor this light to determine charging status.
- Charging Time: Charging time can vary depending on the battery's discharge level and the charger's output. Avoid overcharging by disconnecting the charger once the battery is full.
- Charging Environment: Charge in a dry, well-ventilated area, away from direct sunlight or heat sources.
7. Maintenance
Proper maintenance will extend the life and performance of your battery pack:
- Regular Charging: For optimal performance and longevity, keep the battery charged. Avoid deep discharges whenever possible.
- Storage: If storing the battery for an extended period, ensure it is fully charged and store it in a cool, dry place. Recharge every 2-3 months to prevent self-discharge and maintain capacity.
- Cleaning: Keep the battery pack and its terminals clean and dry. Use a dry cloth to wipe away any dust or dirt. Do not use water or cleaning solutions directly on the terminals or charging port.
- Inspection: Periodically inspect the battery pack for any signs of physical damage, swelling, or corrosion on the terminals. If any issues are observed, discontinue use and seek professional advice.
8. Troubleshooting
If you encounter issues with your battery pack, consider the following troubleshooting steps:
- Battery Not Providing Power:
- Ensure the battery is fully charged.
- Verify the battery pack is correctly seated in the rack mount and the button-style terminals are making proper contact.
- Check for any loose connections or visible damage to the battery or the bike's receptacle.
- Confirm the bike's power switch is on.
- Battery Not Charging:
- Ensure the charger is correctly plugged into both the battery's XLR port and a working wall outlet.
- Verify that you are using an SLA-rated 24 Volt charger, not a lithium charger.
- Check the charger's indicator light. If it's not illuminating or showing an error, the charger itself might be faulty.
- Inspect the XLR charging port on the battery for any obstructions or damage.
- Reduced Range or Power:
- This may indicate the battery is aging or not receiving a full charge. Ensure proper charging practices are followed.
- Environmental factors like cold weather can temporarily reduce battery performance.
- Unusual Odor or Swelling:
- Immediately discontinue use and disconnect the battery. This indicates a serious internal issue. Contact support for assistance. Do not attempt to repair.
If these steps do not resolve the issue, contact AlveyTech customer support or a qualified technician.
9. Specifications
Detailed technical specifications for the AlveyTech 24 Volt 10 Ah Rack Mount Battery Pack:

Image 9.1: A diagram illustrating the length, width, and height of the AlveyTech battery pack in both inches and centimeters.
| Specification | Value |
|---|---|
| Battery Type | SLA/AGM (Sealed Lead Acid / Absorbent Glass Mat) |
| Voltage | 24 Volt |
| Capacity | 10 Ah (Amp Hour) |
| Length | 12 inches (30.48 cm) |
| Width | 6-13/16 inches (17.30 cm) |
| Height | 3-1/8 inches (7.93 cm) |
| Item Weight | 15.5 pounds |
| Terminals | Button-style |
| Charging Port | XLR |
10. Support
For further assistance, technical support, or inquiries regarding your AlveyTech 24 Volt 10 Ah Rack Mount Battery Pack, please refer to the retailer where the product was purchased or visit the official AlveyTech website for contact information.
Always provide your product details, including the model name and any relevant purchase information, when contacting support.
Ask a question about this manual
Ask about setup, troubleshooting, compatibility, parts, safety, or missing instructions. Manuals+ will review the question and use this page’s manual context to help answer it.