
Blue Air BLMT36-HC
Blue Air BLMT36-HC Refrigerated Sandwich/Salad Prep Table User Manual
Model: BLMT36-HC
1. Introduction
This manual provides essential information for the safe and efficient operation, installation, and maintenance of your Blue Air BLMT36-HC Refrigerated Sandwich/Salad Prep Table. Please read this manual thoroughly before operating the unit to ensure proper usage and to prevent potential hazards or damage. Keep this manual for future reference.
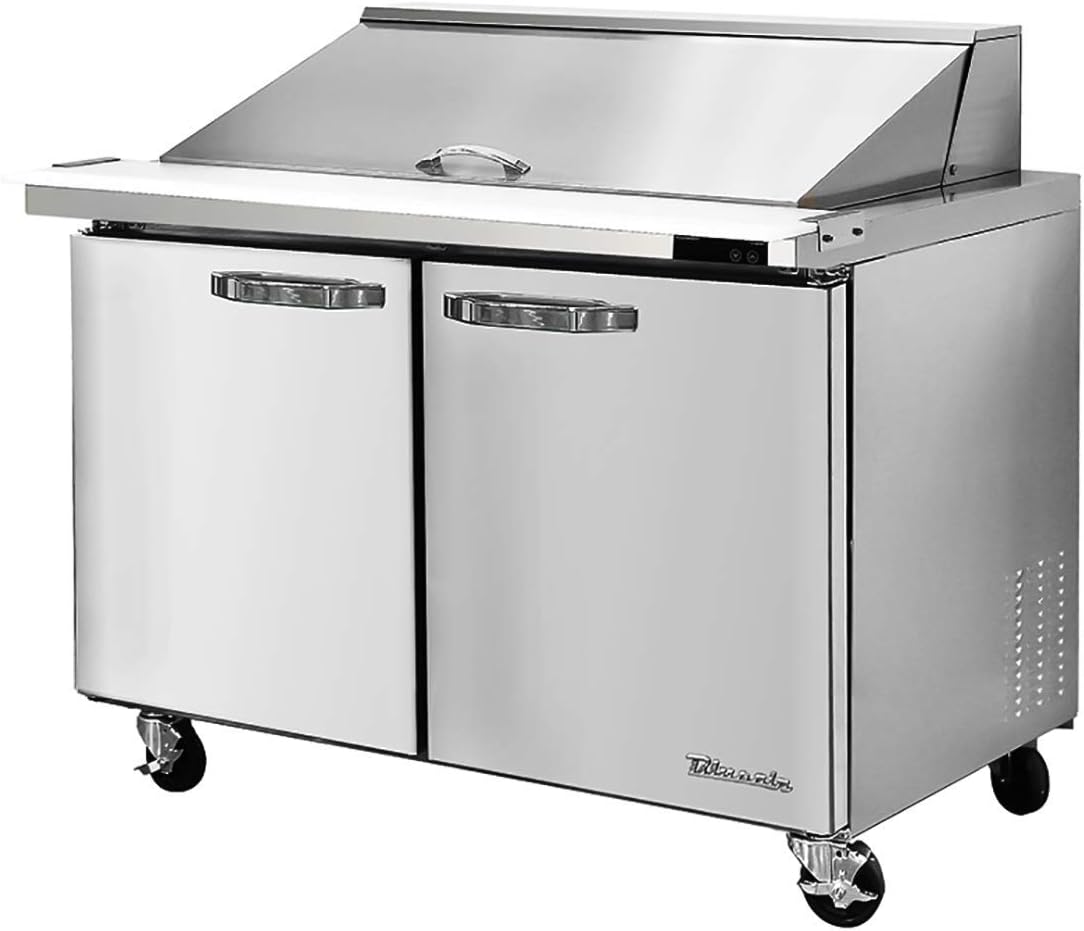
Figure 1: Blue Air BLMT36-HC 2 Door 36 inches Mega Top Refrigerated Sandwich/Salad Prep Table. This image shows the full stainless steel unit with two front doors, a top prep area with a lid, and casters for mobility.
2. Safety Information
Your safety and the safety of others are very important. We have provided many important safety messages in this manual and on your appliance. Always read and obey all safety messages.
- Electrical Safety: Always ensure the unit is connected to a properly grounded electrical outlet. Do not use extension cords. Disconnect power before any cleaning or maintenance.
- Ventilation: Maintain adequate clearance around the unit for proper air circulation to prevent overheating.
- Weight and Movement: The unit is heavy. Use appropriate lifting techniques and equipment when moving. Ensure casters are locked when the unit is in its final position.
- Flammable Materials: Do not store or use gasoline or other flammable vapors and liquids in the vicinity of this or any other appliance.
- Authorized Service: All service and repairs should be performed by qualified personnel.
3. Unpacking and Installation (Setup)
3.1 Unpacking
- Carefully remove all packaging materials, including tape and protective film.
- Inspect the unit for any shipping damage. Report any damage immediately to the carrier and supplier.
- Remove all internal packing materials and accessories.
3.2 Placement
- Place the unit on a strong, level surface capable of supporting its weight when fully loaded.
- Ensure adequate ventilation. Maintain a minimum of 4 inches (10 cm) clearance from walls or other obstructions on all sides, especially the rear where the condenser is located.
- Avoid direct sunlight, heat sources, or areas with high humidity.
3.3 Caster Installation
The unit comes with pre-installed casters for mobility. Ensure the locking casters are engaged once the unit is in its desired location to prevent accidental movement.
3.4 Electrical Connection
Before plugging in the unit, ensure the power supply matches the voltage and amperage requirements specified on the unit's data plate. Connect the unit to a dedicated, grounded electrical circuit. Do not use adapter plugs or extension cords.
3.5 Initial Startup
After installation, allow the unit to stand upright for at least 2 hours before plugging it in. This allows the refrigerant to settle. Once plugged in, allow the unit to run for several hours to reach its operating temperature before loading with food products.
4. Operation
4.1 Temperature Control
The unit is equipped with a digital temperature controller. The factory preset temperature is optimized for food safety. Refer to the controller's specific instructions for adjusting temperature settings, if necessary. Avoid frequent or drastic temperature changes.
4.2 Food Pan Usage
The mega top section is designed to hold standard food pans (e.g., 1/6 size pans). Ensure pans are properly seated to allow for efficient cooling of contents. Keep the insulated lid closed when not actively preparing food to maintain temperature and freshness.
4.3 Door Operation
The two bottom doors provide access to the refrigerated storage compartment. Ensure doors close completely after each use to maintain internal temperature and energy efficiency. Avoid leaving doors open for extended periods.
5. Cleaning and Maintenance
Regular cleaning and maintenance are crucial for the longevity and efficient operation of your unit. Always disconnect power before cleaning.
5.1 Daily Cleaning
- Interior: Wipe down interior surfaces with a mild soap and water solution. Rinse with clean water and dry thoroughly.
- Exterior: Clean stainless steel surfaces with a soft cloth and a non-abrasive stainless steel cleaner. Wipe in the direction of the grain.
- Food Prep Area: Clean the cutting board and food pan area thoroughly after each use to prevent cross-contamination.
5.2 Condenser Coil Cleaning (Monthly/Quarterly)
The condenser coil, typically located at the rear or side of the unit, can accumulate dust and debris, reducing efficiency. Use a stiff brush or vacuum cleaner to remove dust from the coil fins. For heavily soiled coils, professional cleaning may be required.
5.3 Gasket Maintenance
Inspect door gaskets regularly for cracks or tears. Clean gaskets with warm water and mild soap. A damaged gasket can lead to air leaks and increased energy consumption. Replace worn gaskets promptly.
6. Troubleshooting
Before calling for service, please check the following common issues and solutions:
| Problem | Possible Cause | Solution |
|---|---|---|
| Unit not cooling |
|
|
| Excessive noise |
|
|
| Water on floor |
|
|
If the problem persists after attempting these solutions, please contact a qualified service technician.
7. Specifications
| Feature | Detail |
|---|---|
| Model | BLMT36-HC |
| Brand | Blue Air |
| Type | Refrigerated Sandwich/Salad Prep Table |
| Doors | 2 |
| Dimensions (D x W x H) | 36.4"D x 37"W x 44.25"H |
| Item Weight | 190 pounds |
| Capacity | 9.5 cu. ft, 15 Pan |
| Installation Type | Dashboard Mount (Note: This appears to be an incorrect specification from the source data, likely a copy-paste error. The unit is a freestanding commercial appliance.) |
| UPC | 810037080421 |
8. Warranty and Support
This Blue Air product is covered by a manufacturer's warranty. Please refer to the warranty card included with your purchase or visit the official Blue Air website for detailed warranty terms and conditions. For technical support, parts, or service inquiries, please contact Blue Air customer service or your authorized dealer. Always have your model number and serial number ready when contacting support.
For more information, you may visit the Blue Air brand page on Amazon.
Related documentsBLMT36-HC

Ask a question about this manual
Ask about setup, troubleshooting, compatibility, parts, safety, or missing instructions. Manuals+ will review the question and use this page’s manual context to help answer it.