
1. Introduction
This manual provides essential instructions for the safe and effective use of your Kegco 5 Gallon Ball Lock Kegs with Rubber Handles. These kegs are designed for storing and dispensing various beverages, including beer, soda, wine, kombucha, and cold-brewed coffee. Please read this manual thoroughly before initial use and retain it for future reference.

Image 1.1: Kegco 5 Gallon Ball Lock Keg with Rubber Handles. This image displays the full keg, highlighting its 304-grade stainless steel construction, rubber top handles and bottom skirt, and the pull-ring pressure release valve on the lid. It also shows the NSF certification logo.
2. Safety Information
Always prioritize safety when handling pressurized equipment. Failure to follow these guidelines may result in injury or damage to the product.
- Maximum Pressure: Never exceed the maximum working pressure of 130 PSI (pounds per square inch). Over-pressurizing the keg can cause serious injury or explosion.
- Inspection: Before each use, inspect the keg for any signs of damage, dents, or leaks. Do not use a damaged keg.
- Lid Security: Ensure the lid is properly sealed and secured before pressurizing. The lid should be firmly seated and the bail wires engaged.
- Pressure Release: Always use the pressure release valve to depressurize the keg before opening the lid or disconnecting lines.
- Cleaning: Use appropriate cleaning agents and methods. Avoid abrasive materials that could scratch the stainless steel surface.
- Temperature: Do not expose the keg to extreme temperatures.
3. Product Overview
The Kegco 5 Gallon Ball Lock Kegs are constructed from durable 304-grade stainless steel, featuring permanently molded rubber top handles and bottom skirts for enhanced portability and stacking stability. These kegs are NSF approved for commercial use, ensuring high quality and sanitation standards.
Key Components:
- Keg Body: 5-gallon capacity, 304-grade stainless steel.
- Lid: Stainless steel lid with a pressure release valve.
- Ball Lock Posts: Two posts (gas-in and liquid-out) for connecting ball lock couplers. These are easily accessible for cleaning.
- Rubber Handles and Skirt: Molded rubber for easy carrying, stacking, and protection.

Image 3.1: Top view of the Kegco Ball Lock Keg lid. This image shows the lid with its bail wires, the gas-in and liquid-out ball lock posts, and the pull-ring pressure release valve.
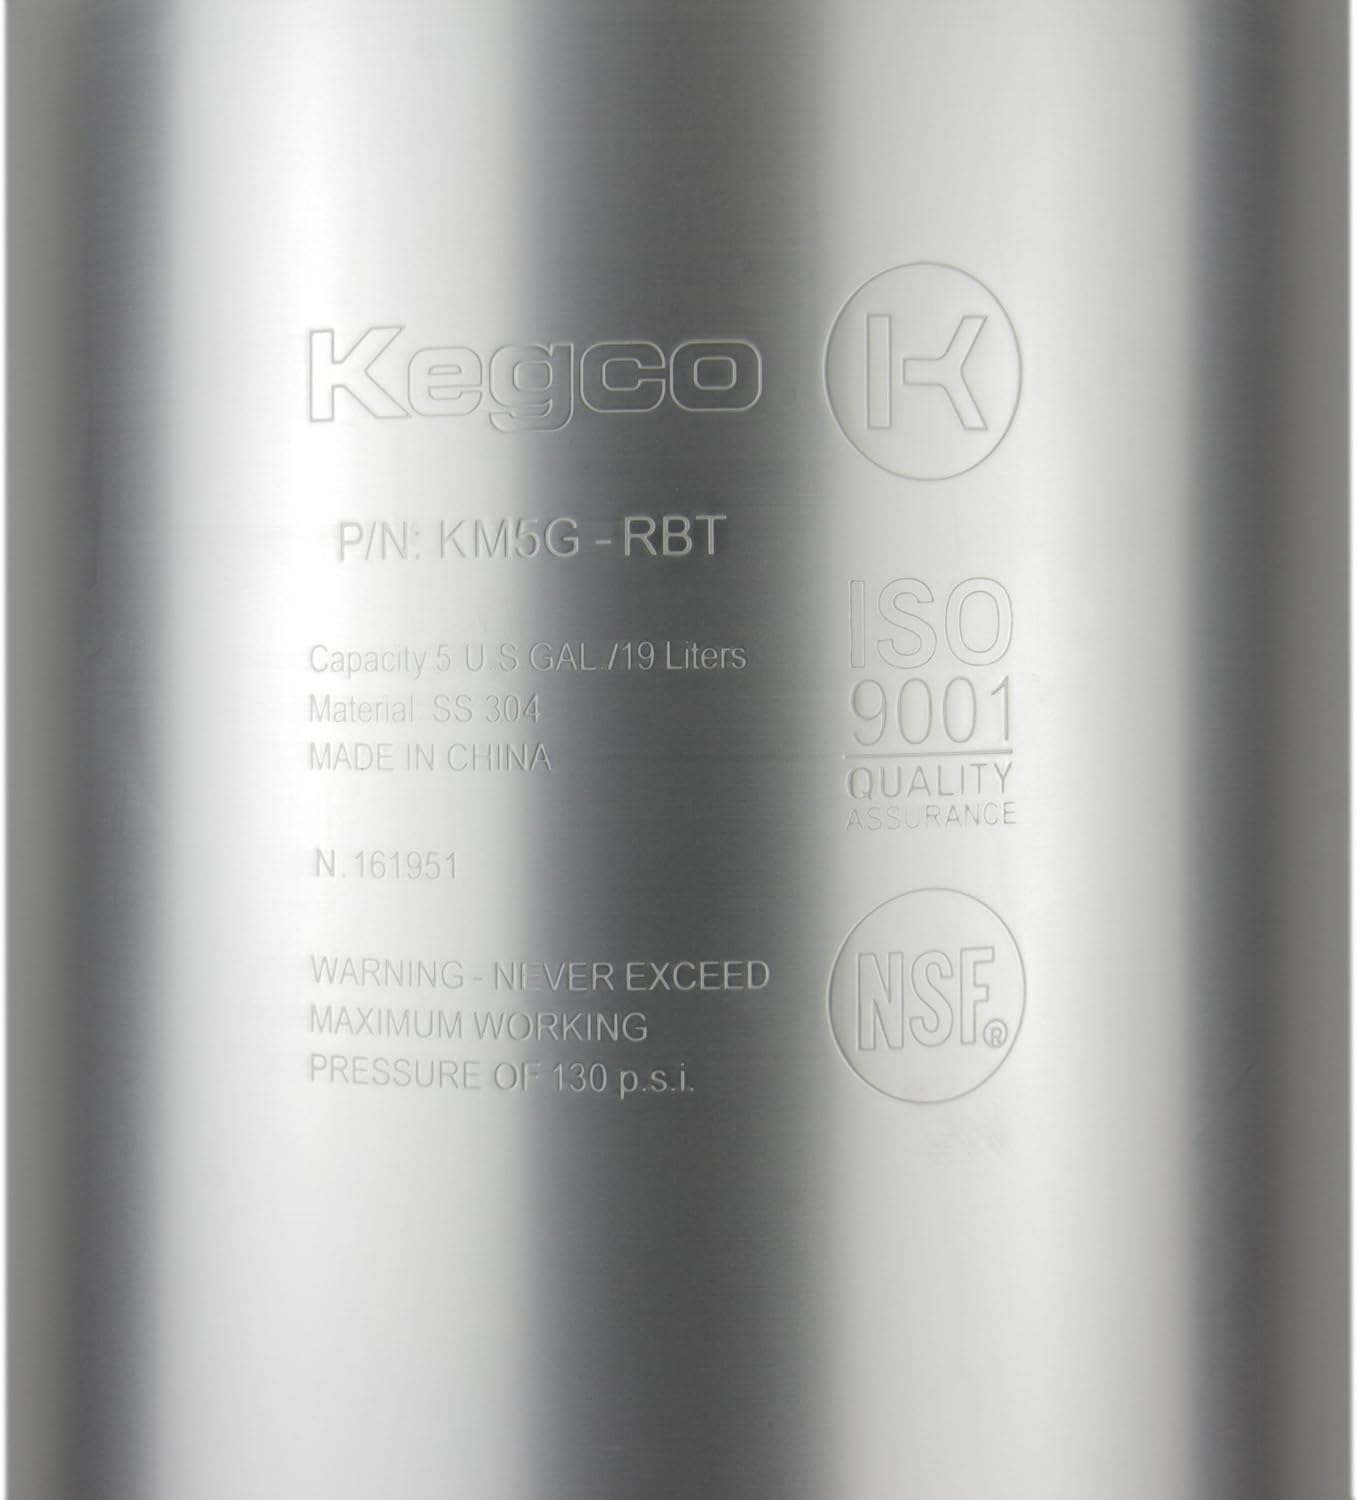
Image 3.2: Close-up of the markings on the Kegco keg. This image displays the Kegco logo, part number (KM5G-RBT), capacity (5 US GAL / 19 Liters), material (SS 304), country of origin (Made in China), and the warning regarding maximum working pressure of 130 PSI. It also shows the ISO 9001 and NSF logos.
4. Setup and Initial Cleaning
Before using your new kegs, it is crucial to clean and sanitize them thoroughly.
- Disassembly: Depressurize the keg using the pressure release valve if it has any residual pressure. Remove the lid by pulling the bail wires outwards.
- Initial Rinse: Rinse the inside of the keg and all removable parts (lid, dip tube, poppets, gas/liquid posts) with warm water to remove any manufacturing residues.
- Cleaning: Use a non-abrasive cleaner specifically designed for stainless steel or brewing equipment. Follow the cleaner's instructions for dilution and contact time. Scrub all surfaces, including the dip tube and posts, with a soft brush.
- Rinse Thoroughly: Rinse all components thoroughly with clean water to remove all traces of cleaner.
- Sanitization: Sanitize the keg and all parts using a food-grade sanitizer. Follow the sanitizer's instructions for dilution and contact time. Do not rinse after sanitizing if the sanitizer instructions advise against it.
- Reassembly: Reassemble the keg, ensuring all O-rings are properly seated and lubricated (with food-grade lubricant) to prevent leaks. Secure the lid firmly.
5. Operating Instructions
5.1 Filling the Keg
- Ensure the keg is clean and sanitized.
- Remove the lid.
- Carefully pour your beverage into the keg. Avoid splashing to minimize oxidation. Do not fill past the neck of the keg to allow for headspace for carbonation.
- Secure the lid firmly, ensuring the O-ring is properly seated and the bail wires are engaged.
5.2 Pressurizing and Carbonating
- Connect the gas-in ball lock coupler to the appropriate post on the keg (usually marked 'GAS' or with an 'IN' arrow).
- Connect your CO2 regulator to the gas-in coupler.
- Slowly open the CO2 tank valve and set the desired pressure on your regulator. For carbonation, typical pressures range from 10-30 PSI depending on the beverage and desired carbonation level. Refer to carbonation charts for specific guidelines.
- Check for leaks using a spray bottle with soapy water around the lid and posts. Bubbles indicate a leak. Tighten connections or reseat the lid if necessary.
- Allow time for the beverage to carbonate. This can take several days to a week, depending on pressure and temperature.
5.3 Dispensing
- Ensure the keg is properly chilled to the desired serving temperature.
- Connect the liquid-out ball lock coupler to the appropriate post on the keg (usually marked 'LIQUID' or with an 'OUT' arrow).
- Ensure the gas-in coupler is connected and the CO2 tank is open, maintaining serving pressure (typically 8-12 PSI for beer, adjust as needed).
- Open the faucet on your dispensing system to pour the beverage.
6. Maintenance and Storage
6.1 Regular Cleaning
After each use, thoroughly clean and sanitize your kegs and all components. This prevents bacterial growth and ensures the longevity of your equipment.
- Depressurize and disassemble the keg as described in Section 4.
- Clean all parts with a suitable cleaner and brush. Pay special attention to the dip tube, posts, and lid O-ring.
- Rinse thoroughly and sanitize.
- Allow parts to air dry completely before reassembly or storage.
6.2 O-Ring Care
Inspect O-rings regularly for wear, cracks, or flattening. Replace damaged O-rings immediately to prevent leaks. Lubricate O-rings with food-grade lubricant to maintain their seal and extend their lifespan.
6.3 Storage
Store clean and dry kegs in a cool, dry place. Kegco kegs are designed to be stackable for convenient storage in tight spaces.
7. Troubleshooting
| Problem | Possible Cause | Solution |
|---|---|---|
| Keg is leaking gas/liquid | Loose lid, damaged O-ring, loose posts, damaged poppets. | Ensure lid is sealed. Inspect and replace O-rings. Tighten posts. Inspect and replace poppets. |
| Beverage not dispensing | No CO2 pressure, clogged dip tube, liquid-out post clogged, coupler not fully engaged. | Check CO2 tank and regulator. Clean dip tube and liquid-out post. Ensure coupler is properly connected. |
| Beverage is flat or over-carbonated | Incorrect CO2 pressure, insufficient carbonation time, temperature fluctuations. | Adjust CO2 pressure. Allow more time for carbonation. Maintain consistent temperature. |
| Difficulty attaching/detaching ball lock couplers | Posts are dry, O-rings are stiff or damaged. | Lubricate posts and O-rings with food-grade lubricant. Replace damaged O-rings. |
8. Specifications
- Model Number: 3P2X-KM5G-RBT
- Capacity: 5 US Gallons (approximately 19 Liters)
- Material: 304 Grade Stainless Steel
- Handles: Permanently molded rubber top handles
- Base: Permanently molded rubber bottom skirt
- Lid: Stainless steel with pressure release valve
- Fittings: Ball Lock (Gas-in and Liquid-out)
- Maximum Working Pressure: 130 PSI
- Certifications: NSF Approved
- Package Dimensions: 26 x 17.5 x 9 inches
- Item Weight: 20.7 pounds

Image 8.1: Dimensions of the Kegco 5 Gallon Ball Lock Keg. This image illustrates the approximate height of 25 inches and a base diameter of 8.5 inches.

Image 8.2: The NSF certification logo, indicating that the product meets public health and safety standards.
9. Warranty Information
Kegco stands by the quality of its products. We offer a 90-Day Quality Commitment. If you are not completely satisfied with your purchase, we offer hassle-free returns within 90 days of receiving your order. Please refer to your purchase documentation or contact customer support for full details on warranty terms and conditions.
Image 9.1: Graphic indicating a 90-Day Quality Commitment, emphasizing customer satisfaction and hassle-free returns.
10. Support
For any questions, assistance with setup, or troubleshooting, our friendly and knowledgeable team is available during regular business hours. You can always count on us for timely and reliable help.
Please visit the official Kegco website or refer to your purchase platform for contact information.
Image 10.1: Graphic encouraging users to message Kegco for support, featuring a headset icon.