Introduction
Thank you for choosing the Kalorik Home Indoor Handheld Vacuum with Floor Extension. This manual provides essential information for the safe and efficient operation, maintenance, and care of your new vacuum cleaner. Please read these instructions thoroughly before first use and retain them for future reference.
This versatile vacuum is designed for both handheld use to clean hard-to-reach areas and can be converted into a stick vacuum for floor cleaning. Its bagless design and included accessories make it suitable for various cleaning tasks around your home and vehicle.
Important Safety Instructions
When using electrical appliances, basic safety precautions should always be followed to reduce the risk of fire, electric shock, and injury.
- Read all instructions before using the appliance.
- Do not use outdoors or on wet surfaces.
- Do not allow to be used as a toy. Close attention is necessary when used by or near children.
- Use only as described in this manual. Use only manufacturer’s recommended attachments.
- Do not use with a damaged cord or plug. If appliance is not working as it should, has been dropped, damaged, left outdoors, or dropped into water, return it to a service center.
- Do not pull or carry by cord, use cord as a handle, close a door on cord, or pull cord around sharp edges or corners. Do not run appliance over cord. Keep cord away from heated surfaces.
- Do not unplug by pulling on cord. To unplug, grasp the plug, not the cord.
- Do not handle plug or appliance with wet hands.
- Do not put any object into openings. Do not use with any opening blocked; keep free of dust, lint, hair, and anything that may reduce airflow.
- Keep hair, loose clothing, fingers, and all parts of body away from openings and moving parts.
- Do not pick up anything that is burning or smoking, such as cigarettes, matches, or hot ashes.
- Do not use to pick up flammable or combustible liquids, such as gasoline, or use in areas where they may be present.
- Do not pick up toxic material, such as chlorine bleach, ammonia, or drain cleaner.
- Do not use without dust cup and/or filters in place.
- Turn off all controls before unplugging.
- Use extra care when cleaning on stairs.
- Do not charge the unit outdoors.
- Recharge only with the charger specified by the manufacturer. A charger that is suitable for one type of battery pack may create a risk of fire when used with another battery pack.
- Prevent unintentional starting. Ensure the switch is in the off-position before connecting to battery pack, picking up or carrying the appliance.
Product Components
Familiarize yourself with the parts of your Kalorik Handheld Vacuum:
- Handheld Vacuum Unit (Main Body)
- Dust Cup
- Cyclonic Filter
- Floor Extension Tube
- Floor Brush Attachment
- 2-in-1 Crevice Tool with Swivel-on Brush Head
- Furniture Brush
- Charging Base

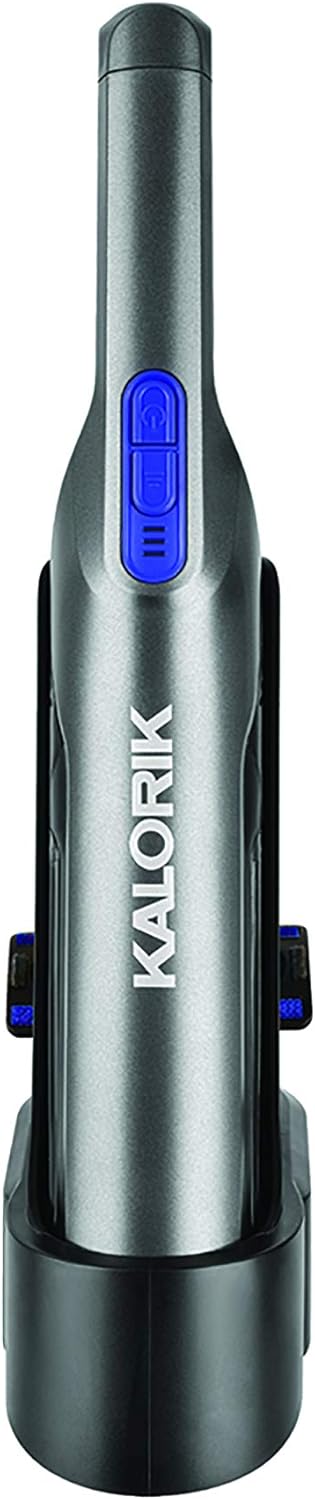
The main handheld vacuum unit in gray, featuring the power button and dust cup.
Setup
1. Unpacking
Carefully remove all components from the packaging. Inspect for any damage. Keep packaging materials for future storage or disposal.
2. Initial Charging
Before first use, fully charge the vacuum. Place the handheld vacuum unit onto the charging base. Ensure the charging base is connected to a power outlet. The indicator light on the vacuum will show charging status. A full charge may take several hours.
The handheld vacuum unit securely placed on its charging base.
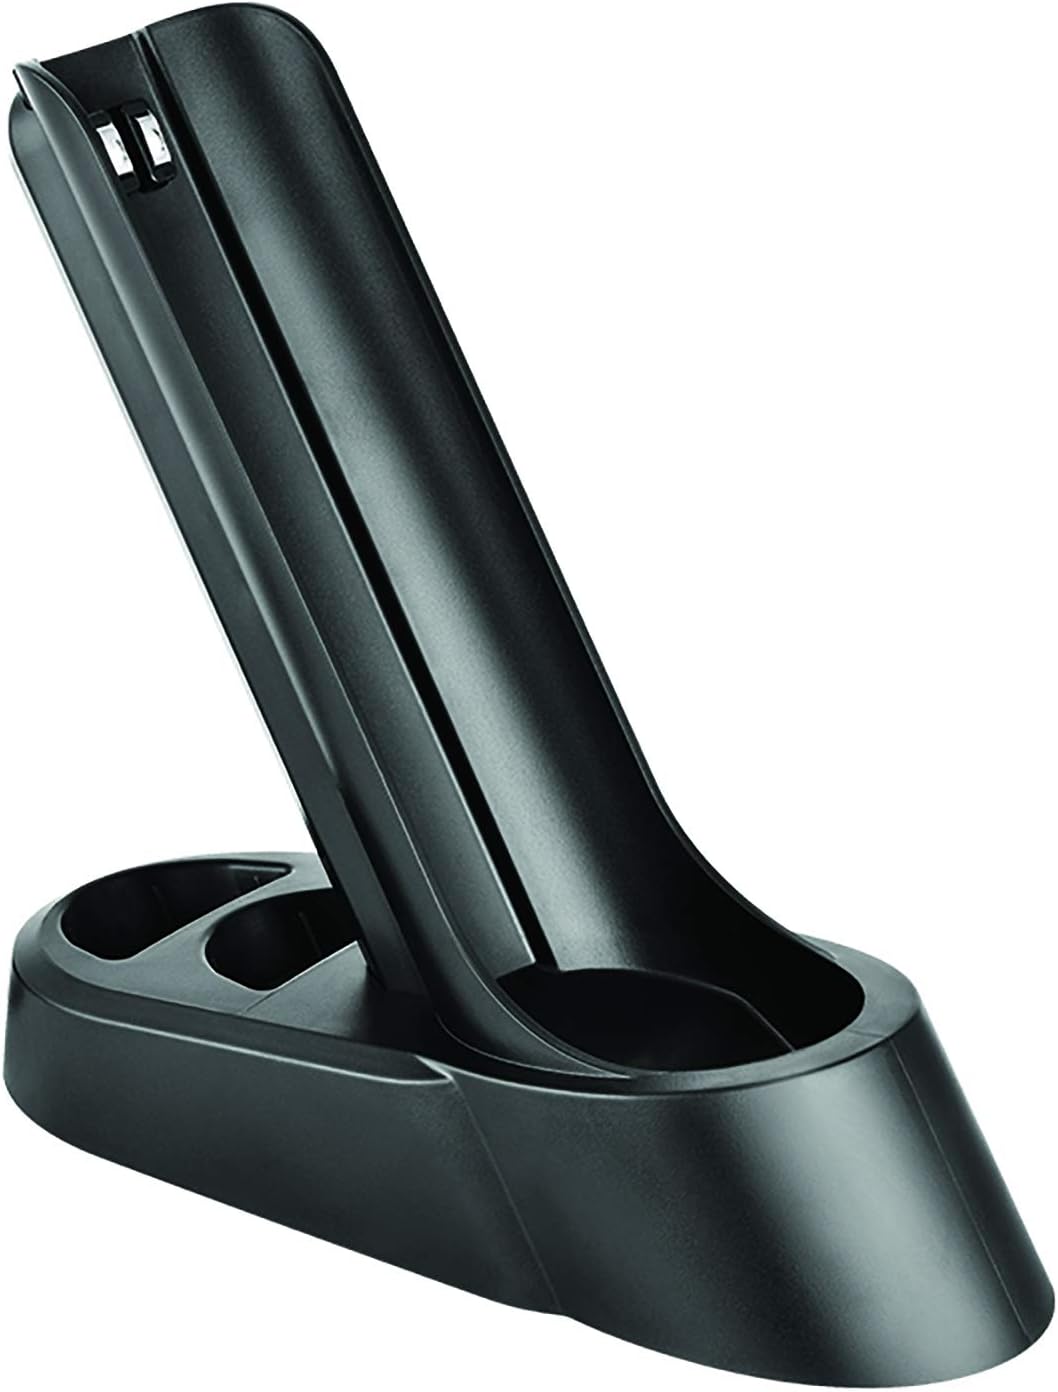
The standalone charging base for the Kalorik handheld vacuum.
3. Assembling for Handheld Use
For handheld cleaning, you can attach the 2-in-1 crevice tool or the furniture brush directly to the nozzle of the handheld vacuum unit. Simply align the attachment with the nozzle and push until it clicks into place.
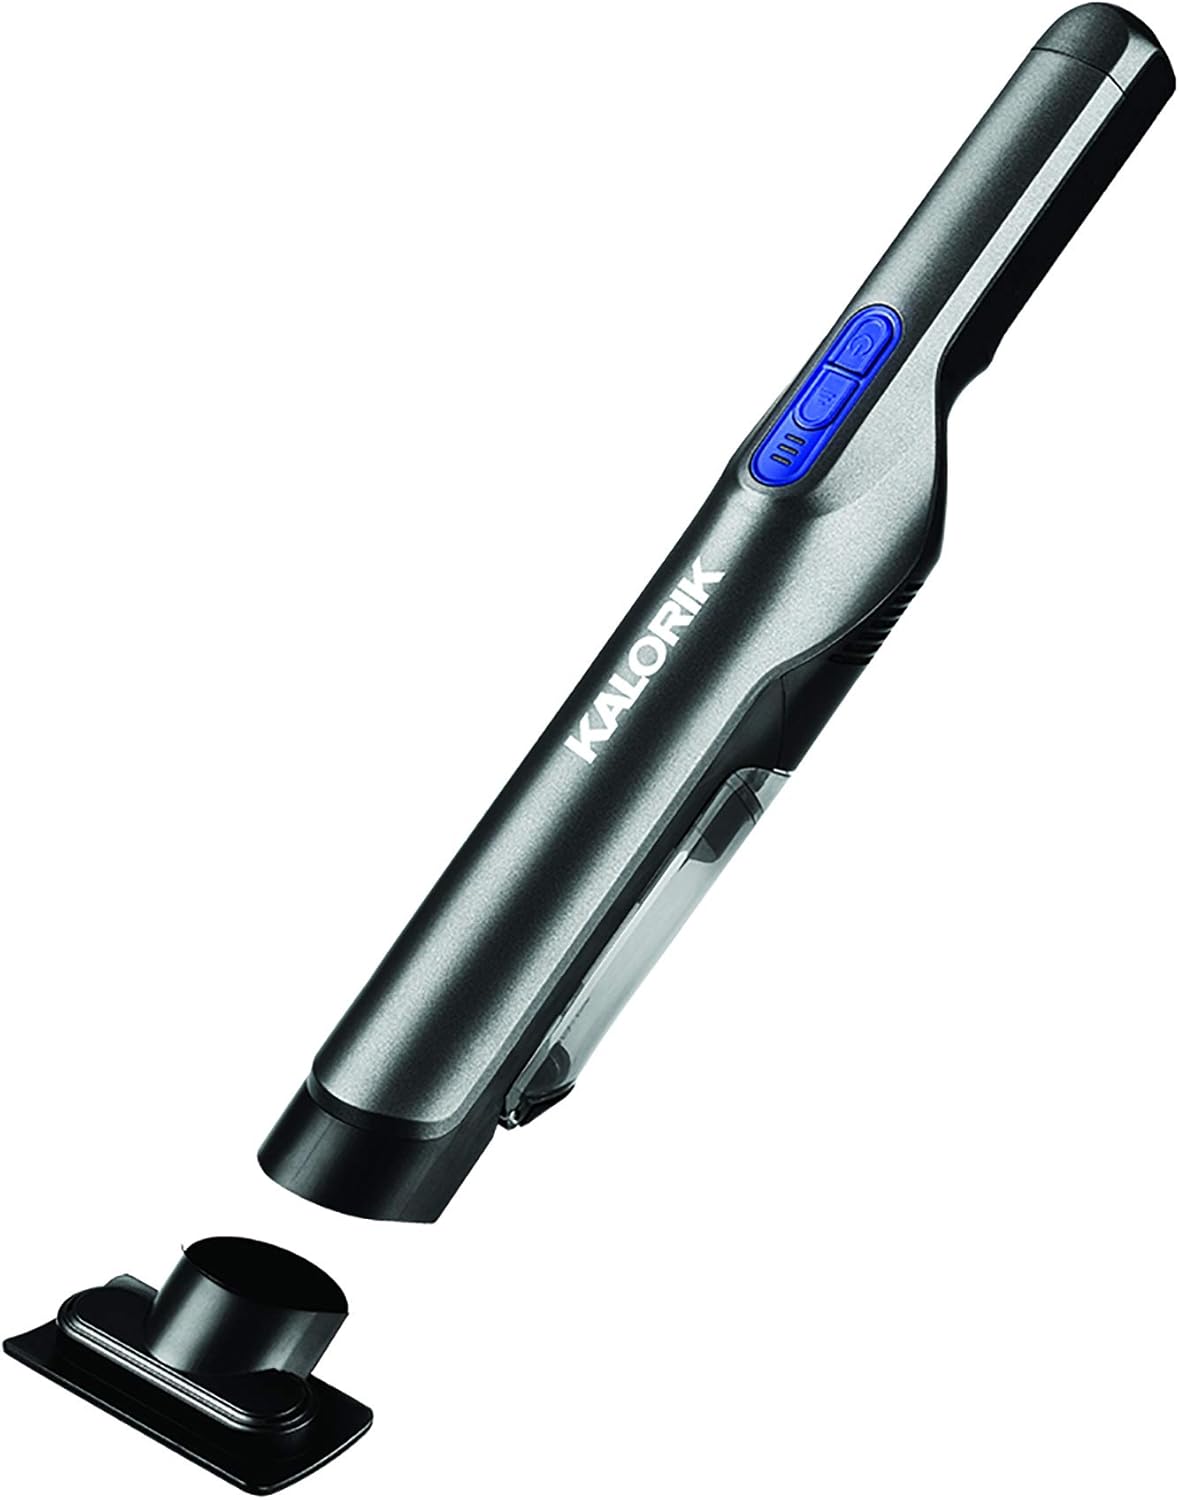
The handheld vacuum unit with the narrow crevice tool attached, ideal for tight spaces.

The handheld vacuum unit with the 2-in-1 brush tool, showing both the brush and crevice functions.
4. Assembling for Stick Vacuum Use
To convert to a stick vacuum, first attach the floor extension tube to the handheld vacuum unit. Then, attach the floor brush attachment to the other end of the extension tube. Ensure all connections are secure.

The complete vacuum assembly in stick mode, showing the handheld unit, extension tube, and floor brush.
Operating Instructions
1. Powering On/Off
Press the power button located on the top of the handheld unit to turn the vacuum on. Press it again to turn the vacuum off.
2. Using in Handheld Mode
With the desired attachment (crevice tool or furniture brush) secured, hold the vacuum by the handle and direct the nozzle towards the area to be cleaned. This mode is ideal for:
- Upholstery and furniture
- Car interiors
- Blinds and drapes
- Tight corners and crevices

A person using the handheld vacuum to clean debris from a gray upholstered chair.

The handheld vacuum being used to clean crumbs and dust from a car's center console.
3. Using in Stick Vacuum Mode
With the floor extension tube and floor brush attached, use the vacuum to clean floors and rugs. The high-speed, brushless motor is designed to effectively remove dirt and debris from various floor surfaces.

A person operating the vacuum in stick mode with the floor brush attachment, cleaning a patterned rug.
Maintenance
1. Emptying the Dust Cup
The vacuum features a bagless design with an easy-to-empty dust cup. To empty, locate the release button on the dust cup, press it, and detach the cup from the main unit. Empty the contents into a waste bin. Reattach the dust cup securely until it clicks.
2. Cleaning the Filter
Regularly clean the cyclonic filter to maintain optimal suction performance. After emptying the dust cup, remove the filter. Tap it gently over a waste bin to dislodge dust. If necessary, rinse the filter with cold water. Ensure the filter is completely dry before reinserting it into the dust cup and reattaching to the vacuum.
3. Cleaning Accessories
Wipe down all attachments with a damp cloth. Ensure they are dry before storing or reattaching to the vacuum.
4. Storage
Store the vacuum and its accessories in a cool, dry place. The charging base can be used for convenient storage and charging.
Troubleshooting
| Problem | Possible Cause | Solution |
|---|---|---|
| Vacuum does not turn on | Battery is depleted Power button not pressed correctly | Charge the vacuum fully Ensure the power button is pressed firmly |
| Reduced suction power | Dust cup is full Filter is clogged Nozzle or attachment is blocked | Empty the dust cup Clean or replace the filter Remove any obstructions from the nozzle or attachment |
| Vacuum not charging | Charging base not connected to power Vacuum not properly seated on base | Check power outlet and charging base connection Ensure vacuum is correctly placed on the charging base |
Specifications
- Brand: Kalorik
- Model Number: HVC 46818 GR
- Color: Gray
- Form Factor: Handheld, Stick
- Special Feature: Bagless
- Filter Type: Cyclonic Filter
- Motor Horsepower: 1.2069 horsepower
- Control Method: Push Button
- Number of Power Levels: 1
- Indoor/Outdoor Usage: Indoor
- Item Weight: 4.59 pounds
- Product Dimensions: 42 x 9.33 x 3.7 inches (assembled stick mode)
- UPC: 848052008069
Warranty and Support
For warranty information and customer support, please refer to the warranty card included with your product or visit the official Kalorik website. Do not attempt to repair the appliance yourself, as this may void the warranty and cause further damage.


