
1. Introduction
Thank you for choosing the XQISIT Wireless Headset Model 41712. This manual provides essential information for setting up, operating, maintaining, and troubleshooting your new headset. Please read these instructions carefully before use to ensure optimal performance and longevity of your device.
This headset features Bluetooth wireless connectivity, an integrated microphone for calls, and a comfortable design. It is also designed with water-resistant properties for enhanced durability.
2. Package Contents
Please check the package for the following items:
- XQISIT Wireless Headset Model 41712
- Charging Cable (USB-A to Micro-USB, typically included)
- User Manual (this document)
3. Product Overview
Familiarize yourself with the components of your XQISIT Wireless Headset.
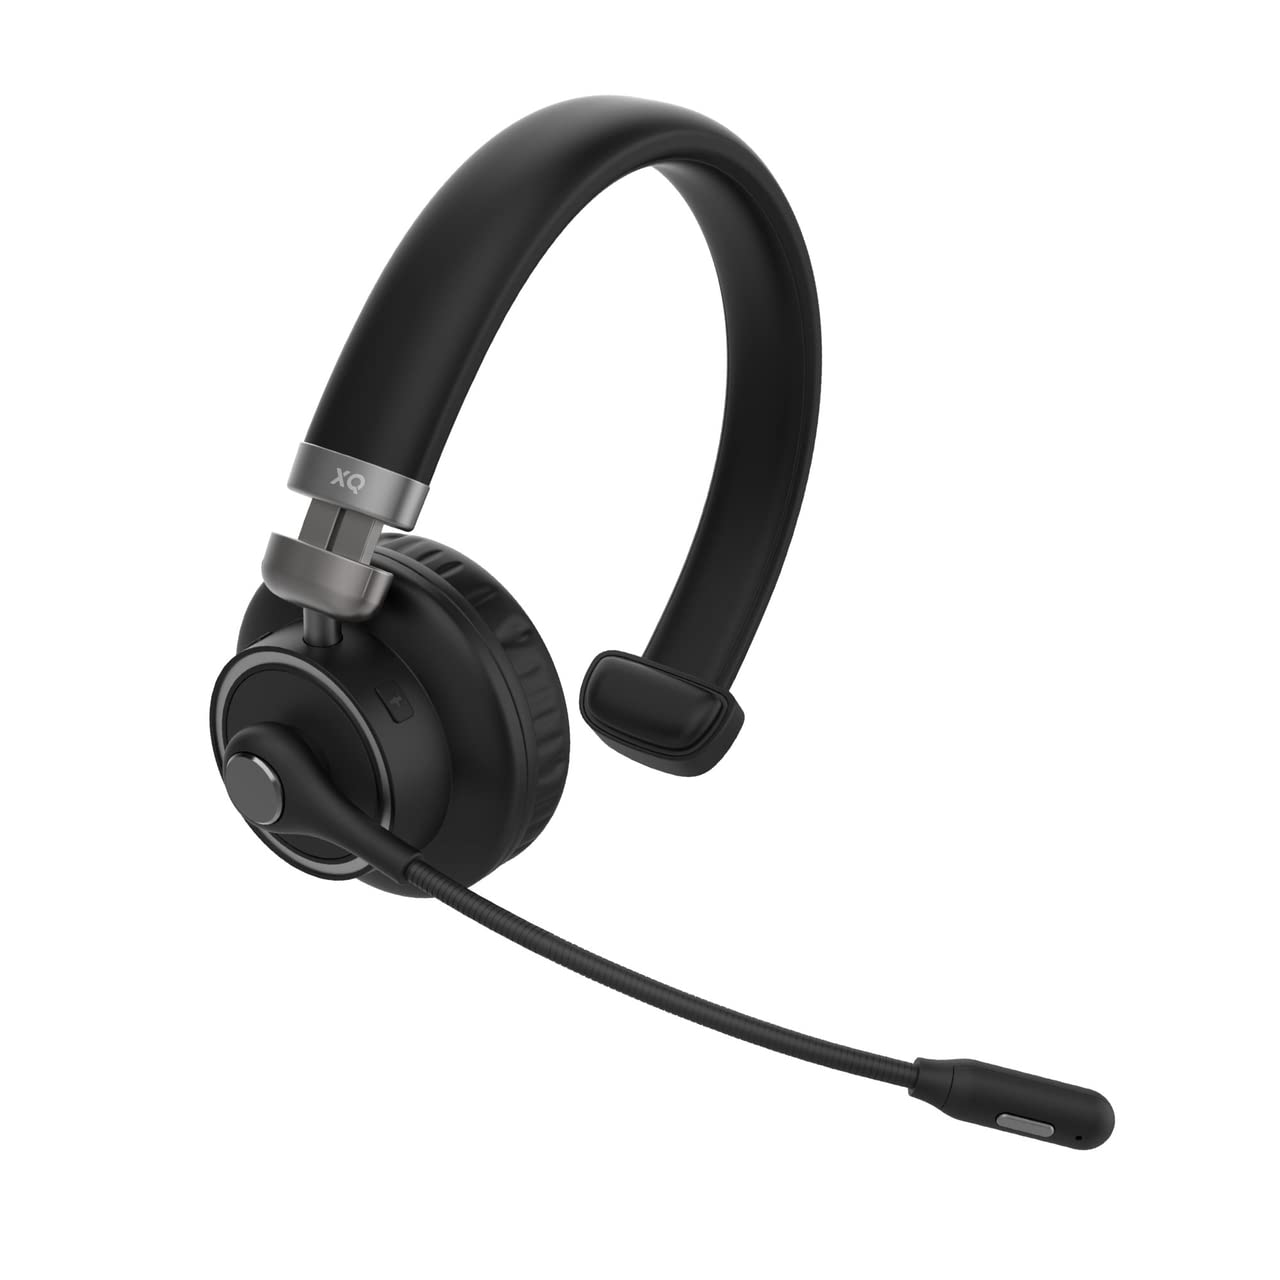
Figure 1: XQISIT Wireless Headset Model 41712. This image displays the black over-ear headset with a flexible boom microphone extending from the left earcup. The headband is adjustable, and the earcups feature soft padding. The XQ logo is visible on the left earcup's hinge.
Key components typically include:
- Headband: Adjustable for comfortable fit.
- Earcups: Padded for comfort, housing the audio drivers.
- Boom Microphone: Flexible and adjustable for clear voice capture.
- Control Buttons: (Typically on an earcup) For power, volume, and call management.
- Charging Port: (Typically Micro-USB) For recharging the internal battery.
- LED Indicator: Shows power, pairing, and charging status.
4. Setup
4.1 Charging the Headset
- Connect the small end of the charging cable to the charging port on your headset.
- Connect the larger end of the charging cable to a USB power source (e.g., computer USB port, USB wall adapter).
- The LED indicator will typically show a red light during charging and turn off or change color (e.g., blue) when fully charged.
- Allow approximately 2-3 hours for a full charge before first use.
4.2 Pairing with a Bluetooth Device
Before using your headset wirelessly, you must pair it with your Bluetooth-enabled device (e.g., smartphone, tablet, computer).
- Ensure the headset is fully charged and turned off.
- Press and hold the Power/Multi-function button on the headset for approximately 5-7 seconds until the LED indicator flashes red and blue alternately. This indicates the headset is in pairing mode.
- On your Bluetooth device, go to the Bluetooth settings and ensure Bluetooth is enabled.
- Search for available devices. You should see "XQISIT 41712" or a similar name appear in the list.
- Select the headset from the list to initiate pairing.
- Once paired, the LED indicator on the headset will typically flash blue slowly or turn solid blue, and you may hear an audible confirmation.
- If prompted for a passcode, enter "0000" (four zeros).
Note: The headset will automatically attempt to reconnect to the last paired device when powered on, if that device's Bluetooth is active and within range.
5. Operating the Headset
5.1 Power On/Off
- To Power On: Press and hold the Power/Multi-function button for approximately 3 seconds until the LED indicator flashes blue and you hear an audible prompt.
- To Power Off: Press and hold the Power/Multi-function button for approximately 3-5 seconds until the LED indicator flashes red and you hear an audible prompt.
5.2 Call Control
The headset is equipped with call control features for convenient communication.
- Answer/End Call: Press the Power/Multi-function button once during an incoming call to answer. Press it again during a call to end it.
- Reject Call: Press and hold the Power/Multi-function button for approximately 2 seconds during an incoming call to reject it.
- Redial Last Number: Double-press the Power/Multi-function button when not on a call.
- Voice Assistant: Press and hold the Power/Multi-function button for approximately 1 second (when not on a call) to activate your device's voice assistant (e.g., Siri, Google Assistant).
5.3 Volume Control
Use the dedicated volume buttons (typically labeled '+' and '-') on the headset to adjust audio levels.
- Volume Up: Press the '+' button.
- Volume Down: Press the '-' button.
5.4 Wearing the Headset
Adjust the headband to ensure the earcups sit comfortably over your ears. Position the boom microphone approximately 1-2 cm from your mouth for optimal voice clarity during calls.
6. Maintenance
6.1 Cleaning
- Wipe the headset with a soft, dry, lint-free cloth.
- For stubborn dirt, lightly dampen the cloth with water. Avoid using harsh chemicals, cleaning solvents, or strong detergents.
- Do not immerse the headset in water or expose it to excessive moisture, despite its water-resistant properties.
6.2 Storage
- Store the headset in a cool, dry place away from direct sunlight and extreme temperatures.
- Avoid placing heavy objects on the headset.
6.3 Water Resistance
The XQISIT Wireless Headset Model 41712 is designed with water-resistant features. This means it can withstand splashes, light rain, and sweat. It is not designed for submersion in water or exposure to pressurized water jets. Ensure the charging port cover (if present) is securely closed to maintain water resistance.
7. Troubleshooting
If you encounter issues with your headset, refer to the following common problems and solutions:
| Problem | Possible Solution |
|---|---|
| Headset does not power on. |
|
| Cannot pair with a device. |
|
| No sound or poor audio quality. |
|
| Microphone not working. |
|
8. Specifications
| Model Number: | 41712 |
| Brand: | Xqisit |
| Color: | Black |
| Connectivity Technology: | Wireless (Bluetooth) |
| Wireless Communication Technology: | Bluetooth |
| Headphone Form Factor: | On-ear (as depicted) |
| Control Type: | Call Control |
| Special Features: | Water-resistant |
| Material: | Artificial Leather (earcups/headband) |
| Age Range (Description): | Adult |
9. Warranty and Support
For warranty information and customer support, please refer to the warranty card included with your product or visit the official Xqisit website. If you experience any issues not covered in this manual, please contact Xqisit customer service for assistance.
Keep your purchase receipt as proof of purchase for warranty claims.