
1. Introduction
This manual provides detailed instructions for the proper installation, operation, and maintenance of your Dakota Micro AHD 7-inch Waterproof Monitor, model DM-WH7. This monitor is designed to complement Dakota Micro's ruggedized camera lines, offering seamless compatibility with various camera formats including CVBS, AHD, NTSC, and PAL. Its waterproof design ensures reliable performance in diverse weather conditions.
Please read this manual thoroughly before using the product to ensure optimal performance and longevity.
2. Product Overview
2.1 Key Features
- Waterproof design suitable for all weather conditions.
- Integrated sunshield for improved visibility in bright light.
- Includes monitor wire harness with watertight connections.
- Compatible with CVBS, AHD, NTSC, and PAL camera formats.
- 7-inch screen size for clear viewing.
2.2 Components Included
- Dakota Micro AHD 7-inch Waterproof Monitor (DM-WH7)
- Monitor Wire Harness with watertight connections
- Power Cable (e.g., cigarette lighter adapter)
- Mounting Bracket and Hardware
2.3 Visual Reference

Figure 1: Front view of the Dakota Micro AHD 7-inch Waterproof Monitor, showing the screen, control buttons, and integrated sunshield.

Figure 2: The monitor wire harness, featuring multiple watertight connectors for camera inputs and power.
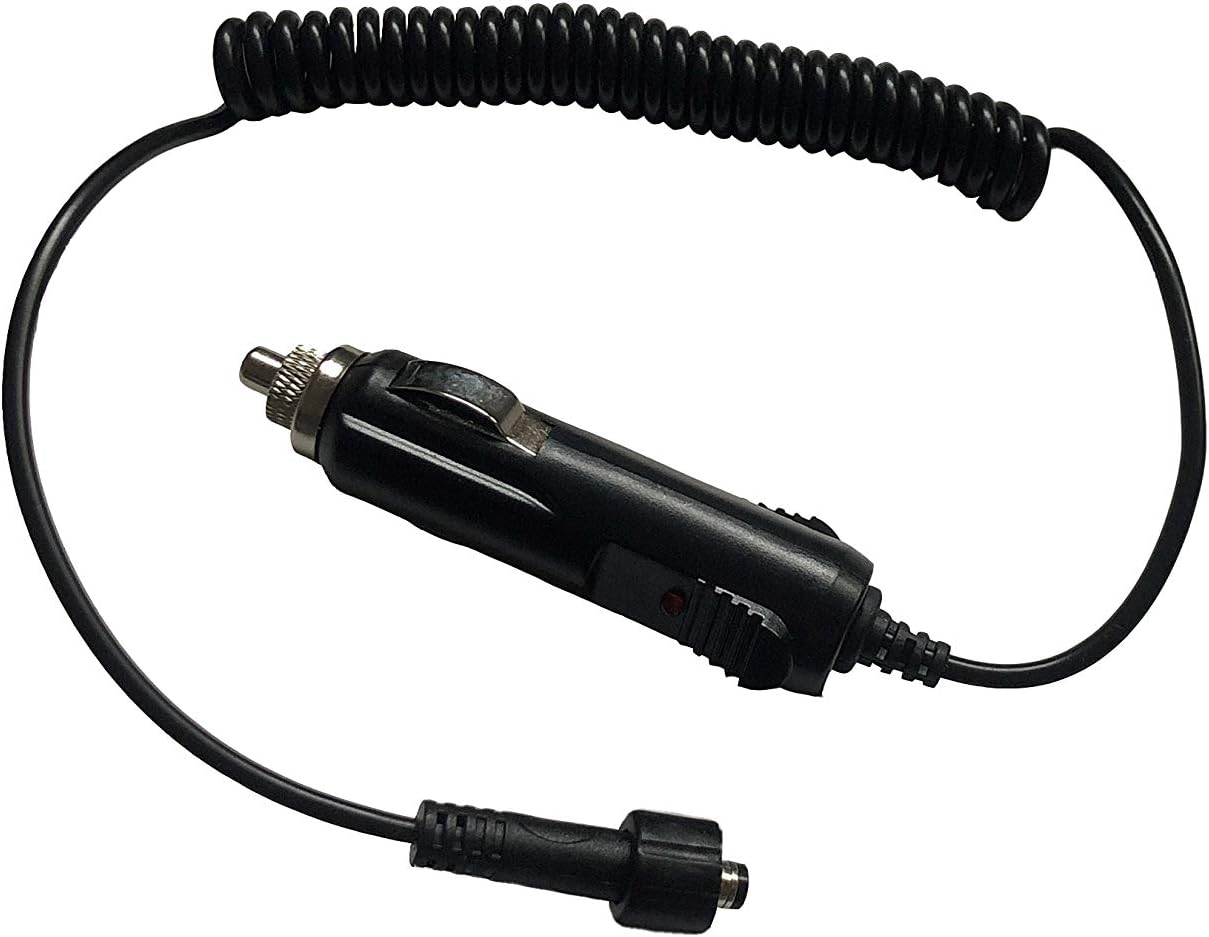
Figure 3: The power cable with a cigarette lighter adapter for convenient power supply.
3. Setup and Installation
3.1 Mounting the Monitor
- Choose a Location: Select a stable, flat surface in your vehicle or equipment where the monitor will be easily visible and accessible, but will not obstruct your view or interfere with vehicle operation.
- Secure the Bracket: Use the provided mounting bracket and hardware to securely attach the monitor to the chosen surface. Ensure all screws are tightened to prevent vibration.
- Adjust Angle: Adjust the monitor's angle for optimal viewing, then tighten the adjustment knobs to fix its position.
3.2 Connecting Power
- Connect Power Cable: Plug the power cable into the designated power input on the monitor's wire harness. Ensure a secure, watertight connection.
- Connect to Power Source: Insert the cigarette lighter adapter into your vehicle's 12V power outlet. The monitor should power on or indicate readiness.
- Alternative Wiring (Optional): For a permanent installation, consult a qualified technician to hardwire the monitor directly to your vehicle's electrical system, ensuring proper fusing and voltage.
3.3 Connecting Cameras
- Identify Camera Inputs: The monitor harness provides multiple inputs for cameras. Identify the appropriate input for your camera type (AHD, CVBS, NTSC, PAL).
- Connect Camera Cables: Connect your Dakota Micro camera cables to the corresponding inputs on the monitor's wire harness. Ensure all connections are watertight and securely fastened.
- Route Cables: Carefully route all cables to avoid pinching, abrasion, or interference with moving parts. Use cable ties or clips to secure them.
4. Operating Instructions
4.1 Powering On/Off
- Power On: Press the Power button (usually marked with a circle and vertical line icon) on the monitor's front panel. The screen will illuminate.
- Power Off: Press and hold the Power button for a few seconds until the screen turns off.
4.2 Switching Camera Views
If multiple cameras are connected, use the AV or Channel Select button on the monitor's front panel to cycle through the available camera inputs. Each press will switch to the next connected camera.
4.3 Adjusting Settings
The monitor features an M (Menu) button to access display settings.
- Access Menu: Press the M button to open the on-screen display (OSD) menu.
- Navigate: Use the Up and Down arrow buttons to navigate through menu options (e.g., Brightness, Contrast, Color, Mirror/Flip).
- Adjust Values: Use the Left and Right arrow buttons to adjust the selected setting's value.
- Exit Menu: Press the M button again or wait for the menu to time out to exit.
Note: Specific button functions may vary slightly. Refer to the icons on your monitor for precise identification.
5. Maintenance
- Cleaning: Use a soft, damp cloth to clean the monitor screen and casing. Avoid abrasive cleaners or solvents that could damage the surfaces.
- Connection Checks: Periodically inspect all cable connections for tightness and signs of wear or corrosion. Ensure watertight seals are intact.
- Storage: If storing the monitor for an extended period, disconnect it from power and store it in a clean, dry environment within its operating temperature range.
- Sunshield: Ensure the sunshield is free from obstructions and clean for optimal glare reduction.
6. Troubleshooting
| Problem | Possible Cause | Solution |
|---|---|---|
| Monitor does not power on. | No power supply; loose connection; blown fuse. | Check power cable connection; ensure vehicle's 12V outlet is functional; check vehicle's fuse box. |
| No image displayed. | Camera not connected; incorrect input selected; faulty camera/cable. | Verify camera connections; cycle through AV inputs; test with a known working camera/cable. |
| Image is distorted or poor quality. | Loose cable connection; incompatible camera format; interference. | Secure all connections; ensure camera format matches monitor compatibility; check for strong electromagnetic interference sources. |
| Buttons are unresponsive. | Temporary software glitch; physical damage. | Try powering off and on the monitor; if problem persists, contact support. |
7. Specifications
| Feature | Detail |
|---|---|
| Brand | Dakota Micro |
| Model | DM-WH7 |
| Screen Size | 7 Inches |
| Compatible Devices | Monitor (for various camera types) |
| Installation Type | Monitor (vehicle-mounted) |
| Optical Sensor Technology | CMOS (for compatible cameras) |
| Compatibility | CVBS, AHD, NTSC, PAL camera formats |
| Special Features | Waterproof, Built-in Sunshield, Watertight Connections |
| UPC | 817436014699 |
8. Warranty and Support
For warranty information, technical support, or service inquiries, please contact Dakota Micro directly.
- Manufacturer: Dakota Micro
- Website: Visit the official Dakota Micro Store on Amazon for more information and contact details.
- Product ASIN: B08FTH4VHZ
Always refer to the manufacturer's official website or included documentation for the most current warranty terms and support procedures.


