Introduction
Thank you for purchasing the Wesley 52 in. Indoor/Outdoor Oil Rubbed Bronze DC Motor Ceiling Fan. This manual provides detailed instructions for the safe installation, operation, and maintenance of your new ceiling fan. Please read this manual thoroughly before beginning installation and keep it for future reference.
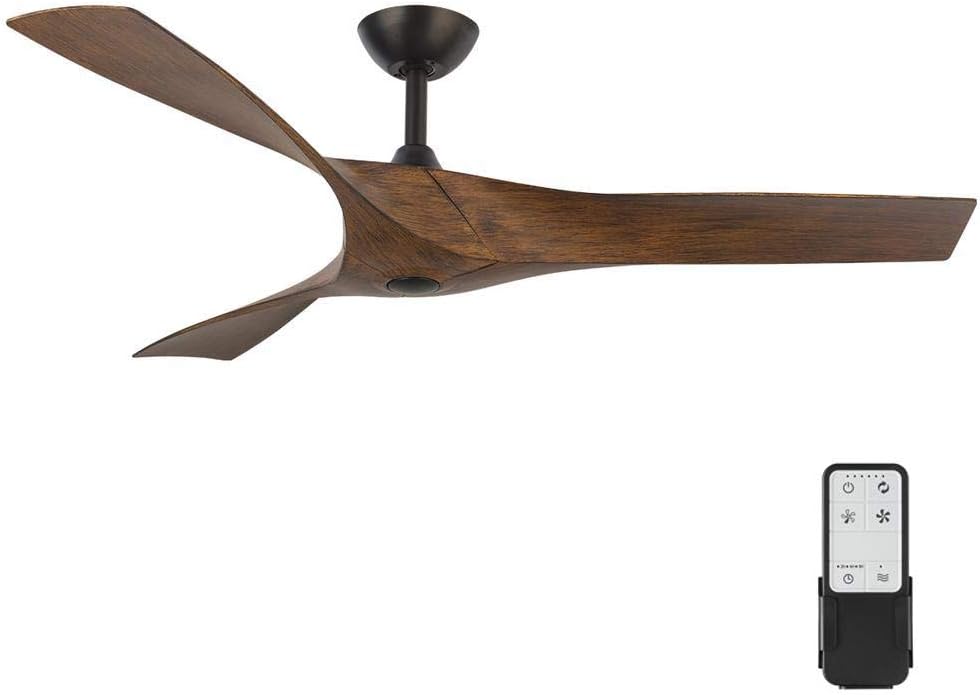
Figure 1: Wesley 52-inch Oil Rubbed Bronze DC Motor Ceiling Fan with its remote control.
Safety Information
To reduce the risk of electrical shock, fire, or injury to persons, always follow these basic precautions:
- Read all instructions before installing the fan.
- Ensure the installation site has a minimum clearance of 7 feet from the floor to the fan blades.
- All wiring must be in accordance with national and local electrical codes.
- Disconnect power at the main circuit breaker before installation or servicing.
- The fan must be mounted to a ceiling joist or support capable of supporting a minimum of 35 lbs (15.9 kg).
- Do not operate the fan with damaged parts.
- Do not insert objects into the fan blades while the fan is operating.
- This fan is suitable for both indoor and outdoor (damp location rated) use. Ensure proper wiring and protection for outdoor installations.
Package Contents
Carefully unpack your fan and check to ensure all contents are present. If any parts are missing or damaged, contact customer service immediately.
- Fan Motor Assembly
- Fan Blades (3)
- Remote Control with Wall Mount
- Downrod Assembly
- Mounting Bracket
- Hardware Pack (screws, washers, wire nuts)
- Instruction Manual

Figure 2: Overview of the Wesley ceiling fan components, showing the motor housing and blades.
Setup & Installation
Tools Required:
- Phillips Screwdriver
- Flathead Screwdriver
- Adjustable Wrench
- Wire Strippers
- Electrical Tape
- Ladder
Installation Steps:
- Turn Off Power: Before starting, ensure the power is turned off at the circuit breaker to prevent electrical shock.
- Mounting Bracket Installation: Secure the mounting bracket to the ceiling outlet box. Ensure the outlet box is securely fastened to the building structure and can support the fan's weight.
- Assemble Downrod: Insert the downrod through the canopy and coupling cover. Feed the motor wires through the downrod.
- Attach Blades to Motor: Important Note: For easier installation, it is recommended to attach the fan blades to the motor assembly before hanging the motor from the ceiling. Align the blade holes with the motor's mounting points and secure with the provided screws.

Figure 3: Detail of how the fan blades attach to the motor housing.

Figure 4: Top-down view of the three fan blades assembled, showing their unique curved design.
- Hang Fan Assembly: Carefully lift the fan assembly and hang it from the mounting bracket using the hook provided on the downrod.
- Electrical Connections: Connect the fan's electrical wires to the household wiring according to the wiring diagram in the separate wiring guide (if provided) or standard electrical practices (Black to Black, White to White, Green/Bare to Ground). Ensure all connections are secure with wire nuts and electrical tape.
- Secure Fan to Mounting Bracket: Once wiring is complete, carefully slide the fan assembly into the mounting bracket and secure it with the provided screws.
- Install Canopy: Slide the canopy up to the ceiling and secure it to the mounting bracket.
- Remote Control Setup: Install batteries into the remote control. Follow the instructions in the remote control section to pair it with the fan.

Figure 5: The Wesley ceiling fan elegantly installed in a modern kitchen setting, demonstrating its aesthetic appeal.

Figure 6: The Wesley ceiling fan installed on an outdoor patio, highlighting its indoor/outdoor versatility.
Operating Instructions
Your Wesley ceiling fan is operated by the included remote control. Ensure the remote has fresh batteries installed.
Figure 7: The remote control for the Wesley ceiling fan, showing its various buttons for fan speed and direction.
Remote Control Functions:
- Power Button: Turns the fan On/Off.
- Fan Speed Buttons: Adjusts fan speed (typically 6 levels). Press to cycle through speeds or dedicated buttons for specific speeds.
- Fan Direction Button: Reverses the direction of the fan blades. Use for summer (downward airflow for cooling) or winter (upward airflow for circulating warm air).
- Timer Button: Sets a timer for the fan to turn off automatically (if applicable).
Pairing the Remote Control:
If the remote control does not operate the fan, it may need to be paired. With the fan's power turned off at the wall switch or circuit breaker, turn the power back on. Within 30 seconds of restoring power, press and hold the "Pair" button (often a small recessed button or a combination of buttons) on the remote control for 3-5 seconds until the fan responds. Ensure you are within close proximity to the fan during pairing.
Maintenance
Regular maintenance will ensure the longevity and optimal performance of your ceiling fan.
- Cleaning: To clean the fan, wipe with a soft, damp cloth. Do not use abrasive cleaners or solvents as they may damage the finish. Ensure power is off before cleaning.
- Blade Cleaning: The fan blades can accumulate dust. Gently wipe them with a soft, dry cloth.
- Tighten Screws: Periodically check all screws on the fan and downrod for tightness. Vibration from normal operation can cause them to loosen over time.
- No Lubrication Required: The DC motor is permanently lubricated and does not require oiling.
Troubleshooting
| Problem | Possible Cause | Solution |
|---|---|---|
| Fan does not start. |
|
|
| Fan makes noise. |
|
|
| Fan wobbles. |
|
|
| Remote control does not work. |
|
|
Specifications
| Feature | Detail |
|---|---|
| Model Name | 34776-HBUM |
| Brand | Home Decorators Collection |
| Product Dimensions | 52"W |
| Color | Oil Rubbed Bronze |
| Number of Blades | 3 |
| Blade Material | Plastic |
| Power Source | Corded Electric |
| Control Method | Remote |
| Indoor/Outdoor Usage | Outdoor, Indoor |
| Item Weight | 13.92 pounds |
| UPC | 773546293549 |
Warranty & Support
Warranty Information:
This Home Decorators Collection product is manufactured to the highest quality standards and is warranted to be free from defects in materials and workmanship for a period specified by the manufacturer. Please refer to the warranty card included with your purchase for specific terms and conditions. Keep your proof of purchase for warranty claims.
Customer Support:
For technical assistance, missing parts, or warranty inquiries, please contact Home Decorators Collection customer service. Contact information can typically be found on the product packaging or the manufacturer's official website. Please have your model number (34776-HBUM) and purchase date ready when contacting support.


