
1. Product Overview
This manual provides instructions for the proper installation and care of your new replacement belt, designed specifically for use with Hamilton Beach/Proctor Silex Model C70107 appliances. This belt is a critical component for the efficient operation of your vacuum cleaner or similar appliance, ensuring proper power transmission to moving parts.
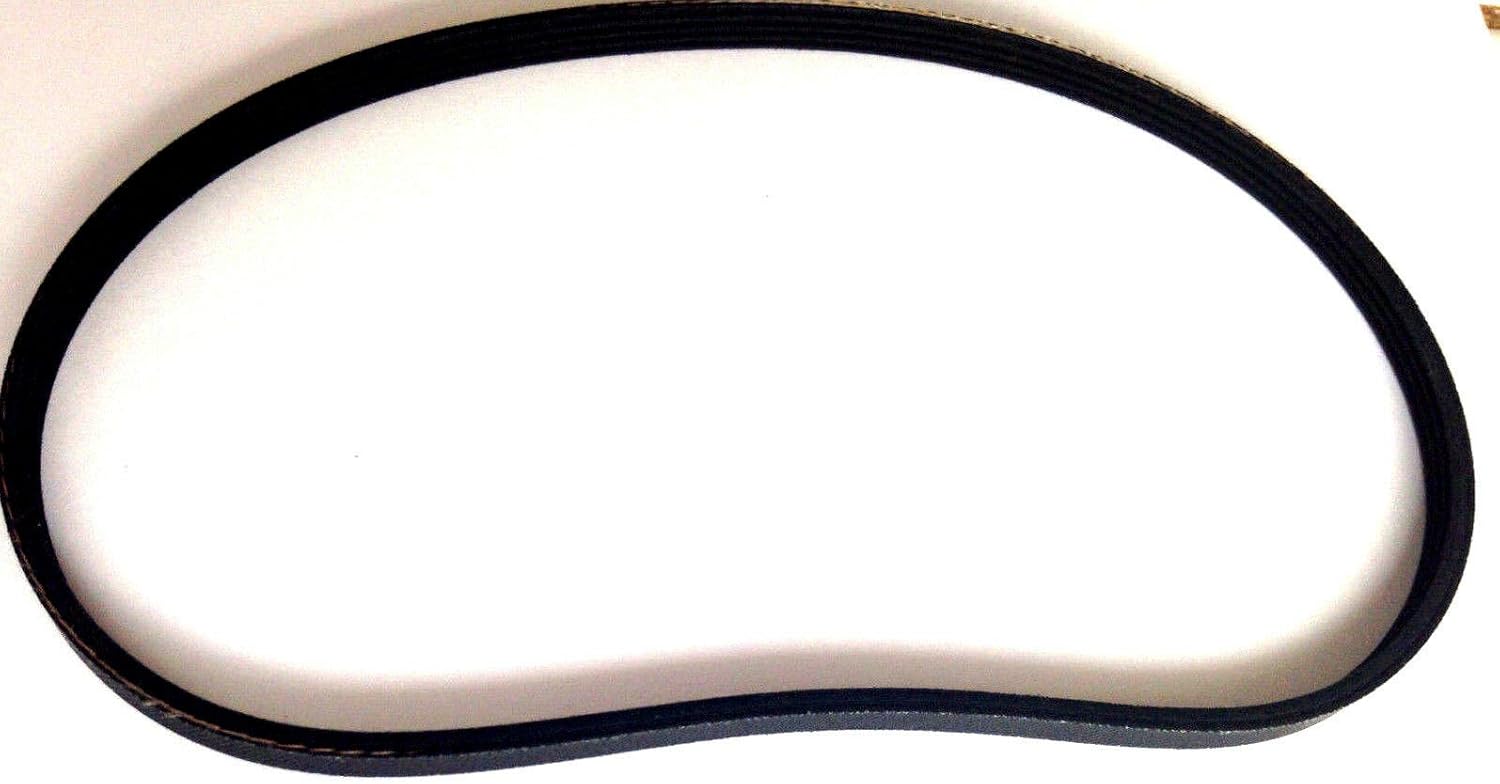
This image displays the new replacement belt, which is black, flexible, and designed to fit specific Hamilton Beach/Proctor Silex models. It is shown in a curved, elongated oval shape, indicating its intended use as a drive belt.
2. Installation Instructions
Before beginning, ensure the appliance is unplugged from the power source to prevent electrical shock or injury. Refer to your appliance's original user manual for specific disassembly instructions if needed.
- Preparation: Unplug the Hamilton Beach/Proctor Silex Model C70107 appliance from the wall outlet. Place the appliance on a clean, flat, and stable surface.
- Access the Belt Area: Depending on your specific appliance model, you may need to remove covers, base plates, or brush rolls to access the old belt. Use appropriate tools (e.g., screwdriver) as required.
- Remove Old Belt: Carefully locate the worn or broken belt. Gently remove it from its pulleys or motor shaft. Note the path of the old belt for correct installation of the new one.
- Install New Belt: Place the new replacement belt around the motor shaft and the brush roll (or corresponding components). Ensure the belt is properly seated in any grooves or guides. The belt should be taut but not overly stretched.
- Test Rotation: Manually rotate the brush roll or connected component to ensure the new belt moves freely and does not slip.
- Reassemble: Reattach any covers, base plates, or brush rolls that were removed during disassembly. Ensure all screws and fasteners are securely tightened.
- Final Check: Plug the appliance back into the power source and test its operation. Listen for any unusual noises and observe if the components driven by the belt are functioning correctly.
3. Care and Storage
To ensure the longevity of your replacement belt and the optimal performance of your appliance:
- Regular Inspection: Periodically inspect the belt for signs of wear, cracking, or stretching. Replace the belt if any damage is observed.
- Cleanliness: Keep the area around the belt and pulleys free from debris, hair, and dust, which can cause premature wear.
- Proper Storage: If storing a spare belt, keep it in a cool, dry place away from direct sunlight and extreme temperatures to prevent material degradation.
4. Troubleshooting
| Problem | Possible Cause | Solution |
|---|---|---|
| Appliance not operating after belt replacement | Belt not installed correctly or not seated on pulleys. | Re-check belt installation, ensuring it is properly aligned and taut. |
| Burning smell during operation | Belt slipping or friction from debris. | Unplug appliance, inspect belt for proper tension, and clear any obstructions from the brush roll or belt path. |
| Belt breaks shortly after replacement | Underlying issue with appliance (e.g., seized brush roll bearing) or incorrect belt type. | Verify the belt is the correct model for your appliance. Inspect other moving parts for resistance or damage. |
5. Specifications
- Product Type: Replacement Drive Belt
- Compatibility: Hamilton Beach/Proctor Silex Model C70107
- Material: Durable rubber compound
- UPC: 785614507519
6. Warranty and Support
This replacement belt is manufactured to meet or exceed the specifications of the original part. For specific warranty information, please refer to the terms provided by the seller at the time of purchase. For technical support or further assistance, please contact the seller or manufacturer of the replacement part.
For general inquiries regarding your Hamilton Beach/Proctor Silex appliance, please refer to the manufacturer's official website or customer service channels.