
1. Product Overview
The Claymore Capon 120H is a lightweight, rechargeable LED clip-on headlamp designed for various outdoor and industrial applications. It offers powerful illumination, multiple lighting modes, and convenient hands-free operation.
- High Brightness: Delivers up to 500 lumens of light.
- Extended Battery Life: Equipped with a 1,200mAh battery, providing up to 45 hours of operation.
- Hands-Free Sensor: Features an innovative motion sensor for power control, allowing activation with a simple hand wave.
- Durable Construction: Built with dustproof and waterproof capabilities for reliable performance in diverse environments.
- Versatile Lighting: Includes three lighting modes: focused, diffused red, and diffused white, with an adjustable angle of 180 degrees.
- USB-C Charging: Convenient C-type charging for easy power replenishment.
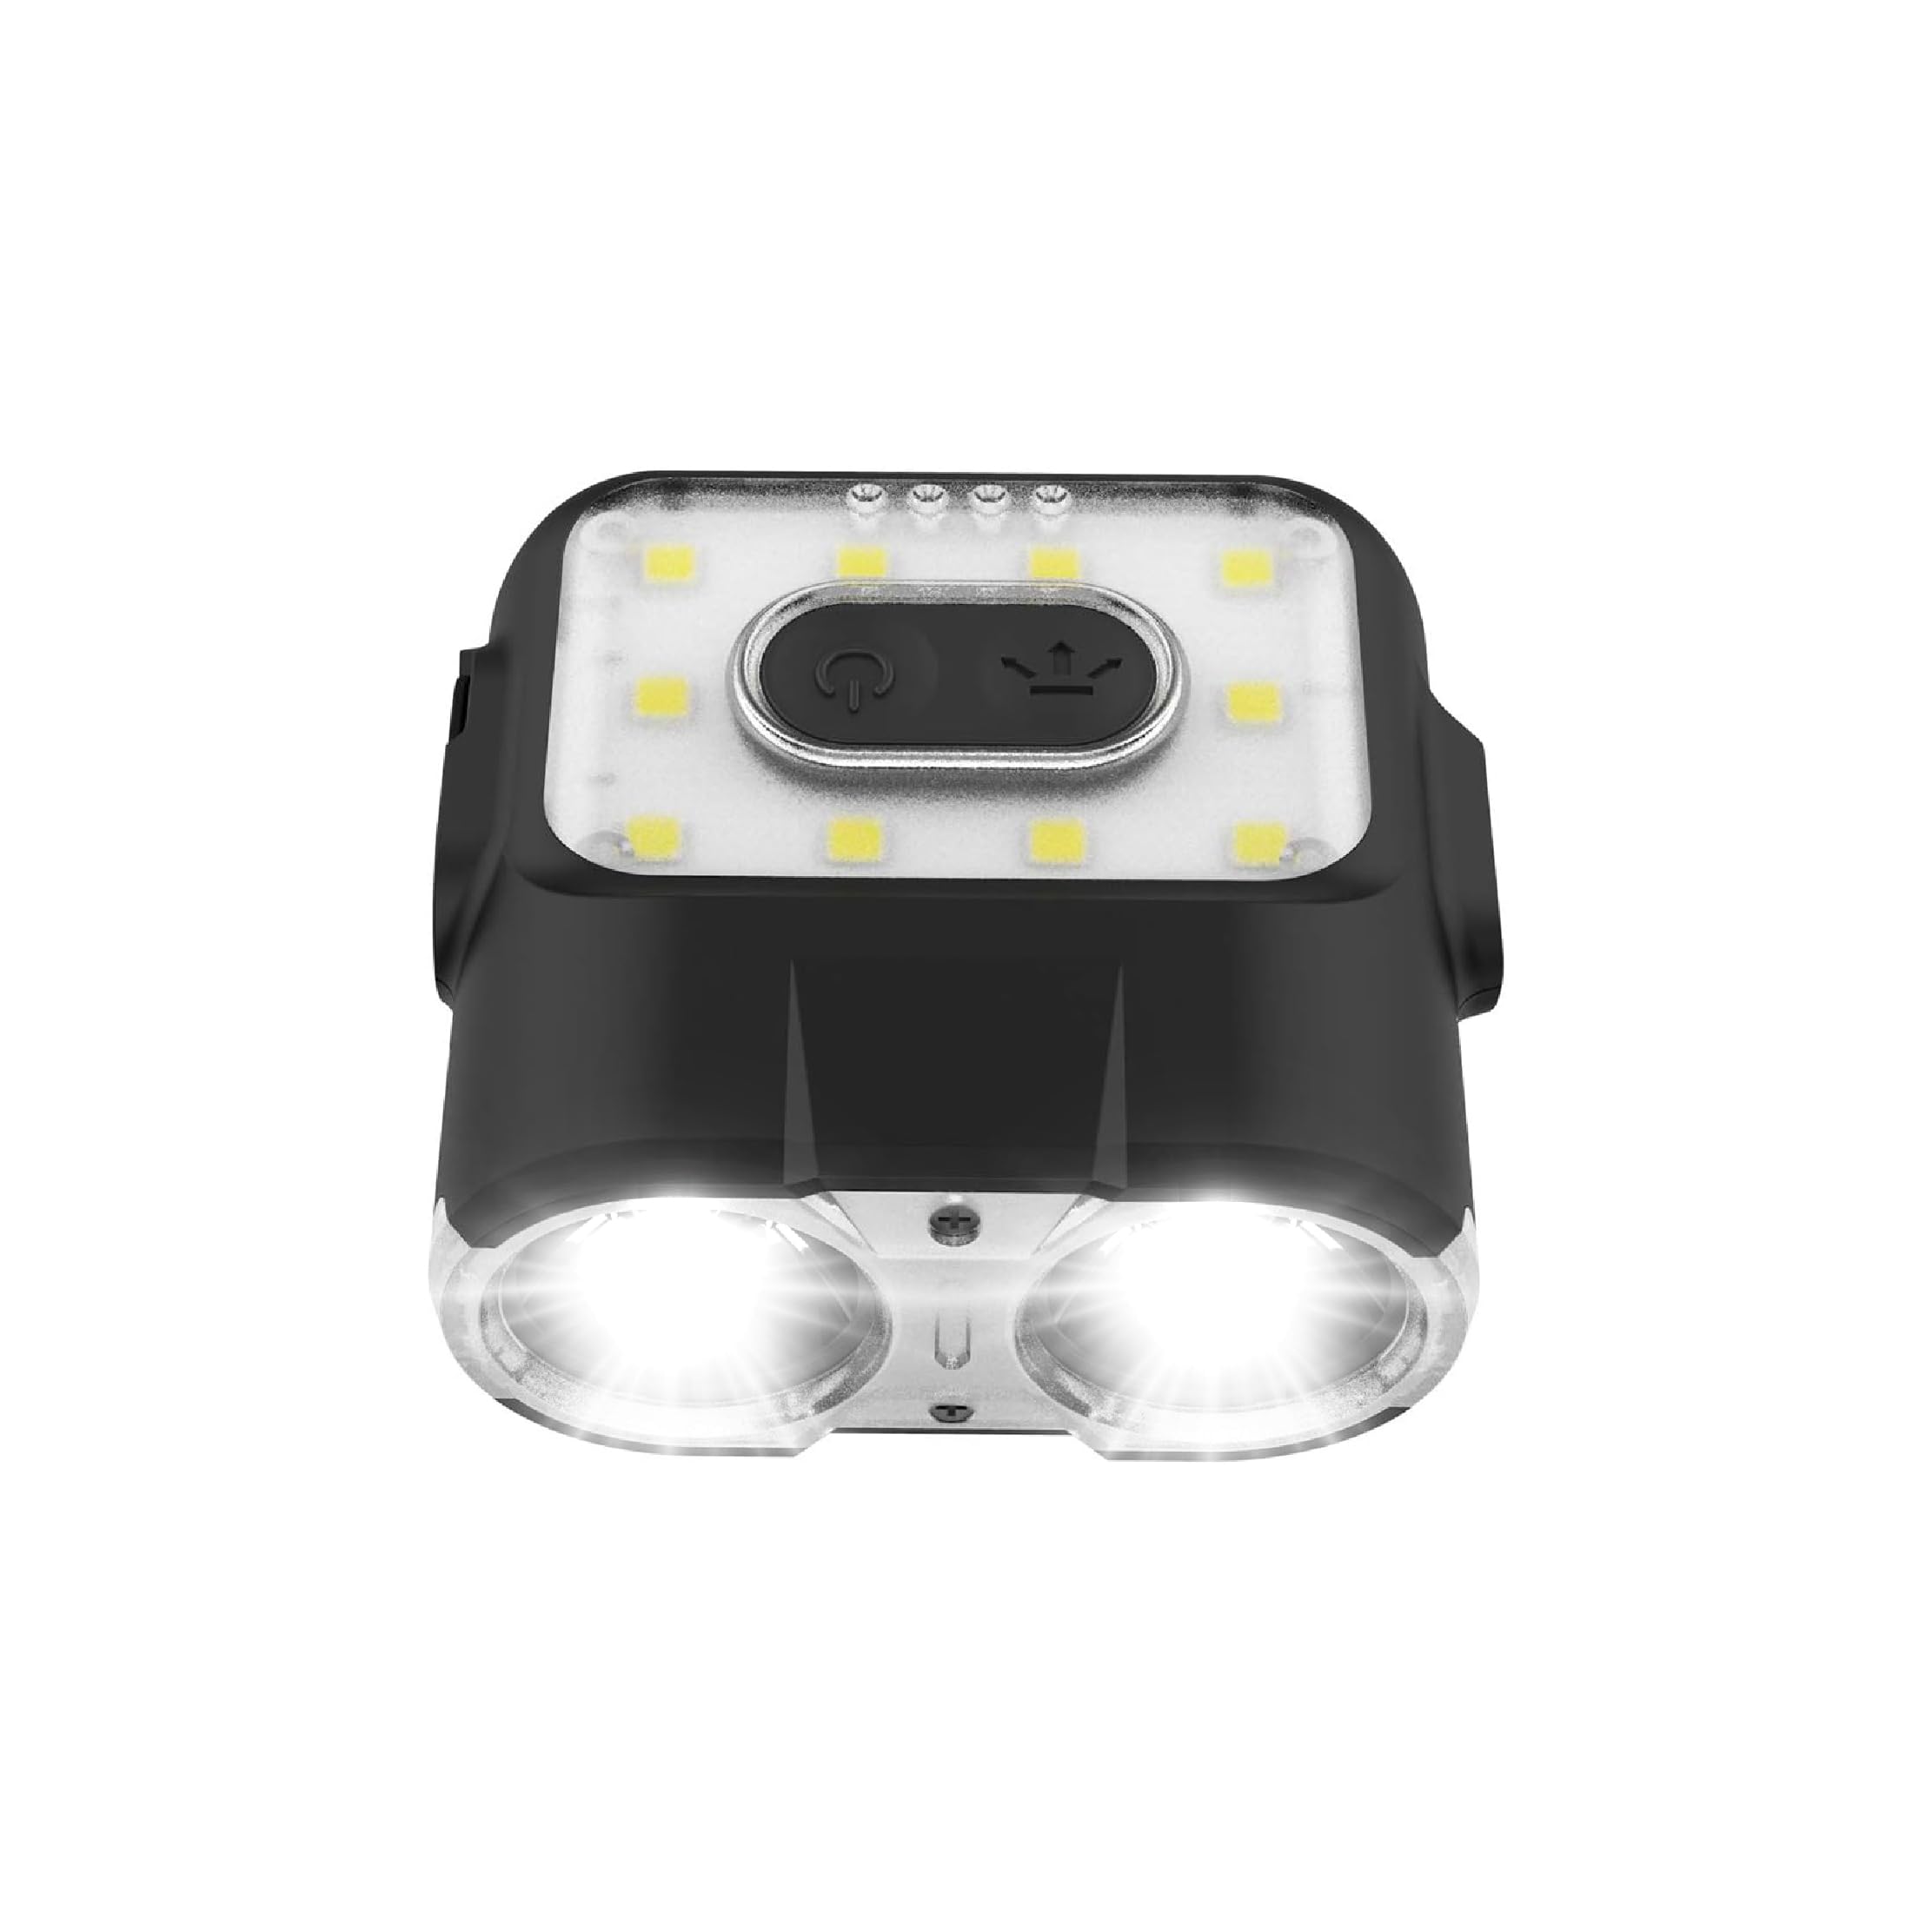
Image 1.1: Claymore Capon 120H LED Rechargeable Clip-On Cap Headlamp.
2. What's Included
The Claymore Capon 120H package includes the following items:
- Claymore Capon 120H Headlamp
- Charging Cable (USB-C)
- Carrier Pouch
- Carabiner
3. Setup
3.1 Attaching to a Cap or Hard Hat
The Capon 120H is designed to clip securely onto the brim of a cap or hard hat for hands-free illumination.
- Locate the clip on the back of the headlamp.
- Fully insert the clip onto the visor of your cap or hard hat.
- Adjust the angle of the headlamp as needed for proper light direction.

Image 3.1: Illustration of attaching the Capon 120H to headwear and adjusting the light angle.
3.2 Using with Lantern Hook
The included carabiner allows the Capon 120H to be hung as a lantern.
- Attach the carabiner to the designated loop on the headlamp.
- Hang the headlamp using the carabiner on a string, tent loop, or other suitable fixture to use it as an area light.
4. Operating Instructions
4.1 Power On/Off and Mode Selection
The Capon 120H features a main power button for basic operation and mode cycling.
- Press the power button once to turn the light on.
- Subsequent presses will cycle through the available lighting modes: Focused Light, Red Light, Diffused Light.
- Press and hold the power button to turn the light off.

Image 4.1: Overview of the three distinct lighting modes.
- Focused Light: Provides a long-distance, narrow beam, ideal for spotting objects far away.
- Red Light (Front): Offers a short-distance, wide beam with minimal light emission, suitable for signaling or preserving night vision.
- Diffused Light (Top): Spreads light evenly over a short distance, useful as a lantern for general area illumination.
4.2 Brightness Adjustment
The Capon 120H allows for brightness adjustment within each mode.
- The device features 5 pre-set brightness levels.
- To adjust brightness, press the dedicated brightness adjustment button (usually indicated by +/- or a similar icon).
- An SOS flash function is also included for emergency situations.
4.3 Sensor Mode
The Sensor Mode enables hands-free control of the light.
- When the light is ON, push the MODE button for over 2 seconds to activate Sensor Mode. The sensor indicator will flash.
- Once Sensor Mode is active, wave your hand by the sensor (detection range: 1-5cm) to turn the light on and off.
- Repeat the 2-second press on the MODE button to deactivate Sensor Mode.

Image 4.2: Instructions for activating and using the motion sensor feature.
4.4 Angle Adjustment
The Capon 120H allows for flexible light direction.
- The headlamp can be adjusted up to 180 degrees.
- Gently pivot the light unit to direct the beam as required for focused or diffused lighting.
5. Charging and Battery
5.1 Charging Method
The Capon 120H uses a USB Type-C port for charging its internal Li-Polymer 3.7V battery.
- Locate the rubber cover on the rear of the device.
- Open the rubber cover to expose the USB-C charging port.
- Connect the provided USB-C cable to the port and plug the other end into a compatible USB power source (e.g., wall adapter, power bank, computer USB port).
5.2 Battery Level Check
The battery level indicator provides an estimate of the remaining charge.
- When charging, the battery indicator will flicker in 3 steps to show the charging progress.
- To check the battery remaining when not charging, press the power button briefly.
- The indicator lights correspond to the following charge levels:
- 0-33%: Indicator flickers
- 33-66%: Indicator flickers
- 66-99%: Indicator flickers
- Fully charged: Indicator stops flickering and remains solid.

Image 5.1: Charging instructions and battery status indicators.
6. Maintenance
- Cleaning: Wipe the device with a soft, damp cloth. Do not use harsh chemicals or abrasive cleaners.
- Water Resistance: The Capon 120H is waterproof. Ensure the USB-C port cover is securely closed to maintain water resistance. Avoid submerging the device for extended periods or at depths beyond its rating.
- Storage: Store the headlamp in a cool, dry place when not in use. For long-term storage, charge the battery to approximately 50% to prolong its lifespan.
- Battery Care: Avoid fully discharging the battery frequently. Recharge regularly to maintain optimal battery health.
7. Troubleshooting
- Light not turning on:
- Check battery level and recharge if necessary.
- Ensure the power button is pressed firmly.
- Sensor Mode not responding:
- Ensure Sensor Mode is activated (sensor indicator flashing).
- Check the distance of your hand from the sensor (1-5cm).
- Ensure the sensor area is clean and unobstructed.
- Short battery life:
- Ensure the device is fully charged before use.
- Operating at maximum brightness will consume battery faster. Consider using lower brightness settings when possible.
- Battery performance can degrade over time with repeated charge cycles.
8. Specifications
| Feature | Specification |
|---|---|
| Light Source Type | Light Emitting Diode (LED) |
| Brand | Claymore |
| Color | Black |
| Power Source | Battery Powered |
| Material | Acrylonitrile Butadiene Styrene (ABS) |
| Battery Type | Lithium-Ion (Lithium Polymer 3.7V) |
| Light Output Maximum | 500 Lumens |
| Mounting Type | Clip-on (Cap/Hard Hat), Tabletop Mount (with carabiner) |
| Water Resistance Level | Waterproof |
| Battery Life (Max) | 45 Hours |
| Number of Batteries | 1 Lithium Polymer battery (included) |
| Voltage | 3.7 Volts |
| Beam Angle | 180 Degrees (adjustable) |
| Number of Light Sources | 3 (Focused, Red, Diffused) |
| Special Features | Motion Sensor, Dimming Control, SOS Mode |
| Model Number | 120H |
| Manufacturer | Prism Co., Ltd |
9. Warranty and Support
The manufacturer's warranty description states "None." for this product. For any product-related inquiries or support, please refer to the retailer where the product was purchased or visit the official Claymore website for general information.
For additional information or to explore other Claymore products, you may visit the Claymore Store on Amazon.


