1. Product Overview
This manual provides essential information for the installation, operation, and maintenance of the GEO Front Brake Disc Plate, designed for the Yamaha R15 Version 2 motorcycle. Proper installation and maintenance are crucial for optimal braking performance and safety.
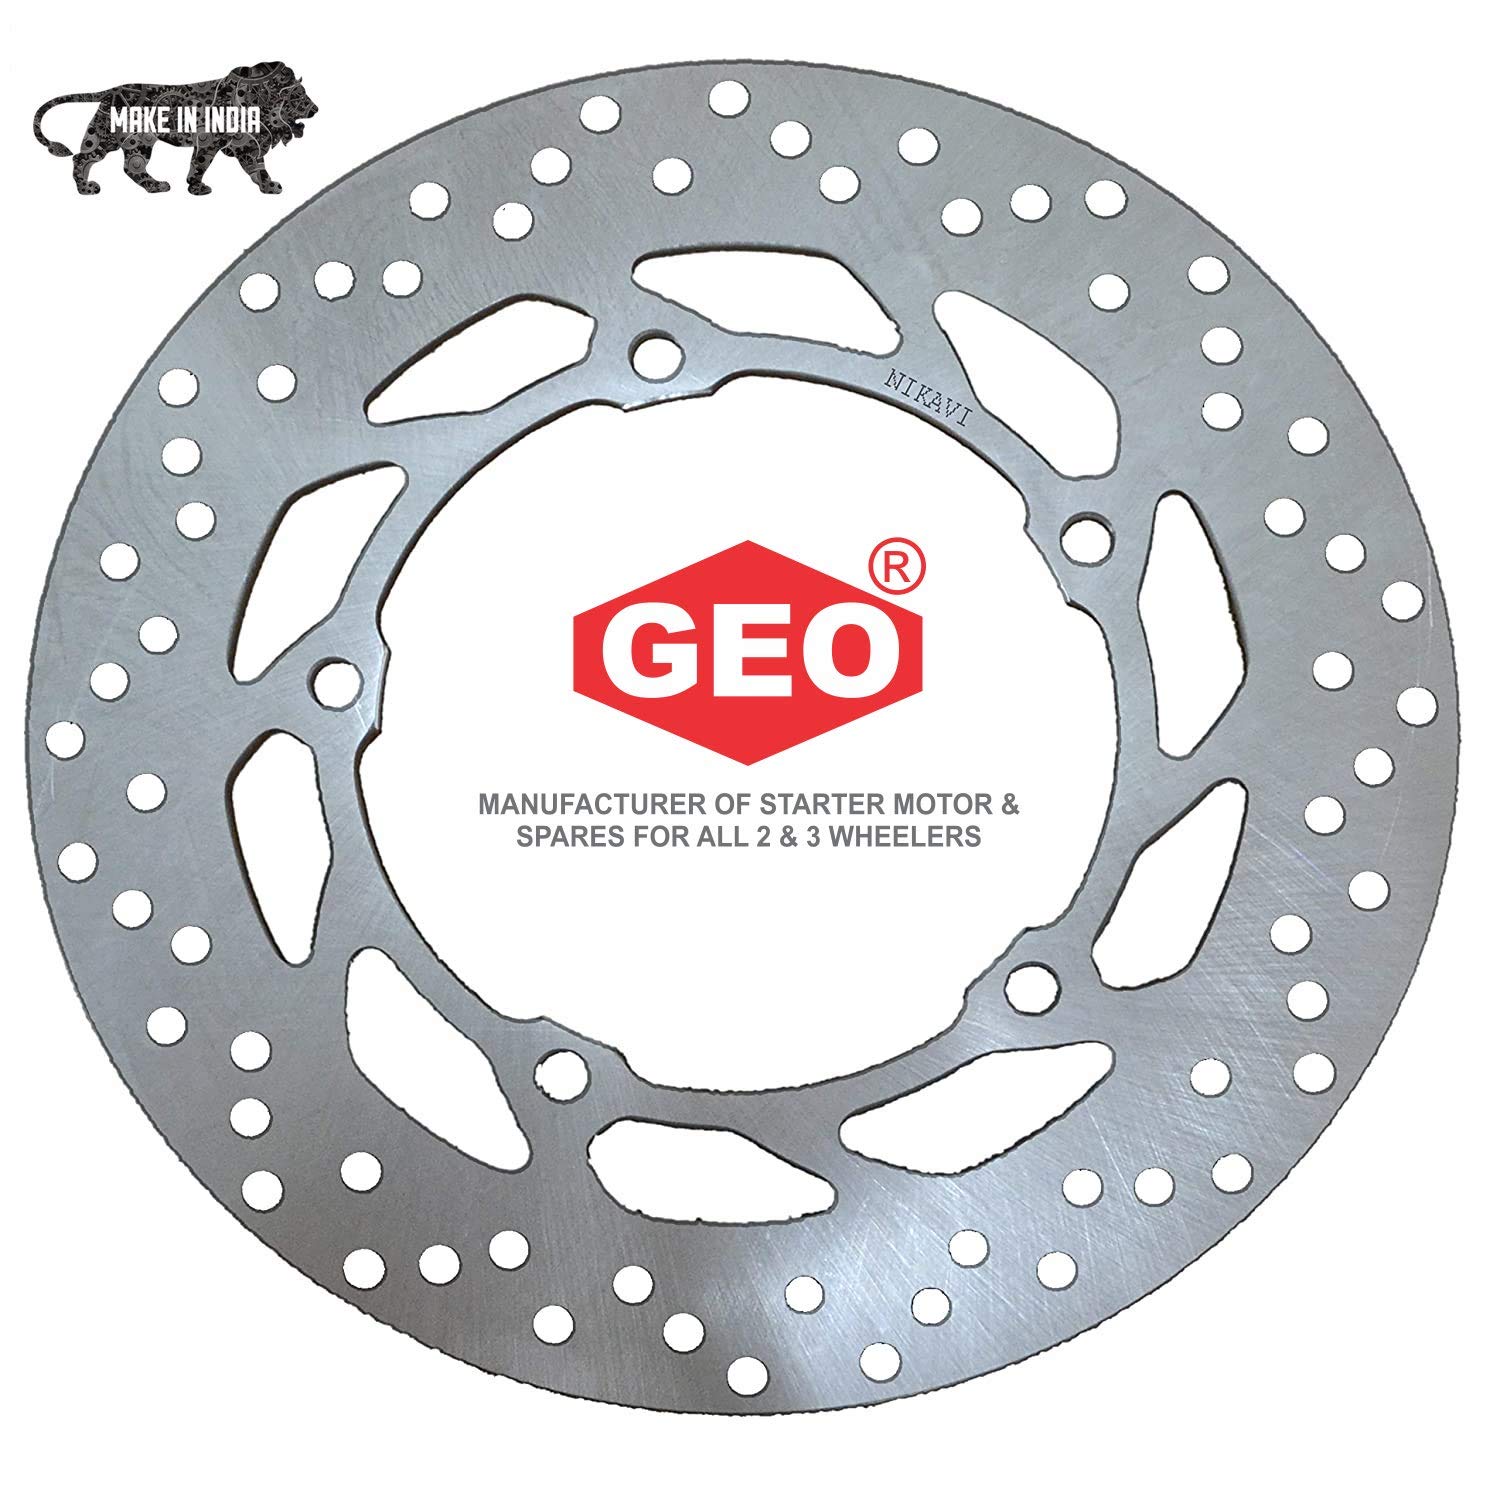
Image 1.1: The GEO Front Brake Disc Plate. This image displays the circular stainless steel brake disc with multiple ventilation holes and a central mounting area featuring the GEO brand logo and "MAKE IN INDIA" emblem. The text "NIKAVI" is also visible on the disc surface.
2. Key Features
- Material: Constructed from high-quality stainless steel for durability and performance.
- Enhanced Friction: Engineered to provide up to a 10% improvement in friction effect compared to standard discs, enhancing braking efficiency.
- Optimal Design: Features a 220 mm diameter disc plate with a design that promotes fast air circulation and excellent temperature reduction, contributing to wear resistance.
- Compatibility: Specifically designed for mechanical disc brake systems on the Yamaha R15 Version 2.
- Installation: Designed for straightforward installation.
3. Installation Instructions
Installation of brake components should ideally be performed by a qualified mechanic. Incorrect installation can lead to serious safety hazards. If you are performing the installation yourself, ensure you have the necessary tools and technical knowledge.
3.1 Required Tools (Not Included):
- Appropriate wrenches or sockets for brake caliper and disc bolts.
- Torque wrench.
- Brake cleaner.
- Thread-locking compound (medium strength, if recommended by motorcycle manufacturer).
3.2 Installation Steps:
- Preparation: Ensure the motorcycle is securely supported on a stand. Allow the brake system to cool completely.
- Wheel Removal: Carefully remove the front wheel from the motorcycle according to the manufacturer's service manual.
- Old Disc Removal: Loosen and remove the bolts securing the old brake disc to the wheel hub. Discard the old disc and bolts if they are not reusable.
- Hub Cleaning: Thoroughly clean the wheel hub's mounting surface to remove any dirt, rust, or debris. Use brake cleaner to ensure a clean, grease-free surface.
- New Disc Installation: Position the GEO Front Brake Disc Plate onto the wheel hub, aligning the mounting holes.
- Secure Bolts: Install new brake disc bolts (or clean and apply thread-locking compound to existing bolts if specified by the motorcycle manufacturer). Tighten the bolts in a star pattern to the torque specifications provided in your motorcycle's service manual.
- Wheel Reinstallation: Reinstall the front wheel onto the motorcycle, ensuring proper alignment and tightening the axle nut to the manufacturer's specified torque.
- Brake Caliper Check: Ensure the brake caliper is properly aligned over the new disc. Pump the brake lever several times until firm pressure is felt.
- Final Inspection: Before riding, visually inspect all components for proper fitment and ensure there is no brake fluid leakage. Test the brakes at low speed in a safe area.
4. Operating Instructions
The GEO Front Brake Disc Plate operates as part of your motorcycle's hydraulic disc brake system. Proper operation involves understanding brake feel and performing routine checks.
- Brake-In Period: New brake discs and pads require a "bedding-in" period. During this time, avoid hard braking. Perform several moderate stops from varying speeds to allow the brake pads to conform to the new disc surface. This typically takes 100-200 kilometers of riding.
- Brake Feel: The brake lever should feel firm and consistent. Any sponginess, excessive travel, or unusual noises should be investigated immediately.
- Emergency Braking: In an emergency, apply both front and rear brakes smoothly and progressively. Avoid sudden, harsh application of the front brake, especially on loose or wet surfaces, to prevent wheel lock-up.
5. Maintenance
Regular maintenance ensures the longevity and safe operation of your GEO Front Brake Disc Plate.
- Visual Inspection: Periodically inspect the disc for signs of wear, cracks, deep grooves, or discoloration. Check for any warping by rotating the wheel and observing the disc's runout.
- Brake Pad Wear: Monitor your brake pads for wear. Worn pads can damage the disc and reduce braking effectiveness. Replace pads when they reach their minimum thickness.
- Cleaning: Keep the brake disc clean from oil, grease, and dirt. Use a dedicated brake cleaner if necessary. Avoid using petroleum-based solvents that can contaminate brake pads.
- Fastener Torque: Periodically check the torque of the disc mounting bolts to ensure they remain securely fastened.
- Brake Fluid: Ensure brake fluid levels are correct and replace fluid according to your motorcycle manufacturer's recommendations.
6. Troubleshooting
If you experience any issues with your braking system, consult a qualified mechanic. Do not attempt to ride the motorcycle if you suspect a brake malfunction.
- Squealing or Grinding Noise:
- Possible Cause: Worn brake pads, contaminated disc, or improper brake pad installation.
- Action: Inspect brake pads for wear and contamination. Clean the disc. Ensure pads are correctly installed.
- Reduced Braking Performance:
- Possible Cause: Worn pads, air in the brake lines, contaminated disc, or warped disc.
- Action: Check pads, bleed brake lines, clean or replace disc if warped.
- Vibration During Braking:
- Possible Cause: Warped brake disc or uneven pad wear.
- Action: Inspect disc for warping. Replace disc if warped. Check and replace brake pads if unevenly worn.
7. Specifications
| Attribute | Specification |
|---|---|
| Brand | GEO |
| Model Number | AER15V2FRONT |
| Compatibility | Yamaha R15 Version 2 (Front) |
| Material | High-quality Stainless Steel |
| Disc Diameter | 220 mm |
| Manufacturer | Ankit Engineering |
8. Warranty and Support
For specific warranty information regarding your GEO Front Brake Disc Plate, please refer to the documentation provided at the time of purchase or contact your retailer. For technical support or inquiries, please reach out to the manufacturer, Ankit Engineering, or your authorized GEO dealer.
Manufacturer: Ankit Engineering


