
1. Introduction
This manual provides detailed instructions for the safe and effective operation of your Aolbea P100 2K Police Body Camera. Please read this manual thoroughly before use and retain it for future reference.
The Aolbea P100-64gb is a robust and portable body-worn camera designed for law enforcement, security personnel, and personal use, offering high-definition video recording, infrared night vision, and long battery life.

Image: Key features of the Aolbea P100 Body Camera, highlighting 3300P photo resolution, 1440P video resolution, and a 150-degree wide-angle lens for comprehensive capture.

Image: The Aolbea P100 Body Camera is versatile for various applications, including daily recording, security, professional meetings, law enforcement, vehicle recording, and secure escorts.
2. Safety Information
- Water Resistance: The device is IPX67 waterproof. Do not submerge the device in water for extended periods or expose it to high-pressure water jets.
- Temperature: Operate and store the device within recommended temperature ranges to prevent damage.
- Battery: Do not attempt to replace the built-in battery. Use only the provided USB cable for charging.
- Cleaning: Use a soft, dry cloth for cleaning. Avoid harsh chemicals or abrasive materials.
- Disassembly: Do not attempt to disassemble or repair the device yourself. This will void the warranty.
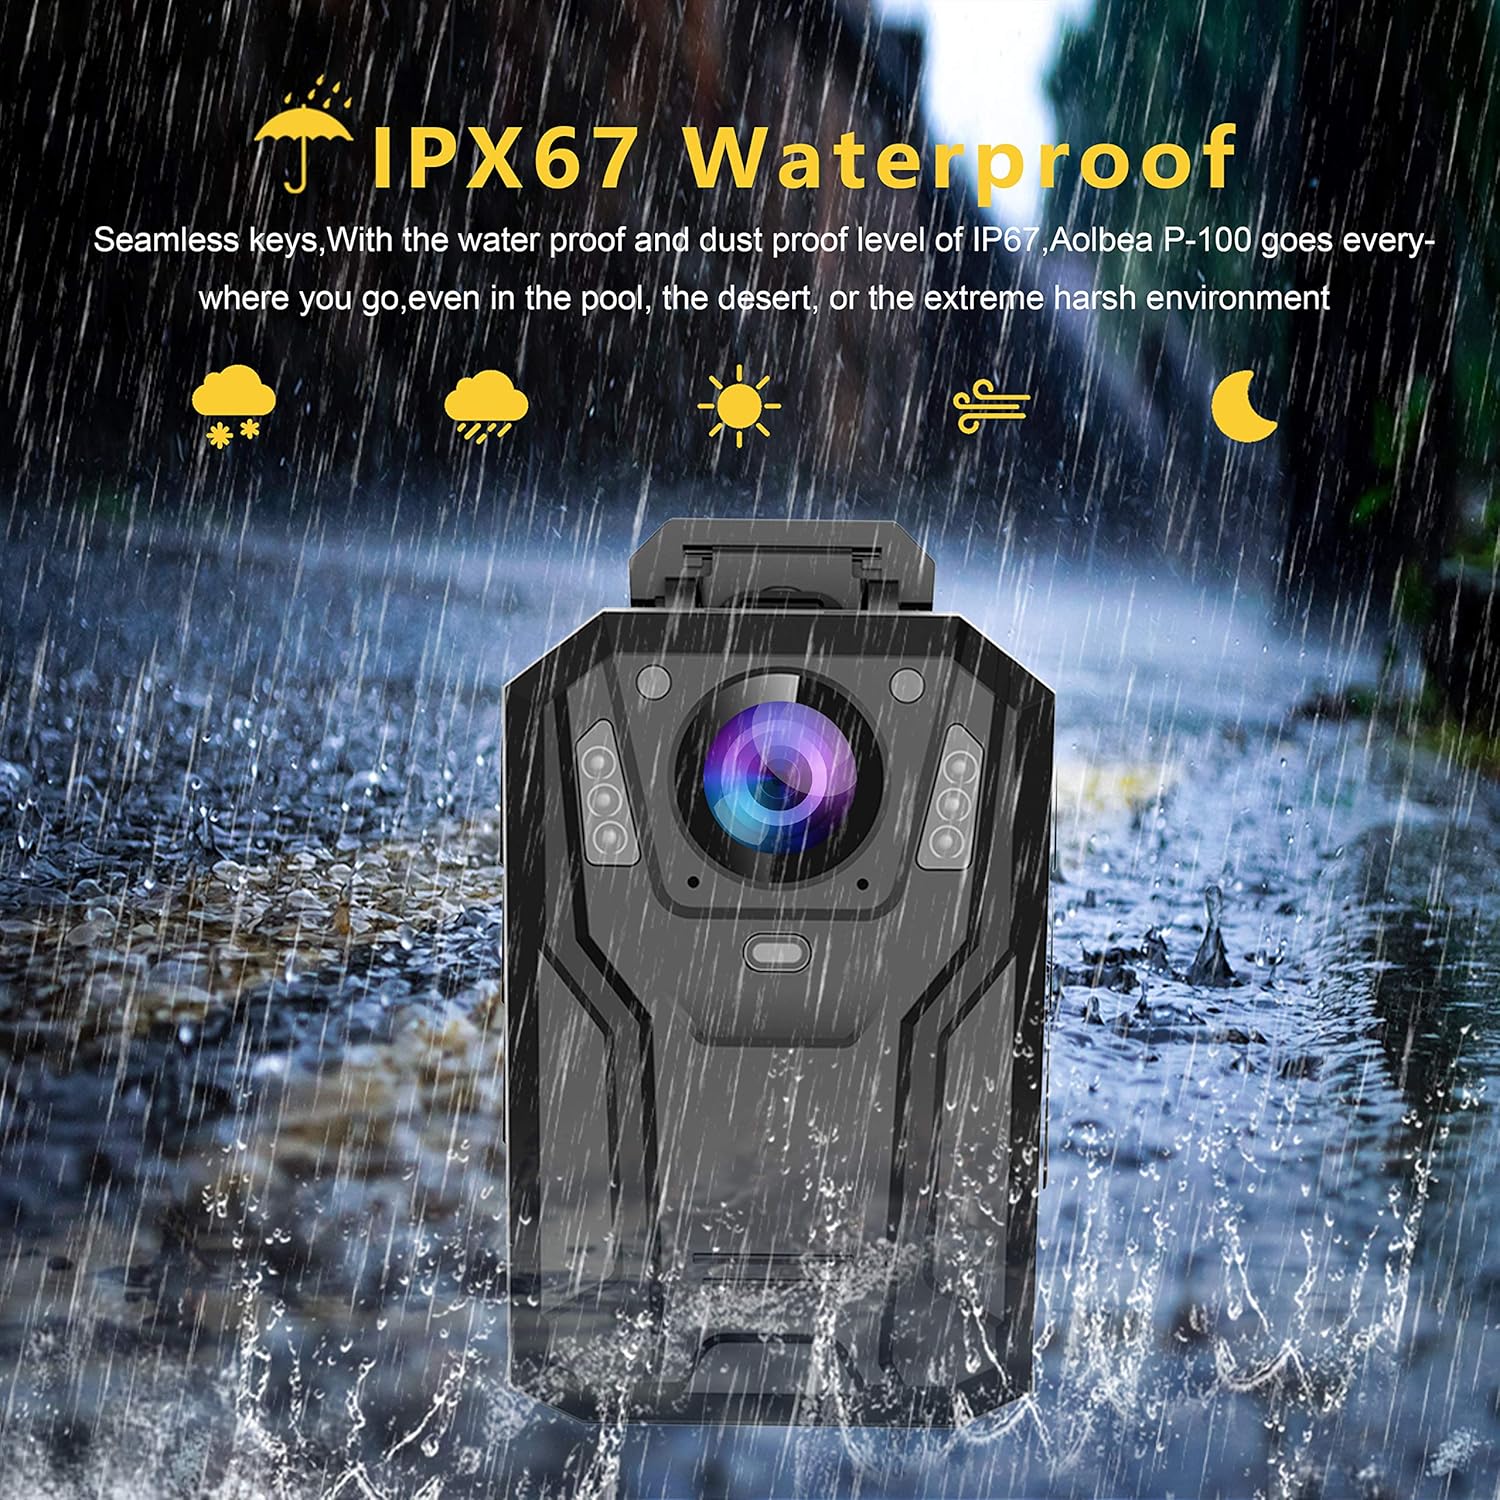
Image: The Aolbea P100 Body Camera demonstrating its IPX67 waterproof capability, suitable for use in various weather conditions.
3. Package Contents
Verify that all items are present in the package:
- 1 x Aolbea P100-64gb Body Camera
- 1 x USB Cable
- 1 x User Manual
- 1 x Shoulder Clip
- 1 x Belt Clip

Image: The Aolbea P100 Body Camera, showcasing its compact design and front-facing lens.
4. Product Overview
4.1. Device Layout
The Aolbea P100-64gb features a user-friendly design with clearly marked buttons and ports.

Image: A diagram illustrating the one-key operation buttons on the side of the camera for quick access to photo, audio, and video recording functions.
4.2. Display and Indicators
The camera is equipped with a display screen and LED indicators to show status, recording mode, battery level, and storage information.
5. Setup
5.1. Charging the Battery
Before first use, fully charge the camera. Connect the provided USB cable to the camera's USB-C port and a power adapter (not included). The charging indicator will show the charging status. A full charge provides approximately 11 hours of continuous recording.
5.2. Initial Power On
Press and hold the Power button to turn on the camera. The device will boot up and display the main interface.
5.3. Basic Settings
Navigate through the menu using the control buttons to adjust settings such as date/time, video resolution (up to 1440p), audio settings, and display brightness.
6. Operating the Camera
6.1. Video Recording
To start video recording, press the dedicated Video Record button. Press it again to stop recording. The camera supports resolutions up to 1440p.
6.2. Taking Photos
To capture a still image, press the dedicated Photo button.
6.3. Audio Recording
To record audio only, press the dedicated Audio Record button. Press again to stop.
6.4. Infrared Night Vision
The camera features 6 infrared LED lights and HDR technology for clear footage in low light or total darkness, up to 50 feet. Night vision activates automatically in low light conditions or can be manually toggled.

Image: An illustration detailing the camera's 6G HD lens and infrared night vision capabilities, emphasizing the F2.0 large aperture for enhanced low-light performance.
6.5. Motion Detection
Enable motion detection in the settings to automatically start recording when movement is detected within the camera's field of view.
6.6. Loop Recording
When enabled, loop recording automatically overwrites the oldest files when the 64GB internal memory is full, ensuring continuous recording.

Image: A visual representation of the camera's loop recording, motion detection, and star marker functions, which help manage storage and highlight important events.
7. Data Management
7.1. Connecting to a PC
Connect the camera to a computer using the provided USB cable. The camera will appear as a removable disk drive.
7.2. File Transfer
You can drag and drop files from the camera's internal memory to your computer. Ensure to safely eject the device before disconnecting.
7.3. Password Protection
For security, you can set a password on the camera to prevent unauthorized access or deletion of recorded files.
8. Maintenance
- Cleaning: Regularly clean the lens and screen with a soft, lint-free cloth.
- Storage: Store the camera in a cool, dry place away from direct sunlight and extreme temperatures.
- Battery Care: For optimal battery life, avoid fully discharging the battery frequently. Charge the camera regularly, even when not in use for extended periods.
9. Troubleshooting
9.1. Camera Not Powering On
- Ensure the battery is fully charged.
- Try holding the Power button for a longer duration (5-10 seconds).
9.2. Video Playback Issues (No Sound on PC)
- Some PC players may not be compatible with the camera's video format. Try using alternative media players such as VLC Media Player or KMPlayer.
9.3. Storage Full
- Transfer files to a computer to free up space.
- Enable loop recording if continuous recording is desired without manual deletion.
9.4. Screen Randomly Won't Turn On
- This could indicate a software or hardware issue. Ensure the camera is charged and try a soft reset by holding the power button until it restarts. If the issue persists, contact customer support.
10. Specifications
| Feature | Detail |
|---|---|
| Model | P100-64gb |
| Video Resolution | Up to 1440p |
| Photo Resolution | 3300 pixels |
| Wide Angle | 150° |
| Battery Capacity | 3300 mAh |
| Continuous Recording | Up to 11 hours |
| Internal Memory | 64 GB |
| Night Vision | Infrared LED (6 lights), HDR Technology |
| Water Resistance | IPX67 |
| Dimensions | 3.26 x 2.16 x 1.1 inches |
| Weight | 11.3 ounces |
| Connectivity | USB-C |
11. Warranty and Support
For warranty information and technical support, please refer to the official Aolbea website or contact your retailer. Keep your purchase receipt as proof of purchase.
For additional resources, you may refer to the official User Manual PDF: Aolbea P100 User Manual (PDF).