1. Introduction
This user manual provides detailed instructions for the safe and effective operation of your JIACOM Digital Infrared Thermometer, Model FR840. This non-contact thermometer is designed for accurate and rapid temperature measurement of the human body, surfaces, and ambient room temperature. Please read this manual thoroughly before use and keep it for future reference.
The JIACOM FR840 thermometer features a high-precision infrared sensor, an OLED display with backlight for clear readings in any light condition, and an automatic shut-off function to conserve battery life. It is suitable for use by individuals of all ages, including infants, children, and adults, and can be used in various settings such as homes, hospitals, and businesses.
2. Safety Information
Please observe the following safety precautions to ensure proper use and to prevent damage to the device or injury to the user:
- Do not immerse the thermometer in water or other liquids.
- Avoid dropping the device or subjecting it to strong impacts.
- Do not expose the thermometer to direct sunlight, extreme temperatures, or high humidity.
- Keep the device out of reach of children.
- Do not attempt to disassemble or repair the thermometer yourself. Contact qualified service personnel.
- Ensure the measurement distance is between 2 to 5 cm from the target surface for accurate readings.
- Do not measure near the eyebrow area; aim for the center of the forehead.
- If the device has been stored in a cold or hot environment, allow it to acclimatize to room temperature for at least 30 minutes before use.
3. Product Components
The JIACOM Digital Infrared Thermometer package includes:
- 1 x JIACOM Digital Infrared Thermometer (Model FR840)
- 1 x User Manual (English)
Please note: 2x AAA batteries are required and are not included in the package.

Figure 3.1: Various views of the JIACOM Digital Infrared Thermometer, highlighting its compact design and how it fits in hand.
4. Setup
4.1 Battery Installation
The thermometer requires 2 AAA batteries (not included). To install the batteries:
- Locate the battery compartment cover on the handle of the thermometer.
- Slide the cover open in the direction indicated by the arrow.
- Insert 2 AAA batteries, ensuring the correct polarity (+ and -) as marked inside the compartment.
- Close the battery compartment cover until it clicks securely into place.
When the battery indicator appears on the display, replace the batteries with new ones.
5. Operating Instructions
5.1 Power On/Off
To power on the device, press the central "SCAN O/I" button. The device will perform a self-check, and "LO" may appear in red on the screen briefly, indicating it's ready for measurement. The thermometer will automatically shut off after 30 seconds of inactivity to save power.

Figure 5.1: The thermometer display indicating normal (green), elevated (orange), and high (red) temperatures.
5.2 Measurement Modes
The thermometer offers two primary measurement modes: Body Temperature and Surface/Room Temperature.
- Body Mode: Used for measuring human body temperature. The display will show "Body" in the upper left corner.
- Surface Mode: Used for measuring the temperature of objects or the ambient room temperature. The display will show "Surface temp."
To switch between modes, press the "Body" button (if available, or the main scan button might cycle modes depending on model variation). The display will indicate the active mode.

Figure 5.2: Key features of the thermometer, including its speed, versatility, and temperature recording capability.
5.3 Taking a Measurement
For accurate temperature readings:
- Ensure the thermometer is in the desired measurement mode (Body or Surface).
- Hold the thermometer 2 to 5 cm (0.8 to 2 inches) away from the target. For body temperature, aim at the center of the forehead, avoiding the eyebrow area.
- Press the "SCAN O/I" button. A beep will sound, and the temperature reading will appear on the display within 1 second.
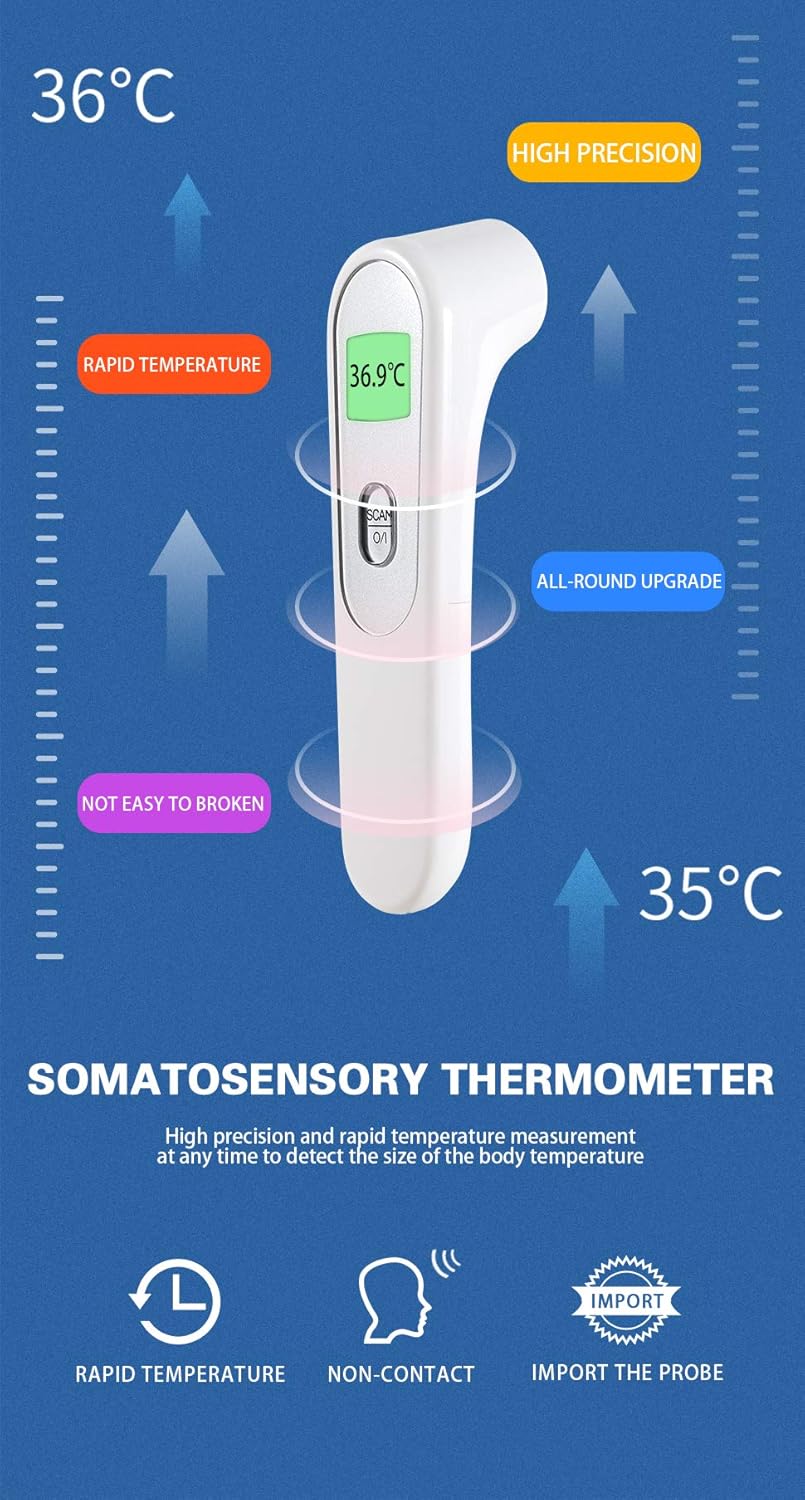
Figure 5.3: Proper measurement technique, illustrating the recommended distance for accurate readings.

Figure 5.4: Non-contact measurement is ideal for infants, ensuring comfort and hygiene.

Figure 5.5: The thermometer provides rapid temperature readings in just one second.
5.4 Display Interpretation and Intelligent Alarm
The OLED display provides clear readings with a color-coded backlight to indicate temperature status:
- Green Backlight: Indicates a normal temperature.
- Orange Backlight: Indicates a slightly elevated temperature.
- Red Backlight: Indicates a high temperature (fever). An automatic alarm system is triggered when a high body temperature occurs.
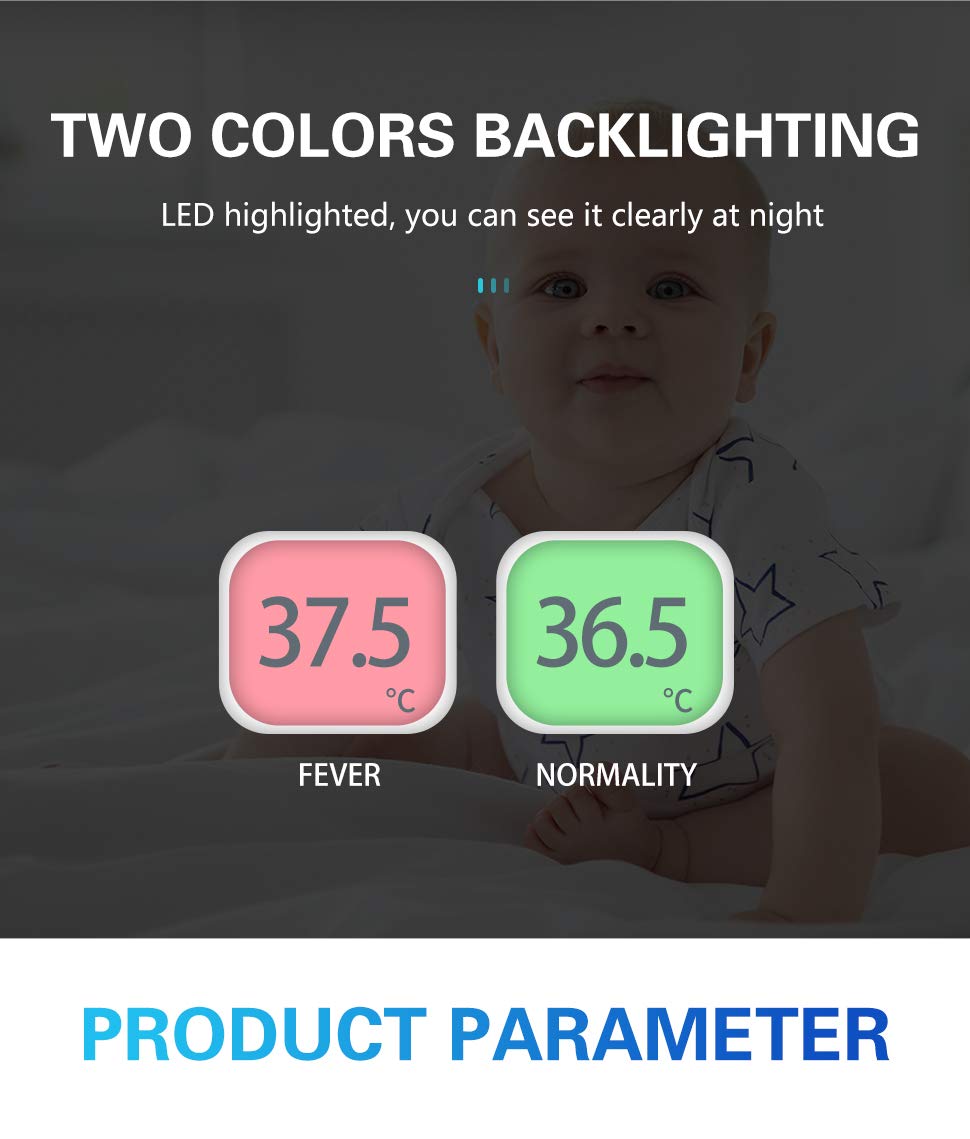
Figure 5.6: The two-color backlight system clearly indicates normal versus fever temperatures.

Figure 5.7: The intelligent alarm system alerts users to high temperatures, alongside a reference table for normal temperature ranges by age.
5.5 Temperature Unit Conversion (°C / °F)
The thermometer supports both Celsius (°C) and Fahrenheit (°F) units. To switch between units, refer to the specific instructions in your included manual or typically, while the device is off, press and hold the "SCAN O/I" button for a few seconds until the unit changes.
6. Maintenance
6.1 Cleaning
To ensure accurate readings and prolong the life of your thermometer:
- Clean the probe (sensor lens) gently with a cotton swab or soft cloth moistened with alcohol. Do not use abrasive cleaners.
- Wipe the body of the thermometer with a soft, dry cloth.
- Do not wash the thermometer directly under water.
- Allow the thermometer to dry completely before storing.
6.2 Storage
Store the thermometer in a cool, dry place, away from direct sunlight, high temperatures, and humidity. Remove batteries if the device will not be used for an extended period.
7. Troubleshooting
| Problem | Possible Cause | Solution |
|---|---|---|
| Device does not power on. | Batteries are dead or incorrectly installed. | Replace batteries with new AAA batteries, ensuring correct polarity. |
| Inaccurate readings. | Incorrect measurement distance or location; dirty sensor; device not acclimatized. | Ensure 2-5 cm distance from forehead; clean sensor; allow 30 mins acclimatization to room temperature. |
| "LO" or "HI" displayed. | Temperature is outside the measurable range. | Ensure measurement is within operating temperature range. For "LO" on startup, this is normal self-check. |
| Display is dim or flickering. | Low battery power. | Replace batteries. |
8. Specifications
| Feature | Detail |
|---|---|
| Model | FR840 |
| Measurement Method | Non-contact Infrared |
| Measurement Distance | 2 - 5 cm |
| Measurement Time | 1 second |
| Display | OLED with Backlight (Green, Orange, Red) |
| Temperature Units | Celsius (°C) / Fahrenheit (°F) |
| Power Source | 2 x AAA Batteries (not included) |
| Automatic Shut-off | After 30 seconds of inactivity |
| Weight | Approx. 120 g |
| Dimensions | Approx. 20 x 10.2 x 5.6 cm (Packaging) |
| Certifications | CE 0197 (TÜV Rheinland) |

Figure 8.1: Physical dimensions of the thermometer.
9. Warranty and Support
For warranty information and customer support, please refer to the contact details provided with your purchase documentation or visit the official JIACOM website. Keep your purchase receipt as proof of purchase for any warranty claims.
For further assistance or technical inquiries, please contact JIACOM customer service.


