1. Introduction
This manual provides essential instructions for the safe and effective operation of your GoolRC WLtoys XKS A180 RC Airplane. Please read this manual thoroughly before operating the aircraft to ensure proper setup, flight, and maintenance. The XKS A180 is a 2.4Ghz, 2-channel remote control airplane featuring a 6-axis gyro system, adjustable rudder, and a powerful brushless motor, designed for both beginners and experienced pilots.
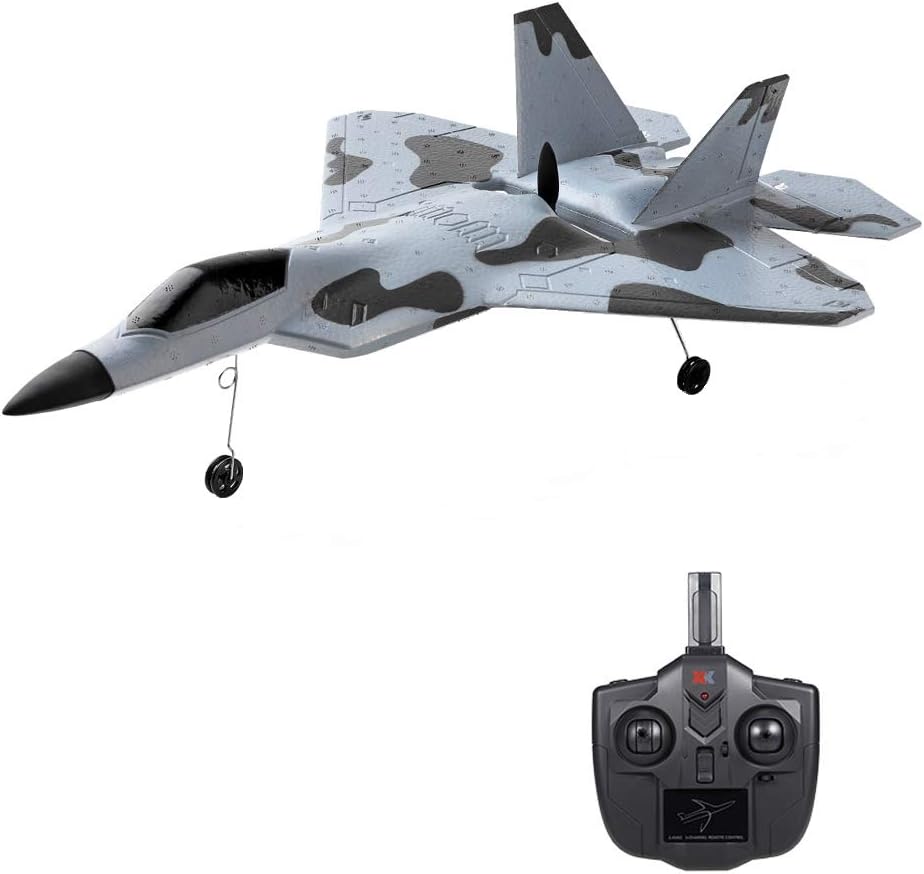
Image 1.1: The GoolRC WLtoys XKS A180 RC Airplane with its accompanying remote control unit.

Image 1.2: Overview of the A180 RC Airplane highlighting its 3-channel control, F-22A Raptor design, 3D/6G flight modes, and 1106 brushless motor.
2. Safety Guidelines
Always prioritize safety during operation. Failure to follow these guidelines may result in injury or damage to property.
- Operate the aircraft in open, clear areas away from people, buildings, trees, and power lines.
- Do not fly in strong winds or adverse weather conditions.
- Ensure the battery is fully charged and securely installed before each flight.
- Keep hands and face clear of the propeller when the aircraft is powered on.
- Supervision is recommended for younger operators.
- Turn off the aircraft and remote control when not in use.
3. What's in the Box
Verify that all components are present before proceeding with assembly and operation:
- 1 x GoolRC WLtoys XKS A180 RC Airplane
- 1 x Remote Controller
- 1 x Airplane Battery
- 1 x Spare Propeller
- 1 x USB Charging Cable
- 1 x Screwdriver
- 1 x User Manual (this document)
- 1 x Landing Gear Kit

Image 3.1: A visual representation of all items included in the GoolRC XKS A180 RC Airplane package.
4. Assembly
Follow these steps to assemble your RC airplane:
- Install Landing Gear: Carefully attach the landing gear struts into the designated slots on the underside of the aircraft. Ensure they are securely fastened.
- Propeller Check: Verify that the propeller is securely attached and free from any damage. If a spare propeller is needed, use the provided screwdriver for replacement.
- Battery Installation: Open the battery compartment on the aircraft. Connect the airplane battery to the aircraft's power connector and carefully place the battery inside the compartment. Close the compartment securely.
5. Charging the Battery
The airplane battery must be fully charged before its first flight and after each use.
- Connect the airplane battery to the provided USB charging cable.
- Plug the USB cable into a standard USB power adapter (e.g., computer USB port, wall adapter).
- The indicator light on the USB cable will show the charging status (e.g., red for charging, off or green for fully charged).
- Charging typically takes approximately 60-90 minutes. Do not overcharge the battery.
- Always disconnect the battery from the charger once charging is complete.
6. Remote Control Setup and Binding
The remote control operates on a 2.4Ghz frequency, minimizing interference. It requires AA batteries (not included).

Image 6.1: The 2.4Ghz remote control unit, detailing its antenna, power indicator, and power switch, with an effective range of up to 200 meters.
- Install Remote Control Batteries: Open the battery compartment on the back of the remote control and insert the required AA batteries, observing polarity.
- Power On Sequence:
- Place the aircraft on a flat, level surface.
- Turn on the aircraft's power switch.
- Turn on the remote control's power switch.
- The remote control will emit a beep, indicating it is searching for the aircraft. Once connected, the indicator light on the remote will stabilize, and you may hear a confirmation sound.
- Rudder Adjustment: The remote control features settings for small and large rudder deflection. A small rudder provides softer, more stable control, ideal for beginners. A large rudder offers more sensitive and agile control for advanced maneuvers. Adjust according to your skill level and flight environment.
7. Operating Modes
The XKS A180 offers two distinct flight modes: 3D Mode and 6G Mode.
7.1. 3D Mode (Aerobatic Flight)
This mode utilizes a 3-axis gyroscope, allowing for precise control and advanced aerobatic maneuvers. The remote control reaction is highly sensitive, enabling stunts such as rolls, somersaults, and inverted flight. This mode is recommended for experienced pilots.

Image 7.1: The A180 RC Airplane demonstrating an aerobatic flight in 3D Mode, characterized by its responsive 3-axis gyroscope.
7.2. 6G Mode (Automatic Stabilization)
The 6G mode employs a 6-axis gyroscope for enhanced flight stability. When the joystick is released, the aircraft will automatically maintain a stable flight attitude. This mode is highly suitable for beginners, providing an easier and more forgiving flight experience.

Image 7.2: The A180 RC Airplane maintaining a stable flight path in 6G Mode, showcasing its automatic stabilization feature.
8. Flight Instructions
Before attempting flight, ensure you are in an open area free of obstacles and people.
8.1. Take-Off
The XKS A180 supports both hand-launch (throw to take off) and ground take-off.

Image 8.1: Illustrations demonstrating the proper technique for hand-launching the aircraft against the wind and the procedure for ground take-off.
- Throw to Take Off: Hold the aircraft firmly and throw it vigorously against the wind. Immediately apply throttle and adjust rudder to maintain flight attitude. Land on grass or relatively soft ground to prevent damage.
- Take Off from the Ground: Place the aircraft on a flat surface. Confirm all rudders are centered. Gently increase throttle to 100% to initiate take-off.
8.2. Basic Flight Controls
- Throttle: Controls the speed and altitude. Increase for ascent, decrease for descent.
- Rudder: Controls yaw (left/right turning).
- Elevator: Controls pitch (nose up/down).
8.3. Landing
Approach landing into the wind if possible. Gradually reduce throttle and gently guide the aircraft down. Aim for a smooth, controlled descent onto a soft surface.
9. Maintenance
Regular maintenance ensures the longevity and performance of your aircraft.
- EPP Foam Material: The aircraft is made of EPP foam, which is durable and resistant to impact. In case of minor damage, use appropriate foam-safe adhesive for repairs.
- Brushless Motor: The 1106 5350KV brushless motor is designed for high efficiency and low noise. Keep the motor free from dirt and debris.
- Propeller: Inspect the propeller for cracks or damage before each flight. Replace damaged propellers immediately using the spare provided.
- Battery Care: Store batteries in a cool, dry place. Do not store fully charged or fully discharged for extended periods.
- Cleaning: Wipe the aircraft with a soft, dry cloth after use. Avoid using harsh chemicals.

Image 9.1: A detailed view of the aircraft's underside, highlighting the high-efficiency brushless motor and propeller assembly.
10. Troubleshooting
Refer to this section for common issues and their solutions.
| Problem | Possible Cause | Solution |
|---|---|---|
| Aircraft does not respond to remote control | Not bound, low remote battery, aircraft battery low | Re-bind aircraft and remote. Replace remote batteries. Charge aircraft battery. |
| Aircraft flies erratically or unstable | Improper calibration, strong wind, damaged propeller | Ensure aircraft is placed on a level surface during power-on for gyro calibration. Avoid flying in wind. Check and replace propeller. |
| Short flight time | Battery not fully charged, old battery, aggressive flying | Ensure battery is fully charged. Consider replacing old batteries. Reduce aggressive maneuvers. |
| Motor not spinning | Battery disconnected, motor damage, ESC issue | Check battery connection. Contact support if motor or ESC is suspected to be faulty. |
11. Specifications
- Brand: GoolRC
- Model: XKS A180
- Frequency: 2.4Ghz
- Channels: 2
- Gyro System: 3-axis / 6-axis switchable
- Motor: 1106 5350KV Brushless Motor
- Material: EPP Foam
- Recommended Age: 14 years and up
- Item Weight: Approximately 1.55 pounds
- Package Dimensions: 17.6 x 12.5 x 4 inches
12. Warranty and Support
GoolRC products are manufactured to high-quality standards. For any issues, technical support, or warranty claims, please refer to your purchase documentation or contact the retailer where the product was purchased. You may also visit the official GoolRC store for more information: GoolRC Official Store.


