1. Introduction
Thank you for choosing the Emerio VE-109959.14 Vacuum Cleaner. This manual provides essential information for the safe and efficient operation, maintenance, and troubleshooting of your appliance. Please read it thoroughly before first use and keep it for future reference.

Figure 1: Emerio VE-109959.14 Vacuum Cleaner. This image shows the main unit with the hose and floor nozzle attached, highlighting its compact design.
2. Important Safety Instructions
To reduce the risk of fire, electric shock, or injury, always follow basic safety precautions when using an electrical appliance. Read all instructions before using this vacuum cleaner.
- Do not leave the appliance unattended when plugged in. Unplug from outlet when not in use and before servicing.
- Do not use outdoors or on wet surfaces.
- Do not allow to be used as a toy. Close attention is necessary when used by or near children.
- Use only as described in this manual. Use only manufacturer's recommended attachments.
- Do not use with damaged cord or plug. If appliance is not working as it should, has been dropped, damaged, left outdoors, or dropped into water, return it to a service center.
- Do not pull or carry by cord, use cord as a handle, close a door on cord, or pull cord around sharp edges or corners. Do not run appliance over cord. Keep cord away from heated surfaces.
- Do not unplug by pulling on cord. To unplug, grasp the plug, not the cord.
- Do not handle plug or appliance with wet hands.
- Do not put any object into openings. Do not use with any opening blocked; keep free of dust, lint, hair, and anything that may reduce air flow.
- Keep hair, loose clothing, fingers, and all parts of body away from openings and moving parts.
- Do not pick up anything that is burning or smoking, such as cigarettes, matches, or hot ashes.
- Do not use to pick up flammable or combustible liquids, such as gasoline, or use in areas where they may be present.
- Do not pick up toxic material (e.g., chlorine bleach, ammonia cleaner, drain cleaner).
- Do not use without dust bag and/or filters in place.
- Turn off all controls before unplugging.
- Use extra care when cleaning on stairs.
3. Package Contents
Verify that all components are present and in good condition upon unpacking. If any items are missing or damaged, contact customer support.
- Emerio VE-109959.14 Vacuum Cleaner Main Unit
- Flexible Hose
- Telescopic Metal Tube
- High-Performance Floor Nozzle
- Combination Joint Brush (Crevice Tool and Dusting Brush)
- Dust Bag (pre-installed or separate)
- User Manual (this document)
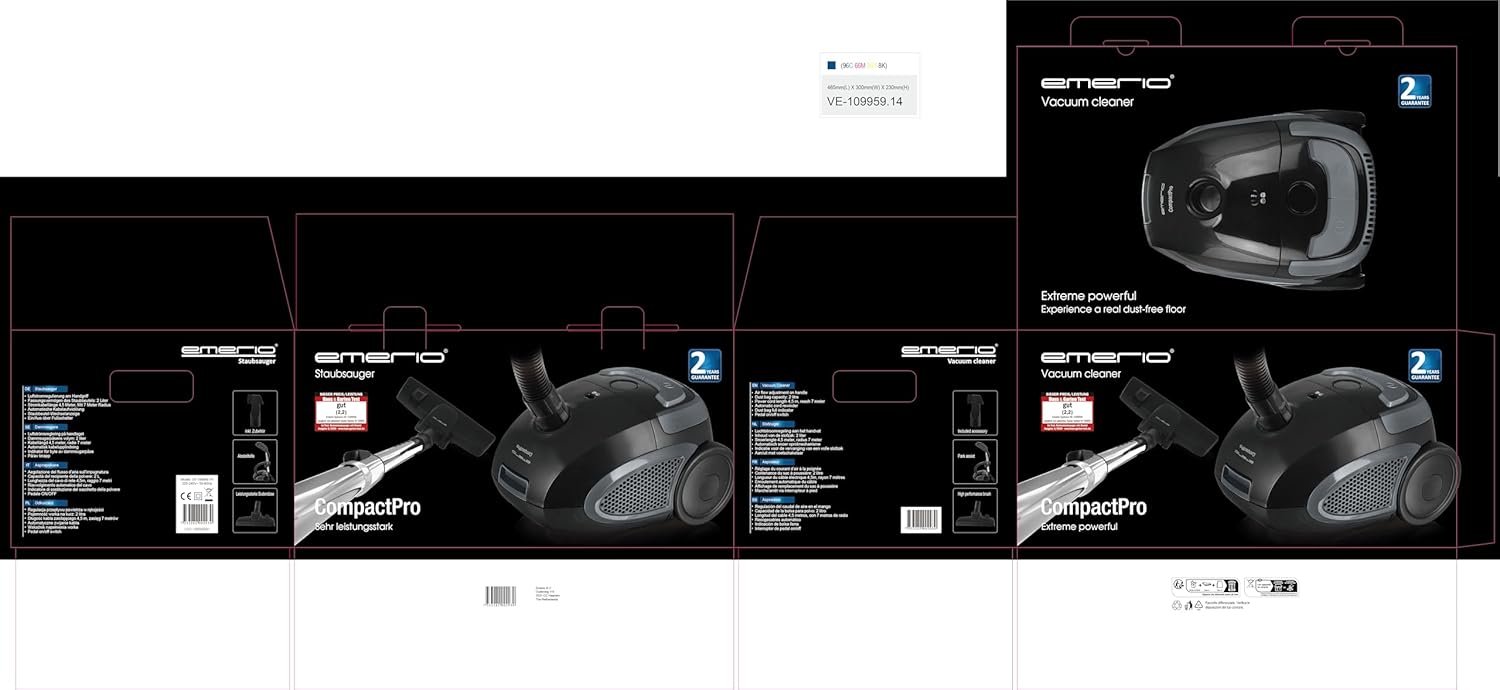
Figure 2: Included accessories. This image displays the main floor nozzle and the combination crevice/dusting brush attachment.
4. Setup and Assembly
Follow these steps to assemble your vacuum cleaner before first use.
- Attach the Flexible Hose: Insert the end of the flexible hose into the suction inlet on the main unit until it clicks securely into place.
- Assemble the Telescopic Tube: Connect the handle end of the flexible hose to the wider end of the telescopic metal tube. Extend the telescopic tube to your desired length by pressing the release button and pulling the sections apart.
- Attach the Floor Nozzle: Connect the high-performance floor nozzle to the narrower end of the telescopic tube. Ensure it is firmly attached.
- Check Dust Bag: Open the dust bag compartment (usually by pressing a latch on the main unit) and ensure a dust bag is correctly installed. If not, insert a compatible Y05 dust bag. Close the compartment securely.

Figure 3: Fully assembled vacuum cleaner. This image shows the main unit, hose, telescopic tube, and floor nozzle connected and ready for use.
5. Operating Instructions
Learn how to effectively use your Emerio vacuum cleaner for various cleaning tasks.
5.1 Powering On and Off
- Plug In: Extend the power cord from the rear of the unit and plug it into a suitable electrical outlet. The cord has a maximum length of 4.5 meters.
- Power On: Press the power button (usually a large foot pedal on the main unit) to start the vacuum cleaner.
- Power Off: Press the power button again to turn off the vacuum cleaner.
- Cord Rewind: After use, unplug the vacuum cleaner. Press the cord rewind foot pedal to automatically retract the power cord into the unit.
5.2 Adjusting Suction Power
The suction power of the high-performance nozzle can be regulated. Look for a speed setting or air flow control on the handle of the flexible hose or on the main unit. Adjust this control to suit the surface you are cleaning (e.g., lower suction for delicate fabrics, higher for hard floors).
5.3 Cleaning Different Surfaces
- Hard Floors: Use the high-performance floor nozzle. For optimal results, ensure the brush setting on the nozzle is engaged (if applicable) to prevent scratching and improve dust collection.
- Carpeted Floors: Use the high-performance floor nozzle. Adjust the nozzle setting for carpets (if applicable) to allow for better airflow and deeper cleaning.
- Upholstery and Curtains: Use the combination joint brush (dusting brush attachment). Reduce suction power if necessary to avoid damaging delicate fabrics.
- Crevices and Corners: Use the combination joint brush (crevice tool attachment) for narrow spaces and edges.

Figure 4: Vacuum cleaner in operation. This image shows the vacuum cleaner being used on a carpet, demonstrating its maneuverability.
6. Maintenance
Regular maintenance ensures optimal performance and extends the lifespan of your vacuum cleaner.
6.1 Replacing the Dust Bag
The vacuum cleaner uses 2.0-liter dust bags, compatible with Swirl Y05 type bags. Replace the dust bag when the dust bag full indicator (if present) illuminates, or when suction power noticeably decreases.
- Ensure the vacuum cleaner is unplugged from the power outlet.
- Open the dust bag compartment cover.
- Carefully remove the full dust bag from its holder. Dispose of it hygienically.
- Insert a new compatible dust bag into the holder, ensuring it is fully seated and the opening aligns with the suction inlet.
- Close the dust bag compartment cover until it latches securely.
6.2 Cleaning Filters
Your vacuum cleaner is equipped with a HEPA filter and potentially a motor protection filter. Refer to the diagrams inside the vacuum cleaner for exact locations.
- HEPA Filter: This filter is typically located at the exhaust of the vacuum cleaner. It should be checked and cleaned or replaced every 6-12 months, or more frequently with heavy use. Tap out loose dirt over a waste bin. If washable, rinse under cold running water and allow to air dry completely before reinserting.
- Motor Protection Filter: This filter is usually located near the dust bag compartment, protecting the motor from fine dust. Check and clean this filter regularly (e.g., every 3-6 months) by tapping out dirt. If washable, follow the same procedure as for the HEPA filter.
Important: Always ensure filters are completely dry before reinserting them into the vacuum cleaner. Operating the vacuum with wet filters can cause damage.
6.3 Cleaning the Nozzles and Attachments
Periodically check the floor nozzle and other attachments for blockages, tangled hair, or debris. Remove any obstructions to maintain effective suction.
7. Troubleshooting
If you encounter issues with your vacuum cleaner, refer to the following table for common problems and solutions.
| Problem | Possible Cause | Solution |
|---|---|---|
| Vacuum cleaner does not turn on. | Not plugged in; no power at outlet; power button not pressed. | Check power cord connection; test outlet with another appliance; press power button firmly. |
| Low suction power. | Full dust bag; clogged filters; hose/nozzle blockage; air flow control open. | Replace dust bag; clean/replace filters; remove blockages from hose/nozzle; close air flow control. |
| Unusual noise. | Blockage in hose/nozzle; foreign object in brush roll (if applicable); motor issue. | Check and clear blockages; inspect brush roll; if noise persists, contact customer support. |
| Dust escaping from vacuum. | Dust bag not installed correctly; damaged dust bag; filters missing or improperly seated. | Ensure dust bag is correctly installed; replace damaged dust bag; check and properly seat all filters. |
| Cord does not rewind. | Cord mechanism jammed; cord not fully extended before rewinding. | Gently pull out a small amount of cord and press rewind button again; ensure cord is not tangled. |
8. Specifications
| Model Number: | VE-109959.14 |
| Brand: | EMERIO |
| Power: | 800 Watts |
| Capacity: | 2.0 Liters (Dust Bag) |
| Filter Type: | HEPA Filter |
| Cord Length: | 4.5 meters (max. extendable) |
| Suction Radius: | 7.0 meters (max.) |
| Telescopic Tube Length: | Up to 80 cm (adjustable) |
| Product Dimensions: | 12.99"L x 10.24"W x 8.27"H |
| Item Weight: | 9.02 pounds |
| Compatible Dust Bag: | Swirl Y05 compatible |
9. Warranty and Customer Support
EMERIO products are designed and manufactured to the highest quality standards. In the unlikely event of a defect arising from faulty materials or workmanship, your product is covered by a standard manufacturer's warranty. Please refer to the warranty card included in your original packaging for specific terms and conditions, including the warranty period.
For technical assistance, spare parts, or warranty claims, please contact your local EMERIO customer support. Contact information can typically be found on the EMERIO website or on the product packaging.
When contacting support, please have your model number (VE-109959.14) and proof of purchase readily available.


