
1. Introduction
Welcome to your ORIA Wireless Refrigerator Thermometer. This device provides accurate temperature monitoring for indoor and outdoor environments, including refrigerators and freezers, with a clear LCD display and audible alarm functions. Please read this manual thoroughly before use to ensure proper operation and longevity of your device.
2. Package Contents
Verify that all items listed below are included in your package:
- 1 x Main Unit
- 2 x Transmitters (Remote Sensors)
- 1 x User Manual
- 2 x Suction Cups
- 2 x Lanyards

3. Product Overview
Main Unit Features
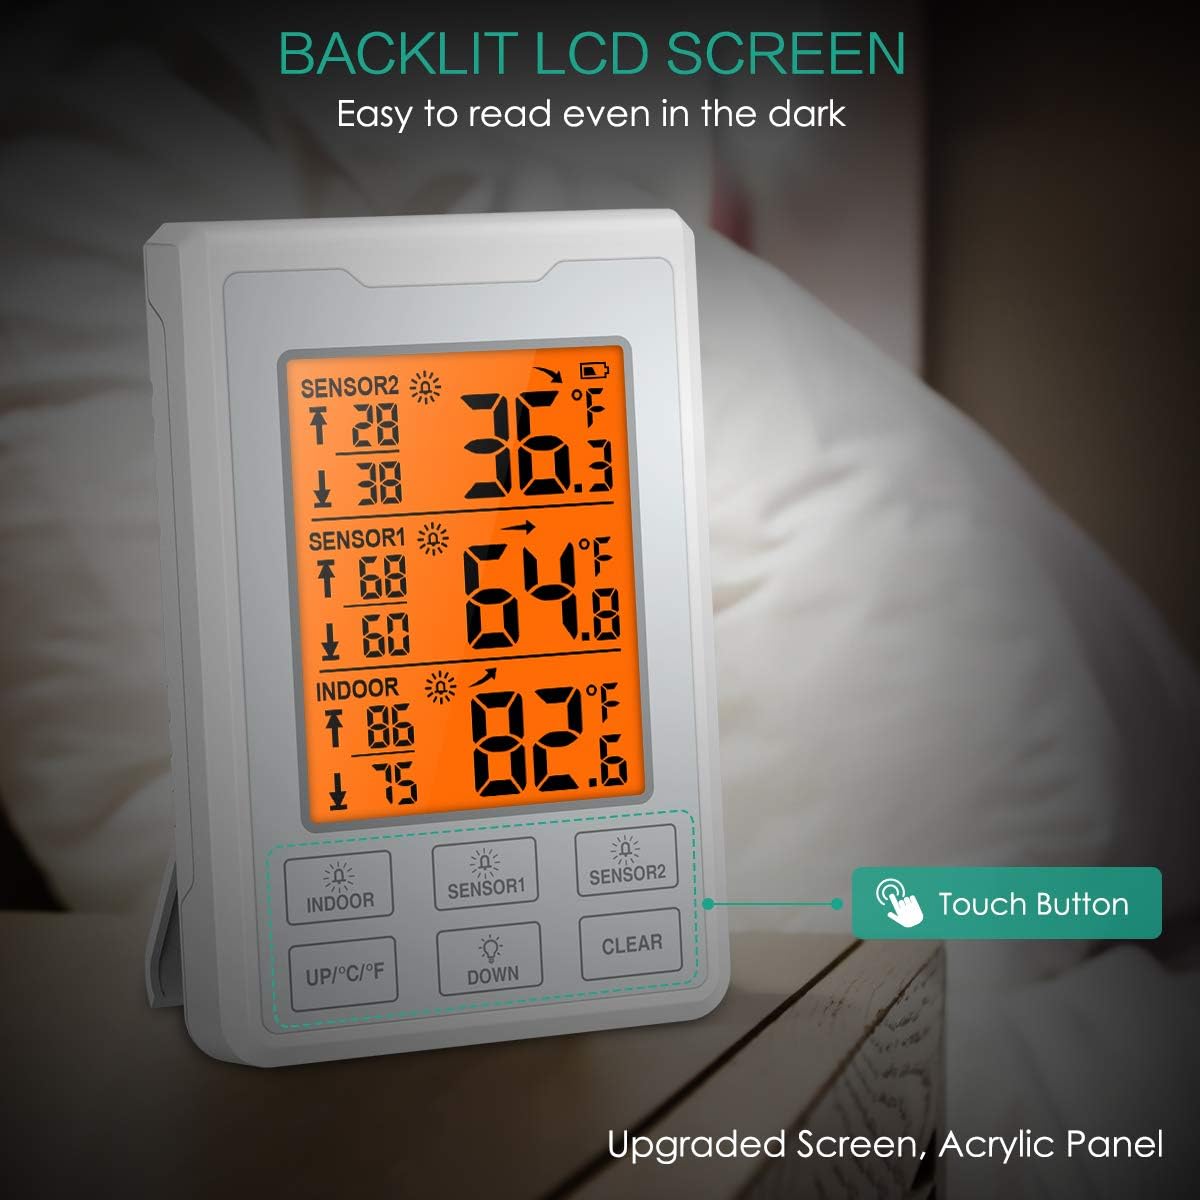
The main unit features a touchscreen LCD display for easy reading of indoor and remote sensor temperatures. It provides current temperature, maximum recorded temperature, and minimum recorded temperature for each channel.
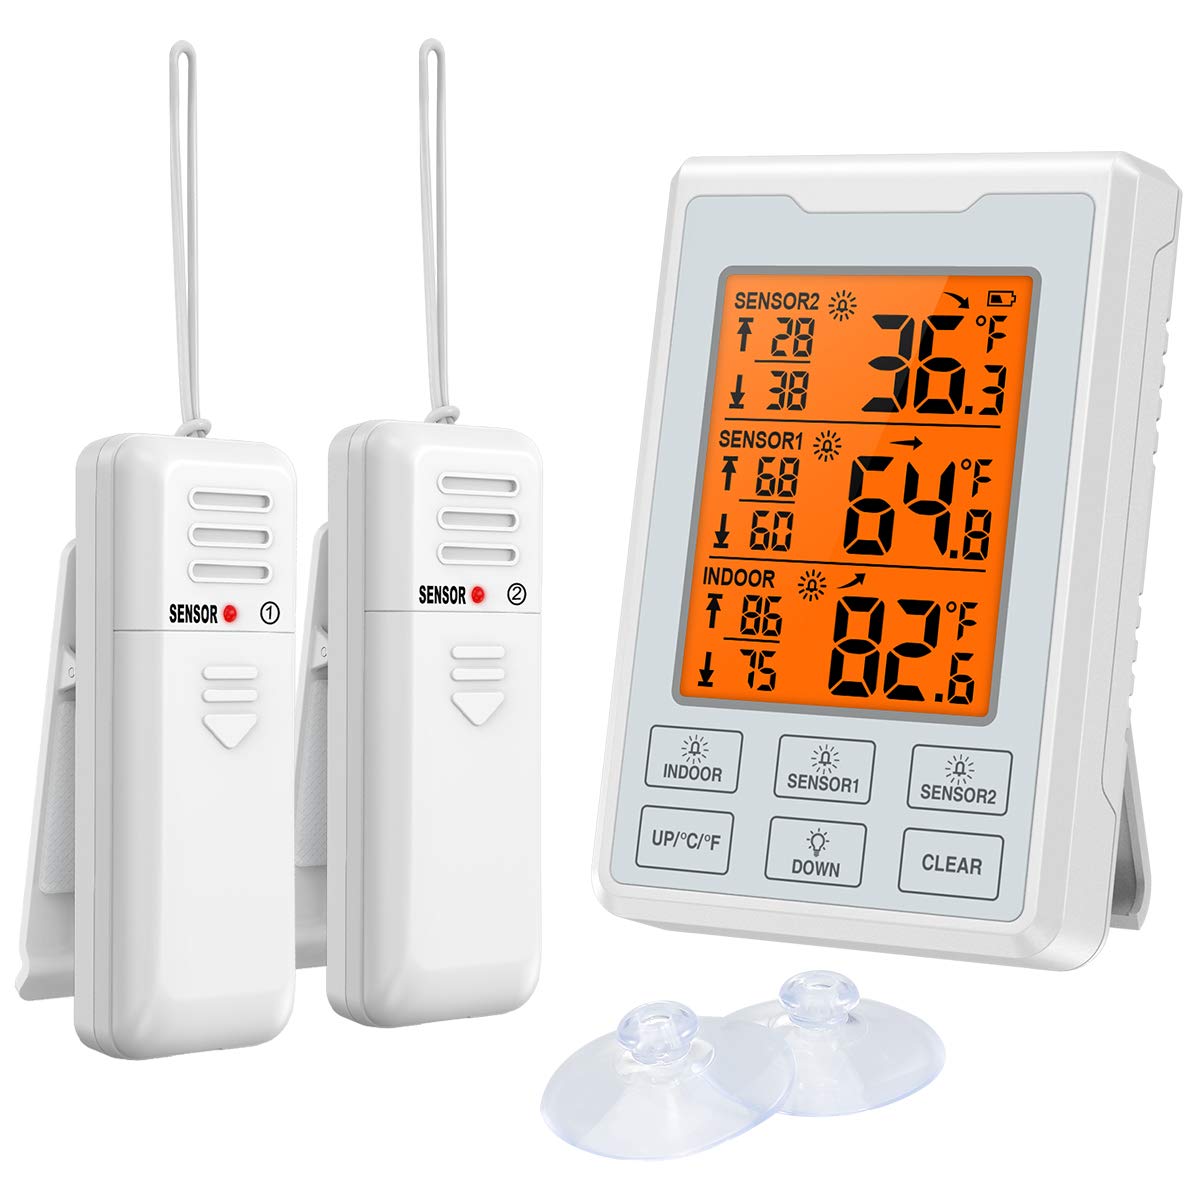
Display Elements and Buttons

- Outdoor 1 Alarm Indicator
- Outdoor 2 Alarm Indicator
- Indoor Alarm Indicator
- UP / Celsius/Fahrenheit Switch Button
- DOWN Button
- Clear Max/Min Value Button
- Current Temperature Display
- Current Temperature Trend Indicator
- Maximum Temperature Record
- Minimum Temperature Record
- Temperature Alarm Sign
- Low Battery Indicator
Remote Sensor Features
The remote sensors are designed for placement in refrigerators, freezers, or outdoor areas to transmit temperature data to the main unit. Each sensor has a small LED indicator and a TX button for pairing.

4. Setup
Battery Installation
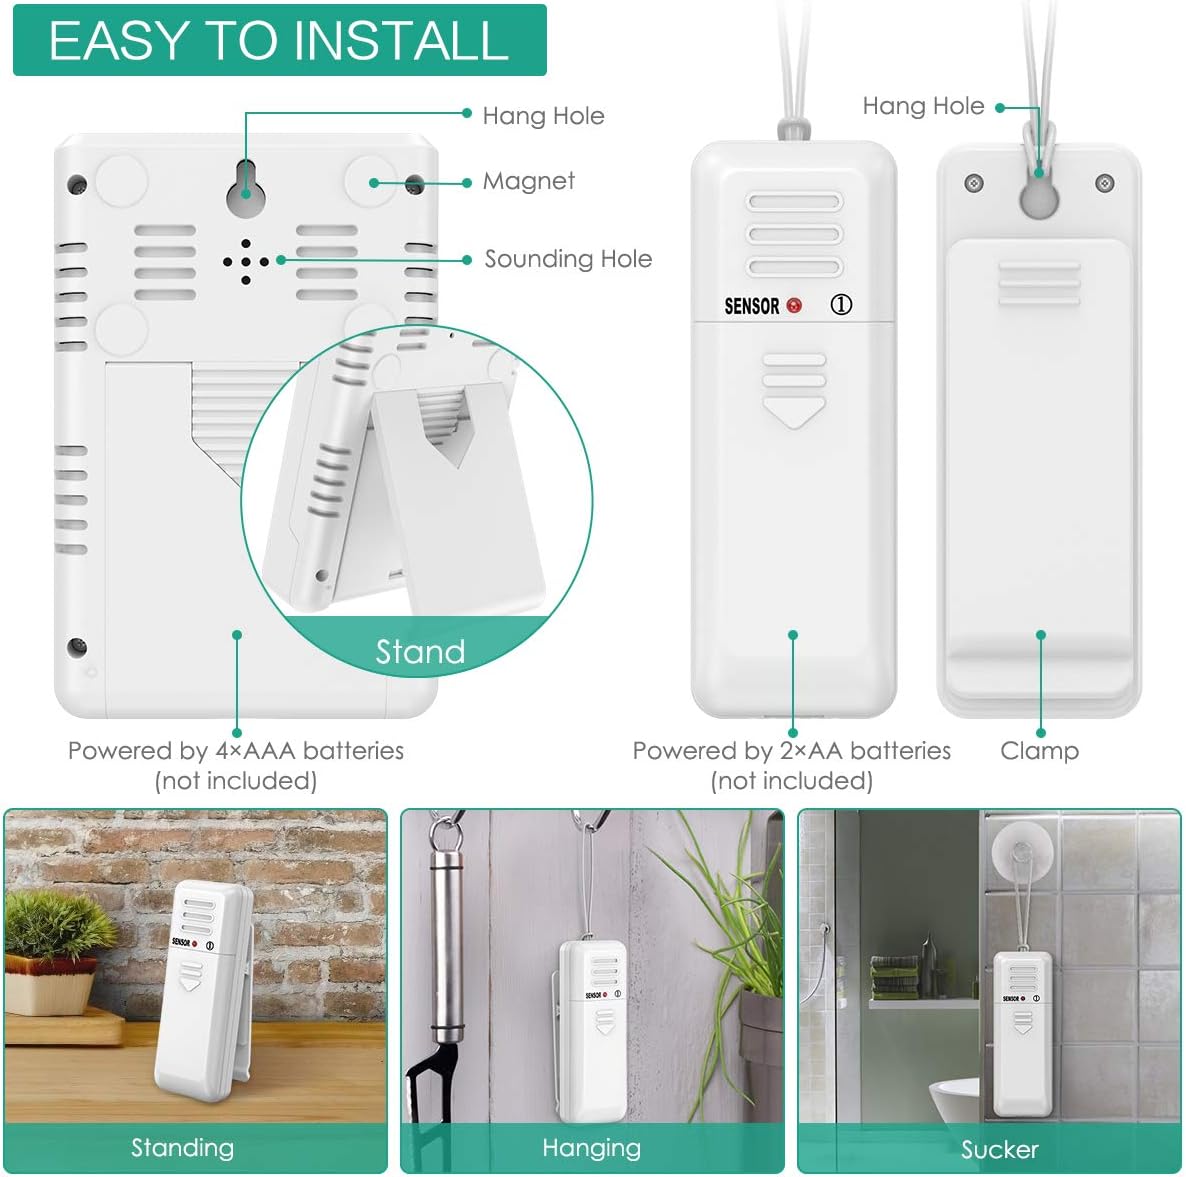
The main unit requires 4 AAA batteries (not included). Each remote sensor requires 2 AAA batteries (not included).
- Open the battery compartment cover on the back of the main unit and each remote sensor.
- Insert batteries according to the polarity markings (+/-).
- Close the battery compartment covers securely.
Sensor Pairing
The main unit and sensors should pair automatically upon battery installation. If pairing fails or you need to re-pair:
- Ensure batteries are correctly installed in all units.
- On the main unit, press and hold the "SENSOR" button for 3 seconds to initiate pairing mode.
- On each remote sensor, press the small "TX" button inside the battery compartment (or on the back, depending on the model) to send a signal.
- The main unit will display the sensor's temperature once paired.
Placement
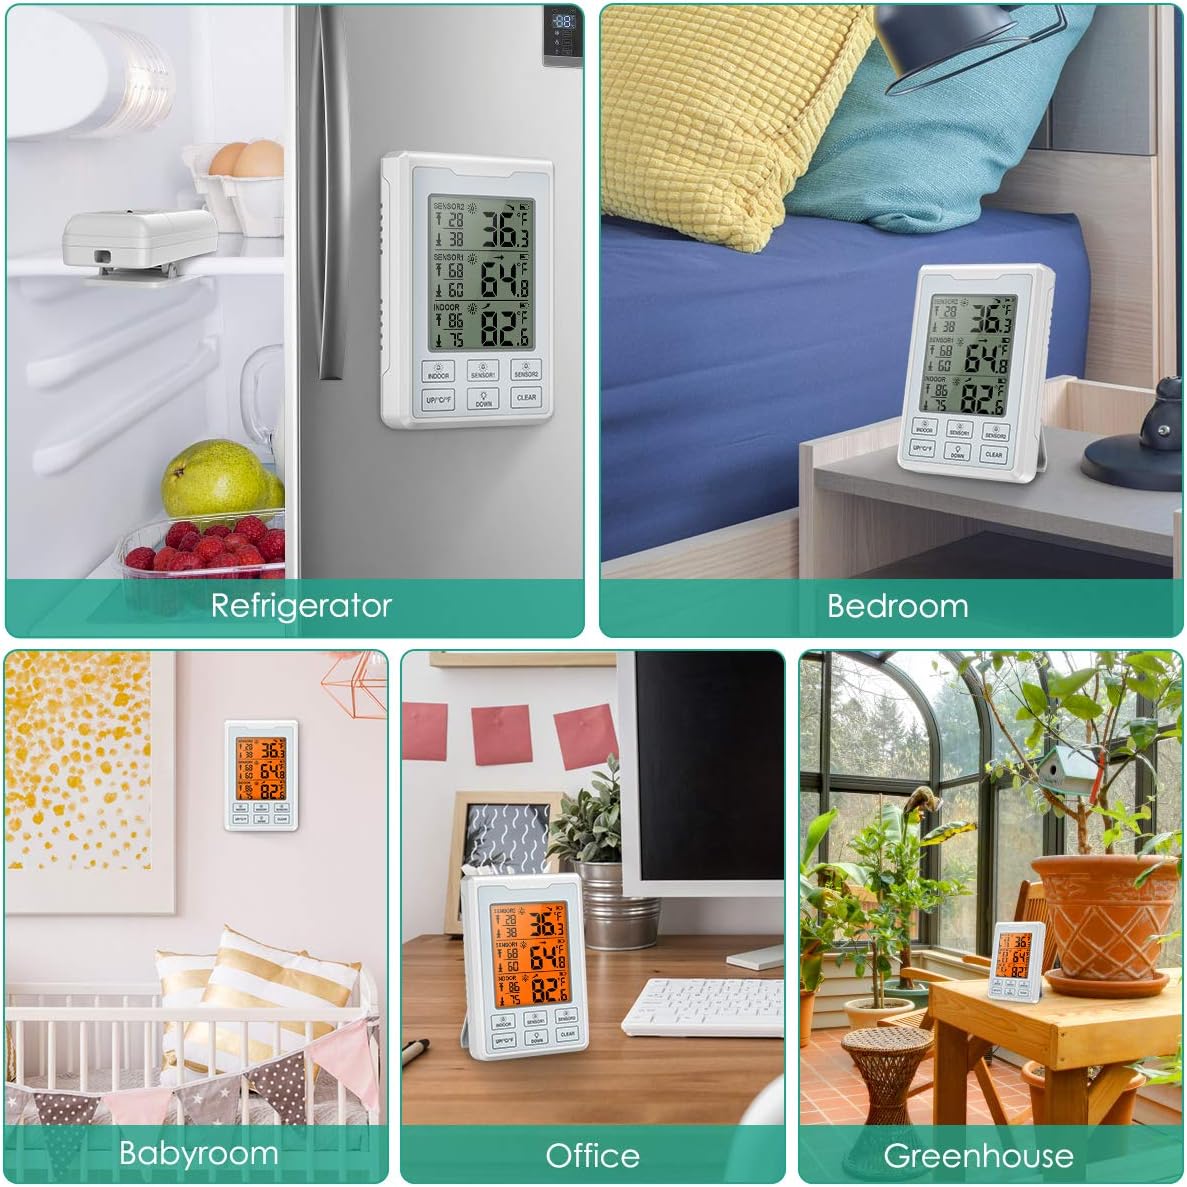
The main unit can be placed on a tabletop using its built-in stand or mounted on a metallic surface using its magnetic back.
Remote sensors can be placed inside refrigerators, freezers, or other locations using the integrated clip, suction cup, or lanyard.
5. Operation
Reading Temperatures
The LCD display shows indoor temperature, and temperatures from Sensor 1 and Sensor 2. Each reading includes current temperature, maximum recorded temperature, and minimum recorded temperature.
Switching Temperature Units (°C/°F)
Press the "UP/°C/°F" button on the main unit to toggle between Celsius and Fahrenheit display modes.
Max/Min Records
The main unit automatically records the maximum and minimum temperatures for indoor, Sensor 1, and Sensor 2 since the last reset.
To clear the Max/Min records, press the "CLEAR" button.
Alarm Setup
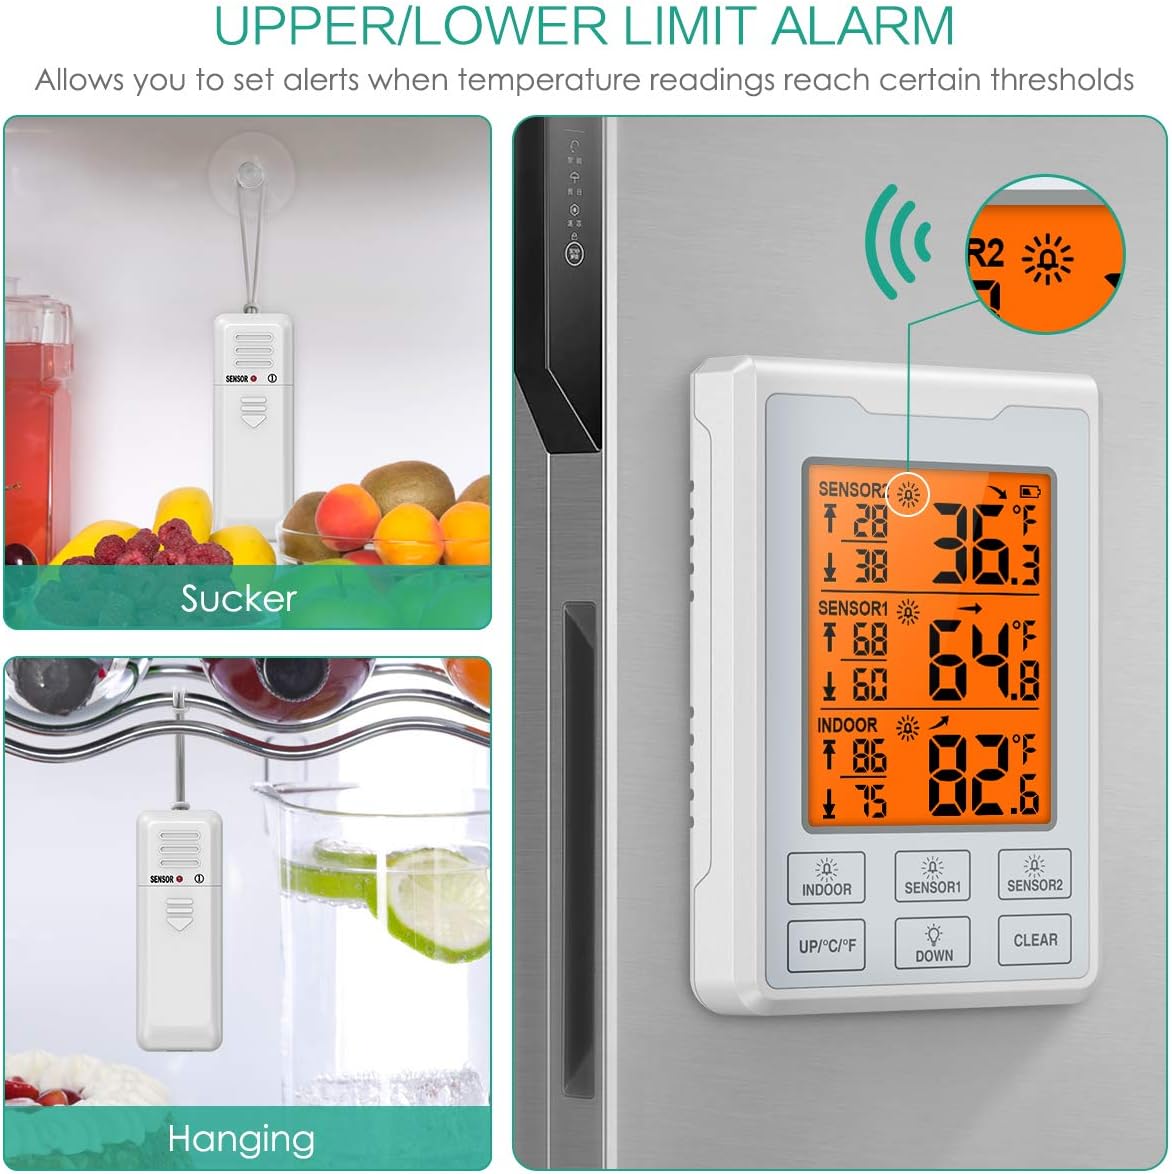
The thermometer allows you to set high and low temperature alarms for each sensor and the indoor unit.
- Press the "INDOOR", "SENSOR1", or "SENSOR2" button to select the channel for which you want to set an alarm.
- Press and hold the "UP/°C/°F" button to set the high alarm limit. Use "UP/°C/°F" and "DOWN" buttons to adjust the value. Press the selected channel button again to confirm.
- Press and hold the "DOWN" button to set the low alarm limit. Use "UP/°C/°F" and "DOWN" buttons to adjust the value. Press the selected channel button again to confirm.
- To enable or disable an alarm, press the corresponding channel button (INDOOR, SENSOR1, SENSOR2) briefly. An alarm icon will appear or disappear on the display.
Backlight
The LCD display features a backlight for improved visibility in low-light conditions. The backlight activates when any button is pressed and automatically turns off after 8 seconds to conserve battery.
6. Maintenance
Battery Replacement
When the low battery indicator appears on the display, replace the batteries in the respective unit (main unit or sensor). Refer to the "Battery Installation" section for detailed instructions.
Cleaning
Wipe the units clean with a soft, damp cloth. Do not use abrasive cleaners or immerse the units in water.
Storage
If storing the thermometer for an extended period, remove all batteries to prevent leakage. Store in a cool, dry place.
7. Troubleshooting
Common Issues
No Display / Faint Display
- Check battery installation and replace with fresh batteries if necessary.
Sensor Not Pairing / No Temperature Reading
- Ensure sensors are within range of the main unit (up to 100ft/30m in open air).
- Re-pair the sensors by following the "Sensor Pairing" instructions.
- Check sensor batteries.
- Avoid placing sensors near large metal objects or strong electromagnetic interference.
Inaccurate Readings
- Ensure sensors are not directly exposed to heat sources or direct sunlight.
- Allow units to stabilize for a few minutes after placement.
Alarm Not Sounding
- Verify that the alarm is enabled for the desired channel (alarm icon visible).
- Check battery levels.
8. Specifications
Technical Data
| Feature | Detail |
|---|---|
| Model | OUS-WA66 |
| Brand | ORIA |
| Display Type | LCD |
| Power Source (Main Unit) | 4 x AAA Batteries (not included) |
| Power Source (Sensors) | 2 x AAA Batteries per sensor (not included) |
| Special Feature | Alarm |
| Outer Material | Silicone |
| Product Care | Freezer Safe, Wipe Clean |
9. Warranty and Support
Product Support
For any questions, concerns, or issues regarding your ORIA Wireless Refrigerator Thermometer, please contact ORIA customer service. We are committed to providing excellent support.
The product includes:
- 12-month Quality Protection
- 60 days free replacement
- 7*24h Customer Service
For more information and additional products, visit the ORIA Brand Store.
Important Notes
- Do not disassemble the product. Unauthorized disassembly may void the warranty.
- If the display becomes faint or unclear, please change the batteries.
- Do not place this product in environments that are excessively hot, humid, dusty, or contain corrosive gases.
- The thermometer will alarm immediately when the temperature reaches the set alarm threshold. For certain conditions, a brief delay may apply before an alarm triggers after an initial threshold breach.


