
1. Introduction
This manual provides essential information for the safe and efficient operation, installation, and maintenance of your Whirlpool WD96214 9 Kg Inverter Front Loading Washer-Dryer Combo. Please read all instructions carefully before using the appliance and retain this manual for future reference.
The Whirlpool WD96214 is designed to handle both washing and drying cycles, offering convenience and advanced features for garment care.
2. Safety Information
General Safety:
- Ensure the appliance is properly grounded to prevent electrical shock.
- Do not allow children to play on or in the appliance. Supervise children when the appliance is in use.
- Keep flammable materials, such as gasoline, away from the appliance.
- Do not operate the appliance if it is damaged or malfunctioning. Contact qualified service personnel.
- Always unplug the appliance before cleaning or performing any maintenance.
Electrical Safety:
- Connect the appliance to a dedicated, properly rated electrical outlet.
- Do not use extension cords or adapters.
- If the power cord is damaged, it must be replaced by the manufacturer, its service agent, or similarly qualified persons to avoid a hazard.
Water Safety:
- Ensure water inlet hoses are securely connected to prevent leaks.
- Check water hoses periodically for wear and tear.
- Do not wash or dry articles that have been soiled with cooking oils, flammable substances, or dry-cleaning solvents.
3. Product Overview
Key Features:
- Inverter Fully-Automatic Front Loading Washer-Dryer Combo, 9 kg capacity.
- 14 wash programs for various fabric types and soil levels.
- Slow gentle movements of the drum combined with steam ensure garments remain fresh inside the drum for up to 6 hours after the wash cycle.
- Advanced 6th Sense SoftMove technology intelligently senses the load and adapts drum rotation speed for optimal washing performance and reduced friction.
- Expert drying features including up to 99.9% drying with a spin speed of up to 1400 rpm.
- Three levels of drying: Wardrobe Dry, Hangar Dry, and Iron Dry, suitable for different garment needs.
- Dry Only option allows drying wet laundry without a prior wash cycle.
- Colours 15° program offers color protection by using softeners to create a protective veil on clothes.
- Intellisense inverter motor provides quiet operation and minimum vibration.
Components and Dimensions:

Figure 3.1: Appliance Dimensions
This image displays the overall dimensions of the Whirlpool WD96214 washer-dryer combo, showing a height of 85 cm, depth of 54 cm, and width of 59.5 cm.

Figure 3.2: Control Panel
The control panel features a central program selector knob, buttons for various functions (power, start/pause, spin speed, temperature), and a digital display for cycle information.
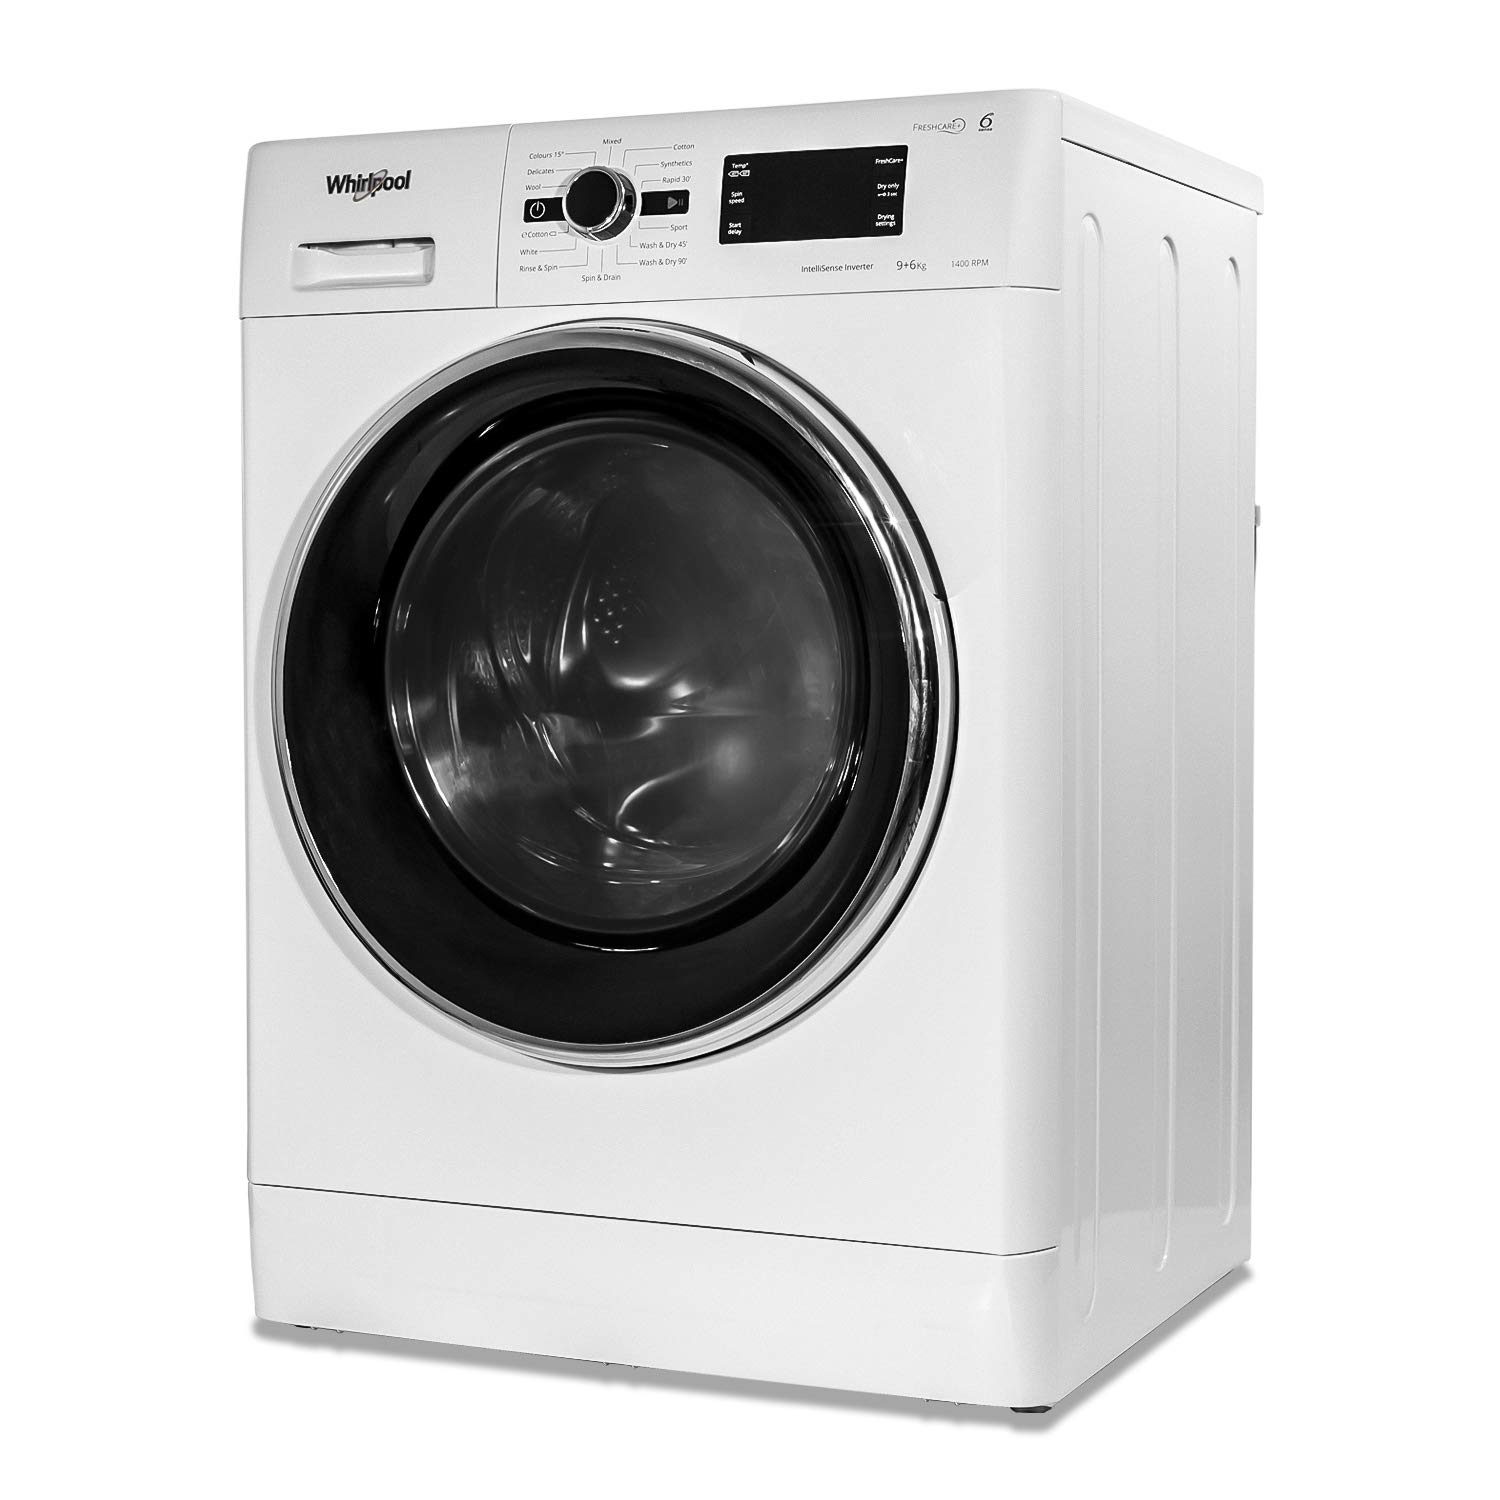
Figure 3.3: Detergent Dispenser
This image shows the pull-out detergent dispenser drawer, typically with compartments for pre-wash, main wash detergent, and fabric softener.

Figure 3.4: Drum Interior
A close-up view of the stainless steel drum interior, featuring perforations for water circulation and lifters to tumble laundry during cycles.
4. Setup and Installation
Unpacking:
- Carefully remove all packaging materials.
- Remove the shipping bolts from the rear of the appliance. These bolts secure the drum during transit and must be removed before operation. Keep them for future transport.
Location:
- Place the appliance on a firm, level floor.
- Ensure adequate space around the appliance for ventilation and maintenance.
Leveling:
- Adjust the leveling feet at the bottom of the appliance to ensure it is stable and level. Use a spirit level to verify.

Figure 4.1: Bottom View
This image shows the underside of the appliance, highlighting the adjustable leveling feet used to stabilize the washer-dryer on uneven surfaces.
Water Connection:
- Connect the water inlet pipe to a cold water tap and to the appliance's inlet valve. Ensure connections are tight to prevent leaks.
Drain Connection:
- Position the drain hose into a standpipe or over the edge of a sink, ensuring it is securely fixed to prevent dislodgement during operation.

Figure 4.2: Rear View
The rear view of the appliance shows the water inlet hose, drain hose, and power cord connections. Ensure these are correctly installed before use.
Electrical Connection:
- Plug the power cord into a grounded electrical outlet.
Included Components:
- Water inlet pipe
- Daily reference guide
- Health & safety + installation guide
- Shipping caps (for transport)
5. Operating Instructions
Loading Laundry:
- Open the appliance door.
- Load laundry loosely into the drum, ensuring not to overload. A 9 kg capacity refers to dry laundry weight.
- Close the door firmly until it latches.

Figure 5.1: Open Door (Side View)
This image shows the appliance door open, providing access to the drum for loading and unloading laundry.

Figure 5.2: Open Door (Front View)
A front view of the appliance with the door open, illustrating the wide opening for easy loading of larger items.
Adding Detergent and Additives:
- Pull out the detergent dispenser drawer.
- Add appropriate amounts of detergent to the main wash compartment and fabric softener to its designated compartment. Refer to detergent packaging for dosage.
- Close the dispenser drawer gently.
Selecting a Wash Program:
- Turn the program selector knob on the control panel to choose one of the 14 available wash programs (e.g., Cotton, Synthetics, Wool, Colours 15°, Rapid 30', Rinse & Spin).
- The 6th Sense SoftMove technology automatically adjusts drum movements based on the selected program and load.
- For color protection, select the Colours 15° program.
Selecting Drying Options:
- After a wash cycle, or for the 'Dry Only' option, select the desired drying level using the control panel.
- Available drying levels include Wardrobe Dry (for items ready to be put away), Hangar Dry (for items that need to be hung), and Iron Dry (for items that require ironing).
- The 'Dry Only' option allows you to dry items without running a wash cycle first.

Figure 5.3: Drying Features Overview
This graphic illustrates the key drying features: FreshCare+ Technology, up to 99% drying efficiency, four levels of drying, the Dry Only option, and hygienic drying capabilities.
Starting a Cycle:
- Press the 'Start/Pause' button to begin the selected cycle.
End of Cycle:
- The appliance will signal the end of the cycle.
- The FreshCare+ feature can keep garments fresh for up to 6 hours after the cycle ends by gently tumbling them.
- Unload laundry promptly to prevent wrinkles.
6. Maintenance
Regular maintenance ensures optimal performance and longevity of your appliance.
Cleaning the Detergent Dispenser:
- Remove the dispenser drawer and rinse it under running water to remove any detergent residue.
- Clean the housing of the dispenser drawer with a brush.
Cleaning the Drum:
- Periodically run a hot wash cycle with no laundry and a descaling agent or washing machine cleaner to remove residue and odors.
Cleaning the Filter:
- Locate the drain pump filter, usually at the bottom front of the appliance.
- Place a shallow container underneath to catch any residual water.
- Unscrew and remove the filter, clean it of lint and debris, then reinsert and tighten.
Exterior Cleaning:
- Wipe the exterior surfaces with a soft, damp cloth. Do not use abrasive cleaners or solvents.
7. Troubleshooting
Before contacting service, review these common issues and solutions.
| Problem | Possible Cause | Solution |
|---|---|---|
| Appliance does not start | Power cord not plugged in; Door not closed properly; Program not selected; Start/Pause button not pressed. | Check power connection; Ensure door is latched; Select a program; Press Start/Pause. |
| Water not filling | Water tap closed; Water inlet hose kinked or blocked; Water pressure too low. | Open water tap; Straighten hose; Check household water pressure. |
| Water not draining | Drain hose kinked or blocked; Drain pump filter clogged. | Straighten drain hose; Clean drain pump filter. |
| Excessive vibration/noise | Shipping bolts not removed; Appliance not level; Uneven load. | Remove shipping bolts; Adjust leveling feet; Redistribute laundry in the drum. |
| Poor washing results | Incorrect detergent dosage; Overloading; Wrong program selected. | Use correct detergent amount; Do not overload; Select appropriate wash program. |
| Poor drying results | Overloading; Incorrect drying level selected; Lint filter clogged (if applicable). | Do not overload; Select higher drying level; Clean lint filter. |
8. Specifications
| Specification | Detail |
|---|---|
| Model | WD96214 |
| Brand | Whirlpool |
| Capacity | 9 Kilograms |
| Operation Mode | Fully Automatic |
| Access Location | Front Load |
| Option Cycles | 14 |
| Maximum Rotational Speed | 1400 RPM |
| Noise Level Washing | 56 Decibels |
| Noise Level Spinning | 82 dB |
| Installation Type | Free Standing |
| Form Factor | Front-Loading |
| Special Feature | Inverter |
| Material | Steel |
| Voltage | 240 Volts |
| Item Weight | 66 kg (66000 Grams) |
| Item Dimensions LxWxH | 54 x 59.5 x 85 Centimeters |
| Colour | White |
9. Warranty and Support
Warranty Information:
This Whirlpool appliance comes with a warranty of 2 years on the product and 10 years on the motor from the date of purchase. Please retain your purchase receipt as proof of purchase for warranty claims.
Customer Support:
For technical assistance, service requests, or to inquire about spare parts, please contact Whirlpool customer support. Refer to the contact information provided in your separate health & safety + installation guide or visit the official Whirlpool website for your region.


