1. Introduction
Thank you for choosing the Globo 12369-15 LED Ceiling Light. This manual provides essential information for the safe installation, operation, and maintenance of your new lighting fixture. Please read these instructions carefully before installation and retain them for future reference.
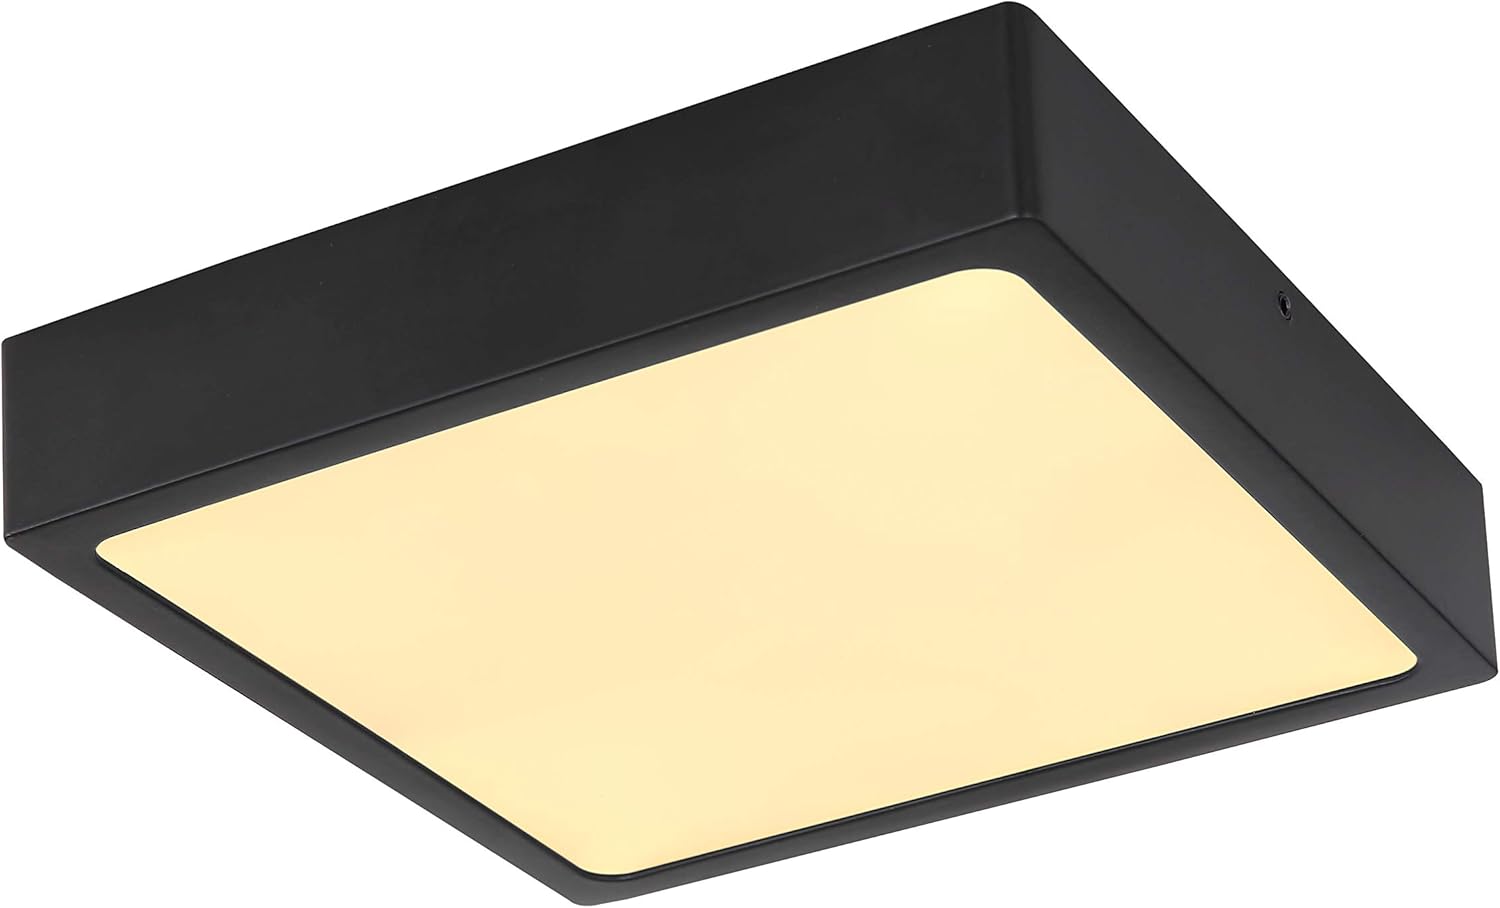
Image 1.1: The Globo 12369-15 LED Ceiling Light, shown illuminated.
2. Safety Instructions
Always observe the following safety precautions to prevent injury or damage:
- Electrical Safety: Installation must be performed by a qualified electrician or competent person in accordance with local wiring regulations.
- Power Disconnection: Always disconnect the main power supply at the circuit breaker or fuse box before commencing any installation, maintenance, or cleaning.
- Voltage: Ensure the supply voltage matches the requirements of the fixture (230V).
- Handling: Handle the fixture with care. Do not drop or subject it to impact.
- Environment: This fixture is designed for indoor use only. Do not expose it to moisture or extreme temperatures.
- Integrated LED: The LED light source is integrated and not user-replaceable. Do not attempt to open or modify the LED module.
3. Package Contents
Verify that all components are present and undamaged before proceeding with installation:
- 1x Globo 12369-15 LED Ceiling Light fixture (with integrated LED)
- Mounting hardware (screws, wall plugs)
- Instruction Manual
4. Setup and Installation
4.1 Pre-Installation
- Inspect: Carefully unpack the fixture and inspect it for any damage. Do not install if damaged.
- Tools Required: Gather necessary tools, which typically include a screwdriver, wire strippers, drill, and voltage tester.
- Power Off: Ensure the power supply to the installation area is completely disconnected at the main circuit breaker.
4.2 Mounting the Fixture
- Locate Mounting Point: Choose a suitable location on the ceiling, ensuring it can support the weight of the fixture and has access to electrical wiring.
- Mark Drill Holes: Use the mounting bracket (if separate) or the fixture itself as a template to mark the drill holes on the ceiling.
- Drill Holes: Drill holes of appropriate size for the provided wall plugs. Insert the wall plugs flush with the ceiling surface.
- Secure Mounting Bracket: Attach the mounting bracket to the ceiling using the provided screws.

Image 4.1: The Globo 12369-15 LED Ceiling Light, unlit, highlighting its matte black metal frame and acrylic diffuser.
4.3 Electrical Connection
- Identify Wires: Carefully identify the live (L), neutral (N), and earth (E) wires from your ceiling supply and the fixture.
- Connect Wires: Connect the corresponding wires using appropriate terminal blocks. Ensure all connections are secure and insulated.
- Earth Connection: Always connect the earth wire for safety.
4.4 Final Assembly
- Attach Fixture: Carefully attach the main body of the fixture to the mounting bracket, securing it with the provided screws or clips.
- Restore Power: Once the fixture is securely mounted and all connections are checked, restore power at the main circuit breaker.
- Test: Turn on the light switch to test the fixture.

Image 4.2: Front view of the ceiling light, showing the even light distribution from the acrylic diffuser.
5. Operating Instructions
The Globo 12369-15 LED Ceiling Light is designed for straightforward operation.
- Turning On/Off: Operate the light using a standard wall switch connected to the fixture.
- Dimming Functionality: This fixture is suitable for dimming. If you wish to use a dimming function, ensure you have a compatible dimmer switch installed by a qualified electrician. Refer to the dimmer switch manufacturer's instructions for proper operation.
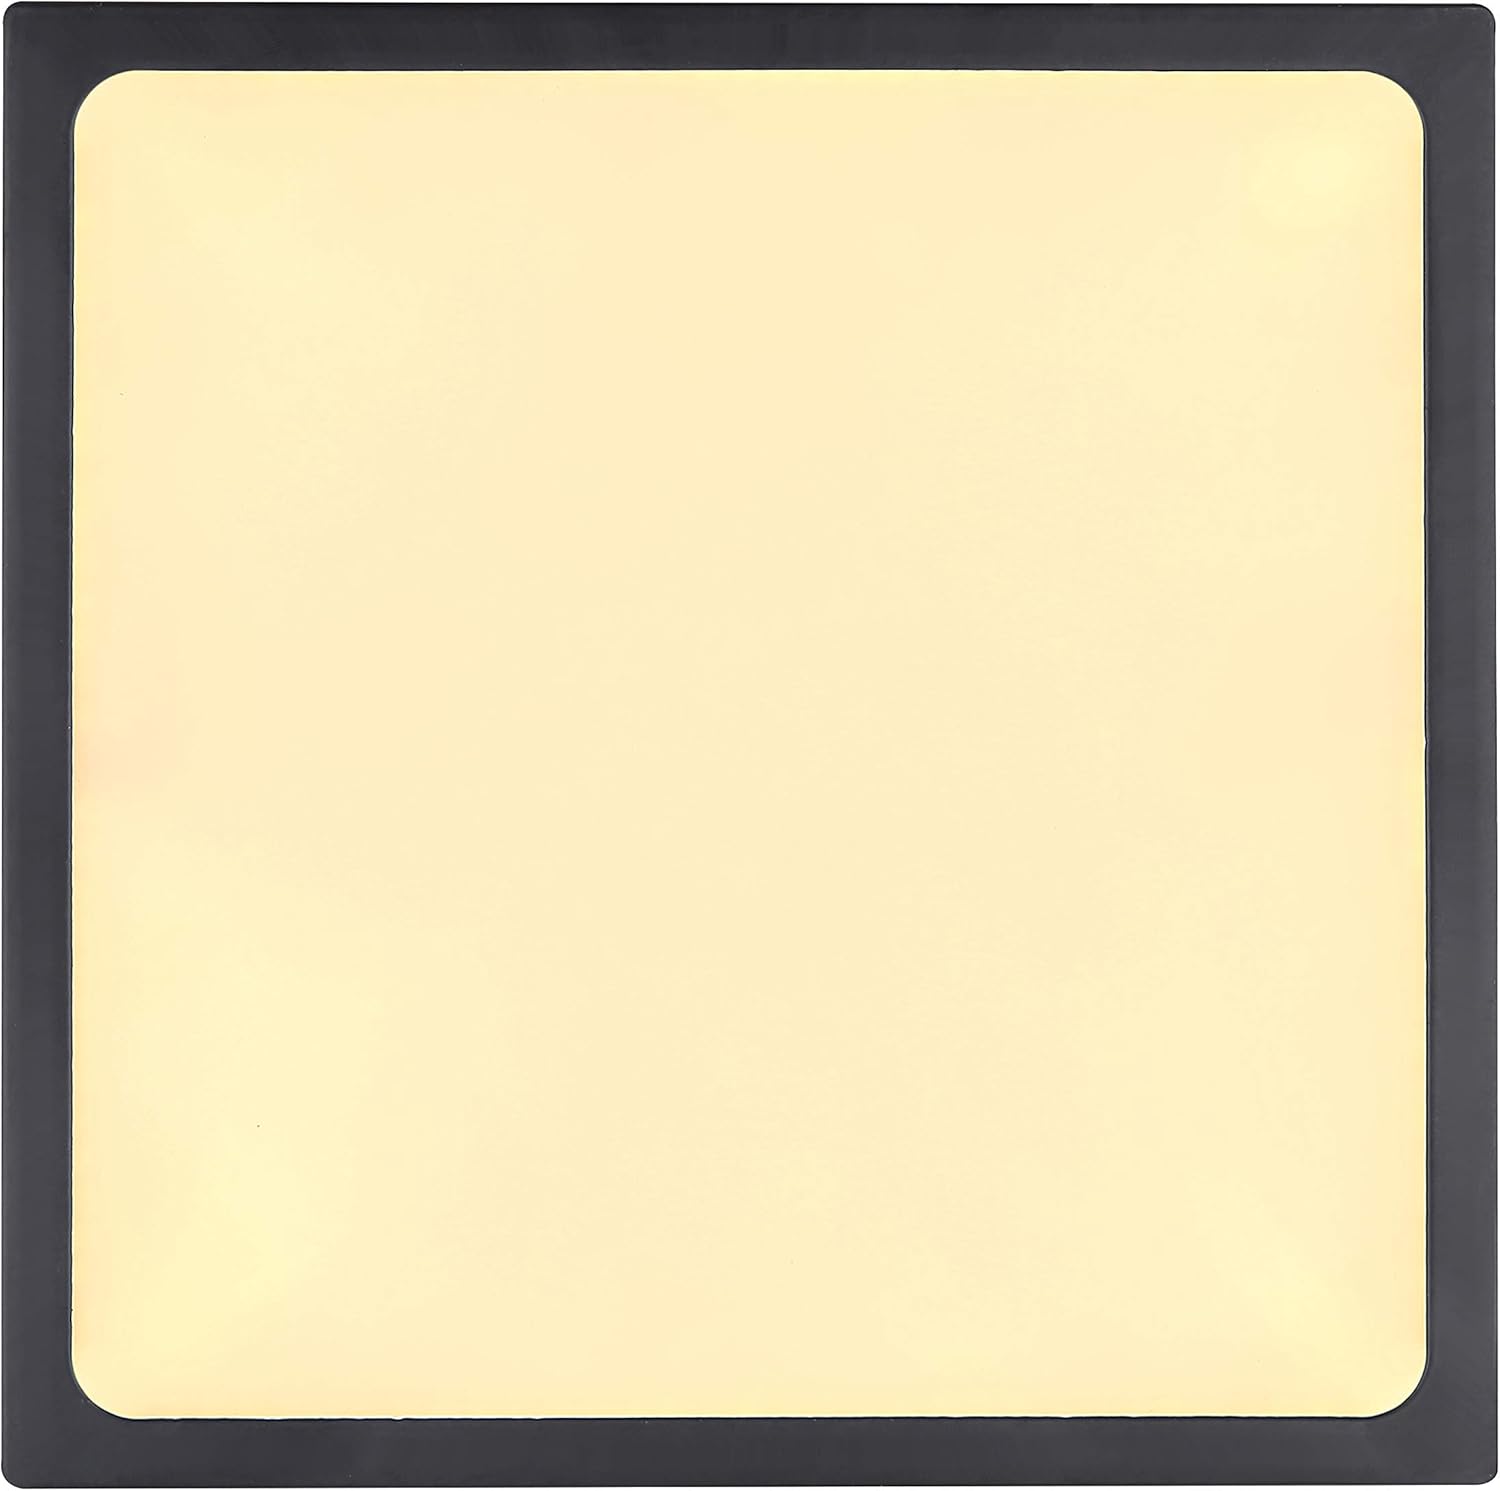
Image 5.1: Top-down view of the ceiling light, demonstrating its square form factor and uniform light output.
6. Maintenance
The Globo 12369-15 LED Ceiling Light requires minimal maintenance.
- Cleaning: Before cleaning, ensure the power supply is disconnected. Wipe the fixture with a soft, dry, or slightly damp cloth. Do not use abrasive cleaners, solvents, or harsh chemicals, as these can damage the finish or acrylic diffuser.
- LED Replacement: The LED light source is integrated and designed for a long lifespan. It is not user-replaceable. If the LED fails, the entire fixture may need to be replaced.
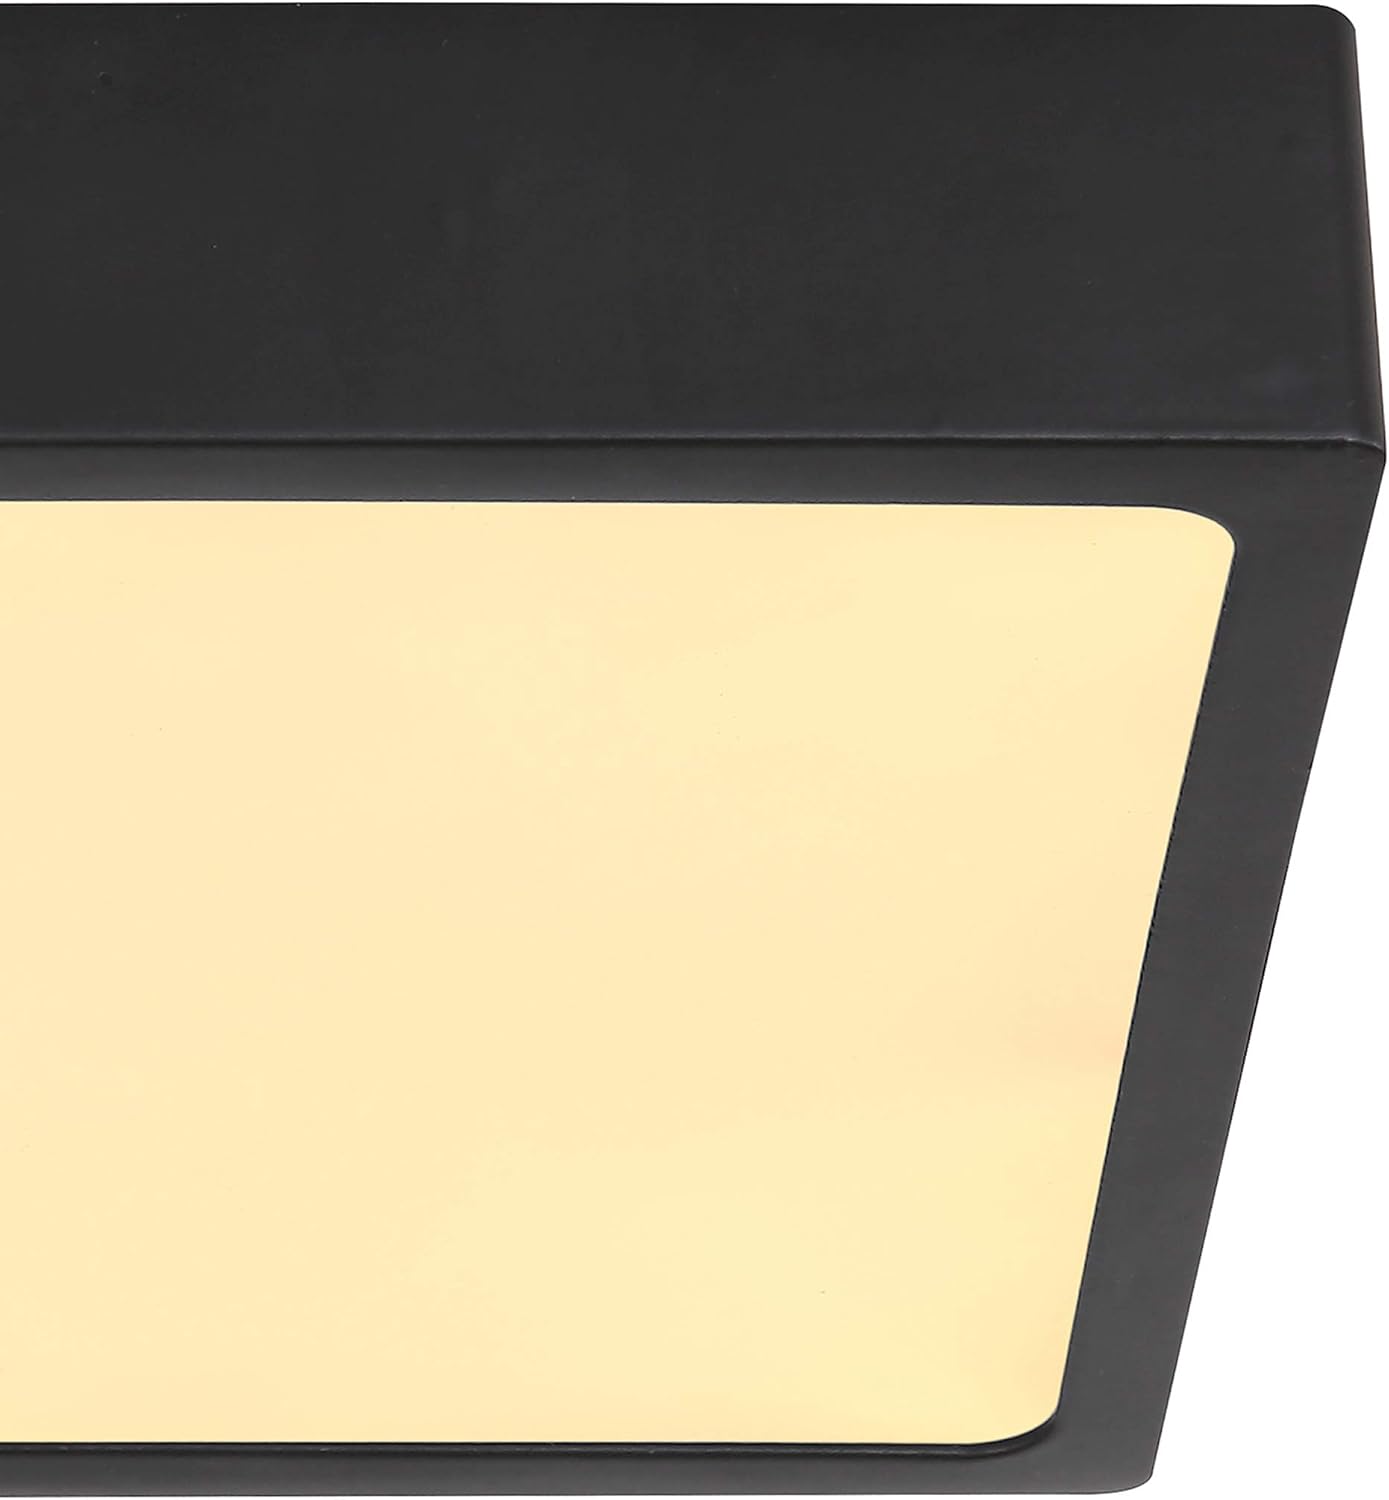
Image 6.1: Close-up side view, showing the slim profile and matte black finish of the fixture.
7. Troubleshooting
If you encounter issues with your ceiling light, refer to the following common problems and solutions:
| Problem | Possible Cause | Solution |
|---|---|---|
| Light does not turn on. | No power supply; loose wiring; faulty switch. | Check circuit breaker/fuse. Ensure power is on. Verify wiring connections (with power off). Test the switch. |
| Light flickers or dims unexpectedly. | Incompatible dimmer switch; loose wiring; power fluctuations. | Ensure dimmer is LED-compatible. Check wiring connections (with power off). Consult an electrician if power fluctuations are suspected. |
| Light is not as bright as expected. | Dimmer setting too low; incorrect installation. | Adjust dimmer to maximum setting. Re-check installation steps. |
If the problem persists after attempting these solutions, please contact customer support or a qualified electrician.
8. Specifications
| Feature | Detail |
|---|---|
| Model Number | 12369-15 |
| Brand | Globo |
| Dimensions (LxWxH) | 145 x 145 x 26 mm |
| Weight | 460 g |
| Material | Metal (Matte Black), Acrylic (Opal Satin) |
| Light Source | Integrated LED |
| Wattage | 15W |
| Voltage | 230V |
| Luminous Flux (Source) | 1650 lm |
| Luminous Flux (Output) | 1350 lm |
| Color Temperature | 4000K (Neutral White) |
| Dimmable | Yes (with compatible dimmer) |
| Room Type | Living Room (suitable for various indoor spaces) |
| Energy Source | AC |
9. Warranty and Support
Globo products are manufactured to high-quality standards. This product comes with a manufacturer's warranty against defects in materials and workmanship. Please refer to the warranty card included with your purchase or visit the official Globo website for detailed warranty terms and conditions.
For technical support, spare parts, or warranty claims, please contact your retailer or Globo customer service directly. Ensure you have your model number (12369-15) and proof of purchase available when contacting support.


