
Introduction
This manual provides essential information for the safe assembly, operation, and maintenance of your Intex 10 ft x 30 in Beachside Metal Frame Pool Set. Please read all instructions carefully before setting up and using the pool. Retain this manual for future reference.

Image: A family enjoying the Intex 10 ft x 30 in Beachside Metal Frame Pool Set in a backyard. The pool features a blue liner with a beachside print.
Safety Information
Always supervise children in and around the pool. Drowning can occur quickly and silently. Ensure all users understand basic pool safety rules. Do not dive or jump into the pool. The pool is not designed for diving. Keep electrical devices away from the pool area. Always use ground fault circuit interrupters (GFCI) for all electrical equipment connected to the pool.
- Never leave children unattended.
- No diving or jumping.
- Keep electrical devices away from water.
- Ensure proper fencing or barriers are in place according to local regulations.
Package Contents
Verify that all components are present before beginning assembly. If any parts are missing or damaged, do not proceed with assembly and contact Intex customer service.
- Pool Liner (with Beachside print)
- Metal Frame Components (horizontal beams, vertical legs, pins)
- Filter Pump (as shown in images)
- Hoses and Clamps for Filter Pump
- Instruction Manual

Image: A gray Intex filter pump with white hoses and clamps, a common accessory for maintaining pool water clarity.
Site Preparation
Proper site preparation is crucial for the stability and longevity of your pool. Choose a level, solid surface free from sharp objects, debris, or excessive slopes. The area should be large enough to accommodate the pool and provide adequate space around it for safe access.
- Level Ground: The pool must be placed on perfectly level ground. An uneven surface can cause the pool to collapse, leading to serious injury or property damage.
- Clear Area: Remove all rocks, sticks, roots, and other sharp objects.
- Drainage: Ensure the area has good drainage to prevent water accumulation around the pool base.
- Proximity to Utilities: Position the pool near a suitable electrical outlet for the filter pump, ensuring it is GFCI protected.
Assembly Instructions
Assembly typically requires two or more adults. Follow these steps carefully:
- Unpack Components: Lay out all pool liner and frame parts on a clean, soft surface to prevent damage.
- Spread Liner: Carefully spread the pool liner on the prepared level ground. Ensure the drain plug is positioned correctly for future draining.
- Assemble Horizontal Beams: Insert the horizontal beams through the sleeves at the top edge of the pool liner.
- Connect Vertical Legs: Attach the vertical legs to the horizontal beams using the provided pins. Ensure all connections are secure.
- Form the Frame: Continue connecting all frame components until the circular structure is complete and stable.
- Smooth Wrinkles: Once the frame is assembled, gently pull the liner outwards from the center to remove any wrinkles from the bottom.
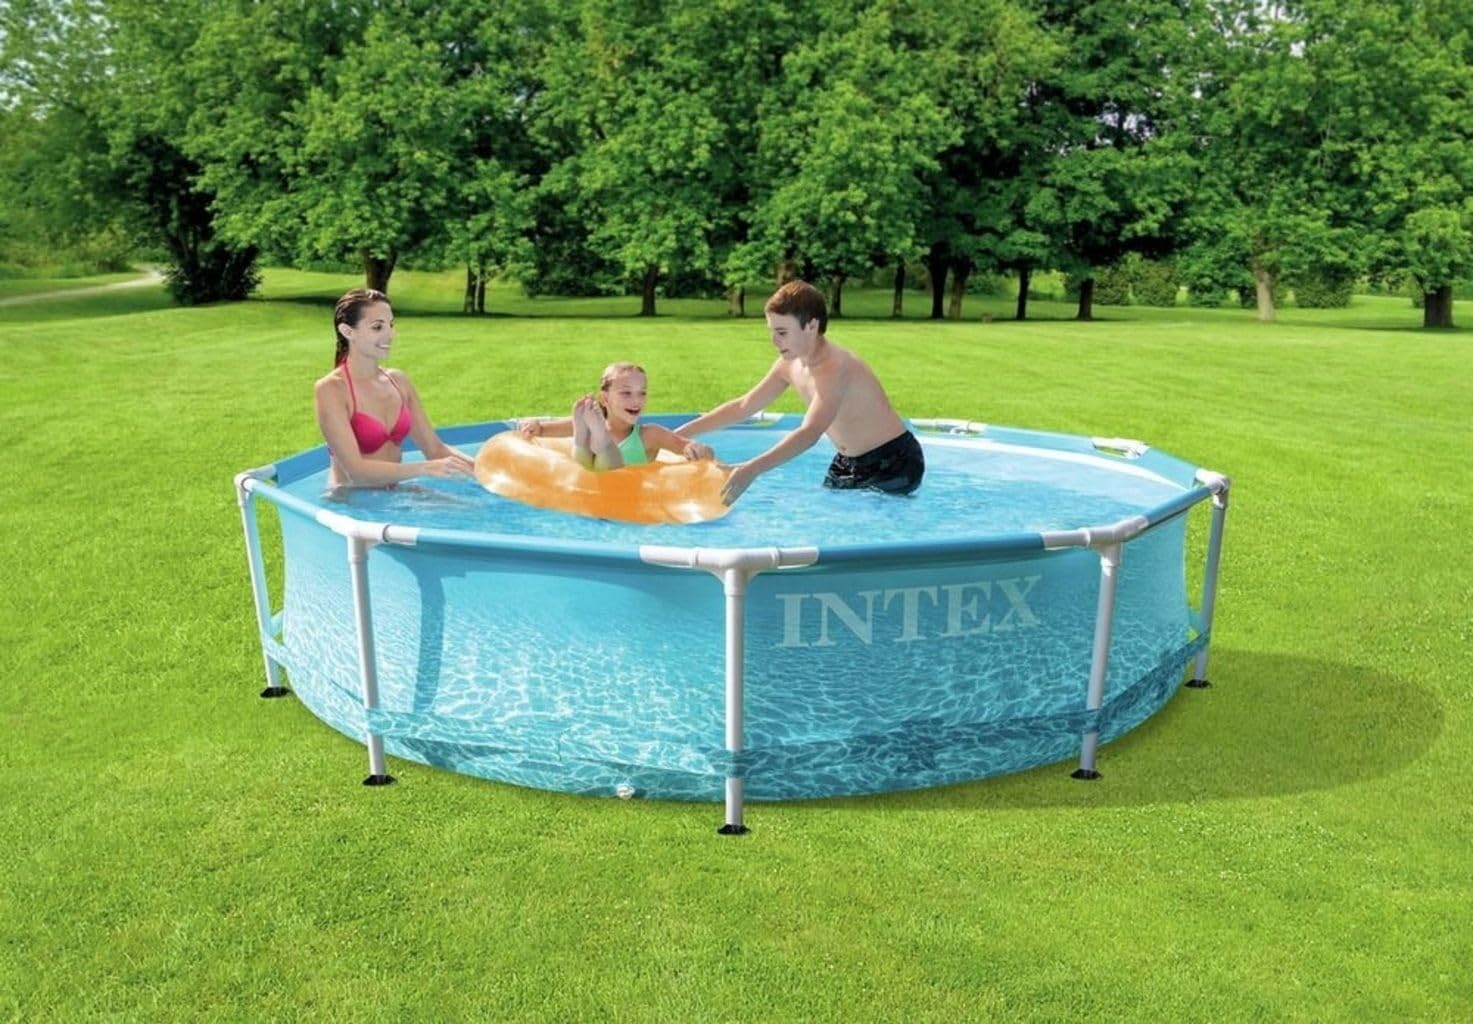
Image: An Intex Beachside Metal Frame Pool set up on grass, showcasing the blue liner with a starfish pattern on the bottom.
Filling and Operating
After assembly, the pool is ready for filling and initial operation.
- Fill with Water: Begin filling the pool with water. As the water level rises, continue to smooth out any remaining wrinkles on the bottom of the liner. Fill the pool to the recommended fill line, typically indicated on the liner or in the manual. Do not overfill.
- Connect Filter Pump: Once the pool is partially filled (enough to cover the inlet/outlet fittings), connect the filter pump hoses to the pool's inlet and outlet connections. Ensure all connections are tight and secure to prevent leaks.
- Prime and Start Pump: Follow the filter pump's specific instructions for priming and starting. Ensure the pump is operating correctly and circulating water.
- Water Treatment: Add appropriate pool chemicals (e.g., chlorine, pH adjusters) according to manufacturer instructions and test the water regularly to maintain proper balance and sanitation.
Maintenance
Regular maintenance is essential for clean water and extending the life of your pool.
- Water Chemistry: Test water pH and chlorine levels daily. Maintain pH between 7.2-7.6 and chlorine levels between 1-3 ppm.
- Filter Pump Operation: Run the filter pump for at least 4-6 hours daily to ensure proper water circulation and filtration.
- Filter Cartridge Cleaning/Replacement: Clean the filter cartridge every few days by rinsing with a garden hose. Replace the cartridge every 2-4 weeks, or more frequently if the water is heavily used or dirty.
- Skimming and Vacuuming: Remove debris from the water surface daily using a skimmer net. Vacuum the pool bottom as needed to remove settled dirt.
- Pool Cover: Use a pool cover when the pool is not in use to prevent debris from entering and reduce water evaporation.
Storage
At the end of the swimming season, properly store your pool to protect it from damage and prolong its lifespan.
- Drain Pool: Completely drain the pool using the drain plug. Ensure all water is removed.
- Clean Liner: Thoroughly clean the pool liner with mild soap and water. Rinse completely and allow it to air dry. Ensure it is completely dry before folding to prevent mold and mildew.
- Disassemble Frame: Carefully disassemble the metal frame components. Clean and dry all parts.
- Store Components: Store the liner, frame parts, and filter pump in a dry, cool place, protected from extreme temperatures and pests.
Troubleshooting
Refer to this section for common issues and their solutions.
| Problem | Possible Cause | Solution |
|---|---|---|
| Cloudy Water | Insufficient filtration, improper chemical balance, high organic load. | Run filter longer, check/adjust pH and chlorine, shock treat pool, clean/replace filter cartridge. |
| Algae Growth | Low chlorine, poor circulation, high phosphates. | Shock treat with chlorine, brush pool walls, run filter continuously, add algaecide. |
| Pump Not Working | Power issue, clogged impeller, air in system. | Check power connection/GFCI, clear debris from impeller, prime pump. |
| Water Leak | Hose connection loose, small puncture in liner. | Tighten hose clamps, inspect liner for holes and use a repair patch kit. |
Specifications
- Model Number: 28208GN
- Pool Type: Metal Frame Pool
- Shape: Round
- Dimensions (Diameter x Height): 10 ft x 30 in (305 cm x 76 cm)
- Material: Durable PVC liner with a galvanized steel frame
- Capacity (at 90% fill): Approximately 1,470 gallons (5,560 liters)
- Assembly Required: Yes
- Special Features: Photorealistic ocean print on liner

Image: A cutaway diagram illustrating the three-ply construction of the Intex pool liner, showing two outer layers of heavy-gauge PVC laminated to an inner layer of polyester mesh for reinforcement.
Warranty and Support
Intex products are manufactured with high-quality materials and workmanship. For specific warranty details, please refer to the warranty card included with your product or visit the official Intex website. For technical support, replacement parts, or further assistance, please contact Intex customer service directly. Keep your proof of purchase and model number handy when contacting support.