Introduction
Thank you for choosing the ProBasics Aluminum Height Adjustable Rollator. This manual provides essential information for the safe and effective use, assembly, maintenance, and troubleshooting of your new mobility aid. Please read this manual thoroughly before initial use and retain it for future reference.
This rollator is designed to provide mobility assistance for individuals requiring support while walking, offering a comfortable seat for resting, and convenient storage. Its lightweight aluminum frame and adjustable features ensure a personalized and secure experience.

Figure 1: The ProBasics Aluminum Height Adjustable Rollator in its upright, ready-to-use configuration. This image provides an overall view of the product, showcasing its four wheels, padded seat, backrest, and ergonomic handles with loop-style brakes.
Safety Guidelines
Your safety is paramount. Adhere to the following guidelines to prevent injury and ensure proper operation:
- Weight Capacity: Do not exceed the maximum weight capacity of 300 lbs (136 kg) for both walking and sitting.
- Brake Engagement: Always engage the parking brakes before sitting on the seat or when the rollator is stationary to prevent unintended movement.
- Stability: Ensure all four wheels are on a stable, level surface before using the rollator or sitting. Avoid uneven terrain, loose gravel, or steep inclines.
- Handle Adjustment: Ensure the handle height adjustment knobs are securely tightened before use.
- Regular Inspection: Periodically check all nuts, bolts, and fasteners for tightness. Ensure wheels rotate freely and brakes function correctly.
- Assistance: If you are unsure about assembly or operation, seek assistance from a qualified professional.
- Obstacles: Be aware of your surroundings and avoid obstacles that could cause the rollator to tip or become unstable.
Components
The ProBasics Rollator typically includes the following main components:
- Main Frame Assembly (pre-assembled)
- Front Wheels (2)
- Rear Wheels with Brakes (2)
- Padded Seat
- Backrest
- Ergonomic Handles with Loop Brakes (2)
- Under-seat Storage Pouch
- Assembly Hardware (if applicable)
Setup
1. Unpacking and Initial Unfolding
- Carefully remove all components from the packaging.
- Place the rollator on a flat, stable surface.
- Gently pull the sides of the frame apart until the rollator is fully open and the locking mechanism (if present) engages. Ensure the seat is flat and secure.
2. Handle Height Adjustment
Adjust the handle height to ensure comfortable and safe use. The top of the handle should be at wrist level when standing upright with arms relaxed at your sides.
- Locate the adjustment knobs or pins on the handle uprights.
- Loosen the knobs or depress the pins to allow the handles to slide up or down.
- Adjust both handles to the desired height, ensuring they are even.
- Securely tighten the adjustment knobs or ensure the pins snap fully into place. Test the handles for stability before use.

Figure 2: This image illustrates the process of adjusting the handle height on the rollator. The handles can be moved up or down to customize the fit for the user, ensuring ergonomic comfort and proper posture during use.
3. Brake Adjustment (if necessary)
The brakes are typically pre-adjusted. If they feel too loose or too tight, they may require fine-tuning. Consult a professional if you are unsure.
- Locate the brake cable adjustment barrel near the handle or at the wheel.
- Turn the barrel adjuster clockwise to tighten the brake cable (making brakes more responsive) or counter-clockwise to loosen (making brakes less responsive).
- Test the brakes by engaging them and attempting to push the rollator. The wheels should lock securely.
Operation
1. Walking with the Rollator
- Stand upright behind the rollator, holding both handles firmly.
- Push the rollator slightly forward, then step forward with one foot, followed by the other. Maintain a comfortable distance from the rollator.
- Keep your body centered between the handles for optimal balance.

Figure 3: An individual is shown walking outdoors with the ProBasics rollator. This image demonstrates the rollator in active use, highlighting its role as a mobility aid for daily activities.
2. Using the Brakes
- To Slow Down or Stop: Squeeze the loop-style brake levers towards the handles. Release to resume movement.
- To Engage Parking Brakes: Push the loop-style brake levers down until they lock into place. This will lock the rear wheels, preventing the rollator from moving. Always engage parking brakes before sitting.
- To Release Parking Brakes: Pull the loop-style brake levers back up until they disengage.
3. Using the Seat
- Ensure the rollator is on a flat, stable surface.
- Always engage both parking brakes before attempting to sit down.
- Turn around so your back is facing the seat.
- Slowly lower yourself onto the seat. Use the handles for support if needed.
- To stand up, push off the seat and use the handles for support. Ensure the parking brakes remain engaged until you are fully upright and stable.

Figure 4: An individual is seated comfortably on the rollator's padded seat, demonstrating its function as a resting spot. The backrest provides additional support, allowing users to take breaks during their activities.
4. Folding for Storage or Transport
The rollator can be easily folded for compact storage or transport.
- Ensure the storage pouch is empty.
- Lift the seat by the strap or handle located in the center of the seat. The sides of the frame will begin to fold inward.
- Continue lifting until the rollator is fully folded.
- Secure any locking mechanisms if present to keep it folded.
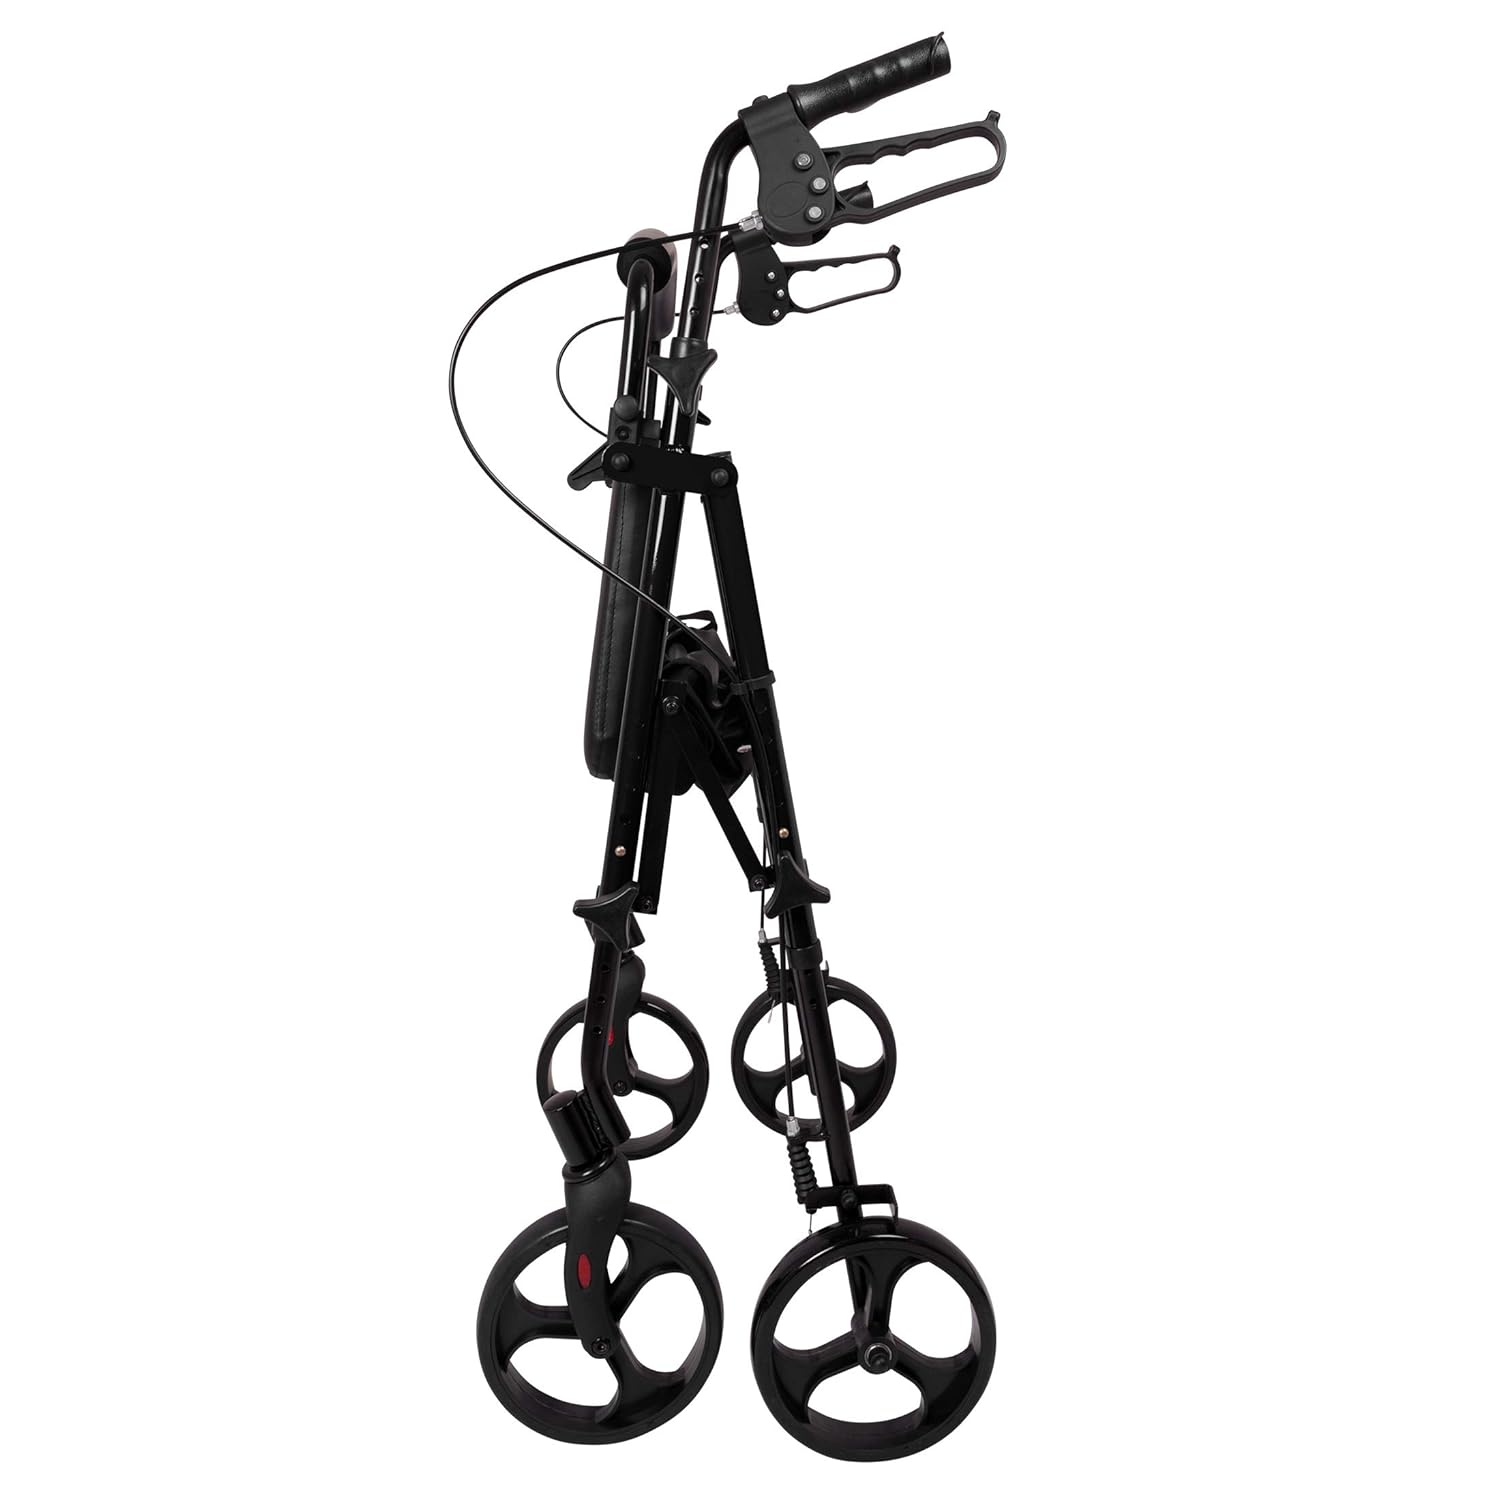
Figure 5: The rollator is shown in its fully folded position, highlighting its compact design for easy storage and transport. This view emphasizes how the unit collapses to minimize space.

Figure 6: An individual is placing the folded rollator into the trunk of a car. This image demonstrates the ease of transport and portability of the rollator once it has been collapsed.
Maintenance
- Cleaning: Clean the frame with a damp cloth and mild detergent. Do not use abrasive cleaners. Wipe the seat and backrest with a damp cloth.
- Inspection: Regularly inspect the wheels for wear and tear. Check that all bolts, screws, and fasteners are tight. Ensure brake cables are not frayed and operate smoothly.
- Storage: Store the rollator in a dry, clean place away from extreme temperatures and direct sunlight.
Troubleshooting
| Problem | Possible Cause | Solution |
|---|---|---|
| Rollator unstable/wobbly | Loose fasteners; uneven handle height; improper unfolding | Check and tighten all fasteners. Ensure handles are at equal height. Fully unfold until locking mechanism engages. |
| Brakes not engaging/too loose | Brake cable too loose; worn brake pads | Adjust brake cable tension using the barrel adjuster. If pads are worn, contact manufacturer for replacement. |
| Brakes too tight/wheels drag | Brake cable too tight | Adjust brake cable tension using the barrel adjuster to loosen. |
| Wheels not rolling smoothly | Debris in wheels; damaged bearings | Clean wheels of any debris. If problem persists, bearings may be damaged; contact manufacturer. |
| Rollator difficult to fold | Obstruction; mechanism stiff | Ensure storage pouch is empty. Check for any obstructions. Apply a small amount of silicone lubricant to moving parts if stiff. |
Specifications
| Feature | Detail |
|---|---|
| Model Number | RLAA8BK |
| Product Dimensions (Unfolded) | 24.9 x 24.6 x 31.5 inches (L x W x H) |
| Product Weight | 18.4 Pounds |
| Weight Capacity | Up to 300 lbs |
| Wheel Size | 8 inches |
| Handle Height Adjustment Range | 30" - 38" (in one-inch increments) |
| Seat Height Adjustment Range | 18" - 22" |
| Material | Aluminum Frame |
| Country of Origin | China |
Warranty and Customer Support
ProBasics products are manufactured to high-quality standards. For information regarding the product warranty, please refer to the documentation included with your purchase or visit the official ProBasics website. If you have any questions, require technical assistance, or need to order replacement parts, please contact ProBasics customer support directly. Contact details can typically be found on the product packaging or the manufacturer's website.


