
ATOTO AC-44F5
Contents
ATOTO AC-44F5 Wireless Remote Control User Manual
Model: AC-44F5 | Brand: ATOTO
1. Product Overview
The ATOTO AC-44F5 is a watch-band style wireless remote control designed to enhance your driving experience by providing convenient control over your compatible ATOTO car stereo. It features luminous buttons for easy visibility in low-light conditions and offers a plug-and-play setup.
This remote allows you to manage various functions of your car stereo, such as volume adjustment, track skipping, call handling, and activating camera applications, all without diverting your attention from the road.

Figure 1: ATOTO AC-44F5 Wireless Remote Control, showing its circular button layout and watch-band style strap.
2. Compatibility
The ATOTO AC-44F5 wireless remote control is specifically designed for use with certain ATOTO car stereo models. Please ensure your car stereo is compatible before purchase and installation.
Compatible Models:
- ATOTO F7 Series
- ATOTO S8 Series (excluding S8 Lite, PN, UN, and Mass Popularization versions)
Incompatible Models:
- ATOTO A5 Series
- ATOTO A6 Series
- ATOTO S8 Lite, S8 PN, S8 UN, S8 Mass Popularization versions
- ATOTO P5, P8, P9 Series
- Car stereos from other brands
Important Note: If your car stereo is one of the incompatible models listed above or from another brand, please consider purchasing the ATOTO AC-44F8 instead, as it offers broader compatibility.
3. Setup and Installation
Proper installation of the infrared receiver is crucial for the AC-44F5 to function correctly. It is highly recommended to connect the receiver before installing your car stereo into the dashboard to avoid needing to remove it later.
3.1 Receiver Connection
- Locate the Steering Wheel Control (SWC) 3.5mm jack socket on the back of your ATOTO car stereo.
- Before powering on the car stereo, insert the infrared receiver into this 3.5mm jack socket.
- Caution: Failure to connect the infrared receiver before powering on the car stereo may damage the receiver.

Figure 2: Diagram showing the correct connection of the infrared receiver to the 3.5mm SWC jack on the back of the car stereo. Avoid placing the receiver in areas that block the signal.
Ensure the IR transmitter is correctly inserted into the IR port on the back of the car unit. Avoid placing the receiver in areas that might block the infrared signal, as indicated by shaded areas in the diagram.
3.2 Mounting the Remote Control
The AC-44F5 offers flexible mounting options to suit your preference and vehicle interior.
- Steering Wheel Mounting: The remote control comes with a watch-band style strap. You can easily buckle the strap around your steering wheel for quick access.
- Adhesive Mounting: Alternatively, you can detach the remote from the strap and use the provided adhesive pad to stick it to any convenient flat surface in your vehicle.

Figure 3: Illustrations demonstrating how to buckle the remote to the steering wheel and how to use the adhesive pad for alternative mounting.
4. Operating Instructions
The ATOTO AC-44F5 features 5 buttons and 1 rotary knob, providing 11 distinct functions for controlling your ATOTO car stereo. The buttons are luminous, making them easy to locate and use during night driving.

Figure 4: Diagram illustrating the functions of each button and the rotary knob on the AC-44F5 remote control.
Button Functions:
| Button/Control | Function (Short Press) | Function (Long Press) |
|---|---|---|
| X/R (Top Button) | Mute/Unmute | Launch Rear Camera Application (RCAM) / Live Rear View (if available on car stereo) |
| << (Left Button) | Skip to Previous Track | End Call / Reject Call |
| >> (Right Button) | Skip to Next Track | Answer Call |
| ||/F (Bottom Button) | Pause / Play Current Playback | Launch Front Camera Application (FCAM) (if available on car stereo) |
| Microphone (Center Button) | Activate Voice Control | N/A |
| Rotary Knob (+/-) | Adjust Volume (Rotate clockwise for Volume Up, counter-clockwise for Volume Down) | |
The design allows for easy control of your ATOTO car stereo, promoting safer driving by minimizing distractions.
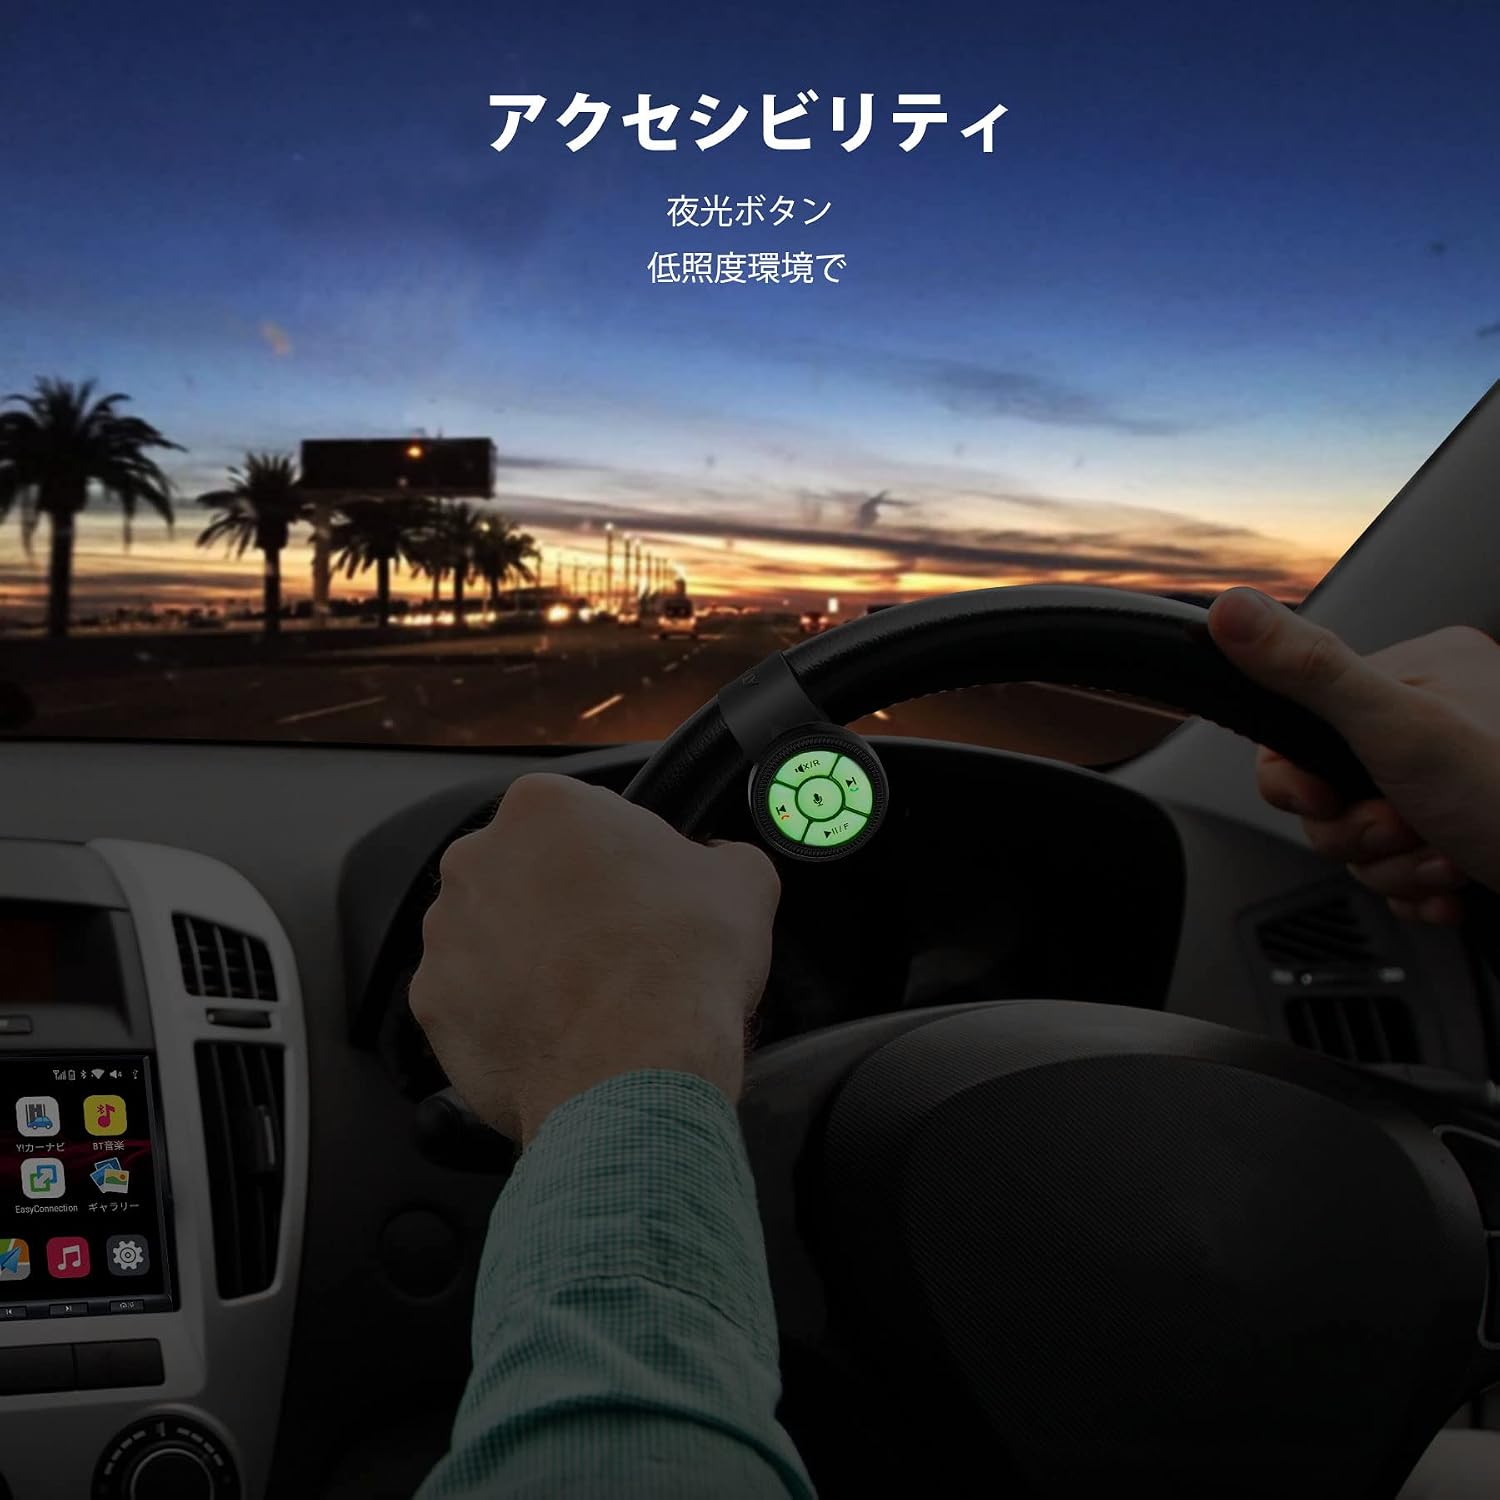
Figure 5: The AC-44F5 remote control with its luminous buttons, providing visibility and ease of use in dark environments, such as during night driving.
5. Maintenance
5.1 Battery Replacement
The AC-44F5 remote control is powered by a CR2032 coin cell battery. If the remote control stops responding or its performance degrades, the battery may need to be replaced.
- Carefully open the battery compartment on the back of the remote control.
- Remove the old CR2032 battery.
- Insert a new CR2032 battery, ensuring the positive (+) side is facing up.
- Close the battery compartment securely.
Always ensure the battery is installed with the correct polarity. Dispose of old batteries responsibly according to local regulations.
6. Troubleshooting
If you encounter issues with your ATOTO AC-44F5 wireless remote control, please refer to the following troubleshooting steps:
6.1 Remote Control Not Syncing or Responding
- Check Compatibility:
Confirm that your ATOTO car stereo is compatible with the AC-44F5. This remote is only compatible with ATOTO F7 and S8 (excluding S8 Lite, PN, UN, Mass Popularization) series. If your unit is an ATOTO A5, A6, S8 Lite, S8 PN, S8 UN, S8 Mass Popularization, or another brand, the AC-44F5 will not work. In such cases, the ATOTO AC-44F8 might be the correct accessory.
- Verify Receiver Connection:
Ensure the infrared receiver is correctly and securely plugged into the 3.5mm SWC jack on the back of your car stereo. Refer to Figure 2 in the Setup section for visual guidance. Also, ensure the receiver is not obstructed or placed in an area that blocks the infrared signal.
- Connection Sequence:
Always connect the remote control receiver to the car stereo before connecting the car stereo's main power cord. If the car stereo was already powered on when the receiver was connected, try disconnecting the car stereo's power, connecting the receiver, and then reconnecting the power.
- Hard Reset the Car Stereo:
Perform a hard reset on your ATOTO car stereo. Locate the reset hole on the front panel (usually a small pinhole) and press it with a thin pin for approximately 30 seconds. This can resolve various communication issues.
- Check Battery:
Verify that the CR2032 battery in the remote control is installed correctly with the correct polarity. If unsure, or if the battery is old, replace it with a new CR2032 battery and test again.
If the issue persists after following these steps, please contact ATOTO customer support for further assistance.
7. Product Specifications
| Feature | Detail |
|---|---|
| Model | AC-44F5 |
| Brand | ATOTO |
| Connectivity Technology | Infrared (IR) |
| Number of Buttons | 5 (plus 1 rotary knob) |
| Special Features | Luminous Buttons, Voice Control Activation |
| Power Source | CR2032 Coin Cell Battery (not included with main unit, but required for remote) |
| Maximum Compatible Devices | 1 (specific ATOTO car stereo) |
| Package Dimensions | 7.2 x 7.1 x 4.7 cm |
| Item Weight | 80 g |
| ASIN | B08D3K2Z8P |
| First Available Date (Amazon.co.jp) | September 1, 2022 |
8. Warranty and Support
ATOTO is committed to providing excellent customer care and support for its products.
8.1 Product Warranty
ATOTO products typically come with a warranty period. For specific details regarding the warranty for your AC-44F5, including the "12+6 months product operation status tracking" mentioned in product information, please refer to the warranty card included with your product or visit the official ATOTO website.
8.2 Customer Support
If you have any questions, require technical assistance, or need to report an issue that cannot be resolved using the troubleshooting guide, please contact ATOTO customer support. You can often find contact information on the official ATOTO website or through their brand store on Amazon.
Documents and downloads
Ask a question about this manual
Ask about setup, troubleshooting, compatibility, parts, safety, or missing instructions. Manuals+ will review the question and use this page’s manual context to help answer it.