1. Introduction
This manual provides instructions for the proper use and care of your Walfront DBx1 Industrial Sewing Machine Needles. This set includes 10 needles of various sizes (9#, 11#, 12#, 14#, 16#, 18#) designed for industrial sewing applications. Please read this manual thoroughly before use to ensure optimal performance and longevity of the needles.
2. Product Features
- High-Hardness Metal Construction: Manufactured from durable, wear-resistant metal materials to prevent deformation during use.
- Smooth Surface Finish: Fine workmanship ensures smooth operation and extended service life.
- Versatile Sizing: Includes six common sizes (9#, 11#, 12#, 14#, 16#, 18#) to accommodate various fabric types and sewing tasks.
- Easy Installation: Designed for straightforward installation and removal in compatible industrial sewing machines.
- Wide Application: Suitable for a broad range of industrial sewing machine models and applications.
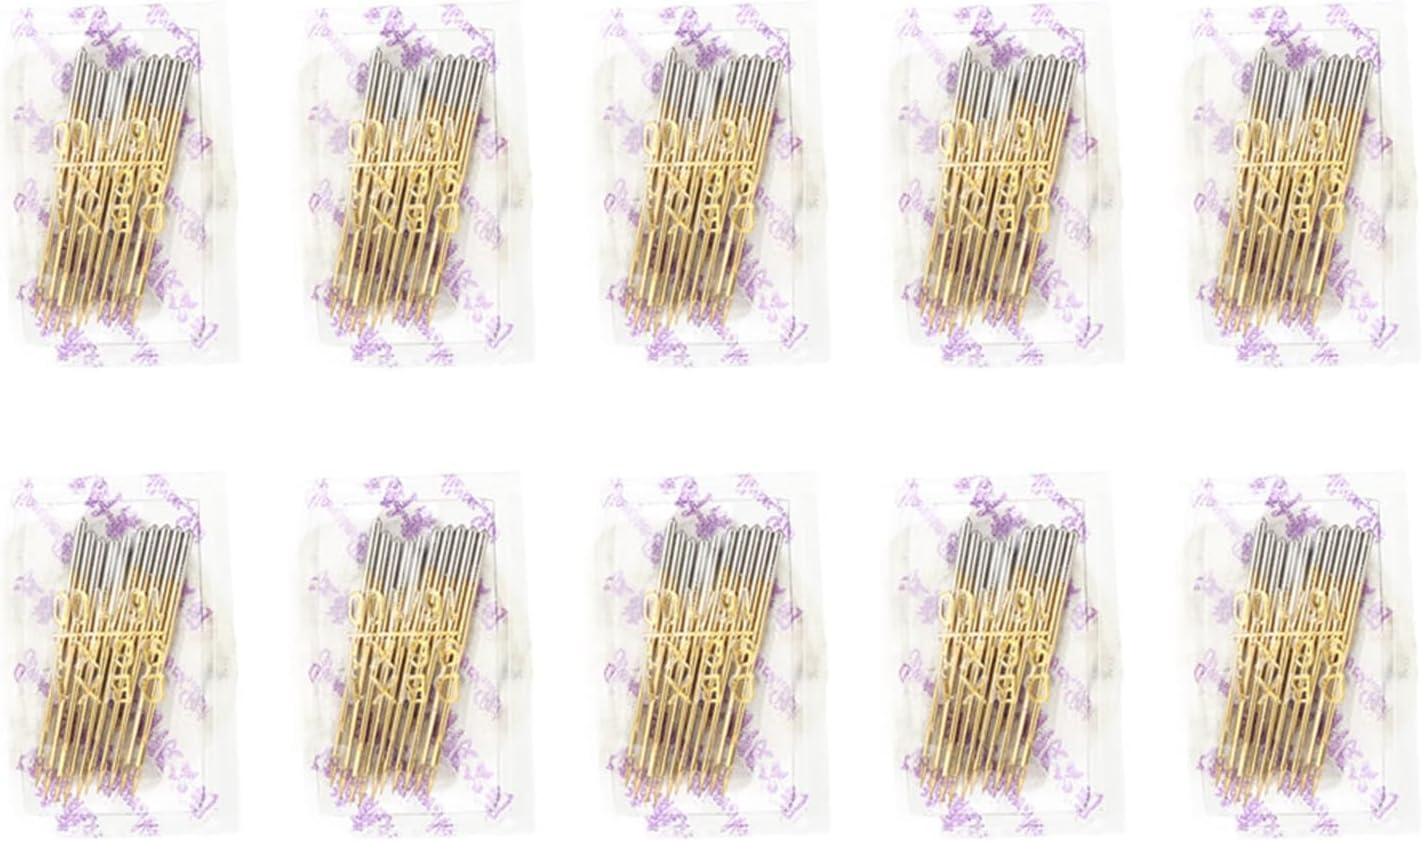
Figure 2.1: Close-up of Walfront DBx1 needles.
3. Package Contents
The Walfront DBx1 Industrial Sewing Machine Needles set includes:
- 10 x DBx1 Industrial Sewing Machine Needles (mixed sizes: 9#, 11#, 12#, 14#, 16#, 18#)

Figure 3.1: Walfront DBx1 needles in individual packaging.
4. Setup and Installation
Proper needle installation is crucial for optimal sewing performance and to prevent damage to your machine or fabric. Always refer to your sewing machine's specific instruction manual for detailed needle installation procedures.
- Power Off Machine: Before attempting to change the needle, ensure your sewing machine is turned off and unplugged from the power source to prevent accidental operation.
- Lower Presser Foot: Lower the presser foot to provide better access to the needle area.
- Remove Old Needle: Loosen the needle clamp screw (usually located on the needle bar) using a screwdriver or by hand, depending on your machine model. Carefully pull the old needle downwards and out. Dispose of old needles safely.
- Select New Needle: Choose the appropriate DBx1 needle size for your fabric and thread type. The flat side of the needle shank should face the back of the machine.
- Insert New Needle: Insert the new needle into the needle clamp, pushing it up as far as it will go. Ensure the flat side of the needle shank is correctly oriented.
- Tighten Needle Clamp: Securely tighten the needle clamp screw. Do not overtighten, as this can damage the needle or the clamp.
- Test Needle: Gently turn the handwheel to ensure the needle moves freely and does not strike any part of the machine.
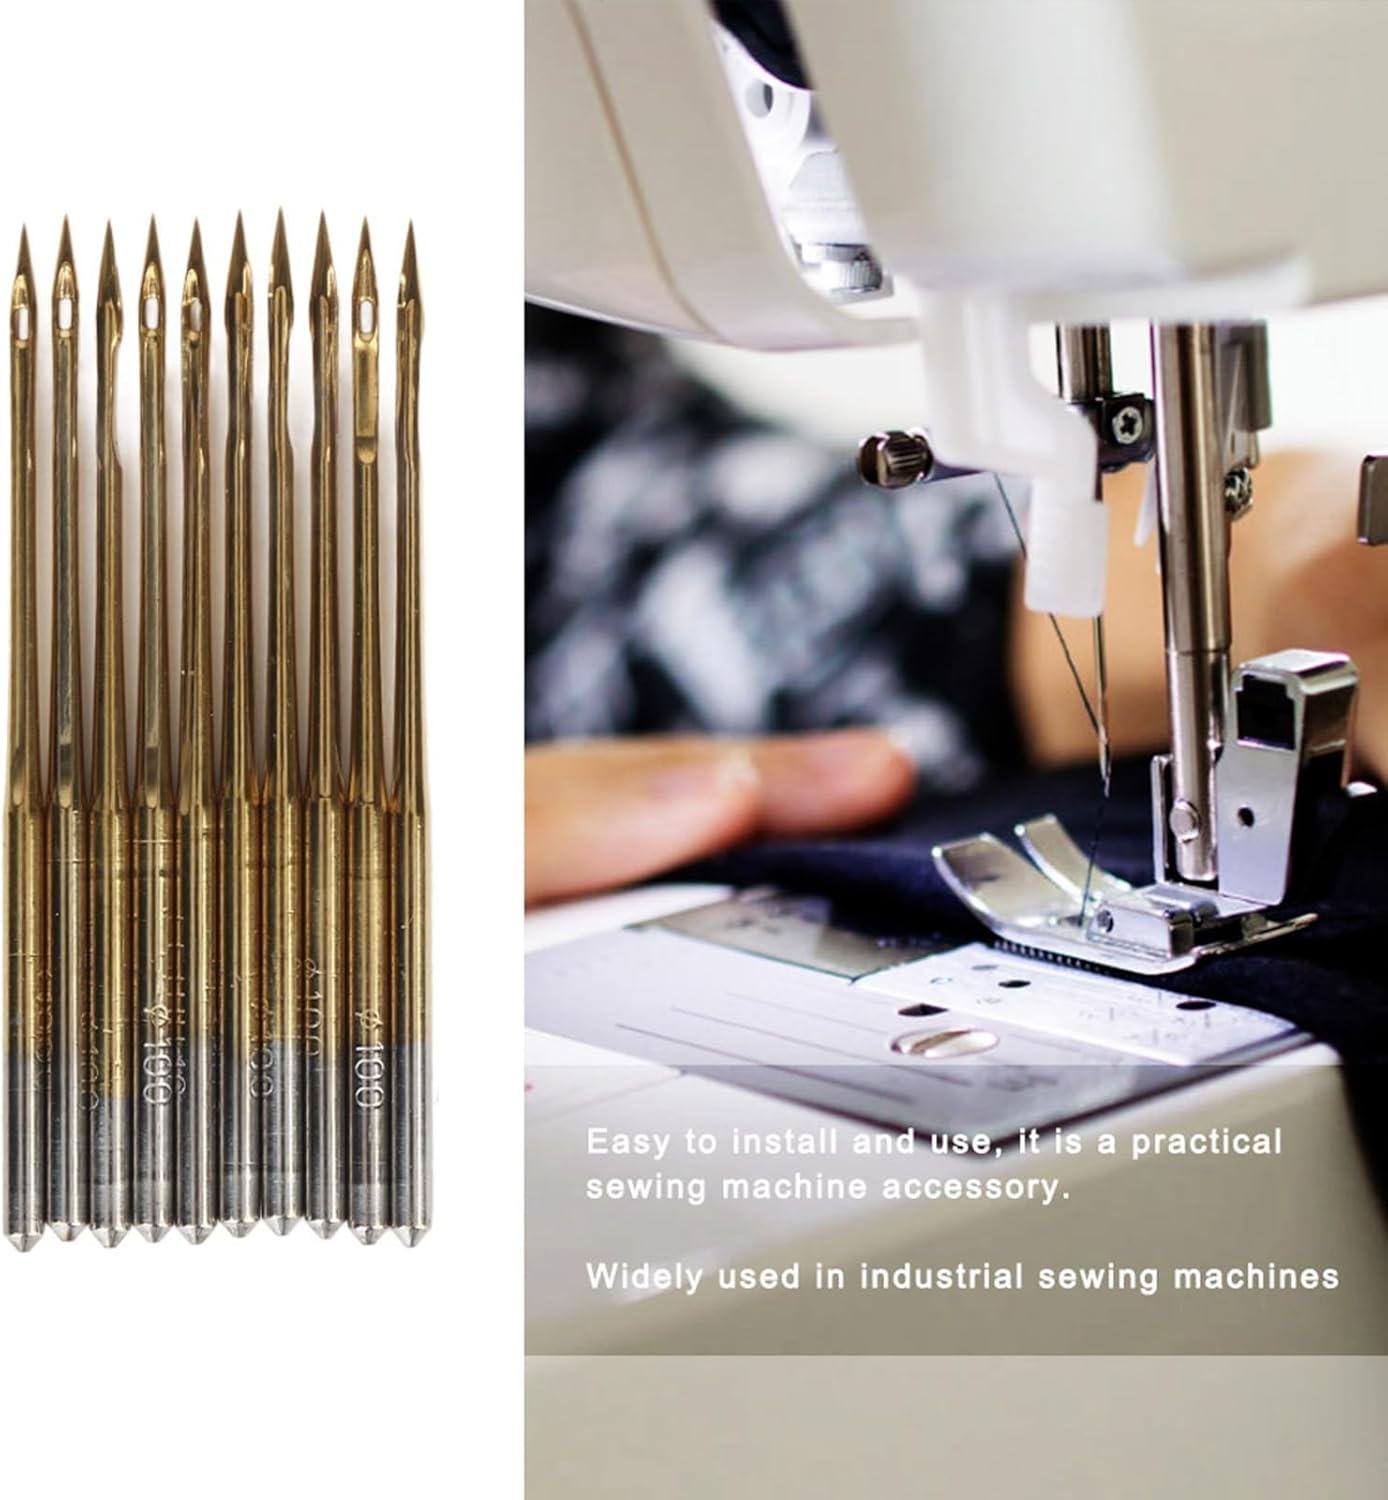
Figure 4.1: Needle installed in an industrial sewing machine.
5. Operating Instructions
Once the needle is correctly installed, you can proceed with your sewing tasks. The choice of needle size is critical for achieving good stitch quality and preventing fabric damage.
5.1 Needle Size Selection Guide
| Needle Size (DBx1) | Fabric Type | Common Applications |
|---|---|---|
| 9# (65/9) | Very fine fabrics (silk, chiffon, organza) | Delicate garments, fine embroidery |
| 11# (75/11) | Lightweight fabrics (cotton lawn, voile, poplin) | Blouses, shirts, light dresses |
| 12# (80/12) | Medium-light fabrics (quilting cotton, linen) | General sewing, quilting, home decor |
| 14# (90/14) | Medium-weight fabrics (denim, canvas, upholstery) | Jeans, jackets, bags, curtains |
| 16# (100/16) | Heavy-weight fabrics (heavy denim, leather, vinyl) | Heavy-duty garments, leather goods, outdoor gear |
| 18# (110/18) | Very heavy fabrics (multiple layers of denim, thick leather) | Industrial applications, thick material sewing |
Note: Always match your needle size to the fabric and thread you are using. Using a needle that is too small for heavy fabric can cause needle breakage, skipped stitches, and fabric damage. A needle that is too large for fine fabric can leave visible holes.
6. Maintenance and Care
Proper maintenance extends the life of your needles and ensures consistent sewing quality.
- Regular Replacement: Needles should be replaced regularly, typically after 8-10 hours of sewing or at the start of a new project. Dull or bent needles can cause skipped stitches, fabric snags, and machine damage.
- Inspection: Before each use, inspect the needle for any signs of bending, burrs, or a dull point. A quick test is to run the needle point over your fingernail; if it snags, it's dull and needs replacement.
- Storage: Store unused needles in their original packaging or a dedicated needle case to protect them from damage and moisture. Keep them away from children.
- Cleaning: If needles become sticky from fabric finishes or adhesives, gently wipe them with a soft cloth dampened with rubbing alcohol. Ensure they are completely dry before use or storage.
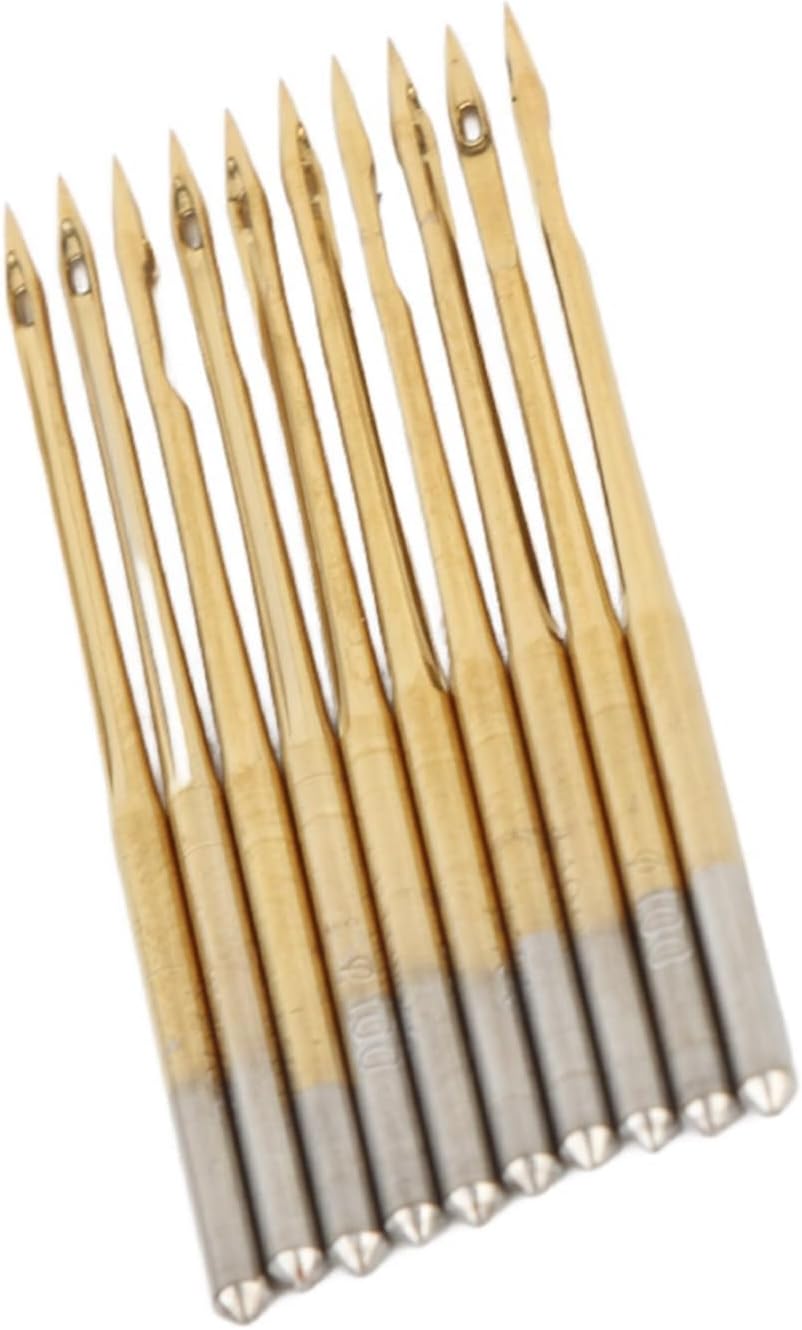
Figure 6.1: Inspecting needle points for wear.
7. Troubleshooting Common Issues
Many common sewing problems can be resolved by checking the needle.
- Skipped Stitches:
- Ensure the needle is inserted correctly and fully seated.
- Check if the needle is bent or dull; replace if necessary.
- Verify that the correct needle size is being used for the fabric.
- Needle Breakage:
- The needle may be bent or dull; replace it.
- The needle size might be too small for the fabric thickness or type.
- The needle may not be inserted correctly.
- Fabric might be pulled forcefully while sewing.
- Fabric Snagging or Damage:
- A dull or burred needle can snag fabric; replace it.
- Using a needle that is too large for delicate fabric can cause holes.
- Uneven Stitches:
- A bent or dull needle can contribute to uneven stitches.
- Ensure proper tension settings on your sewing machine.
8. Specifications
| Feature | Detail |
|---|---|
| Model | DBx1 |
| Material | High-hardness Metal |
| Needle Sizes Included | 9#, 11#, 12#, 14#, 16#, 18# |
| Quantity | 10 needles per set |
| Application | Industrial Sewing Machines |
| Item Weight | 1.48 ounces (approx. for the set) |
| Manufacturer | Walfront |
9. Safety Information
- Always turn off and unplug your sewing machine before changing needles or performing any maintenance.
- Needles are sharp. Handle with care to avoid injury.
- Keep needles out of reach of children and pets.
- Dispose of used or broken needles safely in a puncture-proof container.
- Do not force the needle into the machine; if it doesn't fit easily, recheck the orientation or compatibility.
10. Warranty and Support
For information regarding warranty, returns, or customer support, please refer to the retailer's policy where the product was purchased or visit the official Walfront website. This manual provides general usage guidelines; specific warranty terms may vary.
You can find more information about Walfront products at their official store: Walfront Store on Amazon.


