
1. Product Overview
The WeatherTech Custom Scratch Protection Kit is designed to safeguard vulnerable painted surfaces of your vehicle from scratches, scuffs, and minor abrasions. This kit provides a clear, high-performance polyurethane film that adheres directly to the vehicle's painted surface without causing damage to the paint or finish. It is custom-fit for specific vehicle models to ensure precise coverage.
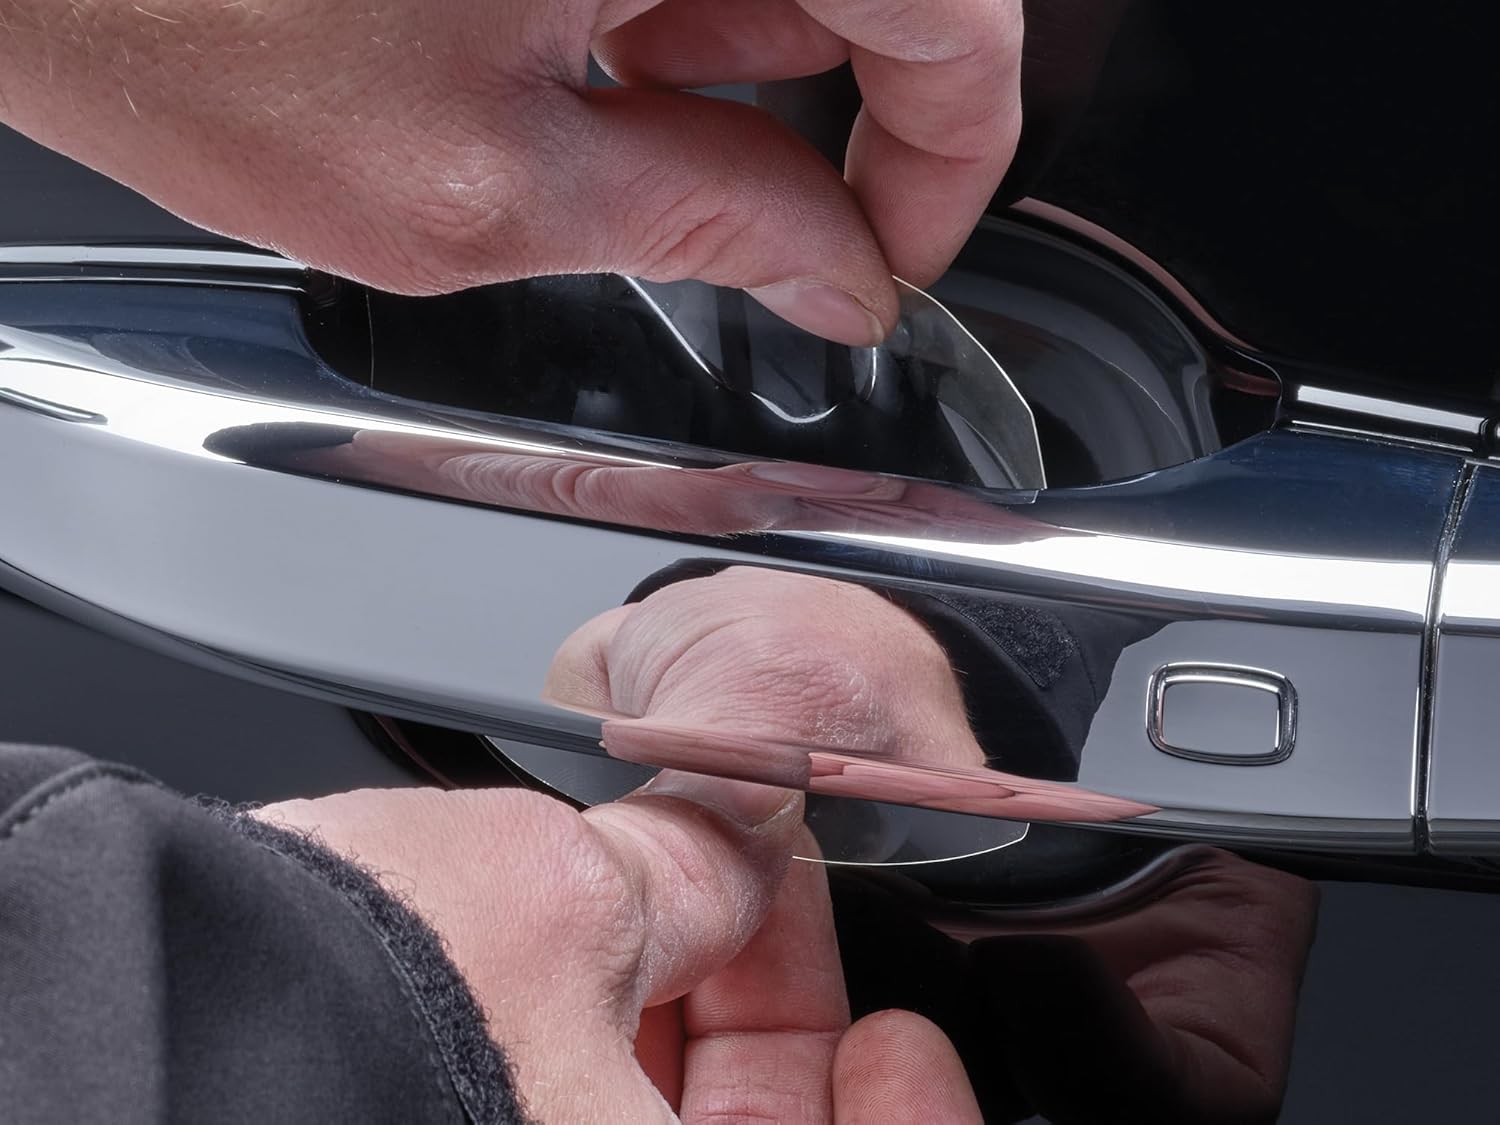
Image: Application of the clear protection film to a vehicle's door handle cup.
2. Features
- Custom Fit: Designed for select 2020-2025 BMW X6 40i, 2020-2023 BMW X6 M, 2024-2025 BMW X6 M Competition, 2020-2023 BMW X6 M50i, and 2024-2025 BMW X6 M60i Models.
- Comprehensive Coverage: Protects key areas including door handle cups, door edges, and door sills.
- Durable Material: Made from clear, high-performance polyurethane film.
- Paint-Safe Adhesion: Adheres directly to the vehicle’s painted surface without damaging the paint or finish upon removal.
- Made in USA: Manufactured in the United States.

Image: An illustration of the areas protected by the film. Note: The actual film is clear; red is used for visual emphasis only.
3. Setup and Installation
Proper preparation and application are crucial for optimal adhesion and appearance of the protection film. Ensure the vehicle's surface is clean and free of contaminants before beginning.
Required Materials (Not Included):
- Clean spray bottle
- Baby shampoo (tear-free recommended) or specialized slip solution
- Rubbing alcohol (70% isopropyl alcohol)
- Clean microfiber cloths
- Squeegee or soft plastic card

Image: Example of slip and prep solutions, which aid in film application.
Installation Steps:
- Clean the Surface: Thoroughly clean the application area (door handle cups, edges, sills) with soap and water, then wipe with rubbing alcohol to remove any wax, grease, or residue. Allow to dry completely.
- Prepare Slip Solution: Mix a few drops of baby shampoo with water in a spray bottle. This creates a slip solution that allows you to position the film.
- Apply Slip Solution: Liberally spray the cleaned vehicle surface with the slip solution.
- Peel and Apply Film: Carefully peel the backing from the protection film. Avoid touching the adhesive side. Apply the film to the wet surface. The slip solution will allow you to slide and position the film correctly.
- Position and Squeegee: Once the film is in the desired position, use a squeegee or soft plastic card to gently push out the water and air bubbles from the center outwards. Apply firm, even pressure.
- Dry and Cure: Allow the film to dry and cure. This process can take 24-48 hours, depending on temperature and humidity. Avoid washing the vehicle or exposing the newly applied film to excessive moisture during this period.
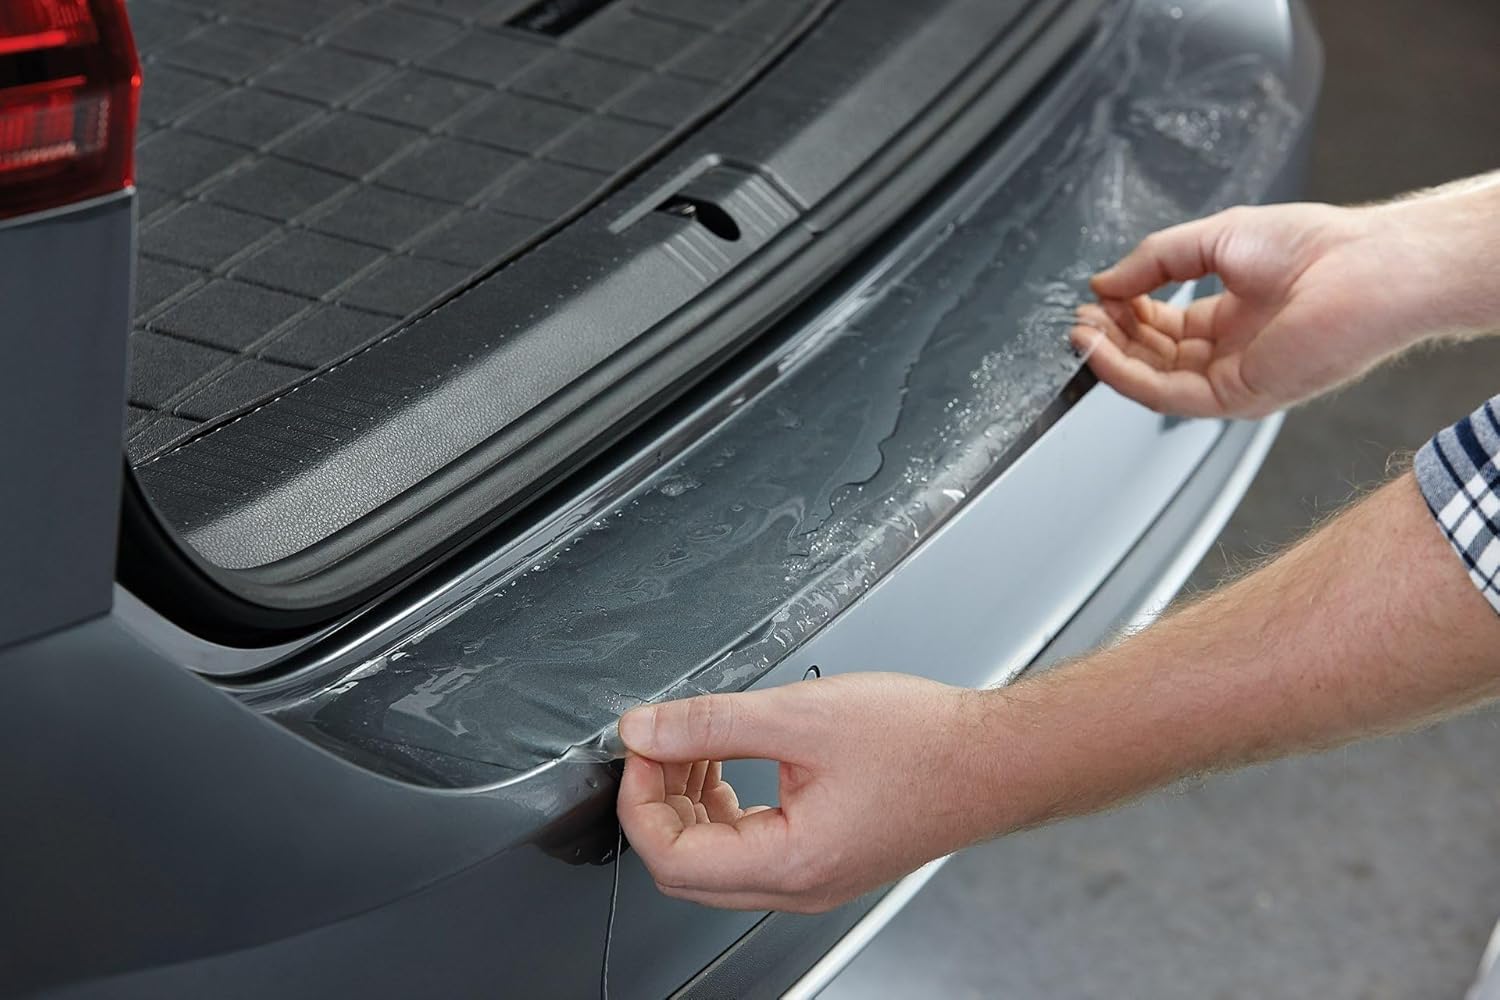
Image: Application of the clear protection film to a vehicle's rear bumper sill.
4. Operating and Usage
Once installed, the WeatherTech Custom Scratch Protection Kit operates passively by providing a durable, transparent barrier against everyday wear and tear. It is designed to absorb impacts from fingernails, keys, jewelry, and other objects that commonly cause scratches in high-traffic areas of your vehicle. The film maintains the original appearance of your vehicle's paint while offering continuous protection.
5. Maintenance
Maintaining your WeatherTech Scratch Protection Kit is straightforward. The film can be cleaned with standard car wash soap and water. Avoid using abrasive cleaners, harsh chemicals, or stiff brushes, as these can damage the film's surface. Regular cleaning will help preserve the clarity and protective qualities of the film.
6. Troubleshooting
Common Issues and Solutions:
- Air Bubbles: Small air bubbles may appear immediately after application. Most small bubbles will dissipate on their own as the film cures. For larger bubbles, gently lift the nearest edge of the film, re-spray with slip solution, and re-squeegee the area.
- Misalignment: If the film is not perfectly aligned, gently lift it from the surface while wet with slip solution, reposition, and re-squeegee. This is why ample slip solution is important during initial application.
- Edges Lifting: Ensure all edges are firmly squeegeed down. If an edge lifts after drying, it may indicate insufficient adhesion in that area. Re-clean the area, apply a small amount of slip solution, and re-press the edge. For persistent lifting, contact WeatherTech support.
- Hazy Appearance: A slight haze may be present immediately after application due to trapped water. This should clear as the film dries and cures. Ensure proper drying time.
7. Specifications
| Manufacturer | Weathertech |
| Brand | WeatherTech |
| Model Number | SP0373 |
| Item Model Number | SP0373 |
| Manufacturer Part Number | SP0373 |
| ASIN | B08CNNCG5G |
| Date First Available | July 9, 2020 |
8. Warranty and Support
WeatherTech products are known for their quality and are proudly Made in USA.

Image: 'Made in USA' emblem.
For specific warranty information, product support, or to inquire about additional products, please visit the official WeatherTech website or their Amazon Brand Store: