
Introduction
This manual provides essential information for the safe and efficient operation of your Acer X1223HP DLP Projector. Please read this manual thoroughly before using the projector and retain it for future reference. The Acer X1223HP is a portable DLP projector designed for clear and vibrant image projection, featuring 4000 lumens brightness and XGA (1024 x 768) resolution, with support for 3D content.
Safety Information
- Do not look directly into the projector lens when the lamp is on. The intense light can cause eye damage.
- Ensure proper ventilation around the projector. Do not block ventilation openings.
- Use only the power adapter supplied with the projector.
- Avoid placing the projector in direct sunlight, near heat sources, or in environments with high humidity or dust.
- Do not attempt to disassemble or repair the projector yourself. Refer all servicing to qualified personnel.
- Keep the projector away from water and other liquids.
Package Contents
Verify that all items are present in your package:
- Acer X1223HP DLP Projector
- Power Cord
- VGA Cable
- Remote Control (with batteries)
- User Manual (this document)
- Carrying Case (may vary by region)
Setup
1. Projector Placement
Place the projector on a stable, flat surface. For optimal image quality, position the projector perpendicular to the projection screen or wall. The portable design allows for flexible placement.

Image: Front view of the Acer X1223HP projector, showcasing the lens and Acer logo. This view is typical for initial placement.
2. Connecting Power
- Connect the power cord to the projector's power inlet.
- Plug the other end of the power cord into a grounded electrical outlet.
3. Connecting Input Sources
The projector supports various input sources. For high-definition content and 3D functionality, use the HDMI port.
- HDMI Connection: Connect an HDMI cable from your source device (e.g., laptop, Blu-ray player) to the HDMI port on the projector.
- VGA Connection: Connect a VGA cable from your computer to the VGA port on the projector.

Image: Side view of the Acer X1223HP projector, illustrating the location of input ports for connecting external devices.
4. Initial Power-On and Adjustment
- Press the power button on the projector or remote control to turn it on.
- Adjust the focus ring on the lens until the image is sharp and clear.
- If the image is trapezoidal, use the keystone correction function (digital zoom and image shift) via the projector's menu or remote control to square the image.
Operating the Projector
1. Control Panel and Remote Control
The projector can be operated using the control panel on the top of the unit or the supplied remote control.

Image: Top-down view of the Acer X1223HP projector, displaying the control panel buttons for navigation and settings.
- Power Button: Turns the projector on or off.
- Source Button: Cycles through available input sources (HDMI, VGA).
- Menu Button: Accesses the On-Screen Display (OSD) menu.
- Navigation Buttons (Up/Down/Left/Right): Used to navigate menu options and adjust settings.
- Enter Button: Confirms selections in the menu.
- Back Button: Returns to the previous menu level.
2. Adjusting Display Settings
Access the OSD menu to customize image and audio settings.
- Press the Menu button.
- Use the navigation buttons to select categories like "Image," "Display," or "Audio."
- Select a setting (e.g., Brightness, Contrast, Color Temperature) and adjust its value.
- Press Menu again to exit.
3. Special Features
- Acer LumiSense™: Automatically optimizes image brightness and color saturation based on ambient light conditions. This feature can be enabled or disabled in the OSD menu.
- BlueLightShield™: Reduces blue light emission to minimize eye strain during extended viewing. Adjust settings in the OSD menu.
- 3D Display Support: For 3D content, connect a 3D-compatible source via HDMI and ensure your 3D glasses are properly synced. Refer to your 3D source device manual for specific setup instructions.
Maintenance
1. Cleaning the Projector
- Lens: Use a soft, lint-free cloth specifically designed for optical lenses. Do not use abrasive cleaners.
- Casing: Wipe the projector casing with a soft, damp cloth. Avoid harsh chemicals.
- Ventilation Openings: Periodically clean dust from the ventilation openings using a soft brush or compressed air to ensure proper airflow.
2. Lamp Replacement
The projector lamp has an estimated life of up to 10,000 hours (Eco mode). When the lamp reaches the end of its life, a warning message will appear, and the lamp indicator LED may light up. Contact Acer support or an authorized service center for lamp replacement.

Image: Angled view of the Acer X1223HP projector, highlighting its long lamp life of up to 10,000 hours.
Troubleshooting
| Problem | Possible Cause | Solution |
|---|---|---|
| No image on screen | Power cable disconnected, incorrect input source, lamp issue. | Check power connection. Press the "Source" button to select the correct input. If lamp indicator is red, contact support. |
| Image is blurry | Lens out of focus, projector too far/close to screen. | Adjust the focus ring on the lens. Reposition the projector. |
| Image is trapezoidal | Projector not perpendicular to screen. | Use keystone correction in the OSD menu. |
| No sound | Volume too low, audio cable not connected (if applicable), source device audio settings. | Increase projector volume. Ensure audio cables are connected correctly. Check audio output settings on your source device. |
Specifications
- Brand: Acer
- Model: X1223HP (MR.JSB11.002)
- Display Technology: DLP
- Native Resolution: XGA (1024 x 768)
- Brightness: 4000 Lumens
- Contrast Ratio: 20,000:1
- Aspect Ratio: 4:3 (Native)
- Form Factor: Portable
- Color: Black
- Item Weight: 2.4 Kilograms
- HDMI Ports: 1
- Wattage: 260 watts
- Special Features: 3D-Ready, HDMI Connectivity, Portable, Acer LumiSense™, BlueLightShield™
- Lamp Life: Up to 10,000 hours (Eco mode)
- Maximum Projection Size: 300 inches
- Included Components: Projector
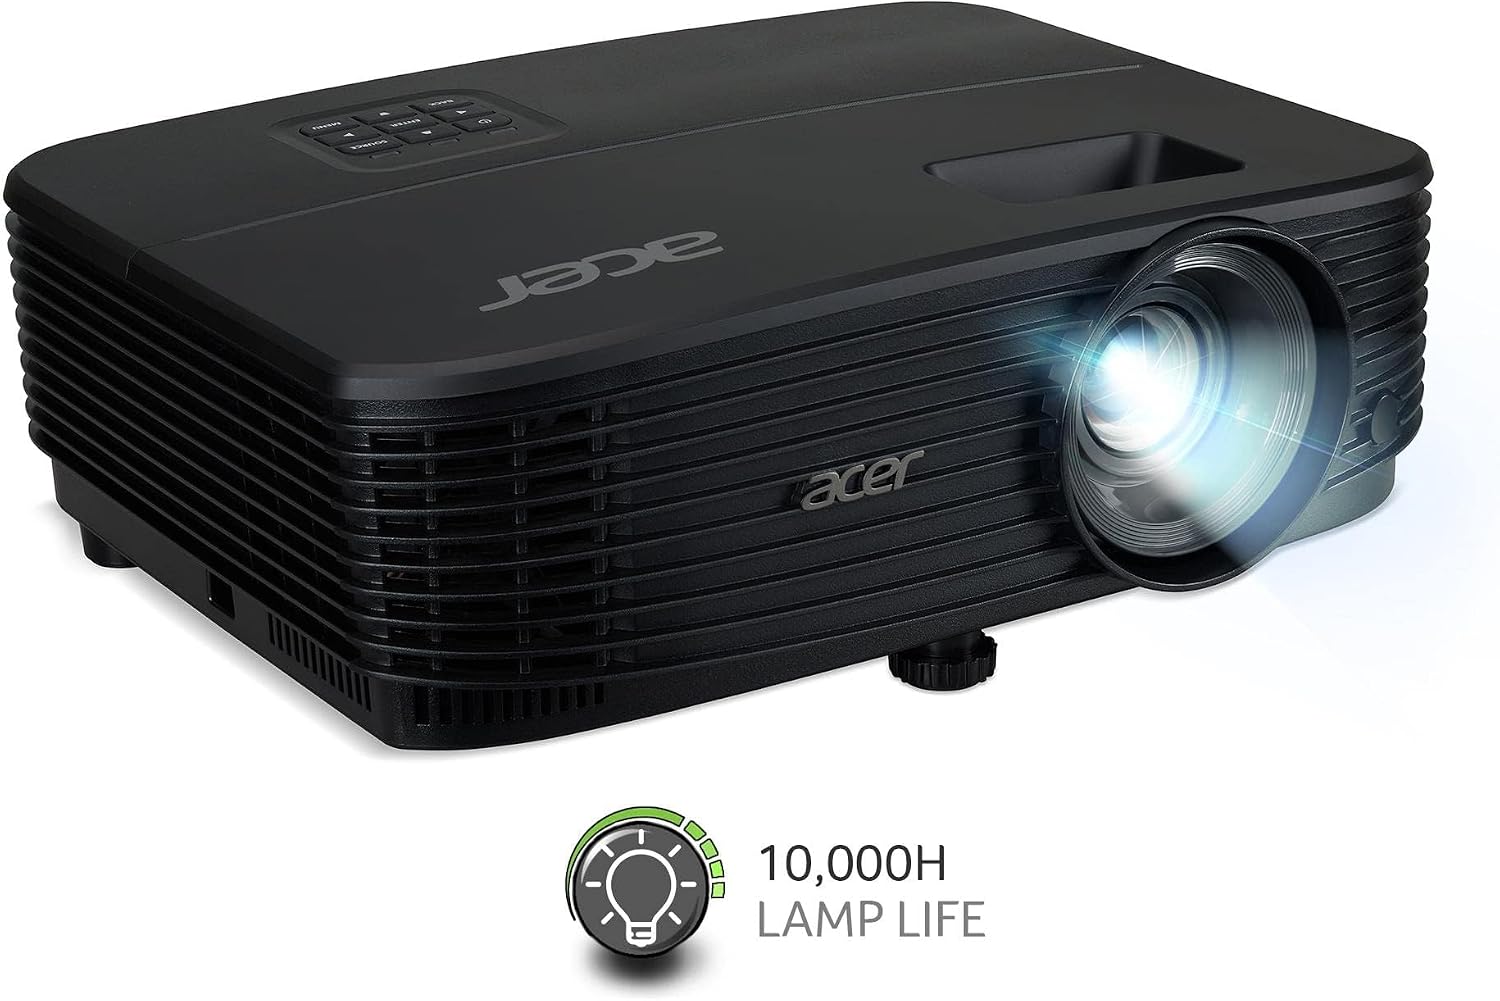
Image: Front view of the Acer X1223HP projector. While the graphic indicates WXGA, the native resolution of this model is XGA (1024 x 768).

Image: Top view of the Acer X1223HP projector, illustrating its capability for large 300-inch projections.
Warranty and Support
Acer products are backed by a limited warranty. For detailed warranty information, please refer to the warranty card included with your product or visit the official Acer website. For technical support, service, or to purchase replacement parts, please contact Acer customer service or an authorized service center.
You can find more information and support resources on the Acer Store.