1. Important Safety Information
Please read all instructions carefully before operating the Midea MAD50C1ZWS Dehumidifier and using the Eastman 60309 Drain Hose. Retain this manual for future reference.
General Safety Precautions
- Always connect the appliance to a grounded power outlet.
- Do not operate the dehumidifier with a damaged power cord or plug.
- Keep the dehumidifier away from heat sources, flammable materials, and water.
- Ensure proper ventilation around the unit; do not block air inlets or outlets.
- Do not insert objects into the air vents.
- Unplug the unit before cleaning or performing any maintenance.
Dehumidifier Specific Safety
- Place the dehumidifier on a level, stable surface to prevent water spillage.
- Do not drink the collected water.
- Ensure the water bucket is correctly installed before operation.
Drain Hose Specific Safety
- Inspect the hose for any damage before each use.
- Ensure all connections are secure to prevent leaks.
- Do not kink or crimp the hose, as this can impede drainage.
2. Product Overview
Midea MAD50C1ZWS Dehumidifier
The Midea MAD50C1ZWS is a 50-pint dehumidifier (2019 DOE standard, equivalent to previous 70-pint models) designed to remove excess moisture from areas up to 4500 square feet. It helps maintain optimal air quality by preventing mildew, bad odors, and stale air, making it suitable for basements, bedrooms, and bathrooms.

Figure 2.1: Front view of the Midea MAD50C1ZWS Dehumidifier.
Key Features:
- High Capacity: Removes up to 50 pints of moisture per day.
- Reusable Air Filter: Improves air quality and is washable for easy maintenance.
- Variable Operating Modes: Includes Comfort, Continuous, and Standard modes.
- Smart Features: Automatic restart after power outage, auto shut-off when bucket is full, auto defrost, and filter cleaning alert.
- Easy Mobility: Equipped with wheels for convenient movement between rooms.
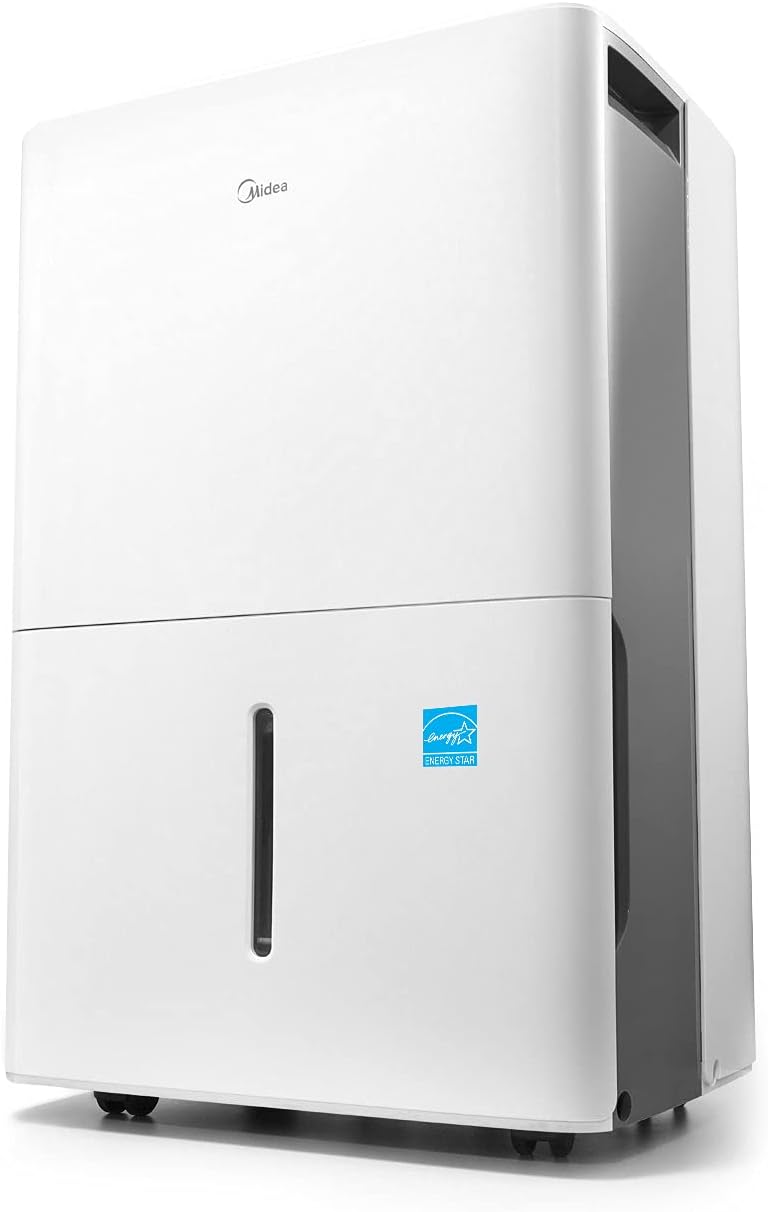
Figure 2.2: The dehumidifier features easy-roll casters for convenient relocation.
Eastman 60309 Washing Machine Drain Hose
The Eastman 60309 is a 12-foot black rubber utility hose designed for various drainage and filling applications. It features a brass nut and a 3/4-inch female hose thread connection, with an open end for versatile use. Its construction is designed to prevent leaking, kinking, and crimping.
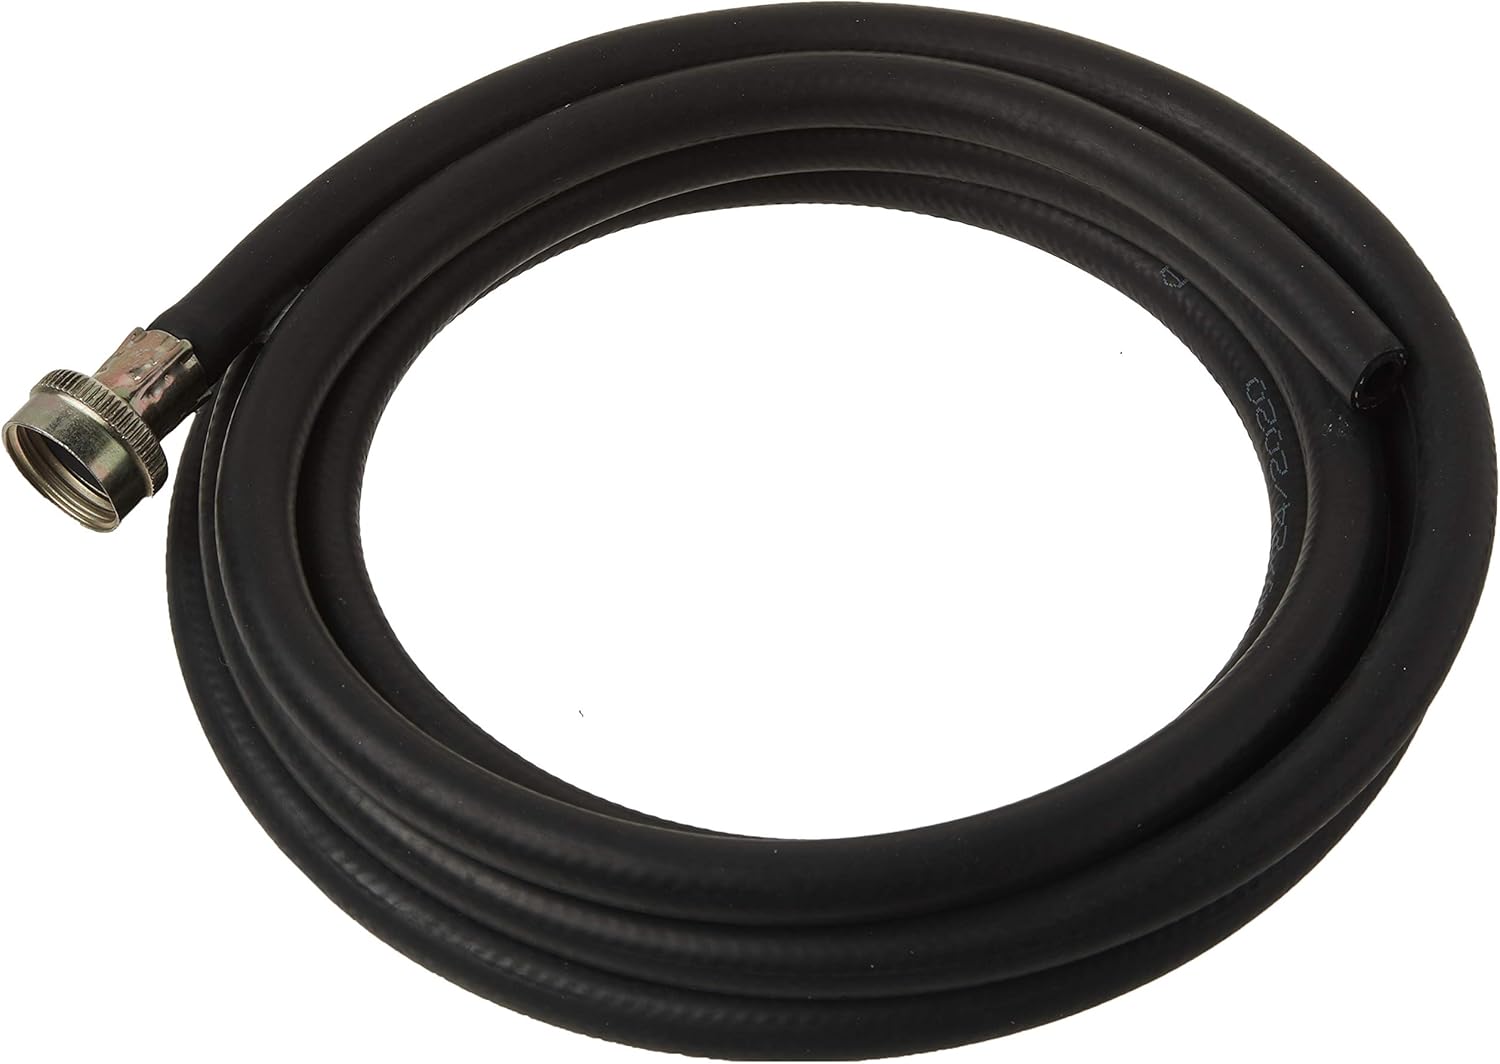
Figure 2.3: The Eastman 60309 drain hose, coiled for storage.

Figure 2.4: Detail of the 3/4-inch female hose thread connection on the Eastman drain hose.
3. Setup and Installation
Dehumidifier Placement
- Place the dehumidifier on a firm, level surface in an area where the humidity is highest.
- Ensure there is at least 8 inches (20 cm) of space around the unit for proper air circulation. Do not block the air inlet or outlet.
- Avoid placing the unit near heat-generating appliances or in direct sunlight.
Power Connection
Plug the dehumidifier into a dedicated, grounded 115V/60Hz electrical outlet. Do not use extension cords or power strips.
Water Drainage Options
The Midea dehumidifier offers two methods for water removal:
A. Manual Drainage (Water Bucket)
The unit will collect water in its internal bucket. When the bucket is full, the unit will automatically shut off and illuminate the 'Full' indicator. Empty the bucket and replace it securely to resume operation.
B. Continuous Drainage
For continuous operation without needing to empty the bucket, you can connect a standard 0.75-inch female garden hose (not included) to the continuous drain port on the back of the unit. Ensure the hose is sloped downwards to allow gravity drainage to a suitable floor drain.

Figure 3.1: Continuous drain port on the back of the dehumidifier.

Figure 3.2: Example of a hose connected for continuous drainage.
The Eastman 60309 drain hose, with its 3/4-inch female hose thread, may be compatible for continuous drainage if its open end can be directed to a drain. Verify compatibility before use.
4. Operating Instructions
Control Panel Overview
The control panel on top of the dehumidifier allows you to manage all settings and functions. It includes buttons for power, mode selection, humidity adjustment, timer, and filter reset, along with a digital display for current humidity and settings.
Video 4.1: This video provides a visual overview of the Midea Dehumidifier's features, including the control panel, water bucket, continuous drain option, and reusable filter. It demonstrates setting humidity levels and the auto shut-off function.
Setting Desired Humidity
- Press the 'Power' button to turn the unit on.
- Use the '+' or '-' buttons to set your desired humidity level. The range is typically between 35% and 85% Relative Humidity (RH).
- The unit will operate until the set humidity level is reached, then cycle on and off to maintain it.
Operating Modes
- Comfort Mode: This mode automatically maintains a comfortable humidity range of 45%-55% RH, discouraging the growth of allergens and dust mites.
- Continuous Dehumidification: Ideal for very damp conditions or after flooding, this mode runs continuously regardless of the set humidity level.
- Standard Mode: Allows you to manually set your desired humidity level.
Timer Function
Use the 'Timer' button to set a delayed start or stop time for the dehumidifier, allowing for automated operation.
Auto Shut-Off and Auto Defrost
- Auto Shut-Off: The unit will automatically turn off when the internal water bucket is full, preventing overflow. The 'Full' indicator light will illuminate.
- Auto Defrost: If frost builds up on the evaporator coils, the unit will automatically enter defrost mode to melt the ice, ensuring efficient operation and preventing damage.
Automatic Restart
In the event of a power outage, the dehumidifier will automatically restart with its previous settings once power is restored.
5. Maintenance
Cleaning the Air Filter
The dehumidifier is equipped with a reusable air filter that should be cleaned regularly to maintain efficiency and air quality. A 'Filter' alert light will indicate when cleaning is recommended.
- Turn off and unplug the dehumidifier.
- Remove the air filter from the back of the unit.
- Wash the filter with warm, soapy water. Rinse thoroughly.
- Allow the filter to air dry completely before reinstalling.
- Once reinstalled, press the 'Filter' button to reset the filter alert.

Figure 5.1: The reusable air filter can be easily removed for cleaning.
Emptying the Water Bucket
When using manual drainage, the water bucket will need to be emptied periodically.
- When the 'Full' indicator lights up, gently pull out the water bucket from the front of the unit.
- Carefully carry the bucket to a sink or drain and empty the collected water.
- Slide the empty bucket back into the dehumidifier until it clicks into place. The unit will resume operation.
6. Troubleshooting
Before contacting customer service, please review the following common issues and solutions:
| Problem | Possible Cause | Solution |
|---|---|---|
| Dehumidifier does not turn on. | No power, power cord loose, bucket full or not properly installed. | Check power connection, ensure bucket is empty and correctly seated. |
| Unit is running but not collecting water. | Room temperature too low, humidity too low, air filter clogged, continuous drain hose blocked. | Ensure room temperature is above 41°F (5°C), check and clean air filter, verify continuous drain hose is clear and sloped. |
| 'Full' indicator is on, but bucket is not full. | Float switch stuck or misaligned. | Remove and reinsert the bucket, check the float switch for obstructions. |
| Unit is noisy. | Unit not on a level surface, air filter clogged. | Place on a level surface, clean the air filter. |
7. Specifications
| Feature | Specification |
|---|---|
| Brand | Midea |
| Model Name | MAD50C1ZWS |
| Floor Area Coverage | Up to 4500 Square Feet |
| Dehumidification Capacity | 50 Pints per Day (2019 DOE) |
| Tank Volume | 23.7 Liters |
| Operation Modes | Comfort, Continuous, Standard |
| Special Features | Automatic Restart, Automatic Shutoff, Auto Defrost |
| Wattage | 500 watts |
| Upper Temperature Rating | 80 Degrees Fahrenheit |
| Drain Hose Material | Rubber (for Eastman 60309) |
8. Warranty and Support
Warranty Information
Midea stands behind its product with a one-year parts and labor warranty. Please retain your proof of purchase for warranty claims.
Customer Support
For technical assistance, troubleshooting beyond this manual, or warranty inquiries, please contact Midea customer support. Refer to your product packaging or the official Midea website for the most current contact information.


