
Eogifee UC7083T
Eogifee UC7083T Ceiling Fan Remote Control Instruction Manual
Model: UC7083T
Brand: Eogifee
Introduction
This manual provides detailed instructions for the installation, operation, and maintenance of your Eogifee UC7083T Ceiling Fan Remote Control. This remote is designed as a replacement for original Hampton Bay and Harbor Breeze UC7083T remote controls, offering 3-speed fan control, light control, and a reverse function. Please read these instructions carefully before use to ensure proper functionality and safety.
Product Overview
The Eogifee UC7083T remote control is a transmitter unit designed to operate compatible ceiling fan receivers. It features intuitive buttons for fan speed adjustment, light control, and fan direction reversal.
Key Features:
- 3-Speed Control: Adjust fan speed to High, Medium, or Low.
- Light Control: Turn the fan light On or Off. Dimmable for incandescent bulbs; On/Off only for LED bulbs.
- Reverse Function: Change fan blade direction for seasonal comfort (requires a receiver with reverse function).
- Compatibility: Designed to replace Hampton Bay and Harbor Breeze UC7083T remotes.
- Wall Mount: Includes a wall mount holder for convenient storage.
Package Contents:
- Eogifee UC7083T Remote Control (Transmitter)
- Wall Mount Holder
- Mounting Screws
Note: A 23A 12V battery and a compatible receiver are NOT included in this package.

Image: The Eogifee UC7083T remote control, its packaging, and the included wall mount holder with screws.
Setup Instructions
1. Battery Installation
- Locate the battery compartment cover on the back of the remote control.
- Press firmly below the arrow on the cover and slide it off.
- Insert one 12V "A23" battery, ensuring the correct polarity (+/-).
- Replace the battery compartment cover.
- Important: If the indicator light on the remote stays on, the battery may be low and needs replacement.

Image: Rear view of the remote control, highlighting the battery compartment and the location of the dip switches.
2. Setting the Dip Switches
For the remote control to communicate with your ceiling fan receiver, the dip switches on the remote must match the dip switches on your receiver. The receiver is typically located inside the ceiling fan canopy.
- With the battery cover removed, locate the 4 dip switches inside the battery compartment of the remote.
- Identify the dip switches on your ceiling fan's receiver.
- Using a small screwdriver or a ballpoint pen, slide the switches on the remote (transmitter) to match the exact "ON" or "OFF" (up or down) positions of the switches on your receiver.
- Once matched, replace the battery cover on the remote.
- Note: Ensure your fan is operated in "HIGH" speed and the light is in the "ON" condition at the switch knob before attempting to pair the remote.
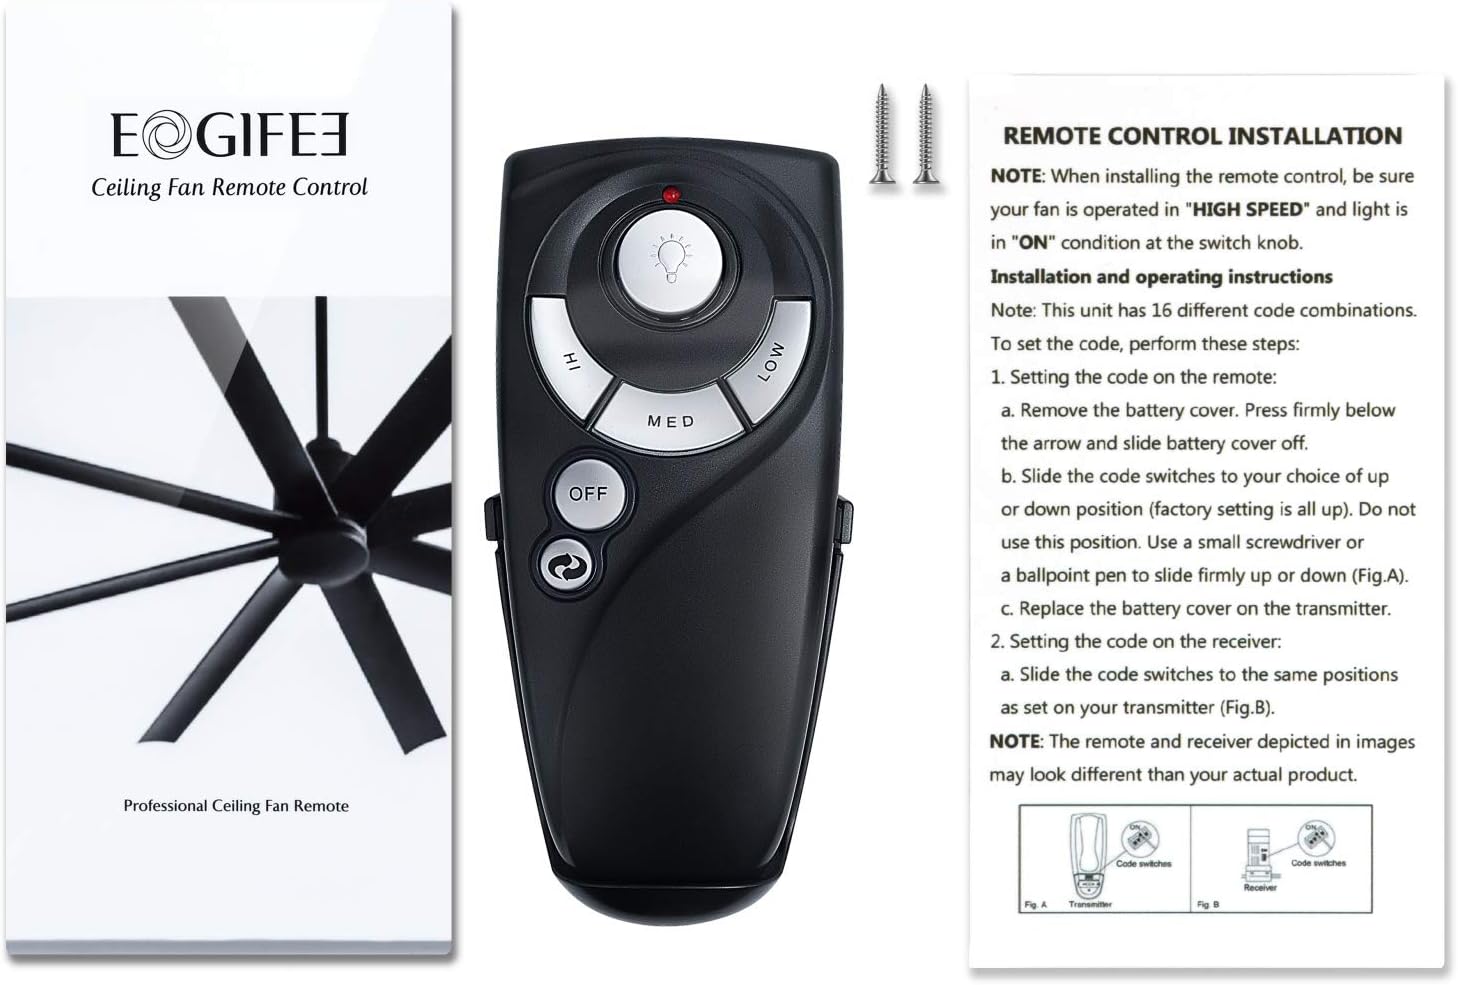
Image: The remote control alongside its instruction sheet, illustrating the dip switch configuration process.
3. Wall Mount Installation
- Choose a convenient location on a wall for the remote holder.
- Use the provided screws to secure the wall mount holder to the wall.
- Place the remote control into the installed holder for easy access.
Operating Instructions
Once the dip switches are matched and the battery is installed, your remote is ready for use.
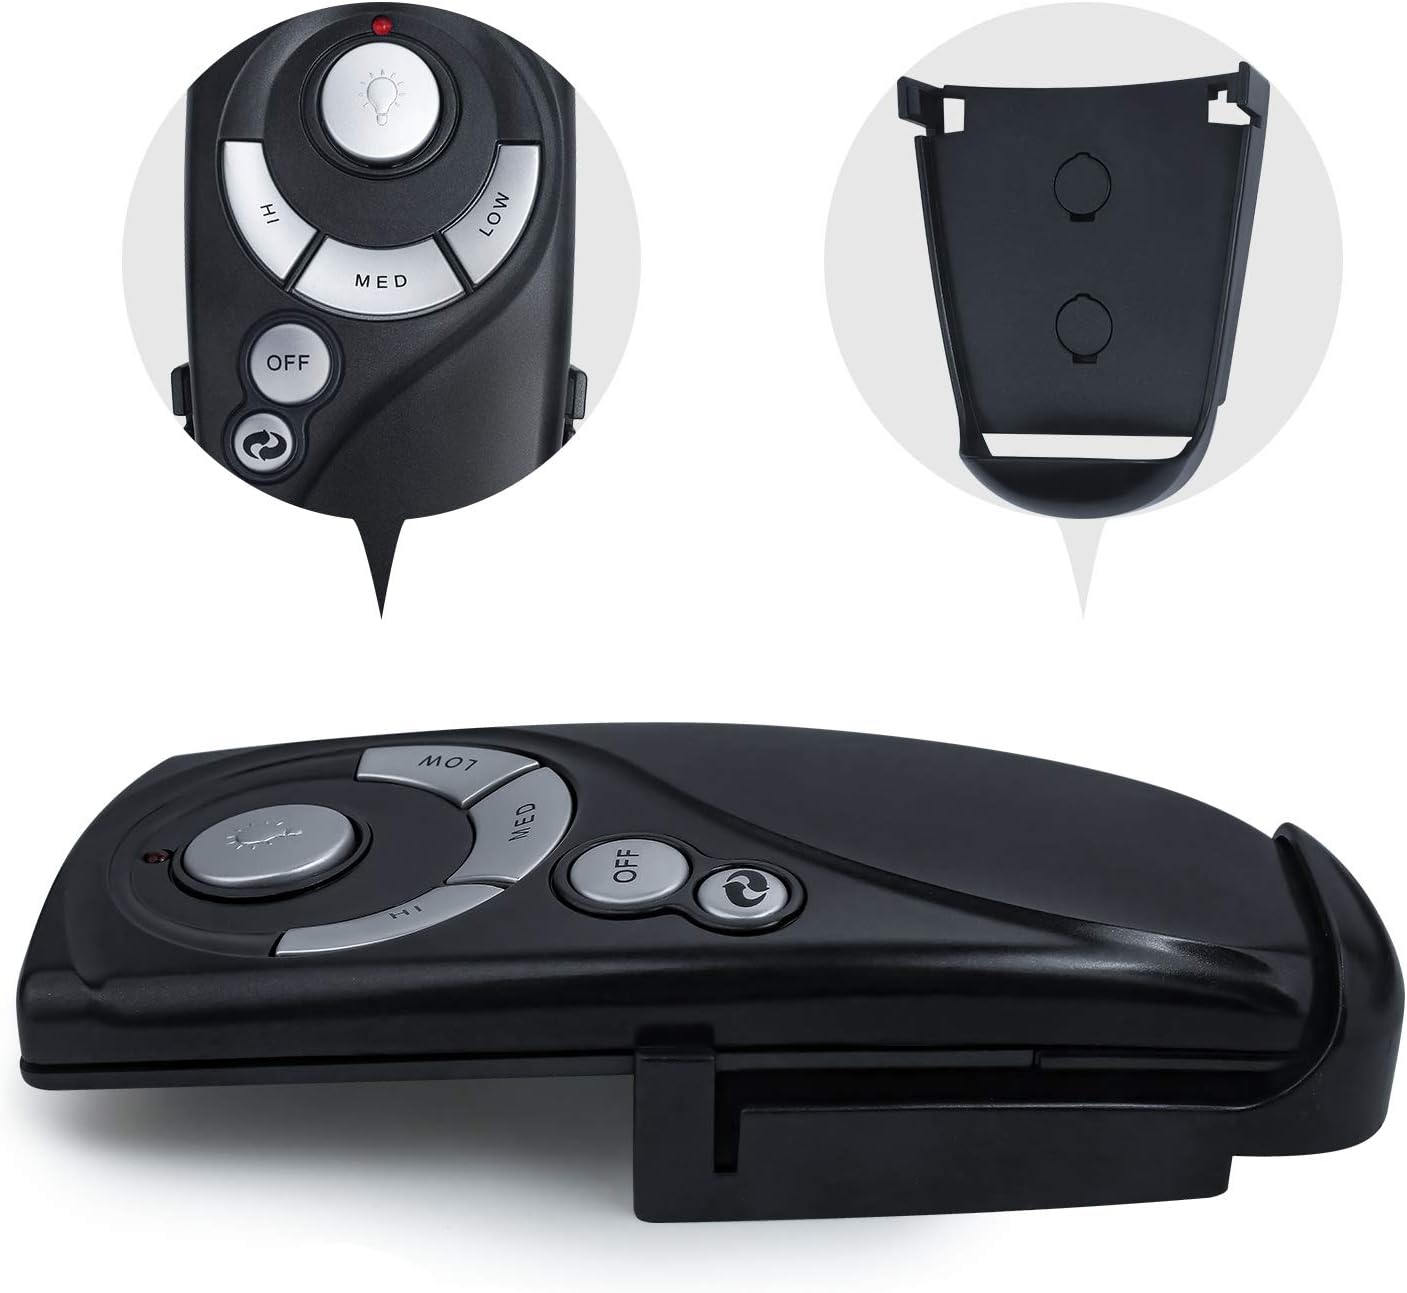
Image: A detailed view of the remote control's buttons for fan speed, light, and power.
Fan Speed Control:
- Press the "HI" button for high fan speed.
- Press the "MED" button for medium fan speed.
- Press the "LOW" button for low fan speed.
- Press the "OFF" button to turn the fan off.
Light Control:
- Press the 💡 (light bulb) button to turn the light On or Off.
- If using incandescent bulbs, press and hold the 💡 button to dim or brighten the light.
- If using LED bulbs, the light button will only control On/Off functionality.
Reverse Function:
- Press the 🔁 (reverse) button to change the direction of the fan blades.
- This function is only active if your ceiling fan's receiver supports the reverse feature.
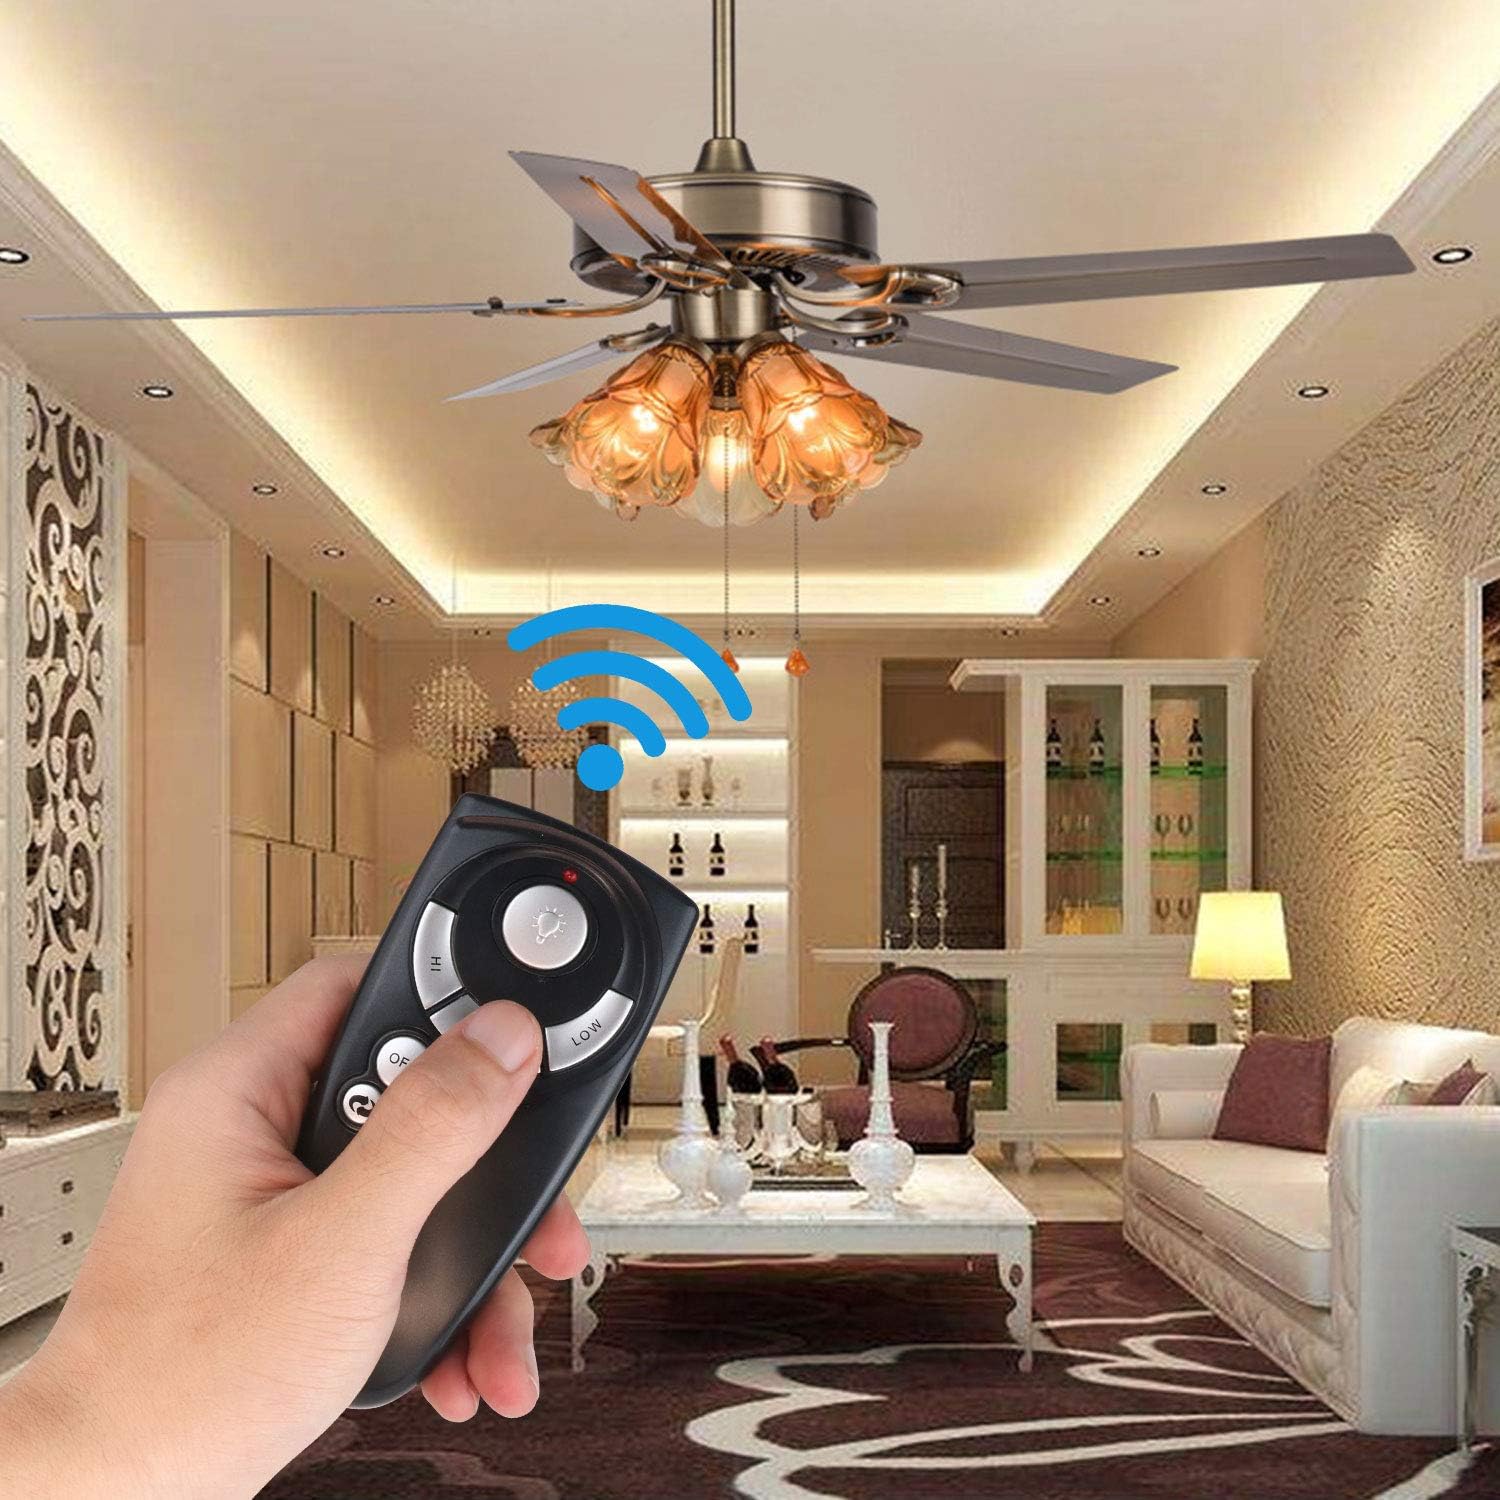
Image: A user demonstrating the remote control's functionality by operating a ceiling fan in a room.
Troubleshooting
If your remote control is not functioning as expected, please refer to the following common issues and solutions:
- Remote not responding:
- Check the battery: Ensure a fresh 12V "A23" battery is installed with correct polarity. If the indicator light stays on, the battery is low.
- Verify dip switches: Confirm that the 4 dip switches inside the remote's battery compartment precisely match the settings on your ceiling fan's receiver.
- Ensure fan power: Make sure the ceiling fan's wall switch (if applicable) is set to "ON" and the fan's pull chain (if any) is set to high speed, and the light pull chain is set to "ON".
- Light not dimming:
- The dimming function only works with incandescent bulbs. If you are using LED bulbs, the light button will only turn the light On or Off.
- Reverse function not working:
- The reverse button will only work if your ceiling fan's receiver has the reverse function built-in.
Specifications
| Feature | Detail |
|---|---|
| Model Number | UC7083T |
| Brand | Eogifee |
| Item Weight | 3.38 ounces |
| Product Dimensions | 4 x 2 x 0.01 inches |
| Color | Black |
| Power Source | 1 x 12V "A23" Battery (Not Included) |
| Special Features | Universal (for compatible models), 3-Speed Control, Light On/Off/Dim, Reverse Function |
| Compatible Devices | Ceiling Fans with compatible receivers (Hampton Bay, Harbor Breeze UC7083T) |
| Connectivity Technology | Infrared |
Warranty and Support
For warranty information or technical support, please contact Eogifee customer service directly. Details are typically provided with your purchase documentation or on the manufacturer's official website.
Related documentsUC7083T


Ask a question about this manual
Ask about setup, troubleshooting, compatibility, parts, safety, or missing instructions. Manuals+ will review the question and use this page’s manual context to help answer it.