
Introduction
The Vixen Celestron StarSense Explorer DX102AZ is a refractor telescope designed to simplify celestial observation through its innovative StarSense Explorer smartphone application. This manual provides comprehensive instructions for assembling, operating, and maintaining your telescope, enabling you to explore the night sky with ease.
The StarSense Explorer series features a dedicated app that, when downloaded to your smartphone and attached to the telescope, allows you to locate celestial objects by viewing your smartphone screen. This makes finding planets like Jupiter, Saturn, and Venus, as well as more challenging objects like double stars, nebulae, and star clusters, accessible even for beginners. Enjoy the experience of finding stars with a game-like feel.
Safety Information
Before using your telescope, please read and understand all safety precautions.
- Never look directly at the Sun through the telescope or its finderscope without a professionally manufactured solar filter. Permanent and irreversible eye damage may result.
- Do not use the telescope in extreme weather conditions.
- Keep the telescope away from children without adult supervision.
- Handle optical components with care to avoid scratches or damage.
Package Contents
Your Vixen Celestron StarSense Explorer DX102AZ package includes the following items:
- Telescope Tube
- DX Type Alt-Azimuth Mount with Tripod
- StarPointer Finderscope
- Eyepieces: 10mm and 25mm
- 31.7mm Erect Image Diagonal
- Smartphone Dock (smartphone sold separately)
- Accessory Bag
- Instruction Manual
- Warranty Card

Image: Included accessories for the StarSense Explorer DX102AZ.
Assembly and Setup
Follow these steps to assemble and set up your StarSense Explorer DX102AZ telescope.

Image: Fully assembled StarSense Explorer DX102AZ telescope.
1. Tripod and Mount Assembly
Unfold the tripod legs and secure them. Attach the DX type alt-azimuth mount to the tripod. Ensure all knobs are tightened for stability. The DX mount features fine adjustment handles for precise movement.
2. Attaching the Telescope Tube
The telescope tube uses a CG-5 standard plate receiver, allowing for quick attachment and removal. Slide the telescope tube onto the mount and secure it firmly.
3. Installing Eyepieces and Diagonal
Insert the 31.7mm erect image diagonal into the focuser. Then, insert either the 10mm or 25mm eyepiece into the diagonal. The 25mm eyepiece provides a wider field of view and lower magnification (approximately 26x), while the 10mm eyepiece offers higher magnification (approximately 66x) for more detailed views.
4. Attaching the StarPointer Finderscope
Mount the StarPointer finderscope onto the telescope tube. This will assist in locating objects before viewing them through the main telescope.
5. Smartphone Dock Installation and App Calibration
Attach the smartphone dock to the telescope. Download the dedicated "StarSense Explorer" app to your smartphone. Place your smartphone into the dock, ensuring the camera lens aligns with the mirror in the dock. The app will use your phone's camera to capture images of the night sky and calculate its position, guiding you to celestial objects. Follow the in-app instructions for initial calibration.
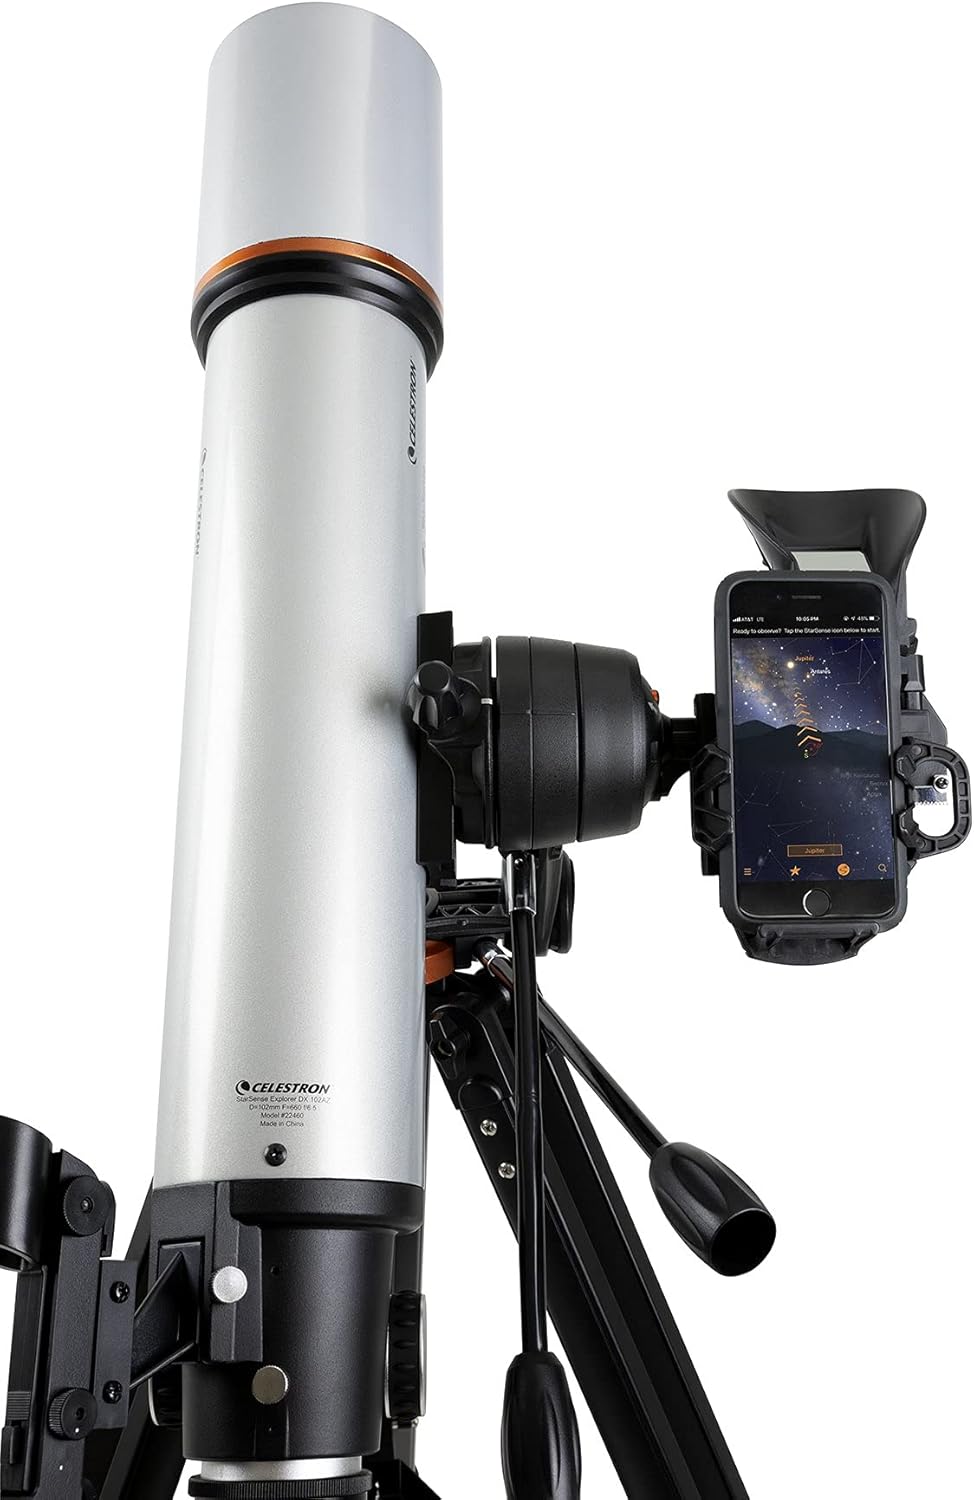
Image: Smartphone mounted on the telescope with the StarSense Explorer app active.
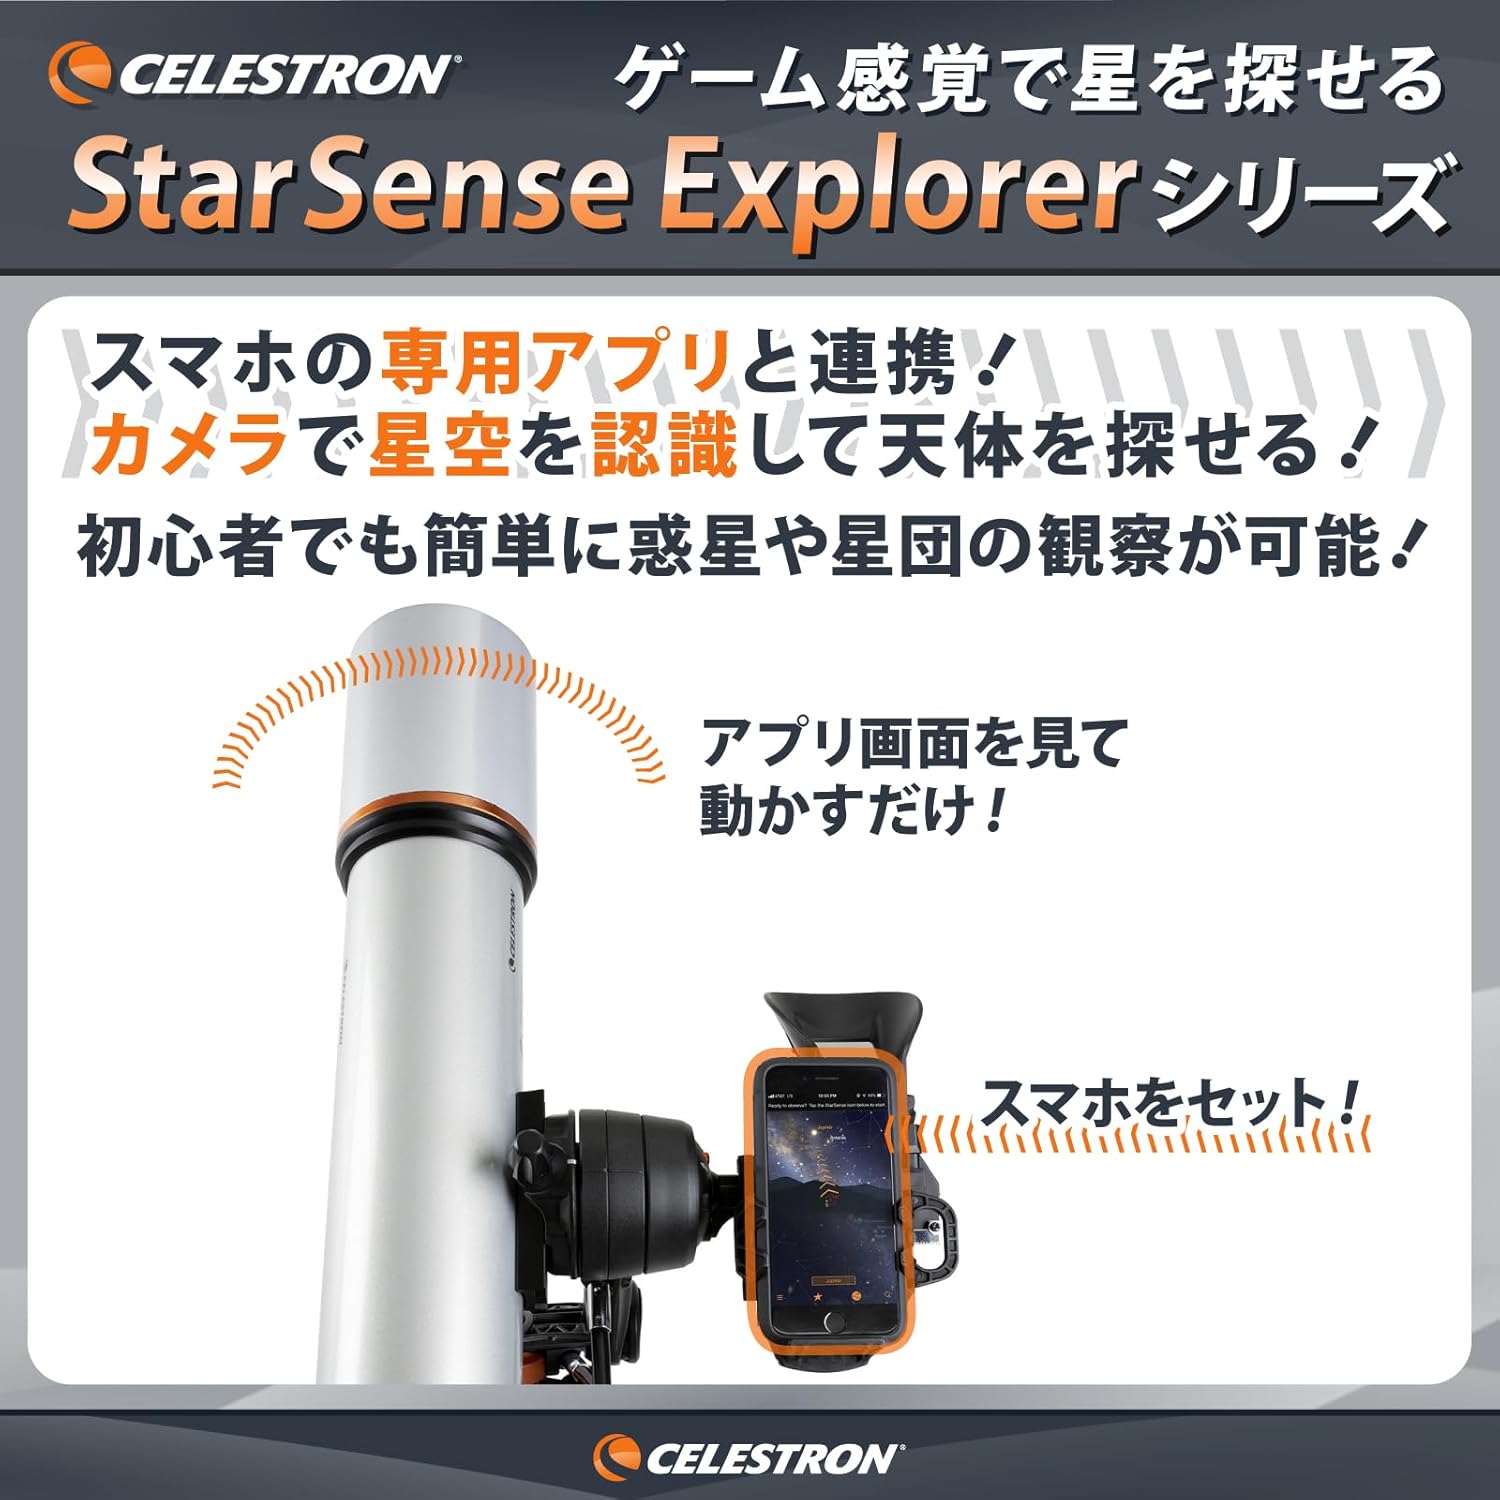
Image: Visual representation of the StarSense Explorer app guiding celestial observation.
Operation
The StarSense Explorer system makes finding celestial objects intuitive and engaging.
1. Using the StarSense Explorer App
Once calibrated, the StarSense Explorer app displays a real-time view of the night sky on your smartphone screen. Select a desired celestial object from the app's database. An arrow will appear on the screen, guiding you to manually move the telescope towards the target.
2. Locating Celestial Objects
Follow the directional arrows on your smartphone screen. As you move the telescope, the arrow will change from red to green when you are aligned with the target. Use the altitude and azimuth fine adjustment handles on the DX mount for smooth, precise movements to center the object.
3. Observing with Eyepieces
Once the object is centered in the app, look through the telescope's eyepiece. You should see the celestial object. Adjust the focuser knob for a sharp image. The included 10mm and 25mm eyepieces offer different magnifications suitable for various objects, from the Moon's craters to star clusters and nebulae. Additional eyepieces (sold separately) can provide even higher magnifications.

Image: Examples of celestial objects visible with the StarSense Explorer telescope.
Maintenance
Proper maintenance ensures the longevity and performance of your telescope.
- Cleaning Optics: Use a soft, lint-free cloth and specialized optical cleaning solution. Avoid touching optical surfaces with bare hands.
- Cleaning the Body: Wipe the telescope tube and mount with a soft, damp cloth. Do not use abrasive cleaners.
- Storage: Store the telescope in a dry, dust-free environment. Use the provided accessory bag for protection during transport and storage.
- Dust Caps: Always keep dust caps on the front of the telescope and eyepieces when not in use.
Troubleshooting
If you encounter issues with your telescope, refer to the following common solutions.
- Blurred Images: Adjust the focuser knob until the image is sharp. Ensure eyepieces are clean.
- Difficulty Finding Objects: Re-calibrate the StarSense Explorer app. Ensure the smartphone camera is properly aligned with the dock's mirror. Verify the StarPointer finderscope is aligned with the main telescope.
- Unstable View: Ensure the tripod legs are fully extended and locked, and all mount knobs are tightened. Avoid observing in windy conditions.
- App Issues: Check for app updates. Ensure your smartphone meets the app's system requirements.
For further assistance, please contact Vixen Customer Support.
Specifications
Detailed specifications for the Vixen Celestron StarSense Explorer DX102AZ Refractor Telescope:
| Brand | Vixen (Vixen) |
| Model Number | 36162 |
| Optical Design | Refractor |
| Aperture | 102 mm |
| Focal Length | 660 mm |
| Magnification (with included eyepieces) | Approx. 26x (25mm), 66x (10mm) |
| Mount Type | Alt-Azimuth (DX Type) |
| Compatible Devices | Smartphone |
| Product Dimensions | 70 x 70 x 130 cm; 10 kg |
| Release Date | 2020/7/17 |
| Date First Available | 2020/6/29 |
For a comparison of different StarSense Explorer models, please refer to the image below:

Image: StarSense Explorer series model comparison.
Warranty and Support
Vixen provides comprehensive customer support. If you have any questions regarding the use of your telescope, please do not hesitate to contact us.
- Product Warranty: 2 years from the date of purchase.
- Vixen Customer Support: TEL: 04-29690222 (Weekdays 9:00-12:00 / 13:00-17:30 JST)
- For inquiries related to Amazon orders, please contact Amazon Customer Support.