1. Important Safety Information
Read all instructions carefully before using the appliance. Keep this manual for future reference.
- Ensure the voltage indicated on the appliance corresponds to your local mains voltage before connecting.
- Do not immerse the appliance, power cord, or plug in water or any other liquid.
- Always unplug the appliance from the power outlet before cleaning and when not in use.
- Do not operate any appliance with a damaged cord or plug, or after the appliance malfunctions or has been damaged in any manner.
- Close supervision is necessary when any appliance is used by or near children.
- Avoid contact with moving parts.
- Do not place on or near a hot gas or electric burner, or in a heated oven.
- Do not use the appliance for other than intended use.
- The heating plate remains hot after brewing. Exercise caution.
2. Product Overview
Familiarize yourself with the components of your Electrolux Explore 6 Coffee Maker.
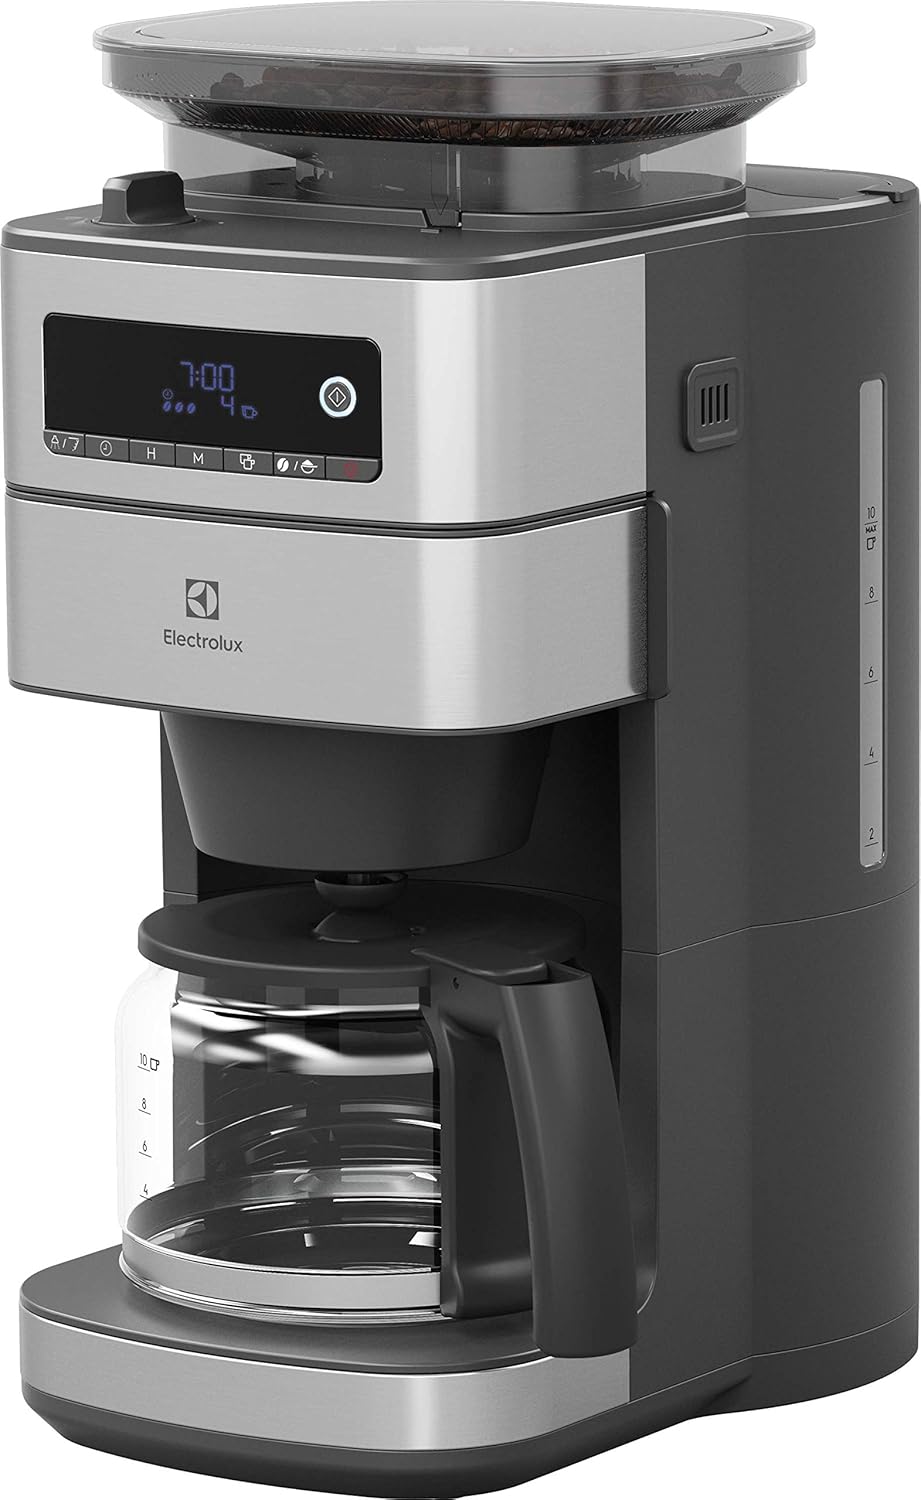
Image 2.1: Front view of the Electrolux Explore 6 Coffee Maker, showing the control panel, bean hopper, and glass carafe.
- Bean Hopper with Lid
- Control Panel with Digital Display
- Water Tank with Level Indicator
- Filter Basket Housing
- Glass Carafe with Handle
- Heating Plate
- Grind Adjustment Knob (located under the bean hopper lid)
3. Setup and First Use
3.1 Unpacking and Initial Cleaning
- Remove all packaging materials and promotional labels from the coffee maker.
- Wash the glass carafe, lid, and filter basket in warm, soapy water. Rinse thoroughly and dry.
- Wipe the exterior of the coffee maker with a damp cloth.
3.2 Preparing for First Brew
- Place the coffee maker on a flat, stable, heat-resistant surface.
- Fill the water tank with fresh, cold water up to the MAX level. Do not exceed the MAX line.
- Insert a paper filter (size 1x4 or similar) into the filter basket.
- Run a full brewing cycle with only water to clean the internal components. Discard the water.
4. Operating Instructions
4.1 Brewing with Whole Coffee Beans
- Open the lid of the bean hopper and fill with desired amount of whole coffee beans. Do not overfill.
- Close the bean hopper lid securely.
- Fill the water tank with fresh, cold water according to the desired number of cups.
- Place a paper filter into the filter basket.
- Adjust the grind setting using the knob located under the bean hopper lid. Options typically include fine, medium, or coarse.
- Select the desired coffee strength (aroma function) on the control panel if available.
- Press the brew button to start the grinding and brewing process.
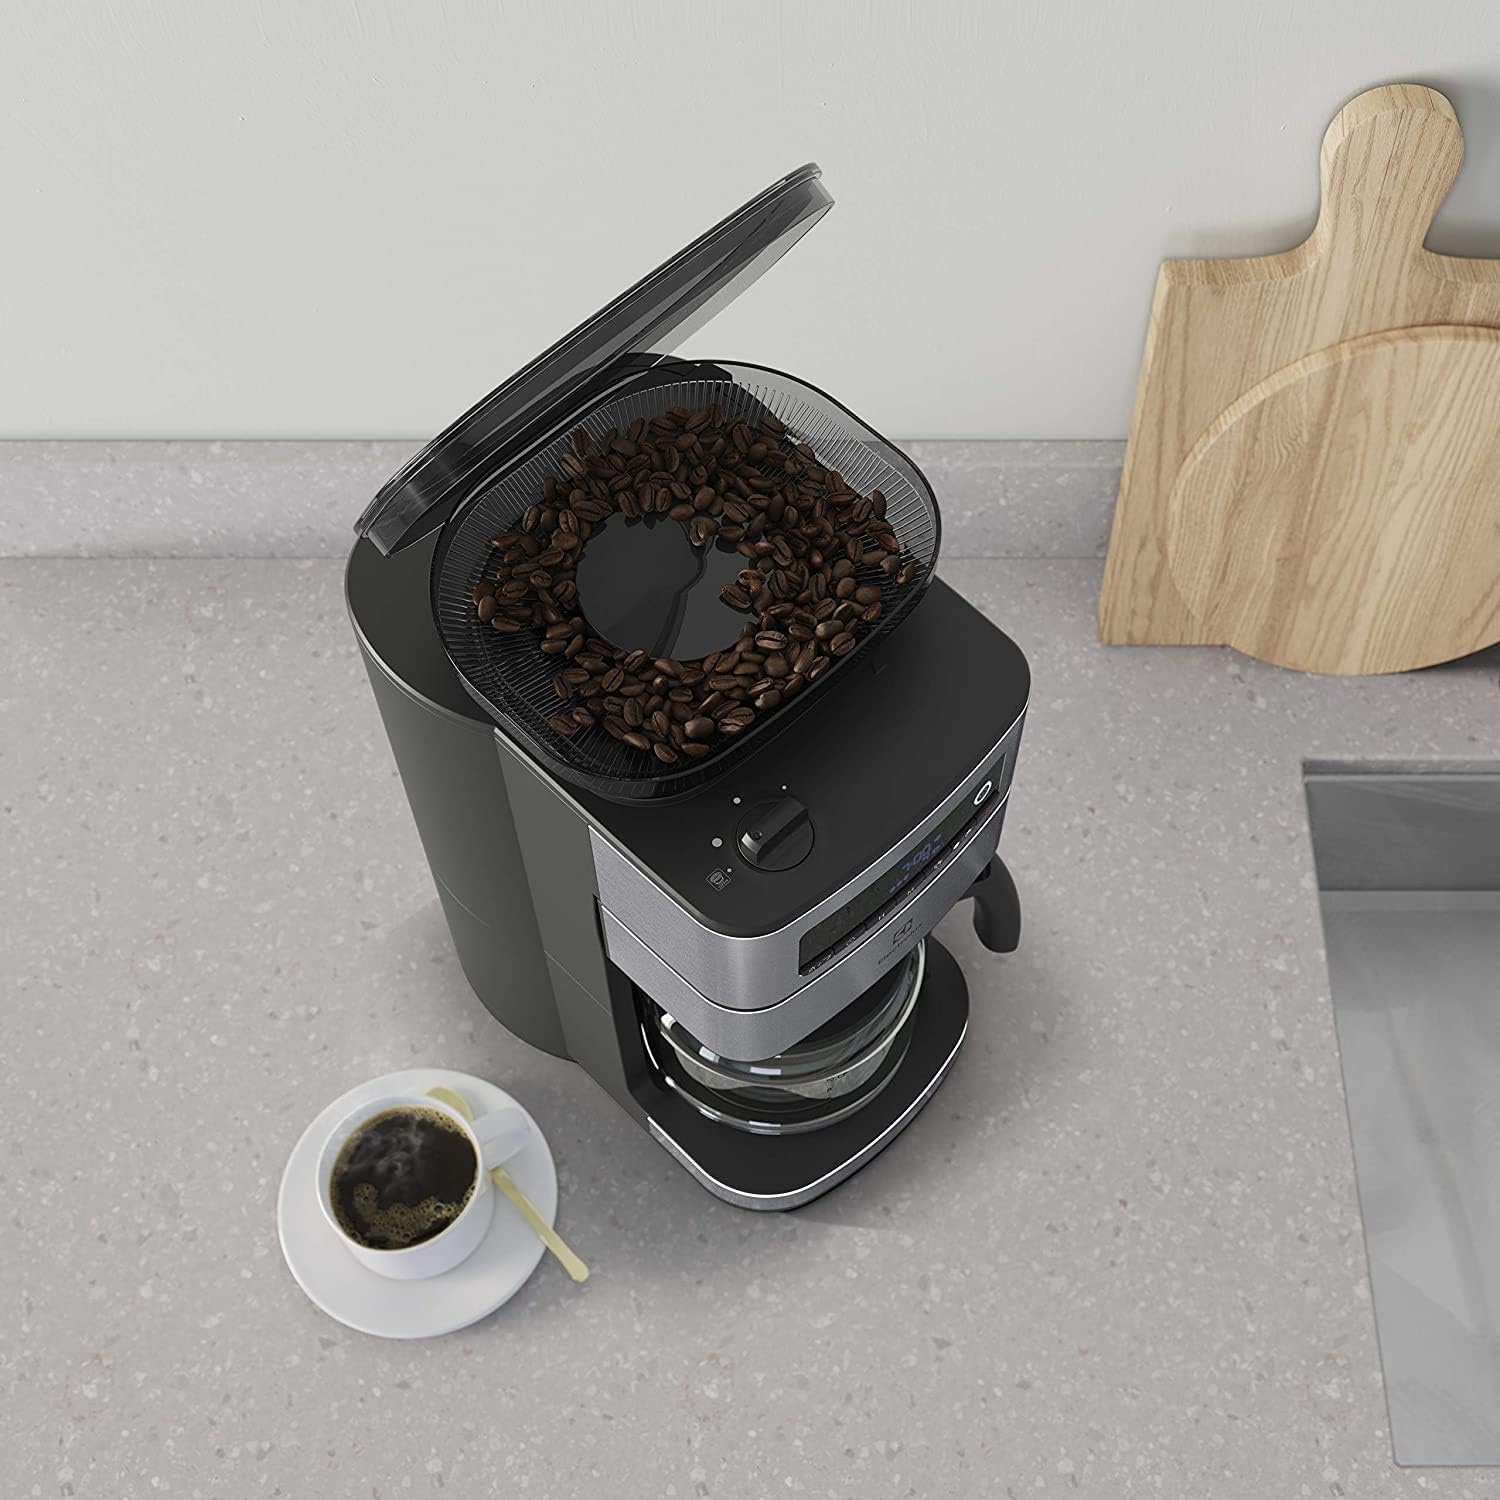
Image 4.1: Top view of the coffee maker with the bean hopper lid open, showing whole coffee beans inside.
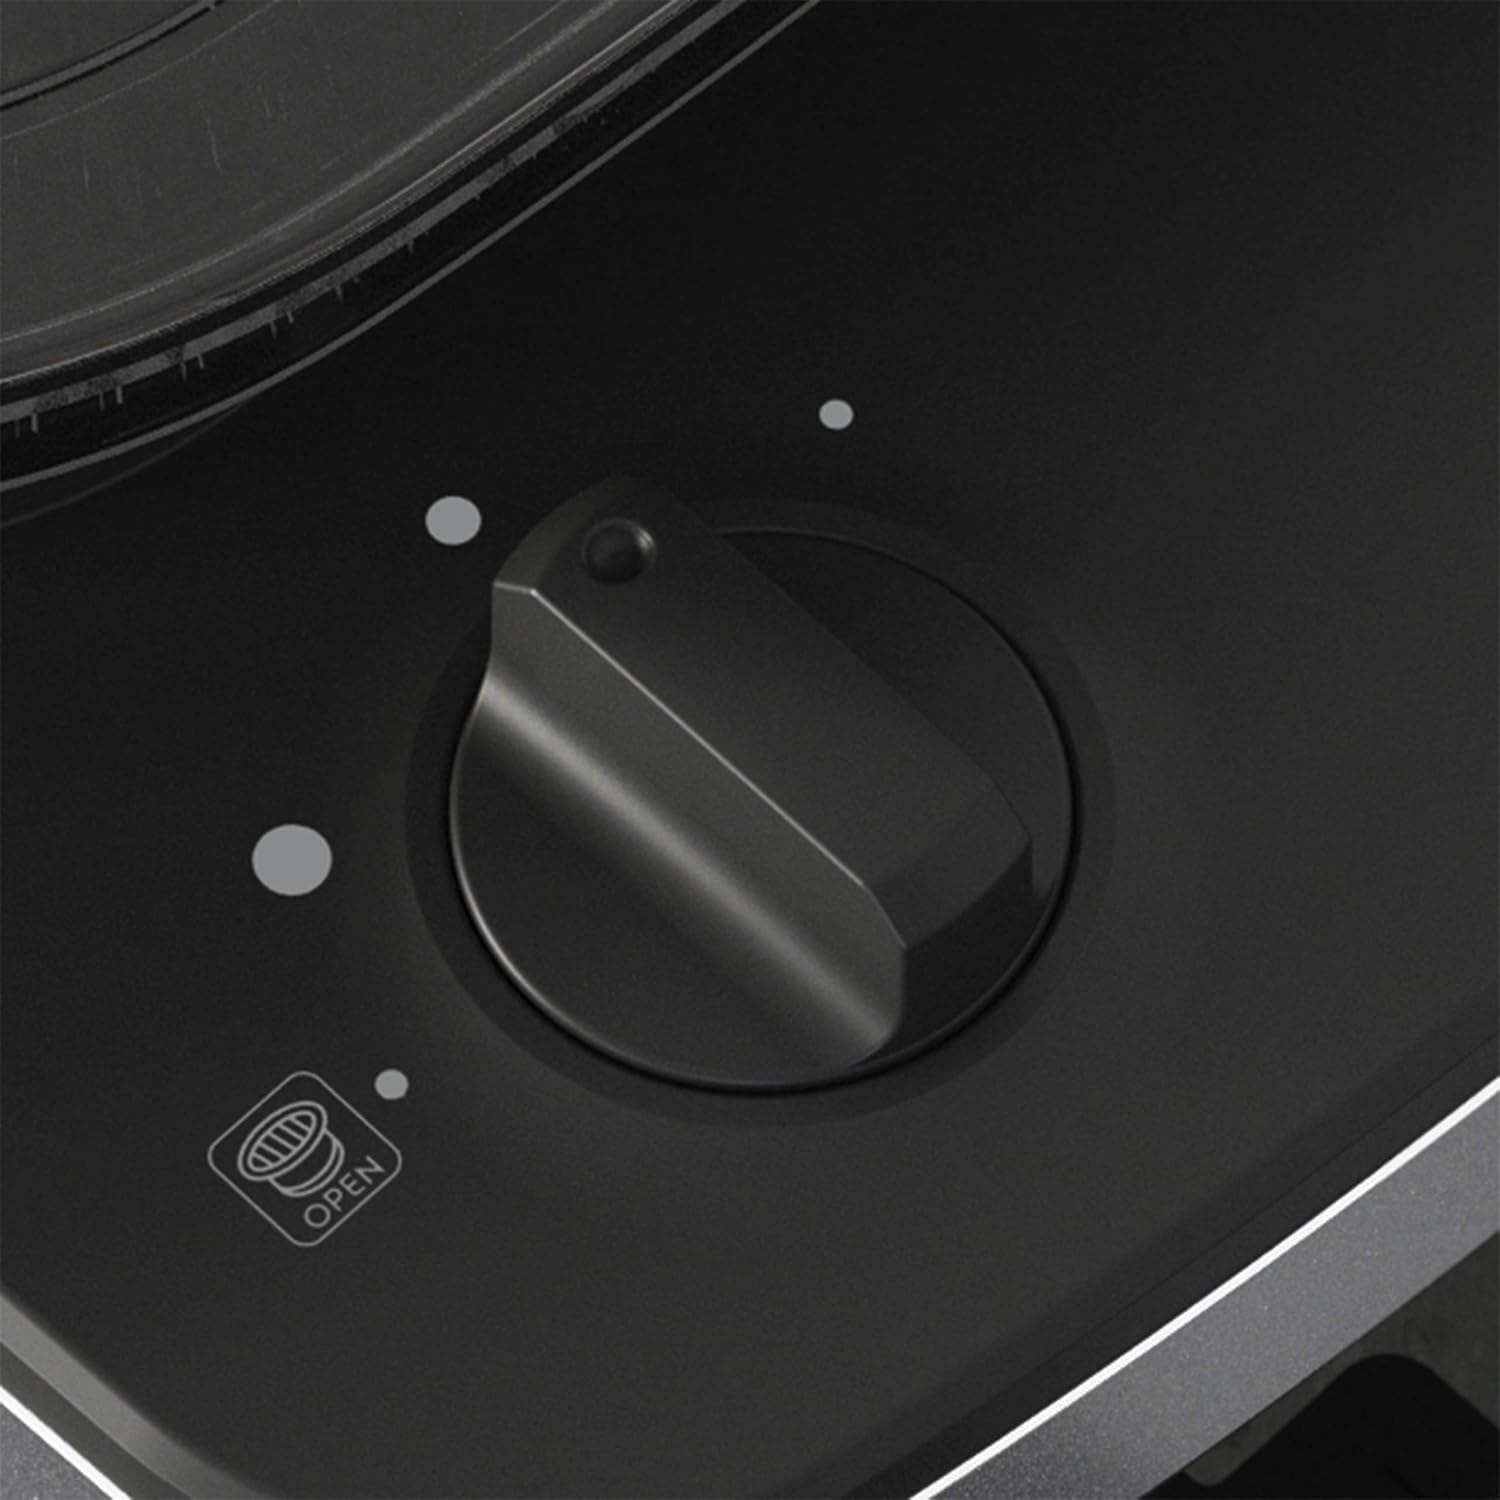
Image 4.2: Close-up of the grind adjustment knob, allowing selection of grind fineness.
4.2 Brewing with Pre-Ground Coffee
- Ensure the grinder function is turned off. Refer to the control panel for the specific setting.
- Fill the water tank with fresh, cold water according to the desired number of cups.
- Place a paper filter into the filter basket.
- Add the desired amount of pre-ground coffee into the filter. Use approximately one level tablespoon per cup, adjusting to taste.
- Press the brew button to start the brewing process.
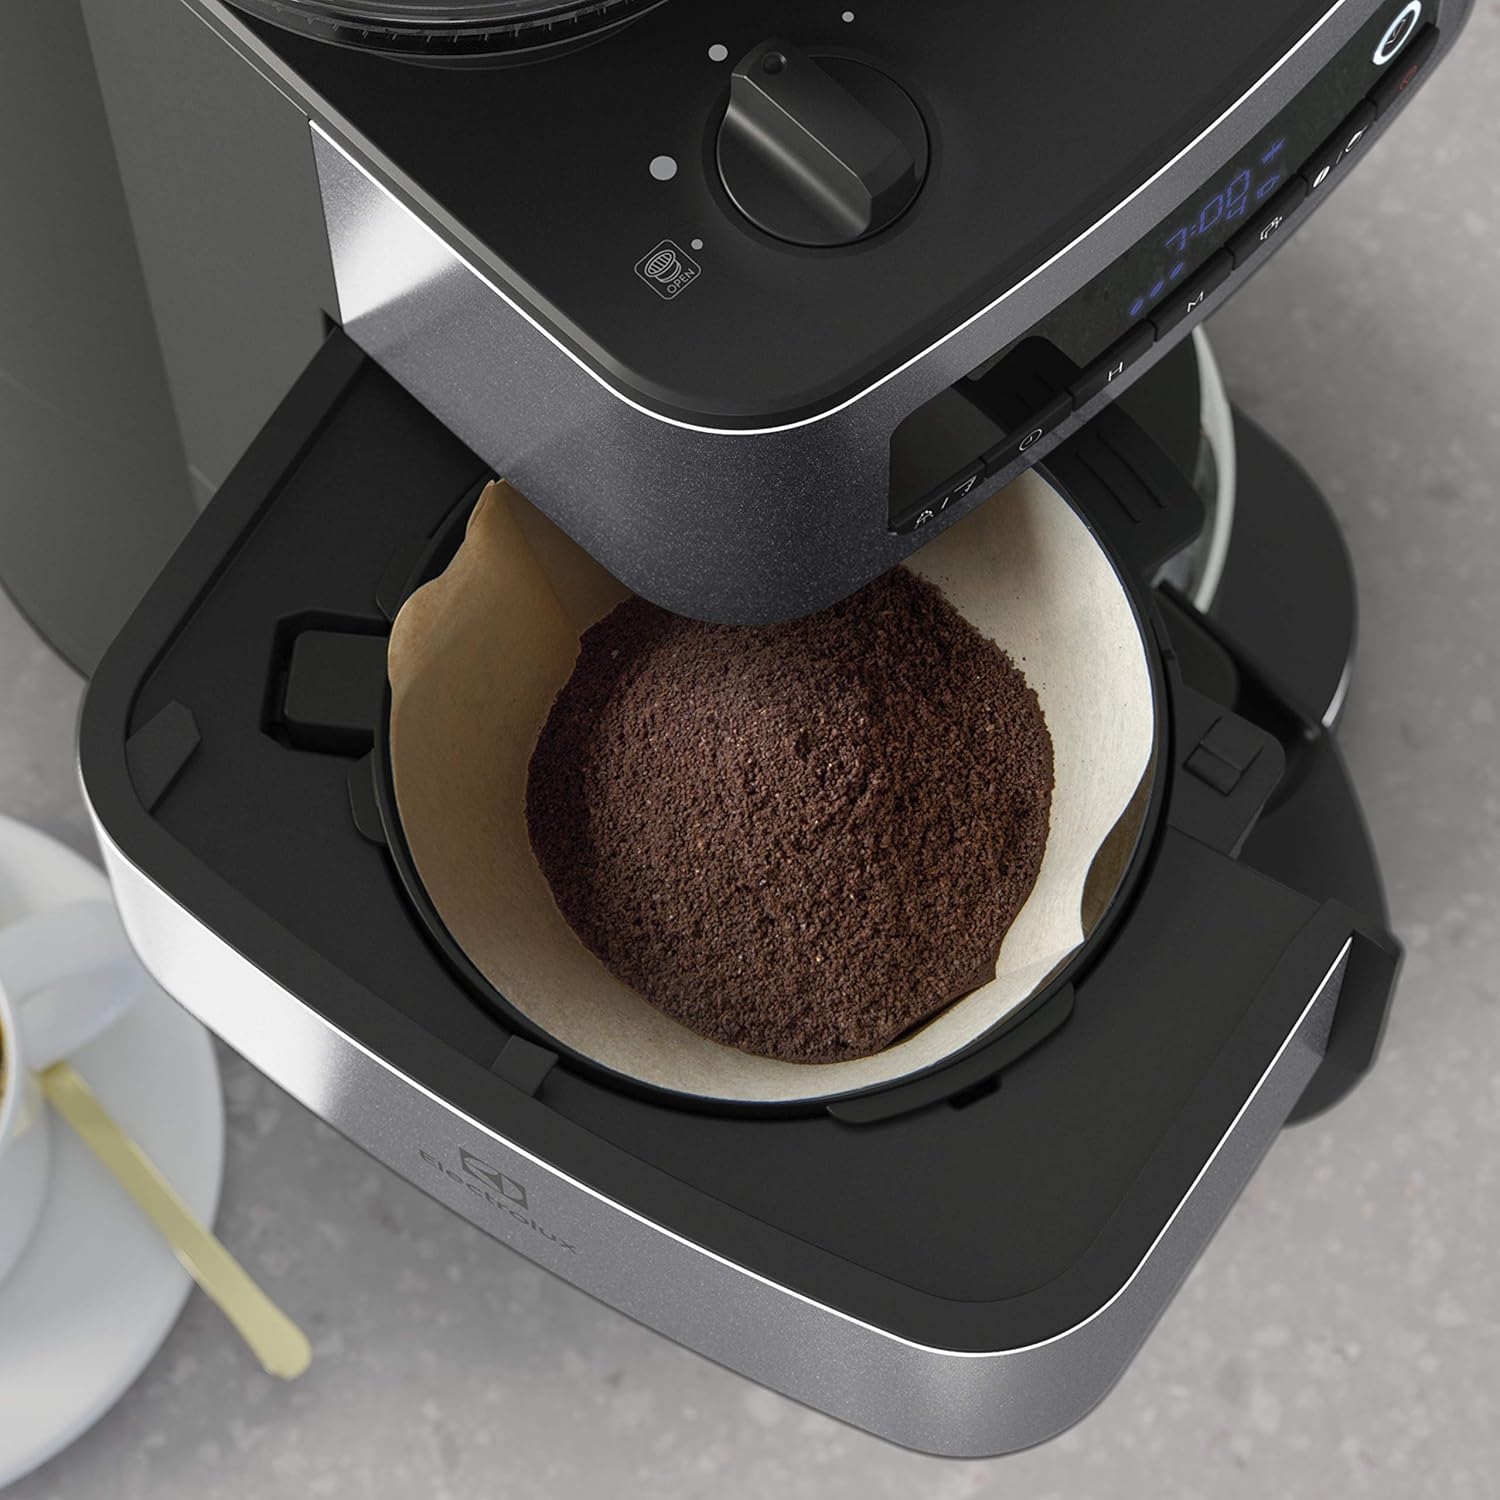
Image 4.3: Close-up view of ground coffee placed in a paper filter within the filter basket.
4.3 Timer Function
The 24-hour timer allows you to program the coffee maker to start brewing at a specific time.

Image 4.4: Digital display showing "7:00" and icons for coffee strength and number of cups, indicating timer functionality.
- Prepare the coffee maker with water and coffee (beans or ground) as described in sections 4.1 or 4.2.
- Press the "Timer" button (or equivalent on your model).
- Use the "H" (Hour) and "M" (Minute) buttons to set the desired start time.
- Confirm the setting. The timer indicator light will illuminate.
4.4 Auto Shutdown
The coffee maker is equipped with an automatic shutdown feature for safety and energy saving. The heating plate will remain on for approximately 40 minutes after brewing is complete, then automatically turn off.
5. Maintenance and Cleaning
Regular cleaning ensures optimal performance and extends the lifespan of your coffee maker.
5.1 Daily Cleaning
- Always unplug the appliance and allow it to cool completely before cleaning.
- Remove the glass carafe, filter basket, and filter basket holder. Wash them in warm, soapy water. Rinse thoroughly and dry. These parts are typically dishwasher safe (top rack only), but hand washing is recommended for longevity.
- Wipe the exterior surfaces of the coffee maker with a soft, damp cloth. Do not use abrasive cleaners or scouring pads.
- Clean the bean hopper and grinder components with a dry brush or cloth. Do not use water inside the grinder mechanism.
5.2 Descaling
Mineral deposits from water can build up in your coffee maker and affect its performance. Descale your appliance regularly, depending on water hardness and frequency of use (e.g., every 2-4 months).
- Fill the water tank with a descaling solution (e.g., white vinegar and water in a 1:2 ratio, or a commercial descaling agent) up to the MAX level.
- Place an empty paper filter in the filter basket.
- Place the empty glass carafe on the heating plate.
- Start a brewing cycle. After about 1 minute, turn off the coffee maker and let it soak for 15-20 minutes.
- Turn the coffee maker back on and let the remaining solution brew through.
- Discard the solution and rinse the carafe and filter basket.
- Run at least two full cycles with fresh, clean water to flush out any remaining descaling solution.
6. Troubleshooting
Refer to this section for common issues and their solutions.
| Problem | Possible Cause | Solution |
|---|---|---|
| Coffee does not brew. | No power; water tank empty; brew cycle not initiated. | Check power connection; fill water tank; press brew button. |
| Coffee tastes weak. | Insufficient coffee; grind too coarse; aroma setting too low. | Add more coffee; adjust grind to finer setting; select stronger aroma. |
| Coffee overflows from filter. | Too much coffee; filter clogged; carafe not placed correctly. | Reduce coffee amount; ensure filter is not clogged; position carafe correctly. |
| Grinder not working. | No beans in hopper; grinder clogged; pre-ground mode selected. | Fill bean hopper; clean grinder; ensure whole bean mode is selected. |
| Timer not activating. | Timer not set correctly; timer function not enabled. | Review timer setting steps; ensure timer indicator is lit. |
7. Specifications
Key technical details for the Electrolux Explore 6 Coffee Maker Model E6CM1-5ST.

Image 7.1: Diagram illustrating the dimensions of the Electrolux Explore 6 Coffee Maker.
- Brand: Electrolux
- Model Number: E6CM1-5ST
- Color: Stainless Steel
- Product Dimensions: 21.6 cm (D) x 43.5 cm (W) x 29 cm (H)
- Capacity: 10 Cups
- Power / Wattage: 915 watts
- Voltage: 120 Volts
- Material: Stainless Steel
- Auto Shutoff: Yes (after 40 minutes)
- Special Features: Integrated Bean Grinder, Timer Function, Aroma Function
8. Warranty and Support
For warranty information and customer support, please refer to the warranty card included with your product or visit the official Electrolux website. Keep your proof of purchase for warranty claims.
You can also visit the Electrolux Store on Amazon for additional product information and support resources.


