
1. Introduction
Thank you for choosing the PATIOBOSS Electric Wall-Mounted Infrared Heater, Model NXW-1500R. This manual provides essential information for the safe and efficient use of your new heater. Please read all instructions carefully before installation and operation, and retain this manual for future reference.
This infrared heater is designed to provide instant warmth for both indoor and outdoor environments, featuring multiple heat settings, remote control operation, and a built-in timer. Its robust construction and safety features ensure reliable performance.

Image: The PATIOBOSS Electric Wall-Mounted Infrared Heater, showcasing its sleek design and accompanying remote control.
2. Important Safety Information
Always follow basic safety precautions when using electrical appliances to reduce the risk of fire, electric shock, and injury to persons.
- Read all instructions before using this heater.
- Do not touch hot surfaces. Use handles or knobs.
- To protect against electrical shock, do not immerse cord, plugs, or heater in water or other liquid.
- Close supervision is necessary when any appliance is used by or near children.
- Unplug from outlet when not in use and before cleaning. Allow to cool before putting on or taking off parts.
- Do not operate any heater with a damaged cord or plug or after the heater malfunctions or has been dropped or damaged in any manner.
- Do not use outdoors unless specifically designed for outdoor use. This heater is rated IP34 for water resistance.
- Do not let cord hang over edge of table or counter, or touch hot surfaces.
- Do not place on or near a hot gas or electric burner, or in a heated oven.
- Always attach plug to appliance first, then plug cord into the wall outlet. To disconnect, turn any control to “off”, then remove plug from wall outlet.
- Do not use appliance for other than intended use.
- Avoid the use of an extension cord as it may overheat and cause a risk of fire.
- This heater is equipped with an automatic overheat protection system that will shut off the unit if it reaches an unsafe temperature.
- Maintain minimum clearances from combustible materials as specified in the installation section.
3. Product Components
The PATIOBOSS Infrared Heater consists of the following main components:
- Heater Unit: Main body with carbon fiber heating tubes and protective grille.
- Control Panel: Located on the side of the heater, featuring an LED display, mode button, and timer button.
- Remote Control: For convenient adjustment of power settings and timer.
- Mounting Brackets: For wall installation.
- Fasteners: Screws and expansion screws for secure mounting.

Image: The heater unit with its integrated control panel and the separate remote control, highlighting key interaction points.
4. Setup & Installation
This heater is designed for wall-mounted installation. Ensure the mounting surface is sturdy and can support the weight of the heater.
4.1 Choosing a Location
- Install the heater at least 6 feet (1.8 meters) above the ground.
- Maintain a minimum distance of 1.5 feet (0.45 meters) from the ceiling and 3 feet (0.9 meters) from adjacent walls or combustible materials.
- Ensure the power outlet is within reach of the power cord and protected from moisture.
4.2 Wall Mounting Steps
- Prepare the Heater: Unscrew the screws on the back of the heater to attach the mounting brackets.
- Assemble Brackets: Attach the provided mounting brackets to the heater using the screws and washers.
- Secure Brackets: Fix the assembled bracket to the heater securely with screws.
- Install on Wall: Mark the desired mounting points on the wall. Drill holes, insert expansion screws, and then install the heater onto the wall using the expansion screws. The heater allows for a 90° adjustable angle to direct heat.

Image: Step-by-step visual guide for wall mounting the heater, including unscrewing, assembling brackets, fixing, and final installation with adjustable angle.
5. Operating Instructions
The PATIOBOSS heater can be operated using its integrated control panel or the included remote control.
5.1 Powering On/Off
- Plug the heater into a standard 120V electrical outlet.
- Press the power button on the remote control or the control panel to turn the heater on or off.
5.2 Adjusting Heat Settings
The heater offers three adjustable heat settings: 500W, 1000W, and 1500W.
- Use the 'MODE' button on the control panel or the dedicated 500W, 1000W, 1500W buttons on the remote control to cycle through the power levels.
- The LED display will indicate the current power setting (e.g., P1 for 500W, P2 for 1000W, P3 for 1500W).
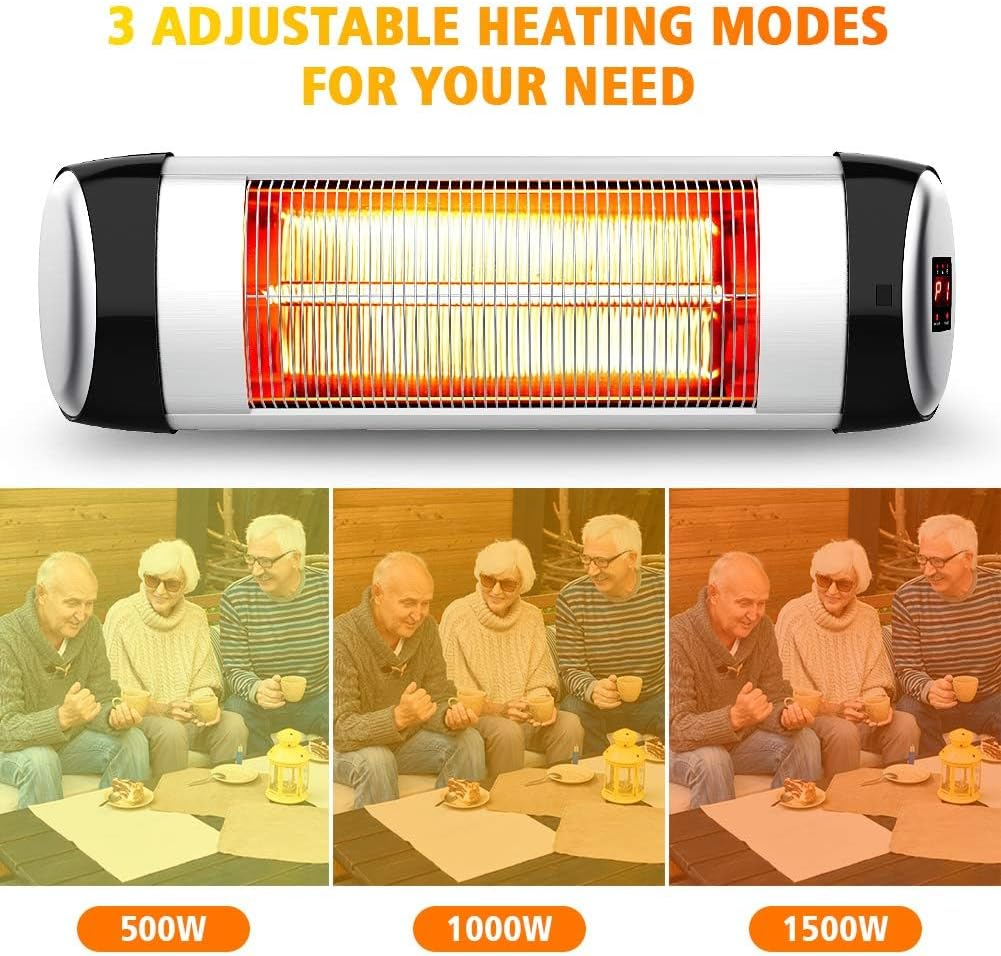
Image: Visual representation of the three adjustable heating modes (500W, 1000W, 1500W) and their relative warmth.
5.3 Using the Timer Function
The heater features a 24-hour smart timer.
- Press the 'TIMER' button on the control panel or the remote control.
- Each press will increase the timer duration by one hour, up to 24 hours.
- The LED display will show the set timer duration. The heater will automatically shut off after the set time expires.

Image: A visual representation of the 24-hour timer function, showing the heater on a wall with a clock icon and '24h' indicating the timer capability.
5.4 Remote Control Operation
The remote control allows for convenient operation from a distance.
- Power Button: Turns the heater on or off.
- 500W / 1000W / 1500W Buttons: Directly select the desired heat output.
- Timer Button: Sets the automatic shut-off timer.

Image: A close-up view of the remote control for the PATIOBOSS heater, showing its power, wattage, and timer buttons.
6. Maintenance
Regular maintenance ensures the longevity and efficient operation of your heater.
6.1 Cleaning
- Always unplug the heater and allow it to cool completely before cleaning.
- Wipe the exterior surfaces with a soft, damp cloth. Do not use abrasive cleaners or solvents.
- Do not immerse the heater in water or spray water directly onto it.
- Periodically check the grille for dust or debris and gently clean with a soft brush or vacuum cleaner.
6.2 Storage
If storing the heater for an extended period, ensure it is clean and dry. Store it in a cool, dry place, preferably in its original packaging.
7. Troubleshooting
If you encounter issues with your PATIOBOSS heater, refer to the following common problems and solutions:
| Problem | Possible Cause | Solution |
|---|---|---|
| Heater does not turn on. | No power supply. Power button not pressed. Overheat protection activated. | Check if the power cord is securely plugged in. Ensure the wall outlet is functional. Press the power button on the unit or remote. Unplug the heater, let it cool for 30 minutes, then plug it back in. |
| No heat output. | Incorrect heat setting. Timer activated. | Adjust to a higher heat setting (1000W or 1500W). Check if the timer is set to 0 or has expired. Adjust or disable the timer. |
| Heater turns off unexpectedly. | Overheat protection activated. Timer expired. | Unplug the heater, let it cool for 30 minutes, then plug it back in. Ensure proper ventilation. Check the timer setting. |
| Remote control not working. | Batteries are dead or incorrectly inserted. Obstruction between remote and heater. | Replace batteries with new ones, ensuring correct polarity. Remove any obstructions. Ensure remote is pointed towards the heater's receiver. |
7.1 Overheat Protection
The heater is equipped with an internal safety switch that automatically shuts off the unit if it overheats. This can occur due to insufficient ventilation or blockage of the air intake/output. If this happens:
- Unplug the heater from the power outlet.
- Allow the heater to cool down for at least 30 minutes.
- Inspect the heater for any obstructions or blockages. Clear them if found.
- Plug the heater back in and resume operation. If the issue persists, contact customer support.

Image: The heater mounted above a dog kennel, illustrating its safety features like overheat protection (indicated by a thermometer icon and 230°F) and the 24-hour timer, ensuring safe and controlled operation.
8. Specifications
| Feature | Detail |
|---|---|
| Brand | PATIOBOSS |
| Model Number | NXW-1500R |
| Power Output | 500W, 1000W, 1500W (Adjustable) |
| Voltage | 120 Volts |
| Heating Element | Carbon Fiber Tubes |
| Heating Type | Infrared |
| Special Features | Remote Control, LED Display, 24H Timer, Overheat Protection |
| Mounting Type | Wall Mount (90° Adjustable Angle) |
| Indoor/Outdoor Usage | Indoor, Outdoor |
| Waterproof Rating | IP34 |
| Product Dimensions | 3.74"D x 25.98"W x 7.87"H |
| Item Weight | 4.3 pounds |
| Certifications | ETL Certified |
| UPC | 726972194362 |
9. Warranty & Support
PATIOBOSS is committed to providing quality products and customer satisfaction.
9.1 Warranty Information
- Return & Exchange: 3 months free return and exchange from the date of purchase.
- Product Maintenance: 12 months product maintenance coverage.
9.2 Customer Support
For any questions, concerns, or support needs regarding your PATIOBOSS heater, please contact our customer service team. We aim to reply to all inquiries within 24 hours.
Please have your model number (NXW-1500R) and purchase date available when contacting support.