1. Introduction
This manual provides essential instructions for the safe and efficient operation of your CAIWEI Android TV Projector 4K, Model 900DAB-05F. Please read this manual thoroughly before using the projector and retain it for future reference. This projector features Android 9.0 OS, native 1080P resolution with 4K support, dual-band WiFi, Bluetooth connectivity, and advanced keystone correction.
2. Package Contents
Verify that all items are present in the package:
- CAIWEI Android TV Projector
- Remote Control (batteries not included)
- Power Cable
- HDMI Cable
- AV Cable
- User Manual
3. Safety Instructions
- Do not block the ventilation openings of the projector. Ensure adequate airflow to prevent overheating.
- Avoid direct exposure to the projector lens light.
- Do not place the projector on unstable surfaces.
- Keep the projector away from water or other liquids.
- Use only the power adapter supplied with the projector.
- Unplug the projector during lightning storms or when unused for long periods.
4. Product Overview
Familiarize yourself with the main components and ports of your CAIWEI projector.
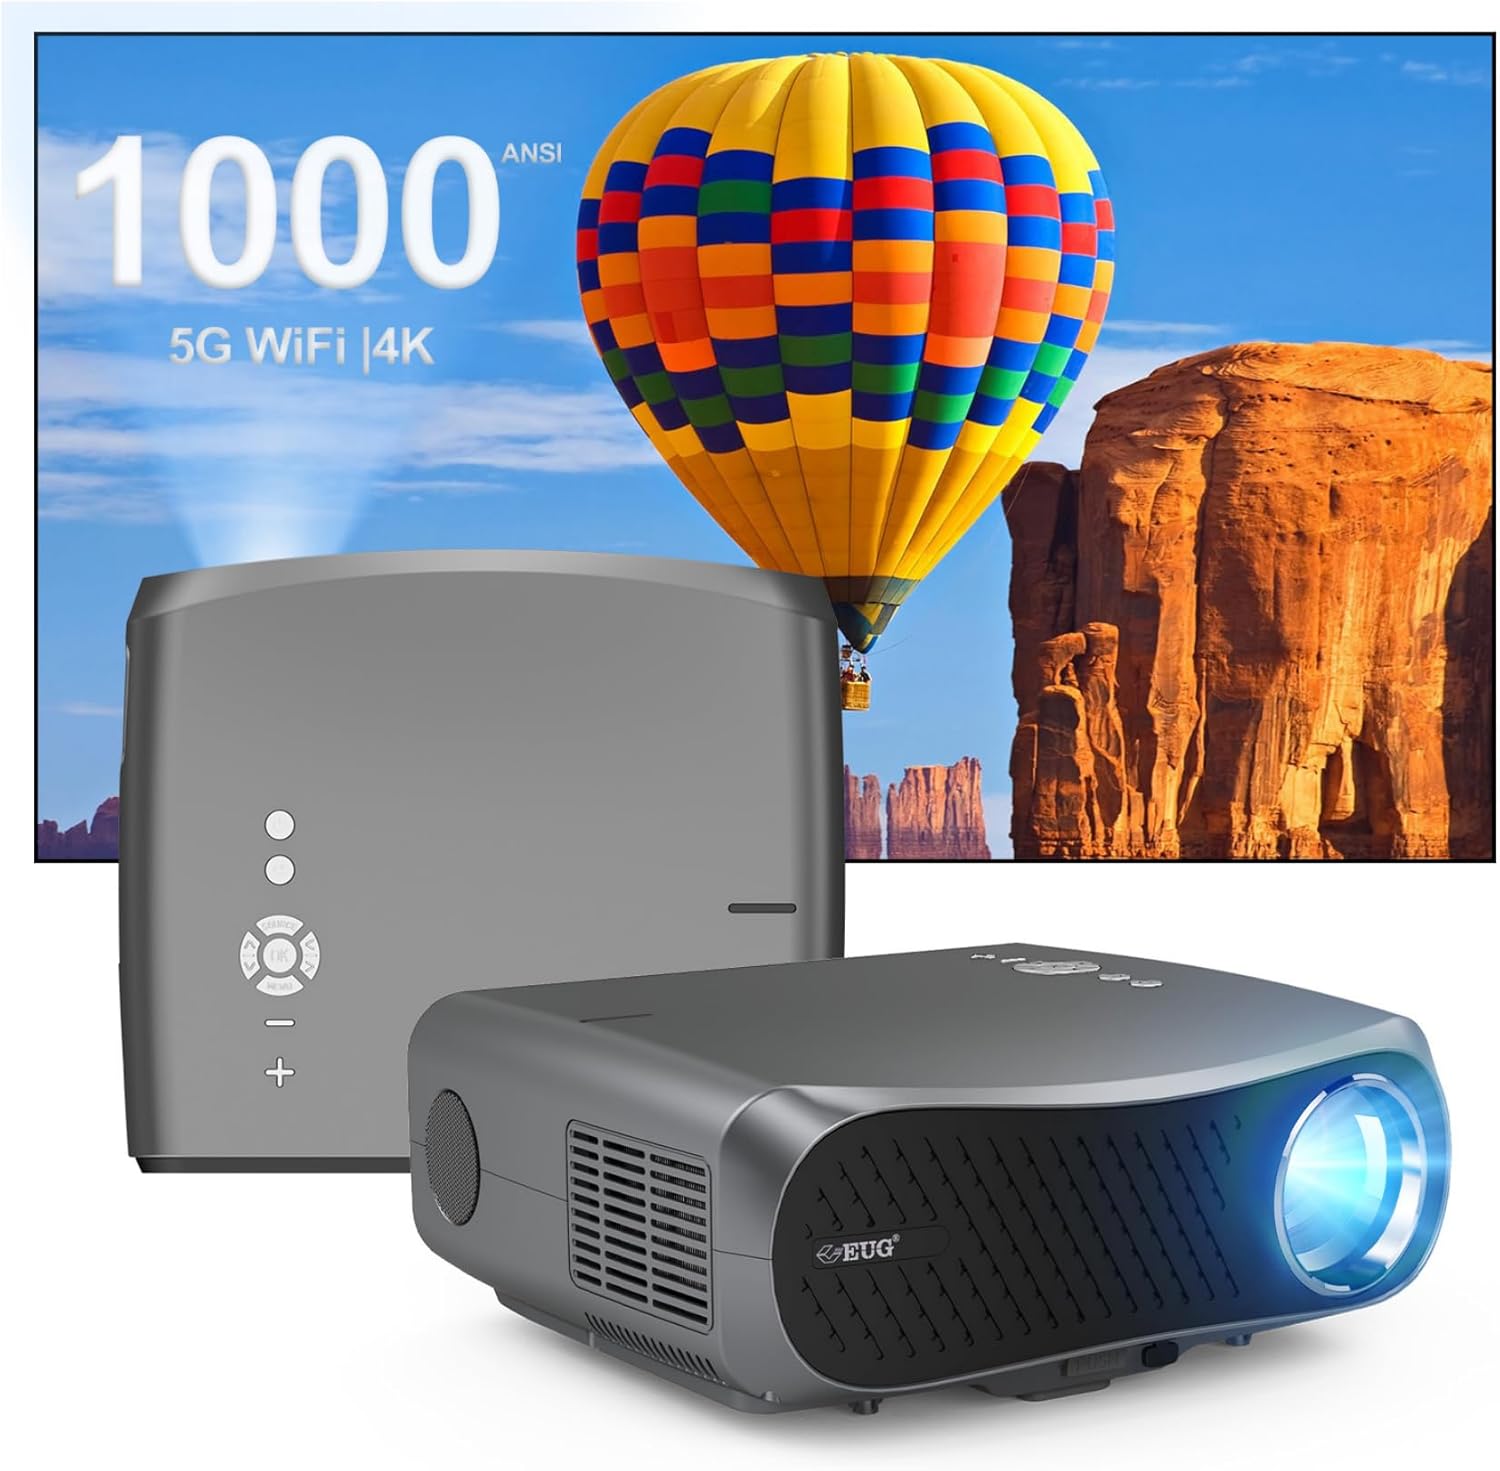
Image 1: Front and rear view of the CAIWEI Android TV Projector, highlighting its compact design and control panel.
The projector features a lens at the front, control buttons on the top, and various input/output ports on the rear and sides, including HDMI, USB, VGA, and AV ports for versatile connectivity.
5. Setup
5.1 Placement
Position the projector on a flat, stable surface or mount it to a ceiling or tripod. Ensure the lens is perpendicular to the projection surface for optimal image geometry. The projector supports various installation methods including front, rear, ceiling front, and ceiling rear projection.

Image 2: Illustration of flexible projector placement options, including ceiling mount, tripod table, and desktop setup, for various viewing environments.
5.2 Power Connection
Connect the power cable to the projector's power input and then to a power outlet.
5.3 Initial Power On
Press the power button on the projector or the remote control to turn on the device. The projector will boot into the Android TV interface.
5.4 Focus and Keystone Adjustment
Adjust the focus ring on the projector lens until the image is clear. Use the digital keystone correction feature to correct trapezoidal distortion if the projector is not perfectly aligned with the screen. The projector supports D ±50° keystone correction and 40% digital zoom.

Image 3: Visual representation of the projector's screen adjustment capabilities, including Auto Keystone, Digital Zoom (100%-60%), and Electronic 4D/4P Keystone Correction for optimal image display.
6. Operating Instructions
6.1 Android 9.0 OS Navigation
Use the remote control to navigate the Android 9.0 operating system. The home screen provides access to pre-installed applications and settings. You can download additional applications from the integrated app store.

Image 4: The projector's interface powered by Android TV 9.0, showcasing a wide array of streaming and entertainment applications available.
6.2 Wi-Fi Connection
To connect to a wireless network:
- Go to Settings on the home screen.
- Select Network & Internet.
- Turn on Wi-Fi and select your desired network from the list.
- Enter the password if prompted and connect.
The projector supports dual-band 5G WiFi for faster and more stable connections.
6.3 Bluetooth Connection
To connect Bluetooth devices (e.g., speakers, headphones):
- Go to Settings.
- Select Connected Devices or Bluetooth.
- Turn on Bluetooth and search for available devices.
- Select your device from the list to pair.
6.4 Connecting External Devices
The projector offers multiple input options:
- HDMI: Connect Blu-ray players, game consoles, laptops, etc.
- USB: Play media files directly from USB drives.
- VGA: Connect older computers.
- AV: Connect legacy video devices.
Select the appropriate input source from the projector's menu.
6.5 Screen Mirroring/Casting
Utilize the 5G WiFi connectivity to mirror content from your smartphone or laptop to the projector screen. Refer to your device's casting instructions for specific steps.

Image 5: The projector demonstrating connectivity with a smartphone via 5G WiFi for screen mirroring and a Bluetooth speaker for enhanced audio, illustrating its versatile wireless capabilities.
7. Maintenance
- Cleaning the Lens: Use a soft, lint-free cloth specifically designed for optical lenses. Do not use abrasive cleaners.
- Cleaning the Casing: Wipe the projector's exterior with a soft, dry cloth.
- Ventilation: Regularly check that the ventilation openings are clear of dust and debris. Use compressed air if necessary.
- Storage: When not in use, store the projector in a cool, dry place, protected from dust and extreme temperatures.
8. Troubleshooting
If you encounter issues with your projector, refer to the following common problems and solutions:
- No Power:
• Ensure the power cable is securely connected to both the projector and the power outlet.
• Check if the power outlet is functional. - No Image/Signal:
• Verify that the correct input source is selected on the projector.
• Check the HDMI/VGA/AV cable connections to the external device and the projector.
• Ensure the external device is powered on and outputting a signal. - Image is Blurry:
• Adjust the focus ring on the projector lens.
• Ensure the projection surface is flat and the projector is at an appropriate distance. - Image is Distorted (Trapezoid Shape):
• Use the digital keystone correction feature in the projector settings to adjust the image geometry. - Overheating and Automatic Shutdown:
• Ensure the projector's ventilation openings are not blocked. Provide ample space around the projector for airflow.
• Operate the projector in a well-ventilated room with a suitable ambient temperature. - Wi-Fi/Bluetooth Connectivity Issues:
• Ensure the Wi-Fi network is active and within range. Re-enter the password if necessary.
• For Bluetooth, ensure the device is in pairing mode and within range.
• Restart the projector and the external device. - No Sound:
• Check the volume settings on both the projector and the connected source device.
• If using external speakers, ensure they are properly connected and powered on.
• If connecting via HDMI, ensure the source device is sending audio. - HDMI ARC/HDCP Compatibility:
• Note that this projector may not fully support HDMI ARC (Audio Return Channel) or certain HDCP (High-bandwidth Digital Content Protection) versions (e.g., HDCP 2.2) with some receivers. If connecting via a receiver, try connecting devices directly to the projector or using alternative audio output methods.
9. Specifications
| Feature | Detail |
|---|---|
| Brand | CAIWEI |
| Model Number | 900DAB-05F |
| Operating System | Android 9.0 OS |
| Display Resolution | Native 1920 x 1080 (Supports 4K decoding) |
| Connectivity Technology | Bluetooth, Dual-Band WiFi (2.4G/5G), HDMI, USB, VGA, AV, Audio Out |
| Special Features | Built-In Speaker, Digital Keystone Correction (D ±50°), 40% Digital Zoom |
| Product Dimensions | 12.4 x 9.33 x 5.31 inches |
| Item Weight | 9.98 pounds |
| Color | Sliver Grey |
| Recommended Uses | Home Entertainment, Gaming, Presentations |
10. Warranty and Support
Your CAIWEI projector comes with a standard manufacturer's warranty. Please refer to the warranty card included in your package for specific terms and conditions. For technical support, troubleshooting assistance, or warranty claims, please contact CAIWEI customer service through the contact information provided with your purchase or on the official CAIWEI website.


