1. Introduction
The sPOD BantamX 8 Relay Power Control System is an 8-circuit expandable control system designed to provide a clean and safe method for powering and controlling 12/24VDC accessories in off-road 4x4 vehicles and trucks. This system simplifies wiring by utilizing a single ethernet cable for in-cab control, eliminating the need for extensive wire routing or tapping into the vehicle's existing electrical system. Its compact design allows for versatile placement options.

Image 1.1: The sPOD BantamX 8 Relay Power Control System, showing the main power distribution unit and the touch screen controller.
2. Setup and Installation
The BantamX system is designed for straightforward installation, minimizing modifications to your vehicle's electrical system.
2.1 Component Overview

Image 2.1: All components included with the sPOD BantamX system, ready for installation.
2.2 Power Unit Placement
Due to the small footprint of the BantamX power unit, placement options are extensive. Common locations include under the hood, within the engine bay, or in other protected areas of the vehicle. Ensure the chosen location is secure and protected from excessive heat, moisture, and physical damage.

Image 2.2: The BantamX power unit securely mounted within a vehicle's engine bay.
2.3 Wiring Connections
- Battery Connection: Connect the main power cables from the BantamX unit directly to your vehicle's battery. The system includes a 36-inch battery cable for this purpose.
- Accessory Connections: Connect your 12/24VDC accessories to the designated output terminals on the BantamX unit. The system provides 8 circuits for various accessories.
- Control Cable: Route the single ethernet cable from the BantamX power unit into the vehicle's cabin to connect to the touch screen controller. This cable transmits all control signals, simplifying the in-cab wiring.

Image 2.3: Close-up view of the BantamX internal wiring, demonstrating connections to an accessory like an air compressor.
2.4 Touch Screen Controller Mounting
Mount the touch screen controller in a convenient and accessible location within the vehicle's cabin. Ensure it does not obstruct the driver's view or interfere with vehicle controls.

Image 2.4: The touch screen controller integrated into a vehicle's dashboard for easy access.
3. Operating Instructions
The BantamX system offers multiple control methods for your accessories.
3.1 Using the Touch Screen Controller
The touch screen controller provides an intuitive interface for managing your connected accessories. Each button on the screen corresponds to a specific circuit, allowing for individual control. The display type is TFT LCD.
- Power On/Off: Tap the corresponding button on the screen to toggle an accessory on or off.
- Customization: The touch screen allows for customization of switch labels and other settings. Refer to the on-screen menu for detailed options.

Image 3.1: Detailed view of the touch screen controller's interface, displaying various accessory control buttons.
3.2 Using the sPODConnect Bluetooth App
Control your sPOD system wirelessly via Bluetooth using the dedicated sPODConnect app, available for download on compatible mobile devices. The app provides a user-friendly and intuitive interface for managing your accessories.
- Pairing: Follow the app's instructions to pair your mobile device with the BantamX system via Bluetooth.
- Remote Control: Once paired, you can remotely turn accessories on/off, adjust settings, and monitor system status from your device.
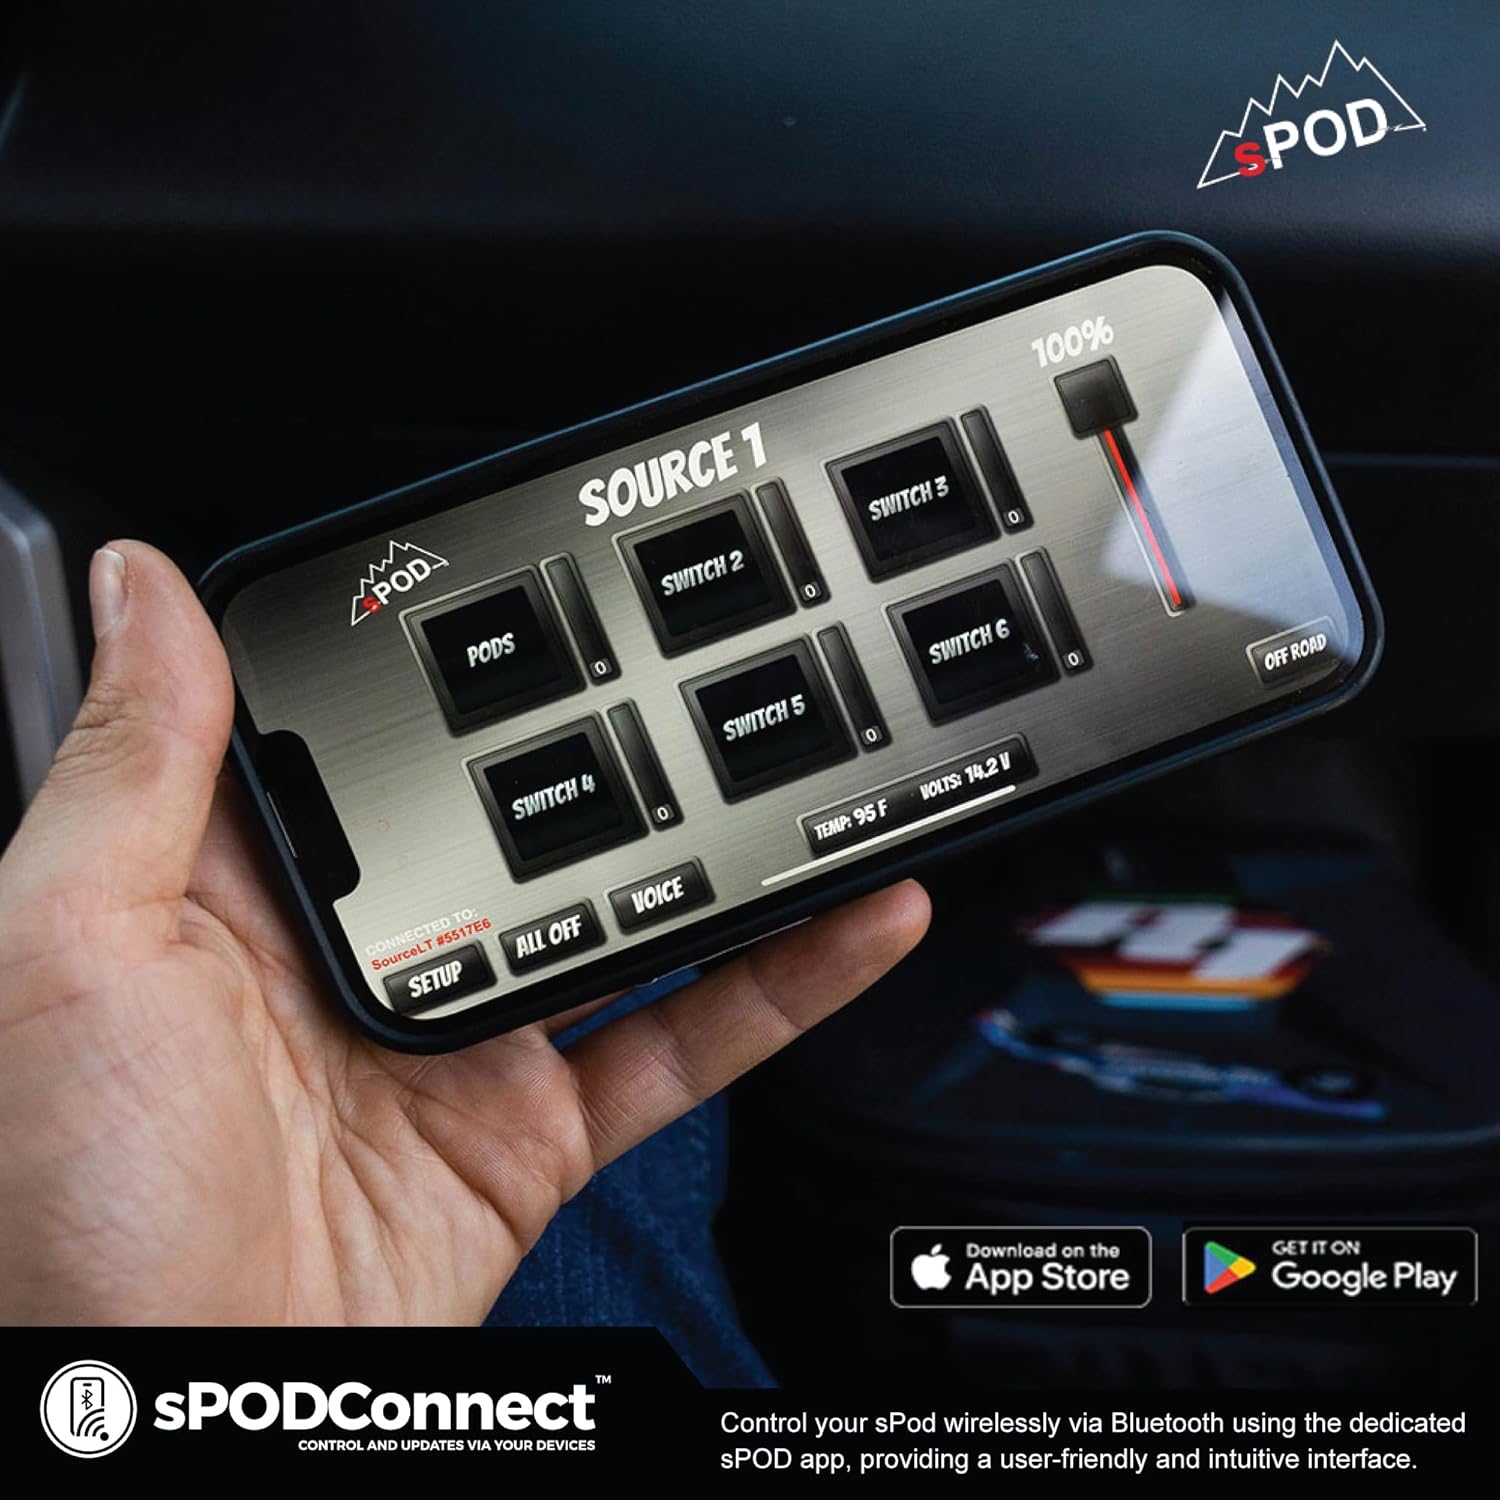
Image 3.2: A mobile phone showing the sPODConnect application, illustrating the wireless control capabilities.
3.3 Low Voltage Cutoff (LVCO)
The BantamX system incorporates a Low Voltage Cutoff (LVCO) feature. This function is designed to protect your vehicle's battery by automatically disconnecting accessories if the battery voltage drops below a safe threshold, preventing over-discharge and ensuring reliable vehicle performance and starting capability.
4. Maintenance
The sPOD BantamX system is designed for durability and minimal maintenance.
- Regular Inspection: Periodically check all wiring connections for tightness and signs of wear or corrosion.
- Cleaning: Keep the power unit and touch screen controller clean and free of dust and debris. Use a soft, dry cloth for cleaning the touch screen.
- sGuard Technology: The system features built-in programmable self-healing digital technology (sGuard) for internal system protection, reducing the need for manual fuse replacement.
5. Troubleshooting
If you encounter issues with your BantamX system, refer to the following common troubleshooting steps.
- No Power to Accessories:
- Verify that the main power cables are securely connected to the battery and the BantamX unit.
- Check the system's status indicators on the touch screen or app for any error messages.
- Ensure the vehicle's battery voltage is above the LVCO threshold.
- Bluetooth Pairing Issues:
- Ensure Bluetooth is enabled on your mobile device.
- Restart the sPODConnect app and attempt pairing again.
- Confirm the BantamX unit is powered on and within range.
- Touch Screen Unresponsive:
- Ensure the ethernet control cable is securely connected between the power unit and the touch screen.
- Attempt to power cycle the BantamX system by temporarily disconnecting and reconnecting the main power.
- Accessory Malfunction:
- Confirm the accessory itself is functioning correctly when connected directly to a power source.
- Ensure the accessory's current draw does not exceed the individual circuit's or the system's maximum amperage rating.
6. Specifications
| Feature | Specification |
|---|---|
| Item Weight | 5 pounds |
| Product Dimensions | 13 x 10 x 10 inches |
| Item Model Number | BXTSBUNI36 |
| Display Type | TFT LCD |
| Warranty | 5 Year Limited Warranty |
7. Warranty Information
The sPOD BantamX 8 Relay Power Control System is covered by a 5-Year Limited Warranty. This warranty covers defects in materials and workmanship under normal use. For specific terms and conditions, please refer to the official sPOD warranty documentation or contact sPOD customer support.
8. Support
For further assistance, technical support, or warranty claims, please contact the manufacturer, sPOD. Refer to the official sPOD website for the most current contact information and support resources.


