Introduction
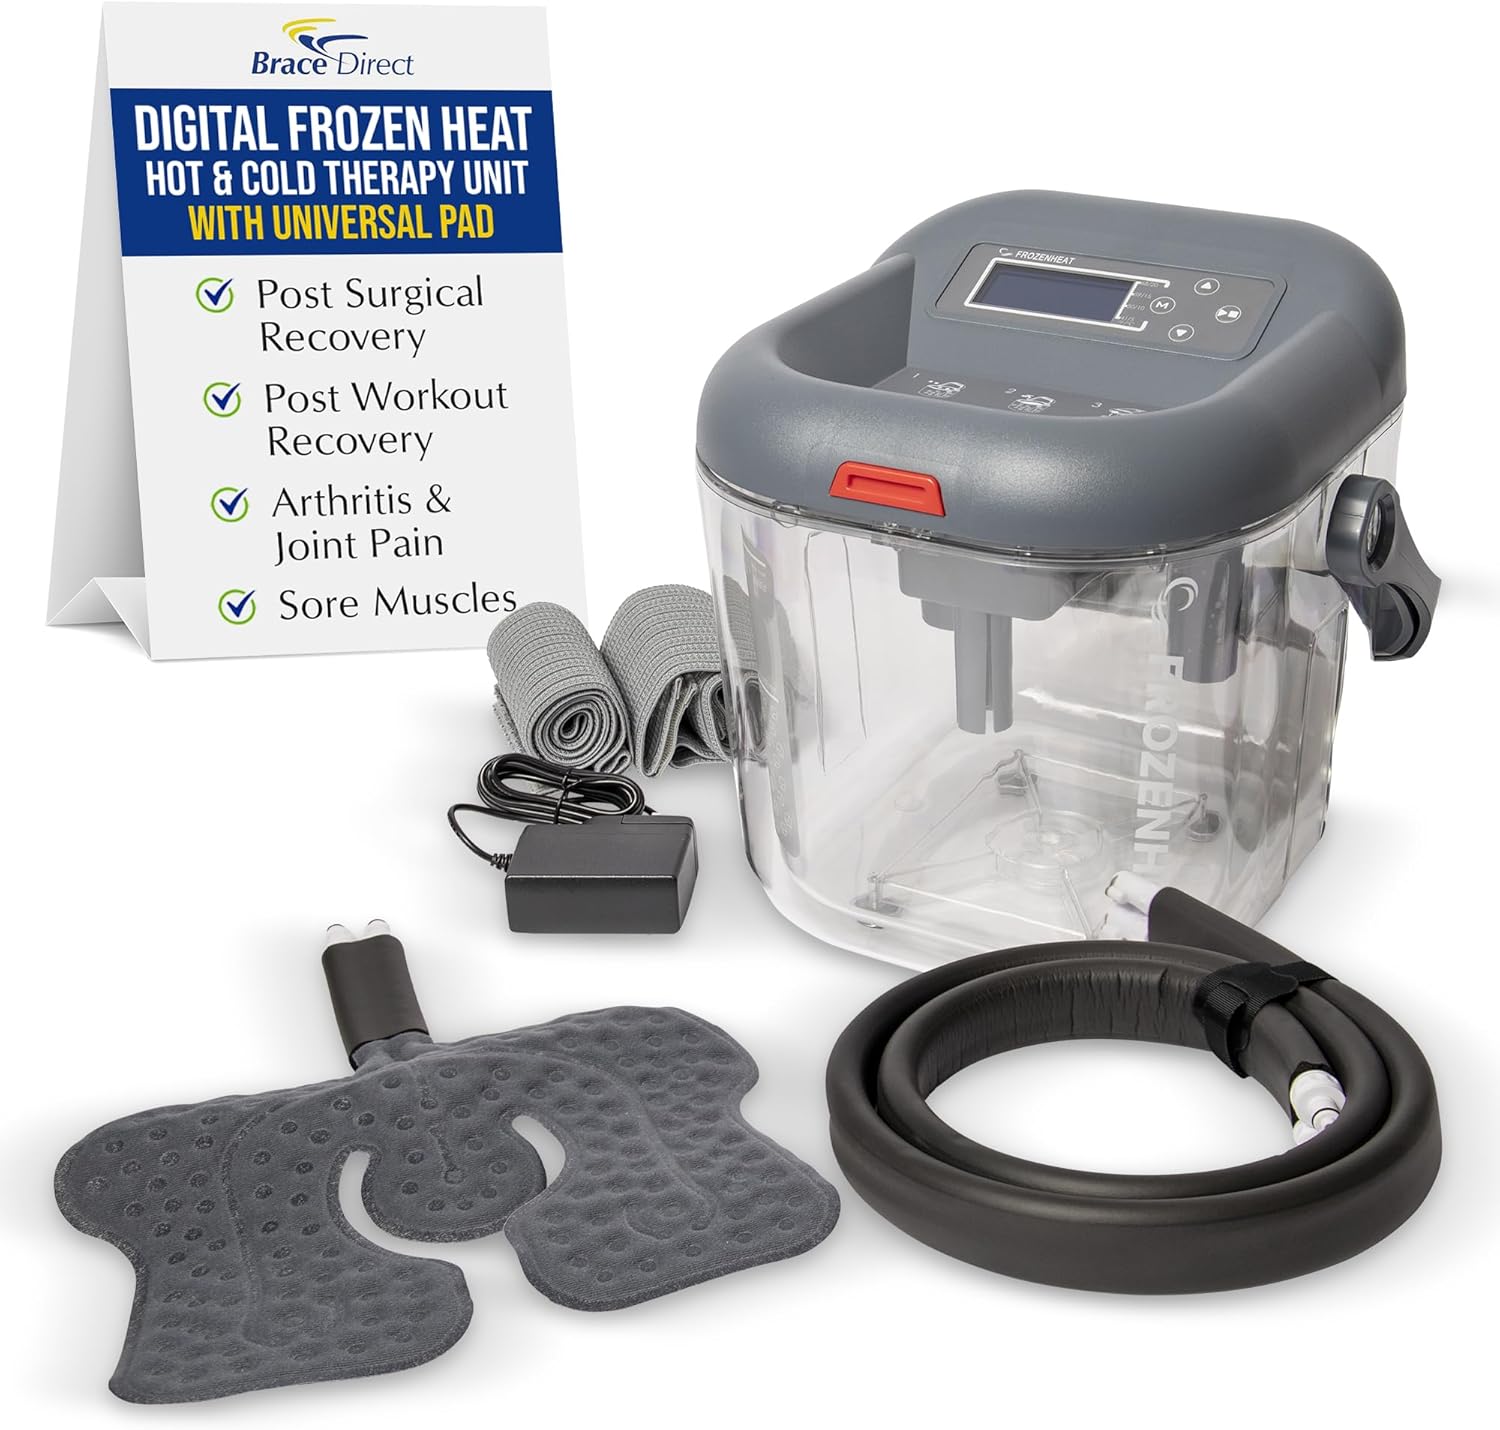
Thank you for choosing the Brace Direct Digital Frozen Heat Hot and Cold Water Therapy Machine. This device is designed to provide targeted pain relief and support recovery for various conditions, including post-surgical recovery, post-workout recovery, arthritis, joint pain, and sore muscles. This manual will guide you through the setup, operation, and maintenance of your therapy machine to ensure optimal performance and user safety.
What's Included
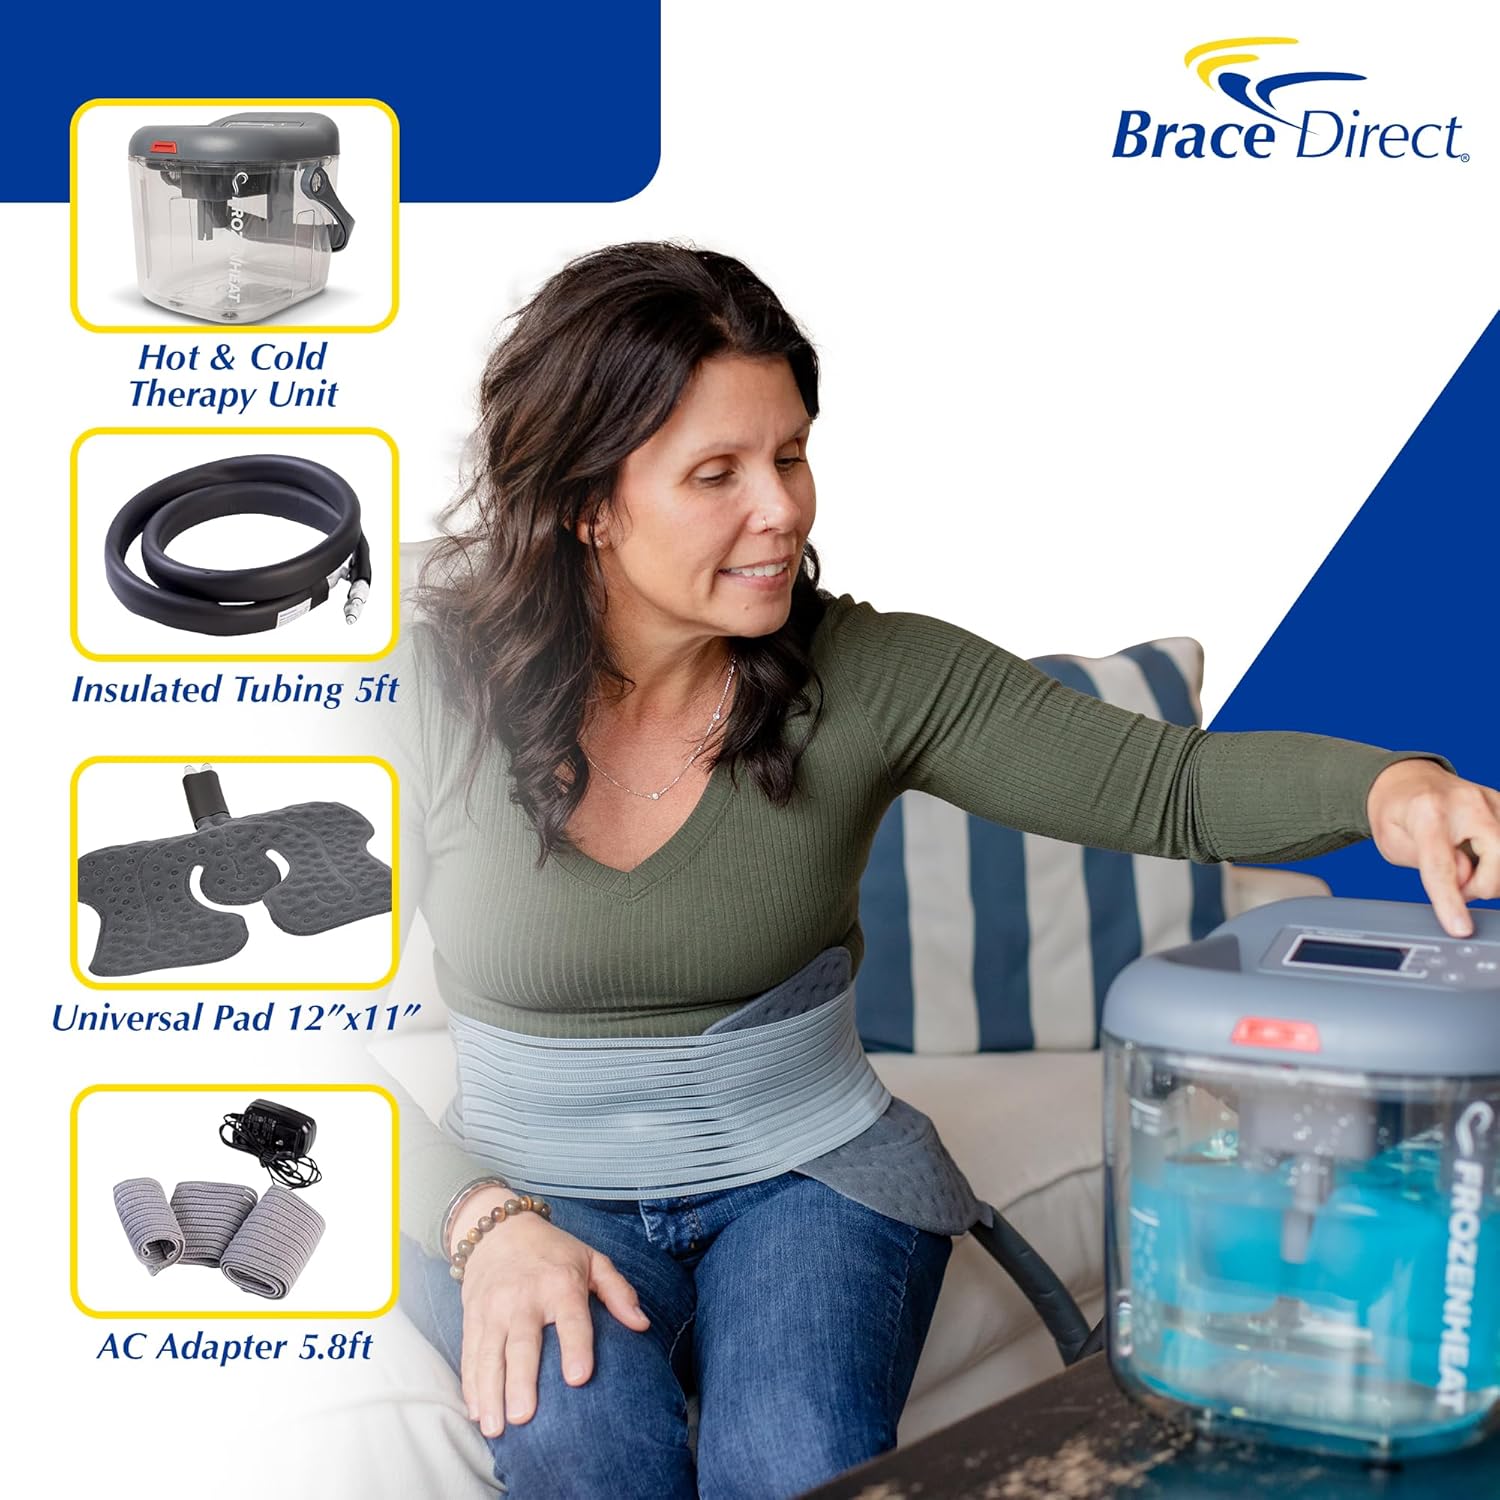
Your Brace Direct Digital Frozen Heat Hot and Cold Water Therapy Machine package includes the following components:
- Digital Frozen Heat Unit
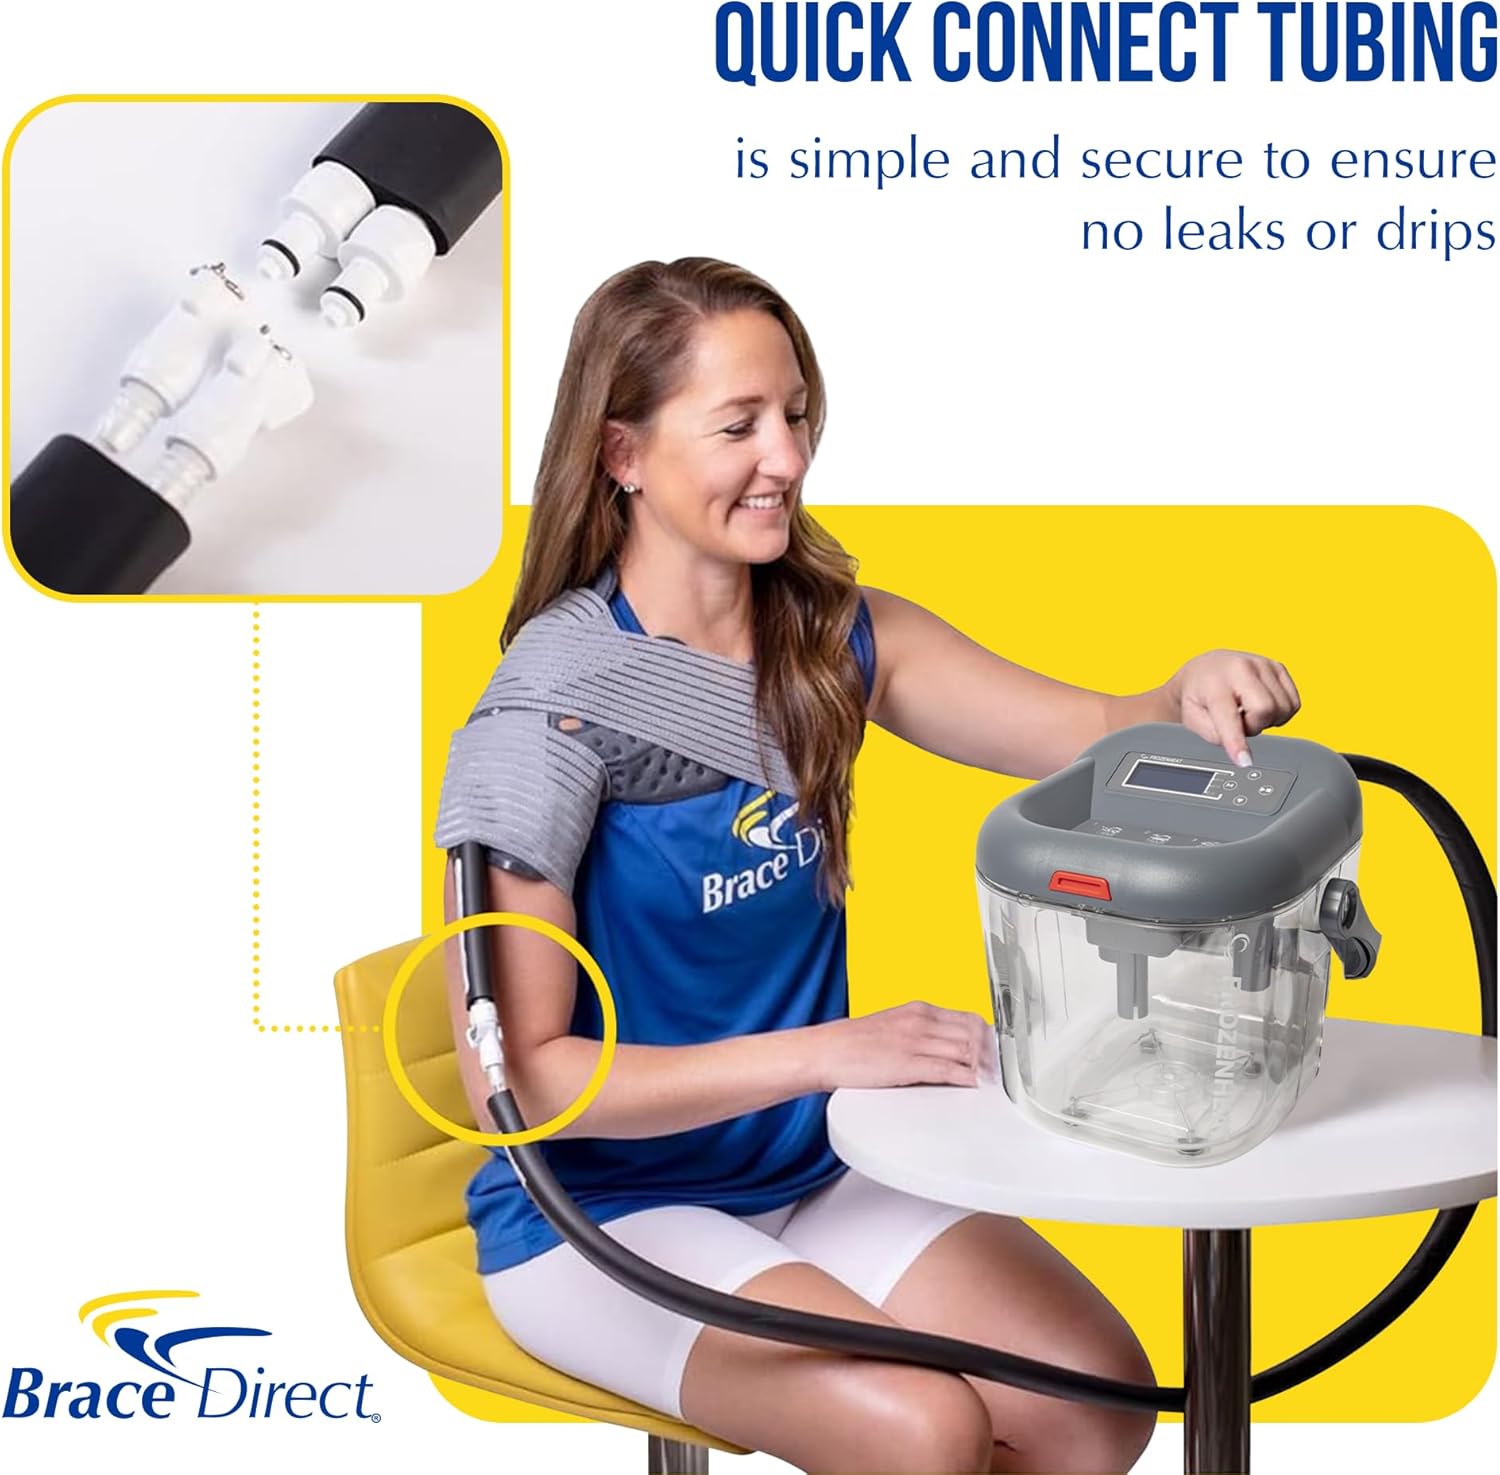
- Thermal Tubing with Quick Connect Couplings
- Universal Therapy Pad (12"x11")
- Three Elastic Wraps (15", 27", and 45" for versatile application)
- AC Power Adapter (5.8 ft)
- Sterile Dressing
Setup Instructions
Filling the Unit
- Open the Frozen Heat unit by pressing the red button and tilting the lid up and back, removing the lid from the grooves.
- Fill the clear reservoir with ice up to the indicated ice line.
- Pour water into the reservoir up to the indicated water line.
- Set the lid back into the grooves and close, pushing down until you hear the red button snap into place, ensuring a secure seal.
Connecting Tubing and Power
- To attach the thermal tubing to the unit, press the metal clamps on the ports located on the back of the unit. Insert the female end of the tubing into the ports until you hear a click.
- To attach the universal pad to the thermal tubing, press the metal clamps down on the other end of the thermal tubing and then insert the universal pad fittings until you hear a click.
- Locate the power port on the back of the unit next to the thermal tubing. Insert the AC adapter into this port, then plug the adapter into a nearby electrical outlet.
Operating the Device
Powering On and Setting Treatment
- Press the power switch located on the back of the unit to power on the device. The digital display will illuminate.
- To choose treatment settings, press and hold the 'Mode' (M) button until you hear a beep.
- To adjust the flow rate (LPM), when 'LPM' is flashing on the screen, use the up or down arrow buttons to modify the flow rate of the treatment.
- Press the 'Mode' (M) button again to transition to treatment time settings. Use the up or down arrow buttons to select the desired treatment time in minutes.
- Press the 'Mode' (M) button once more to exit setup mode.
Starting Therapy
To begin therapy, press the 'Start/Pause' button. You may press this button at any time to pause or resume therapy.
Official instruction video for the Brace Direct Digital Frozen Heat Hot and Cold Water Therapy Machine, demonstrating setup, operation, and application.
Applying the Universal Pad
General Application
If using the sterile dressing, place it on the pad before application. Otherwise, straighten the hose and pad out, ensuring there are no kinks that would impede the circulation of water. Place the pad with the plastic side down and the gray side away from the body. Apply to the affected body part and use the elastic wraps to secure the pad to the body.
Back/Hip Application
For back or hip pain, place the universal pad on your affected area. Use the longest elastic wrap to secure the pad firmly in place around your torso.
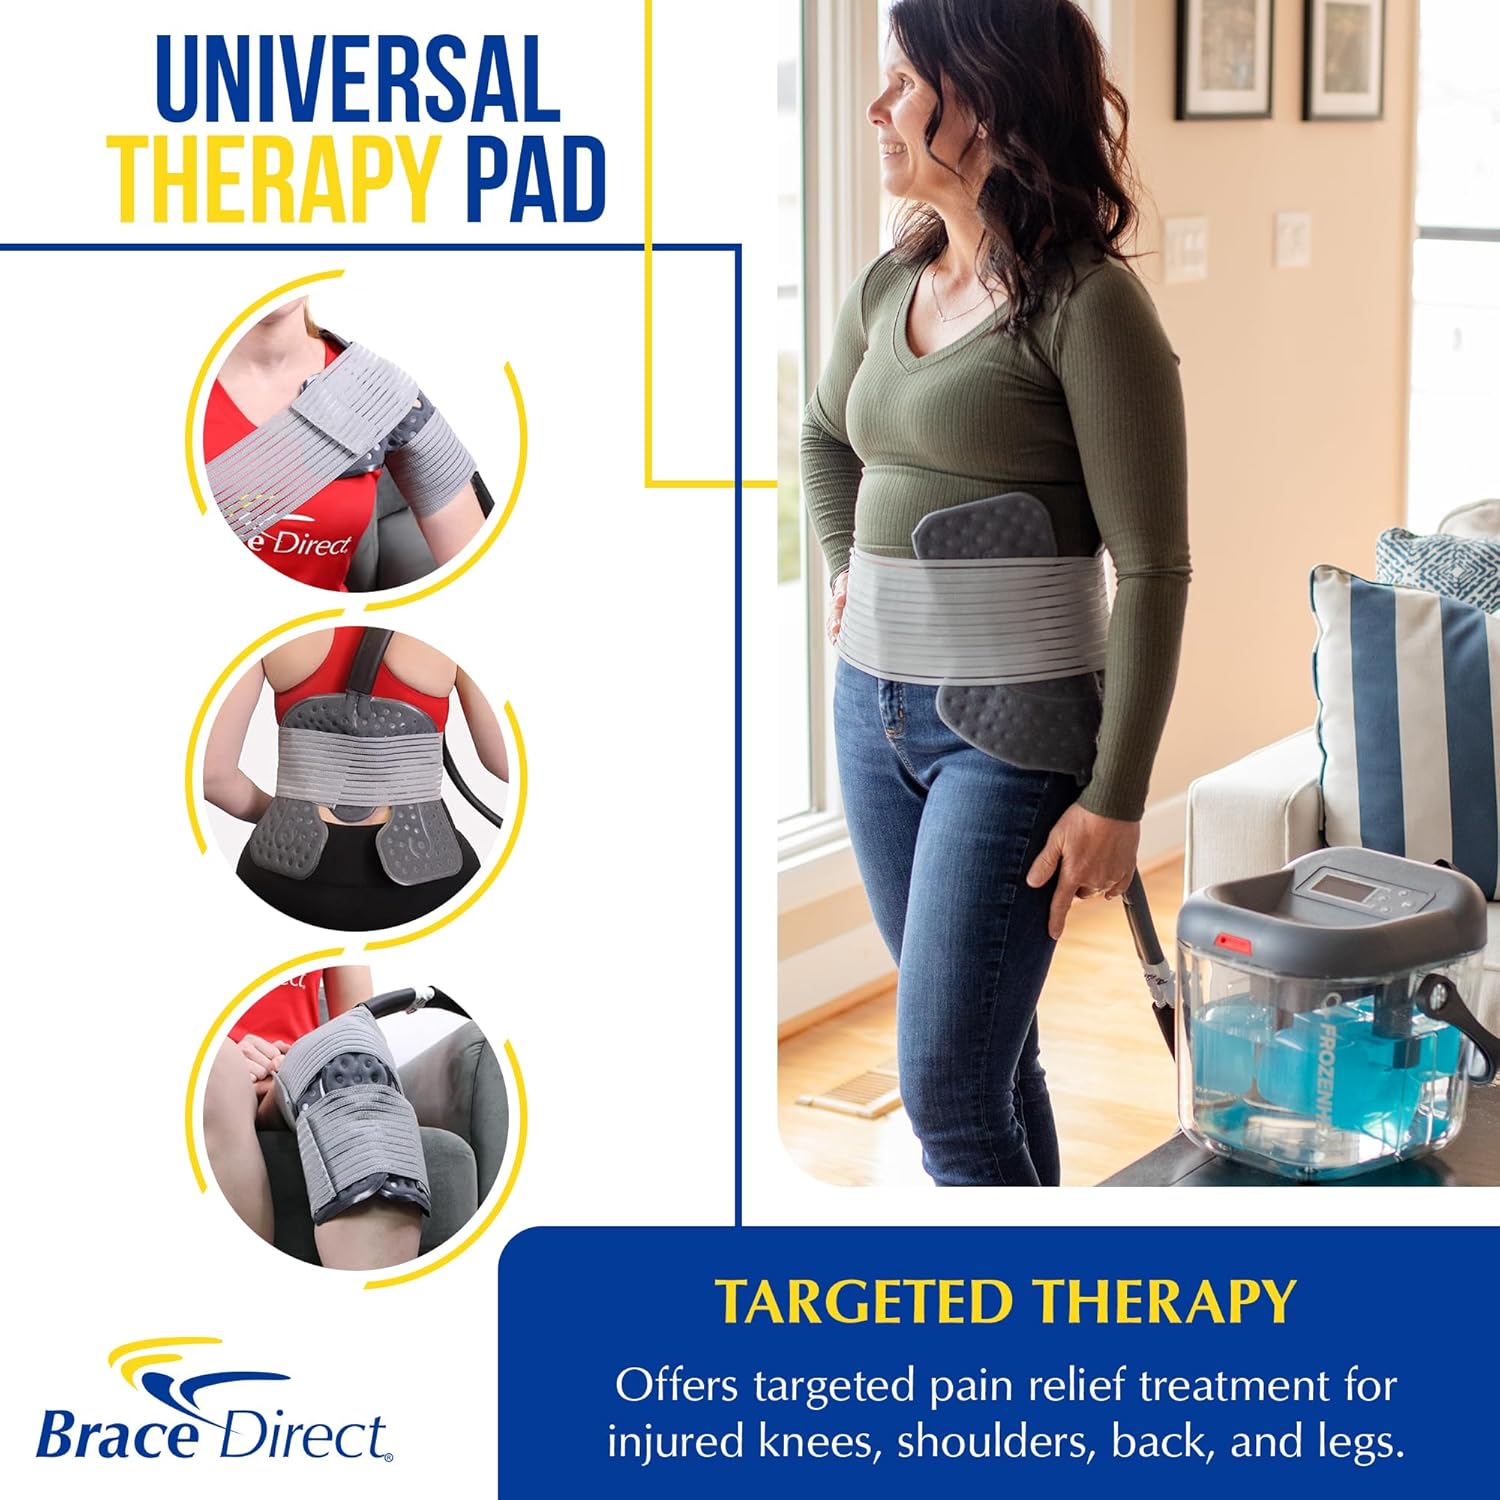
Shoulder Application
For shoulder therapy, place the universal pad over your shoulder. Use the medium elastic wrap on the backside of the pad, wrap it around your body, then up to secure. Use the smaller wrap to secure the arm cuff portion of the pad around your arm.
Ankle Application
For ankle therapy, center the pad on top of the foot with the thermal tubing at the top. Wrap the pad around both sides of the ankle. Use the medium-sized wrap to make a figure-eight pattern and secure the wrap with Velcro around your ankle and foot.
Maintenance
To ensure the longevity and hygiene of your Brace Direct Digital Frozen Heat Hot and Cold Water Therapy Machine, regular maintenance is recommended:
- After each use, drain any remaining water from the reservoir and tubing.
- Clean the reservoir and pad with mild soap and water. Rinse thoroughly and allow all components to air dry completely before storage.
- Store the unit and accessories in a cool, dry place away from direct sunlight.
- Periodically check tubing and connections for any signs of wear or damage. Replace components if necessary.
Troubleshooting
If you encounter any issues with your therapy machine, please refer to the following common troubleshooting tips:
- No Power: Ensure the AC adapter is securely plugged into both the unit and a working electrical outlet. Check the power switch on the back of the unit.
- No Water Flow: Verify that the thermal tubing and universal pad are correctly and securely connected to the unit. Check for any kinks or blockages in the tubing. Ensure the reservoir has sufficient water and ice.
- Leaking: Confirm that the lid is properly sealed and the red button has snapped into place. Check all quick connect couplings for a secure click. Inspect the pad and tubing for any visible damage.
- Incorrect Temperature: Ensure adequate ice for cold therapy or proper hot water for heat therapy. The unit maintains temperature based on the water added.
If problems persist, please contact Brace Direct customer support for assistance.
Product Specifications
| Feature | Detail |
|---|---|
| Package Dimensions | 13.8 x 12.3 x 12.1 inches |
| Weight | 9.4 Pounds |
| Manufacturer | Brace Direct |
| ASIN | B08BJF45NF |
| First Available Date | June 24, 2020 |
Warranty and Support
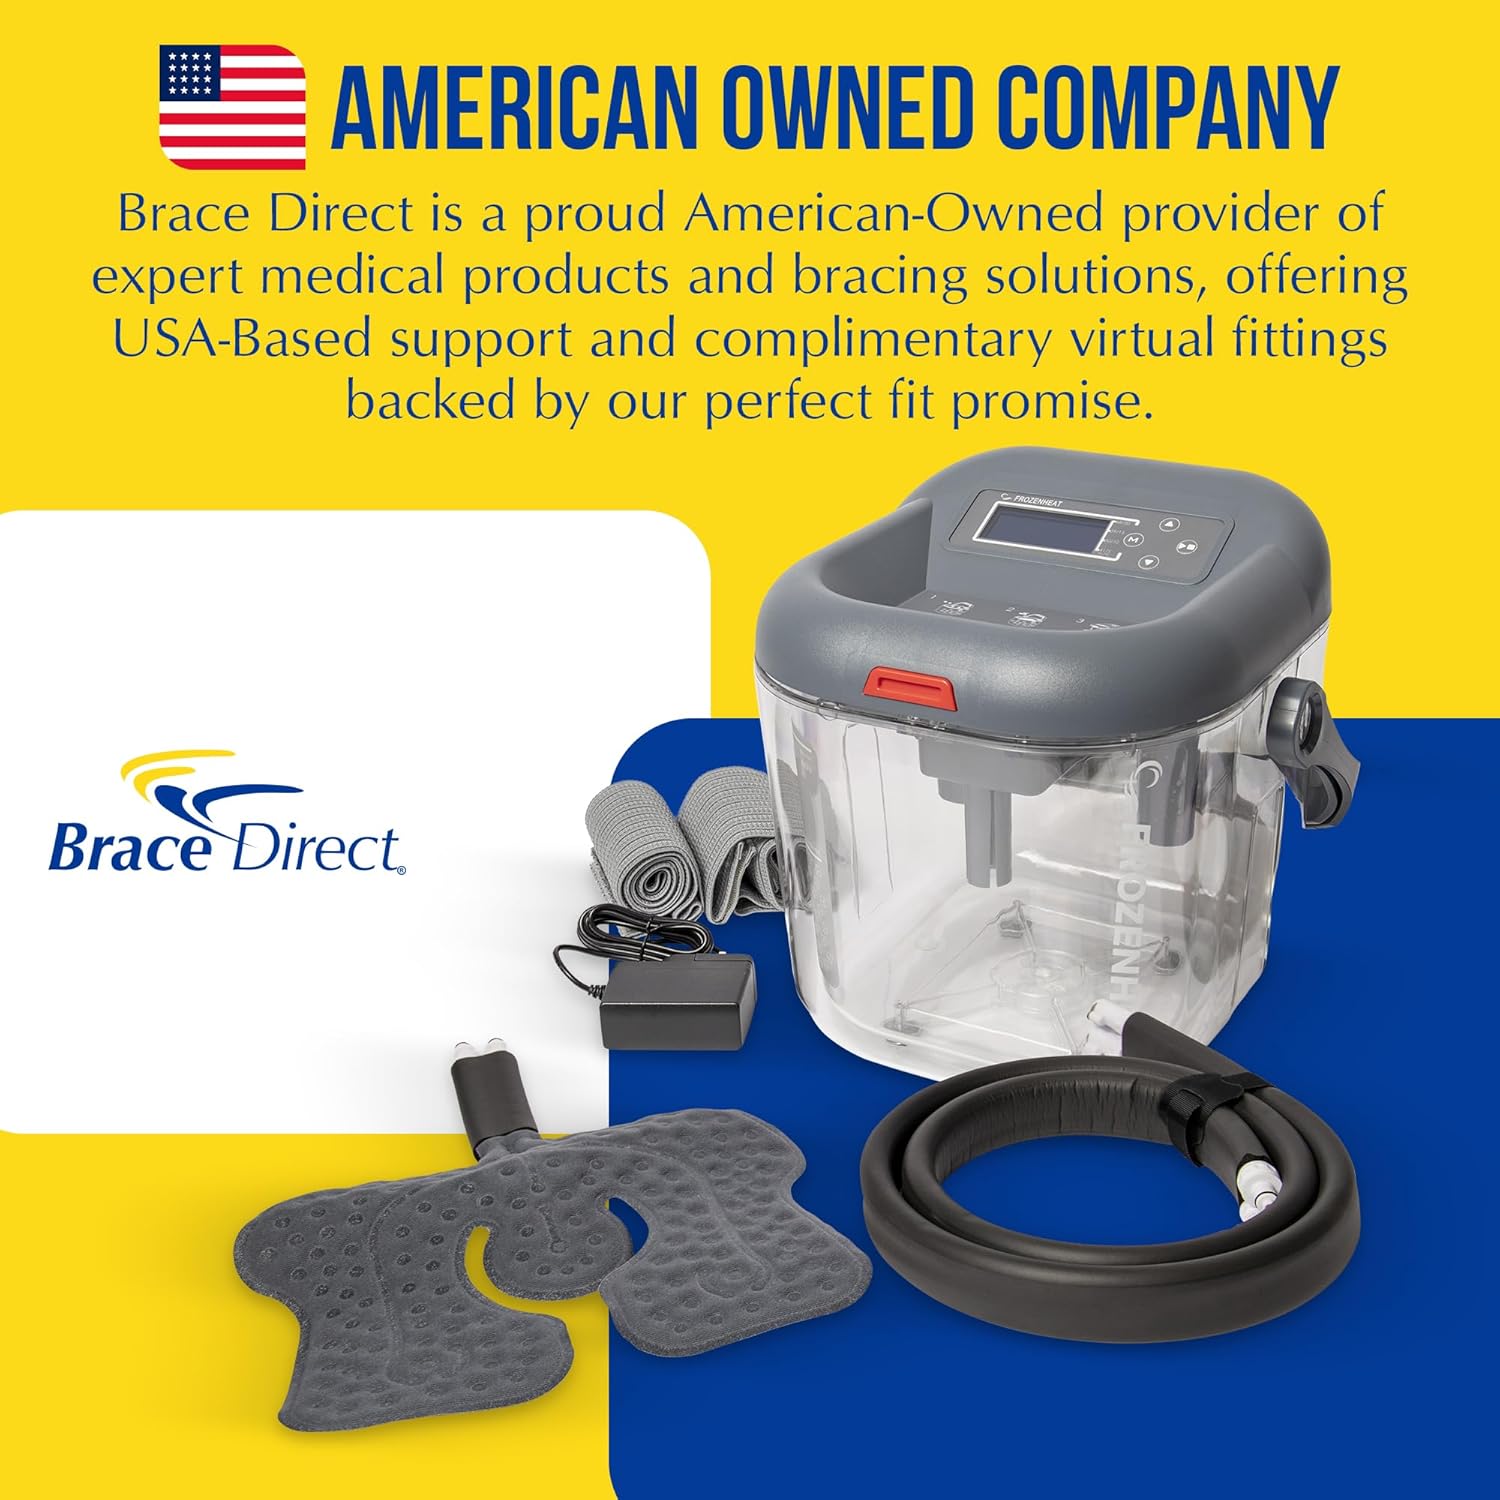
Brace Direct is an American-owned company committed to your recovery. We offer premium orthopedic products and provide USA-based support and complimentary virtual fitting assistance to ensure you achieve the perfect fit and optimal results.
For any questions, fitting assistance, or support, please reach out to Brace Direct. You can also visit our official store for more information and resources: Brace Direct Store.


