1. Introduction
This manual provides instructions for the installation, configuration, operation, and maintenance of the Cisco Meraki C9120AXI-B Catalyst 9120AXI Wi-Fi 6 802.11ax Indoor Wireless Access Point. Please read this manual thoroughly before operating the device to ensure proper functionality and safety.
2. Product Overview
The Cisco Meraki C9120AXI-B is an indoor wireless access point designed for high-performance Wi-Fi 6 (802.11ax) connectivity. It supports dual-band operation and features advanced technologies for efficient wireless communication.
2.1 Key Features
- Wi-Fi 6 (802.11ax) certification for enhanced speed and efficiency.
- Dual-Band operation for flexible network deployment.
- OFDMA and MU-MIMO technologies for improved multi-user performance.
- Integrated Bluetooth 5.0 LE for IoT applications.
- Multigigabit Ethernet support for high-speed wired connectivity.
- Internal antennas for a streamlined design.
2.2 Package Contents
Verify that your package contains the following items:
- Cisco Meraki C9120AXI-B Wireless Access Point
- Mounting Bracket
- Documentation (this manual)
2.3 Device Layout
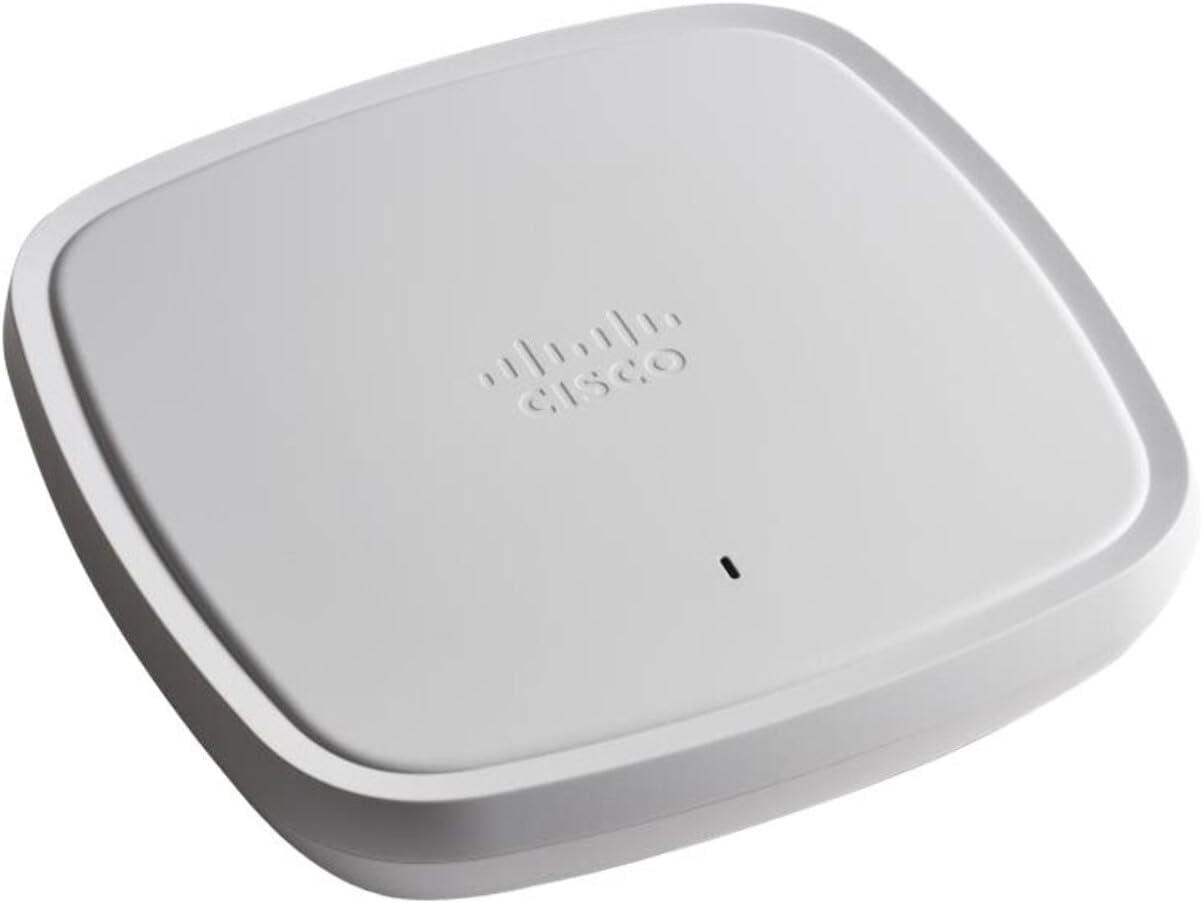
Figure 1: Front view of the Cisco Meraki C9120AXI-B Wireless Access Point. The device is a white, square-shaped unit with rounded corners, featuring the Cisco Meraki logo and a small LED indicator on its top surface.
3. Setup
Follow these steps to properly set up your Cisco Meraki C9120AXI-B access point.
3.1 Mounting the Access Point
- Identify a suitable location for installation, ensuring optimal Wi-Fi coverage and proximity to a power source and network connection.
- Attach the mounting bracket to a wall or ceiling using appropriate hardware (not included, except for the bracket itself).
- Align the access point with the mounting bracket and secure it by twisting or sliding until it clicks into place.
3.2 Connecting to the Network and Power
- Connect an Ethernet cable from your network switch (preferably PoE-enabled) to the Ethernet port on the access point.
- If Power over Ethernet (PoE) is not available, connect a compatible power adapter (sold separately) to the access point's power input and then to an electrical outlet.
- Observe the LED indicator. It will cycle through various states during startup and indicate operational status.
3.3 Initial Configuration
The Cisco Meraki C9120AXI-B requires cloud-based management through the Meraki Dashboard. Refer to the Meraki documentation for detailed instructions on claiming the device and configuring your network settings.
- Access the Meraki Dashboard via a web browser.
- Add the access point to your network using its serial number.
- Configure SSIDs, security settings, and other network parameters as required.
4. Operating the Access Point
Once configured, the access point operates automatically to provide wireless connectivity. The LED indicator provides visual feedback on its status.
4.1 LED Indicator Status
| LED State | Description |
|---|---|
| Solid Green | Device is online and operating normally. |
| Flashing Green | Device is booting up or performing a firmware upgrade. |
| Solid Amber | Device is powered on but not connected to the Meraki cloud. |
| Flashing Amber | Device is experiencing a network connectivity issue or is in a diagnostic state. |
4.2 Wireless Connectivity
Client devices can connect to the Wi-Fi networks broadcast by the access point using the configured SSIDs and passwords. Ensure client devices support Wi-Fi 6 (802.11ax) for optimal performance, though backward compatibility with older standards is maintained.
5. Maintenance
Regular maintenance helps ensure the longevity and optimal performance of your access point.
- Cleaning: Gently wipe the exterior of the device with a soft, dry cloth. Do not use liquid cleaners or aerosols.
- Firmware Updates: Firmware updates are managed automatically through the Meraki cloud. Ensure your device has a stable internet connection to receive these updates.
- Environmental Conditions: Ensure the access point is operated within its specified temperature and humidity ranges to prevent damage. Avoid placing it near heat sources or in direct sunlight.
6. Troubleshooting
This section addresses common issues you might encounter with your access point.
6.1 No Power / LED Off
- Verify that the Ethernet cable is securely connected and the PoE source is active.
- If using a power adapter, ensure it is correctly plugged into both the access point and a working electrical outlet.
6.2 Solid Amber LED
- This indicates the device is powered but cannot connect to the Meraki cloud.
- Check your network connectivity and firewall settings to ensure the access point can reach the Meraki cloud servers.
- Confirm that the Ethernet cable is connected to a port with internet access.
6.3 Poor Wi-Fi Performance
- Ensure the access point is centrally located and free from obstructions.
- Check for sources of interference (e.g., microwaves, cordless phones).
- Verify that your client devices support Wi-Fi 6 for optimal performance.
- Review your Meraki Dashboard settings for channel optimization and power levels.
6.4 Factory Reset
A factory reset will revert all settings to their default state and remove the device from your Meraki network. This should only be performed as a last resort or when instructed by support.
- With the device powered on, locate the reset button (typically a small pinhole).
- Use a paperclip or similar pointed object to press and hold the reset button for at least 10 seconds.
- Release the button. The device will reboot and perform a factory reset.
7. Specifications
| Feature | Detail |
|---|---|
| Model Number | C9120AXI-B |
| Wireless Standard | 802.11ax (Wi-Fi 6) |
| Frequency Band Class | Dual-Band |
| Antenna Type | Internal |
| Connectivity Technology | Wireless, Ethernet (Multigigabit) |
| Special Feature | LED Indicator |
| Dimensions (Package) | 10.47 x 9.8 x 3.5 inches |
| Item Weight | 4.3 pounds |
| Recommended Uses | Business, Home |
8. Warranty and Support
For warranty information and technical support, please refer to the official Cisco Meraki website or contact your authorized reseller. This product is often sold as "Renewed," which may come with specific Amazon Renewed Guarantee terms. Please consult your purchase documentation for details regarding your specific warranty coverage.
Online Resources: For the latest documentation, firmware, and support resources, visit the official Cisco Meraki support portal.


