
1. Introduction
The Smart Sensor ST6816 Digital Anemometer is a portable device designed for measuring air velocity and air volume. It features a clear LCD backlight display, multiple measurement units, and practical functions such as data hold and automatic power off. This manual provides essential information for the safe and effective operation, setup, and maintenance of your anemometer.
2. Product Overview
2.1 Key Features
- Measures air velocity and air volume.
- Wide application in wind energy, meteorology, industry, agriculture, and environmental protection.
- Supports multiple air velocity units: m/s, km/h, mph, ft/min, ft/s, knots.
- Supports multiple air flow units: CMS, CMM, CFM.
- Accurate measurement range: 0.40 m/s to 30.00 m/s.
- Beaufort scale wind force measurement (0 to 12).
- Data hold function to freeze readings.
- Automatic power off after 10 minutes of inactivity.
- Max/Min/Avg value measurement modes.
- Compact, lightweight design with LCD backlight for clear visibility.
2.2 Package Contents
- 1 x Smart Sensor ST6816 Digital Anemometer
- 1 x Storage Bag
- 1 x Calibration Certificate
- 1 x User Manual (English)
2.3 Product Components

Figure 1: Smart Sensor ST6816 Digital Anemometer, storage case, and user manual.

Figure 2: Front view of the anemometer, highlighting the display and control buttons.
3. Specifications
| Parameter | Range | Resolution | Accuracy |
|---|---|---|---|
| Air Velocity Measurement | |||
| m/s (meters per second) | 0.40 - 30.00 | 0.01 | ±(2.0% + 0.5 m/s) |
| km/h (kilometers per hour) | 1.40 - 108.0 | 0.01 - 0.1 | ±(2.0% + 1.8 km/h) |
| ft/min (feet per minute) | 78.00 - 5900 | 0.01 - 1 | ±(2.0% + 10 ft/min) |
| knots (nautical miles per hour) | 0.80 - 58.30 | 0.01 | ±(2.0% + 1.0 knot) |
| mph (miles per hour) | 0.90 - 67.10 | 0.01 | ±(2.0% + 1.1 mph) |
| Air Flow Measurement | |||
| CFM (cubic feet per minute) | 0 - 9999 | 0.01 - 1 | 0 - 9.999 |
| CMM (cubic meters per minute) | 0 - 9999 | 0.01 - 1 | 0 - 9.999 |
| CMS (cubic meters per second) | 0 - 9999 | 0.01 - 1 | 0 - 9.999 |
| General Specifications | |||
| Brand | Smart Sensor | ||
| Model | ST6816 | ||
| Material | ABS (Acrylonitrile Butadiene Styrene) | ||
| Product Size | 19.7 x 6.8 x 2.8 cm (7.75 x 2.67 x 1.1 inches) | ||
| Product Weight | 136 grams (4.79 ounces) | ||
| Reference Condition for Accuracy | Ambient temperature 18°C to 28°C, relative humidity ≤ 80%. Accuracy applies within one year after calibration. | ||
4. Setup
4.1 Battery Installation
- Locate the battery compartment cover on the back of the device.
- Slide the cover open or remove it according to the markings.
- Insert 3 x 1.5V AAA (LR03) batteries, ensuring correct polarity (+/-). Batteries are not included.
- Replace the battery compartment cover securely.

Figure 3: Battery compartment for 3x AAA batteries. Ensure correct polarity during installation.
5. Operating Instructions
5.1 Power On/Off
- To power on: Press the Power button (usually marked with ⓘ).
- To power off: Press and hold the Power button. The device also features an automatic power-off function after 10 minutes of inactivity to conserve battery life.
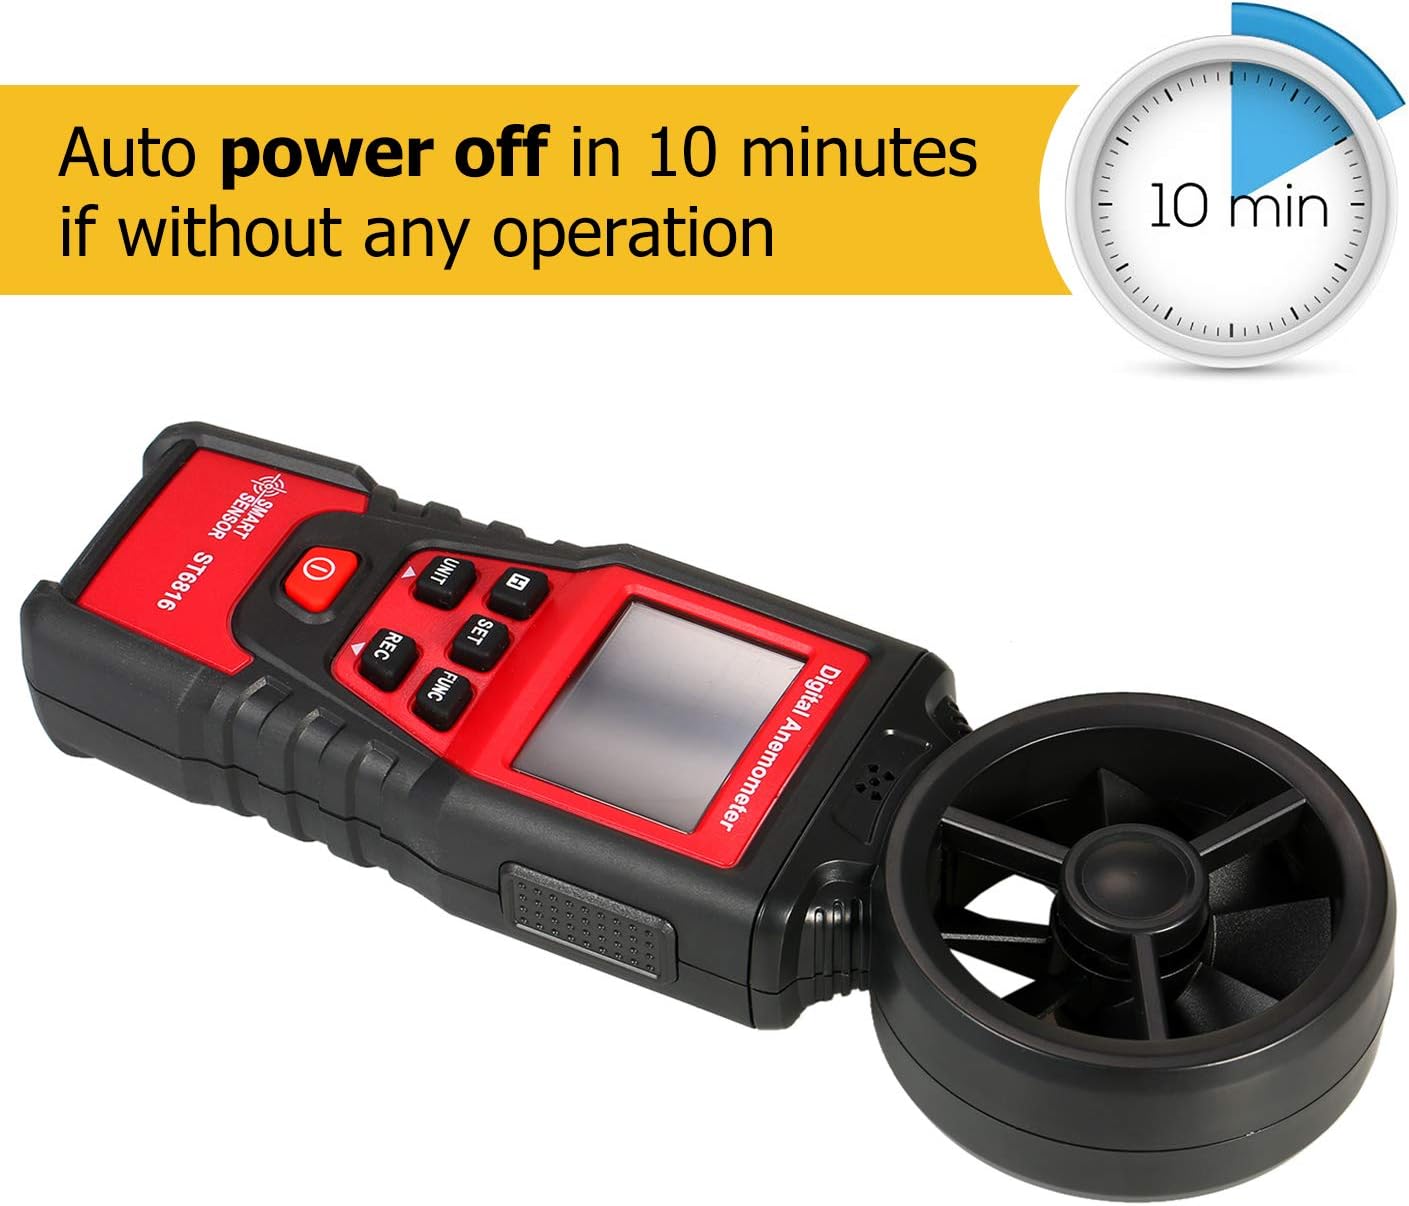
Figure 4: The anemometer features an auto power-off function after 10 minutes of no operation.
5.2 Air Velocity Measurement
- Ensure the anemometer is powered on.
- Position the fan plane of the anemometer vertically aligned with the direction of the airflow you wish to measure.
- Press the UNIT button to cycle through available air velocity units: m/s, km/h, mph, ft/min, ft/s, knots. Select your desired unit.
- The current air velocity reading will be displayed on the LCD screen.

Figure 5: Air velocity measurement display with selectable units (m/s, km/h, ft/s, ft/min, knots, mph).
5.3 Air Flow Measurement
- Ensure the anemometer is powered on.
- Position the fan plane of the anemometer vertically aligned with the direction of the airflow.
- Press the UNIT button to cycle through available air flow units: CMS, CMM, CFM. Select your desired unit.
- The current air flow reading will be displayed on the LCD screen.

Figure 6: Air flow measurement display with selectable units (CFM, CMM, CMS).
5.4 Data Hold Function
- During measurement, press the HOLD button to freeze the current reading on the display.
- Press the HOLD button again to release the data hold and resume live measurement.

Figure 7: The data hold function allows freezing the displayed measurement for easier recording.
5.5 Max/Min/Avg Measurement Modes
- Press the FUNC button to cycle through Maximum (MAX), Minimum (MIN), and Average (AVG) measurement modes.
- In these modes, the device will display the highest, lowest, or average reading recorded since entering the mode.
- Press FUNC again to return to real-time measurement.
5.6 LCD Backlight
- The LCD backlight automatically illuminates when the device is powered on, ensuring clear visibility in low-light conditions.
6. Maintenance
- Cleaning: Wipe the device with a soft, dry cloth. Do not use abrasive cleaners or solvents.
- Storage: When not in use for extended periods, remove the batteries to prevent leakage. Store the anemometer in its protective case in a cool, dry place, away from direct sunlight and extreme temperatures.
- Sensor Care: Keep the fan impeller free from dust and debris to ensure accurate readings. Do not attempt to lubricate the impeller.
- Calibration: The accuracy of the device is specified for one year after calibration. Regular calibration may be required for applications demanding high precision.
7. Troubleshooting
| Problem | Possible Cause | Solution |
|---|---|---|
| Device does not power on. | Low or dead batteries; incorrect battery installation. | Replace batteries with new 1.5V AAA batteries, ensuring correct polarity. |
| Inaccurate readings. | Impeller obstructed; device not aligned with airflow; outside specified operating conditions; device needs calibration. | Check for obstructions around the impeller; ensure the fan plane is vertically aligned with airflow; operate within 18-28°C and <80% RH; consider professional calibration if issues persist. |
| Display is dim or flickering. | Low battery power. | Replace batteries. |
| Auto power off too quickly. | Normal operation (10 minutes inactivity). | This is a power-saving feature. No action needed unless you require continuous operation, in which case you must interact with the device periodically. |
8. Warranty and Support
For warranty information or technical support, please refer to the documentation provided with your purchase or contact your retailer. Keep your purchase receipt as proof of purchase.


