
Introduction
Thank you for choosing the KBS CKOZESE 7 Qt Compact Kitchen Stand Mixer. This manual provides important information for the safe and efficient operation, maintenance, and troubleshooting of your new appliance. Please read it thoroughly before first use and keep it for future reference.

The CKOZESE 7 Qt Compact Kitchen Stand Mixer, featuring a stainless steel mixing bowl and a set of essential attachments.
Important Safety Instructions
WARNING: To reduce the risk of fire, electric shock, or injury, always follow basic safety precautions when using electrical appliances.
- Read all instructions before operating the mixer.
- Do not immerse the motor base in water or other liquids.
- Close supervision is necessary when any appliance is used by or near children.
- Unplug from outlet when not in use, before putting on or taking off parts, and before cleaning.
- Avoid contact with moving parts.
- Do not operate any appliance with a damaged cord or plug, or after the appliance malfunctions or has been dropped or damaged in any manner.
- The use of attachments not recommended or sold by the manufacturer may cause fire, electric shock, or injury.
- Do not use outdoors.
- Do not let cord hang over edge of table or counter.
- Do not let cord contact hot surfaces, including the stove.
Product Components
Your CKOZESE Stand Mixer comes with the following parts:
- Main Motor Base
- 7 Qt Stainless Steel Mixing Bowl
- Double Dough Hooks
- Double Wire Whisks
- Double Beaters
- Scraper
- Splash Guard with Access Hatch

The versatile attachments include double whisks for egg whites and cream, double dough hooks for bread and pizza dough, and double beaters for salads, cookies, and mashed potatoes.
Setup
- Unpack: Carefully remove all components from the packaging. Retain packaging for future storage or transport.
- Clean: Before first use, wash the mixing bowl, dough hooks, wire whisks, beaters, scraper, and splash guard in warm, soapy water. Rinse thoroughly and dry. Wipe the motor base with a damp cloth.
- Placement: Place the mixer on a clean, dry, and stable surface. Ensure the 4 anti-slip silicone suction cups on the bottom of the unit are securely gripping the countertop for stability during operation.
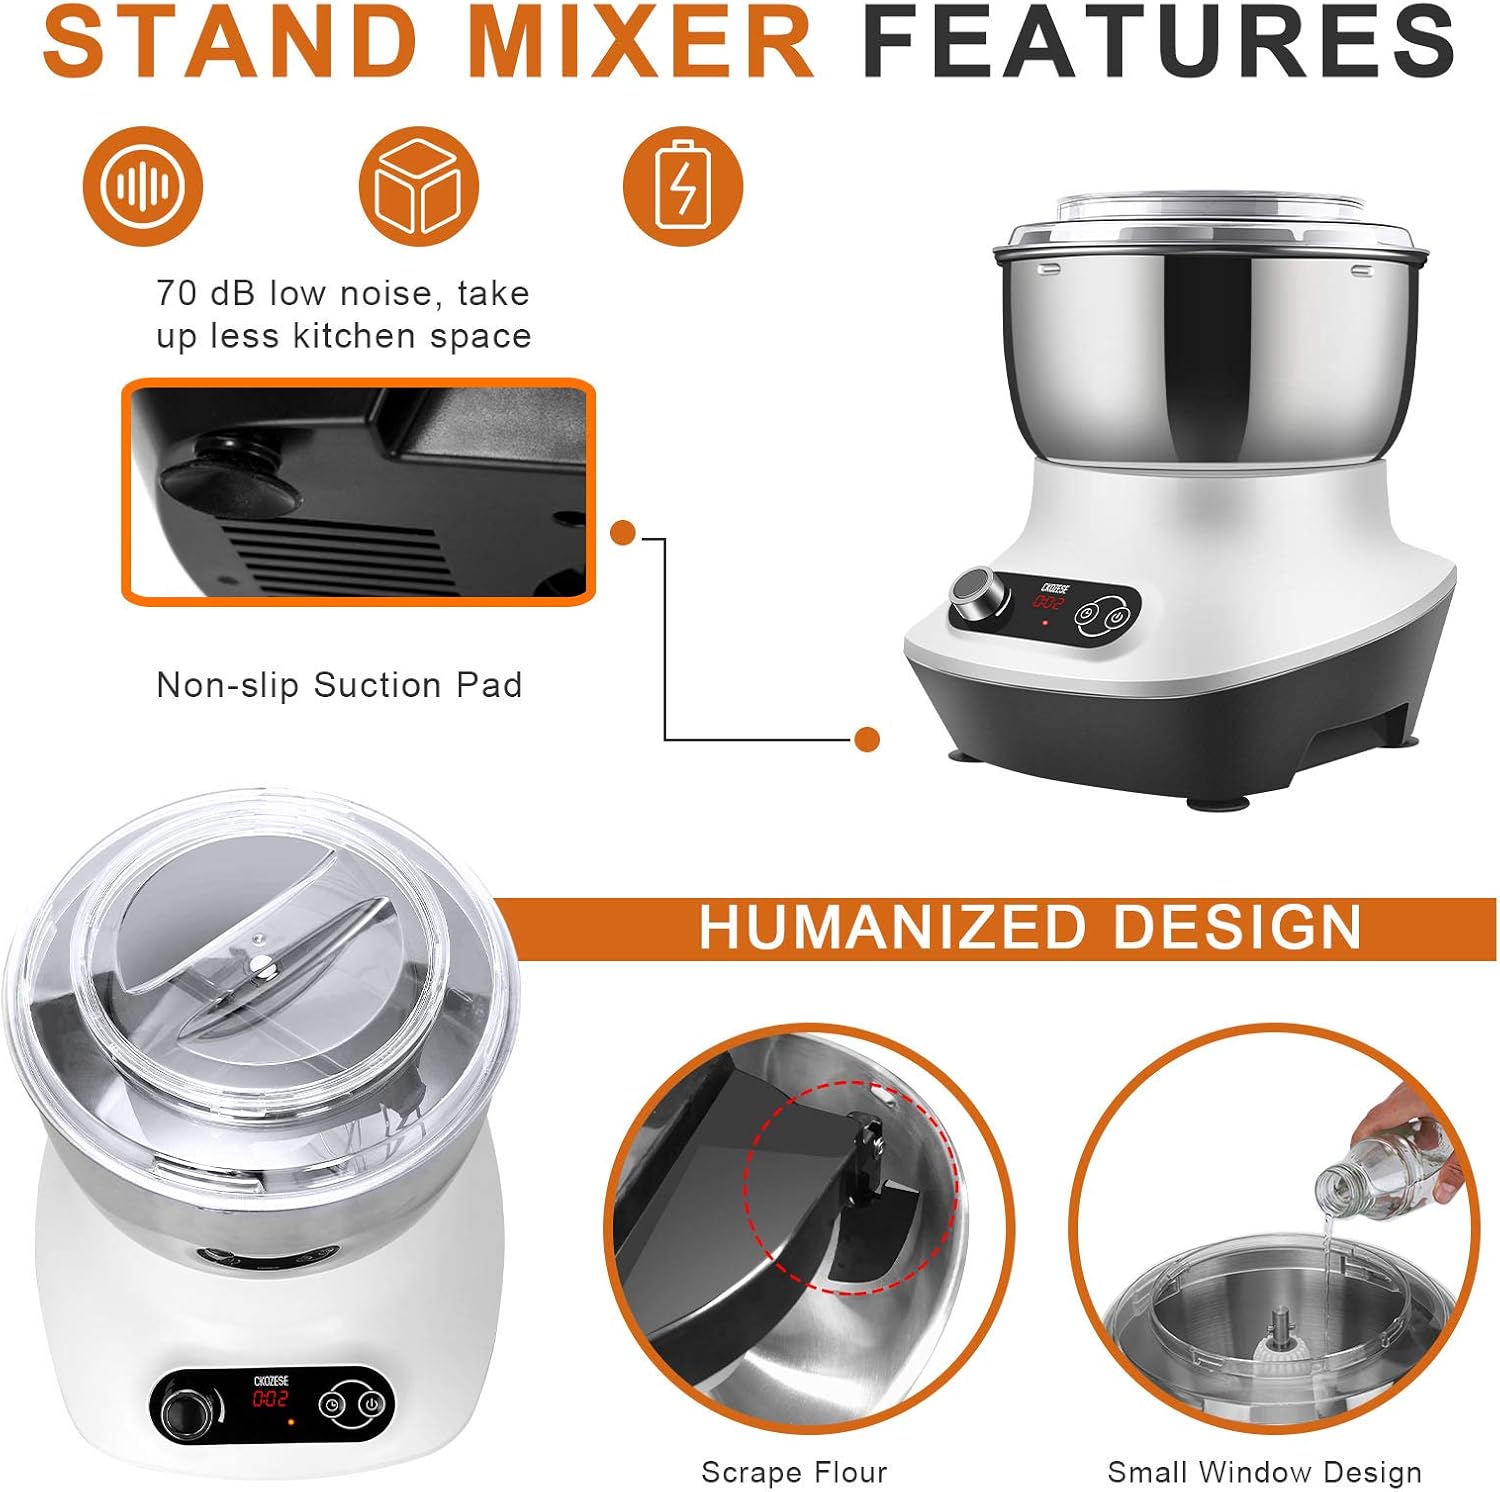
The mixer features non-slip suction pads for secure placement and a compact design to save kitchen space.
- Attach Bowl: Place the stainless steel mixing bowl onto the base, aligning it properly until it locks into place.
- Install Attachments: Select the desired attachment (dough hook, whisk, or beater). Align the attachment with the shaft inside the bowl and push upwards, then twist slightly to secure it.
- Attach Splash Guard: Place the splash guard over the mixing bowl, ensuring it fits snugly. The access hatch allows for easy addition of ingredients during mixing.
Operating Instructions
The CKOZESE Stand Mixer features a user-friendly LCD touch panel for intuitive control.

The touch control panel allows for easy time adjustment, setting, and starting/stopping of the mixer.
- Add Ingredients: Place your ingredients into the 7-quart stainless steel mixing bowl.

The generous 7-quart capacity bowl is ideal for large batches, such as 35 cups of flour or 13 dozen cookies.
- Power On: Plug the mixer into a suitable power outlet. The LCD display will illuminate.
- Set Time: Use the "Time Adjustment" and "Time Set" buttons on the touch panel to set your desired mixing duration.
- Start Mixing: Press the "Start/Stop" button to begin mixing. The mixer will operate at an optimal speed for various tasks, thanks to its dual-axis design and 150W pure copper motor.
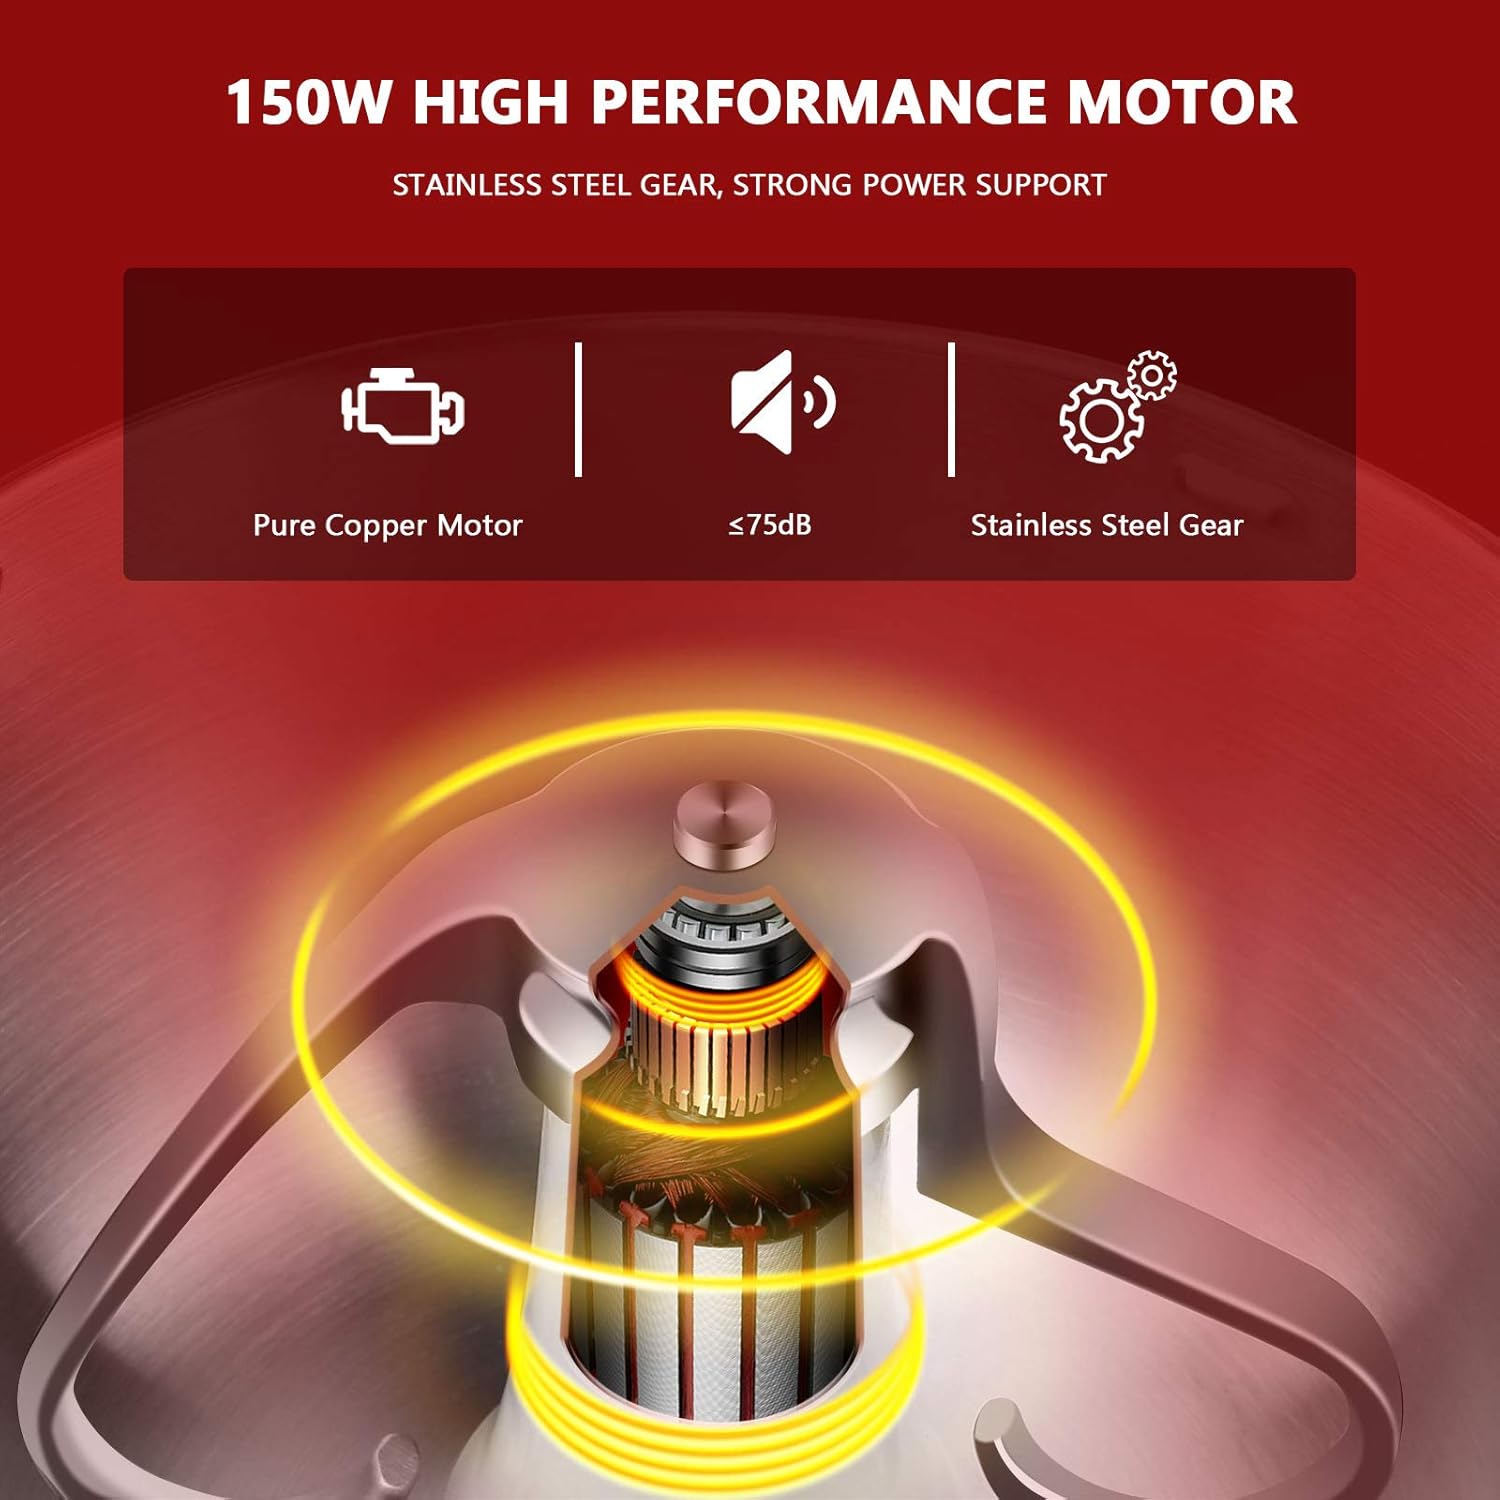
Powered by a 150W high-performance pure copper motor with stainless steel gears, ensuring efficient and thorough mixing.
- Add Ingredients During Mixing: Utilize the splash guard's access hatch to add additional ingredients while the mixer is running, preventing mess.
- Stop Mixing: Press the "Start/Stop" button again to pause or stop the mixing process.
- Dough Proofing: The mixer's design helps maintain the bowl temperature at approximately 80°F, facilitating automatic dough proofing.
Maintenance and Cleaning
Proper cleaning and maintenance will ensure the longevity and optimal performance of your mixer.
- Before Cleaning: Always unplug the mixer from the power outlet before cleaning.
- Dishwasher Safe Parts: The stainless steel mixing bowl, dough hooks, wire whisks, beaters, and splash guard are all dishwasher safe for convenient cleaning.
- Main Unit Cleaning: Wipe the motor base with a soft, damp cloth. Do not use abrasive cleaners or immerse the motor base in water.
- Storage: Store the mixer and its accessories in a clean, dry place when not in use. Its compact vertical structure allows for easy storage.
Troubleshooting
If you encounter any issues with your mixer, please refer to the following common problems and solutions:
| Problem | Possible Cause | Solution |
|---|---|---|
| Mixer does not turn on. | Not plugged in; power outage; unit overheated. | Ensure the mixer is securely plugged into a working outlet. Check your circuit breaker. Allow the unit to cool down if it has been running for an extended period (overload/overheat protection). |
| Attachments not mixing properly. | Attachment not securely installed; too much or too little ingredient. | Ensure the attachment is fully pushed up and twisted into place. Adjust ingredient quantities according to recipe. Use the scraper to help incorporate ingredients from the bowl walls. |
| Mixer is unstable during operation. | Non-slip suction cups not engaged; uneven surface. | Ensure the mixer is placed on a flat, dry, and clean surface. Press down firmly on the mixer to engage the suction cups. |
| Unusual noise during operation. | Attachment not properly seated; foreign object in bowl. | Stop the mixer immediately. Check that the attachment is correctly installed. Remove any foreign objects from the bowl. If noise persists, contact customer support. |
Specifications
| Feature | Detail |
|---|---|
| Brand | KBS |
| Model Number | FM403 |
| Capacity | 7 Quarts |
| Power | 150W (Pure Copper Motor) |
| Control Type | Touch Panel |
| Bowl Material | Stainless Steel (Food Grade) |
| Included Attachments | Dough Hooks, Wire Whisks, Beaters, Scraper |
| Product Dimensions | 11.5 x 13.5 x 11 inches |
| Item Weight | 11.97 pounds |
| Noise Level | ≤75dB |
Warranty and Support
Your KBS CKOZESE Stand Mixer is covered by a manufacturer's warranty. Please refer to the warranty card included with your purchase for specific terms and conditions. For technical support, replacement parts, or any other inquiries, please contact KBS customer service through the details provided on the product packaging or the official KBS website.
For more information, visit the KBS Store on Amazon.