1. Product Overview and Compatibility
This manual provides essential information for the proper installation, operation, and maintenance of the Exmark 135-5707 Choke Cable. This component is a genuine replacement part designed for specific Exmark Z-Spray equipment models.
Compatible Models:
- Z-Spray 3624
- Z-Spray 4230
- Z-Spray 4230XL
- Z-Spray 4630
- Z-Spray 4630XL
- Z-Spray 4640
- Z-Spray 5260
- Z-Spray 5260XL
Important Note: Equipment fitment can vary by sub-model, serial number, and/or production date. Always refer to your equipment's original owner's manual to confirm this is the correct part for your specific machine before installation.
2. Safety Information
Always prioritize safety when working with machinery and replacement parts. Failure to follow safety precautions can result in serious injury or equipment damage.
- Disconnect Power: Before beginning any installation or maintenance, ensure the equipment's engine is off, cool, and the spark plug wire is disconnected to prevent accidental starting.
- Wear Protective Gear: Use appropriate personal protective equipment (PPE) such as safety glasses, gloves, and sturdy footwear.
- Read Manuals: Always consult the equipment's primary owner's and service manuals for specific safety warnings and procedures.
- Professional Assistance: If you are unsure about any installation or maintenance procedure, seek assistance from a qualified service technician.
- Proper Tools: Use only the correct tools for the job to avoid damage to the part or equipment.
3. Installation Instructions (Setup)
This section outlines the general steps for replacing the choke cable. For detailed, model-specific instructions, always refer to your Exmark Z-Spray equipment's service manual.
- Preparation: Ensure the equipment is on a flat, stable surface. Disconnect the spark plug wire and allow the engine to cool completely.
- Locate Existing Cable: Identify the current choke cable and its connection points at both the control panel and the engine carburetor.
- Remove Old Cable: Carefully disconnect the old choke cable from both ends. Note the routing of the cable to ensure the new cable is installed correctly.
- Install New Cable: Route the new Exmark 135-5707 Choke Cable along the same path as the old cable, ensuring it does not interfere with moving parts or get pinched.
- Connect Ends: Securely attach the new choke cable to the control panel and the carburetor linkage according to your equipment's service manual. Ensure all fasteners are tightened to the manufacturer's specifications.
- Test Functionality: After installation, reconnect the spark plug wire. Test the choke cable's operation by moving the choke lever or knob through its full range of motion. Verify that the carburetor's choke plate opens and closes fully and smoothly.
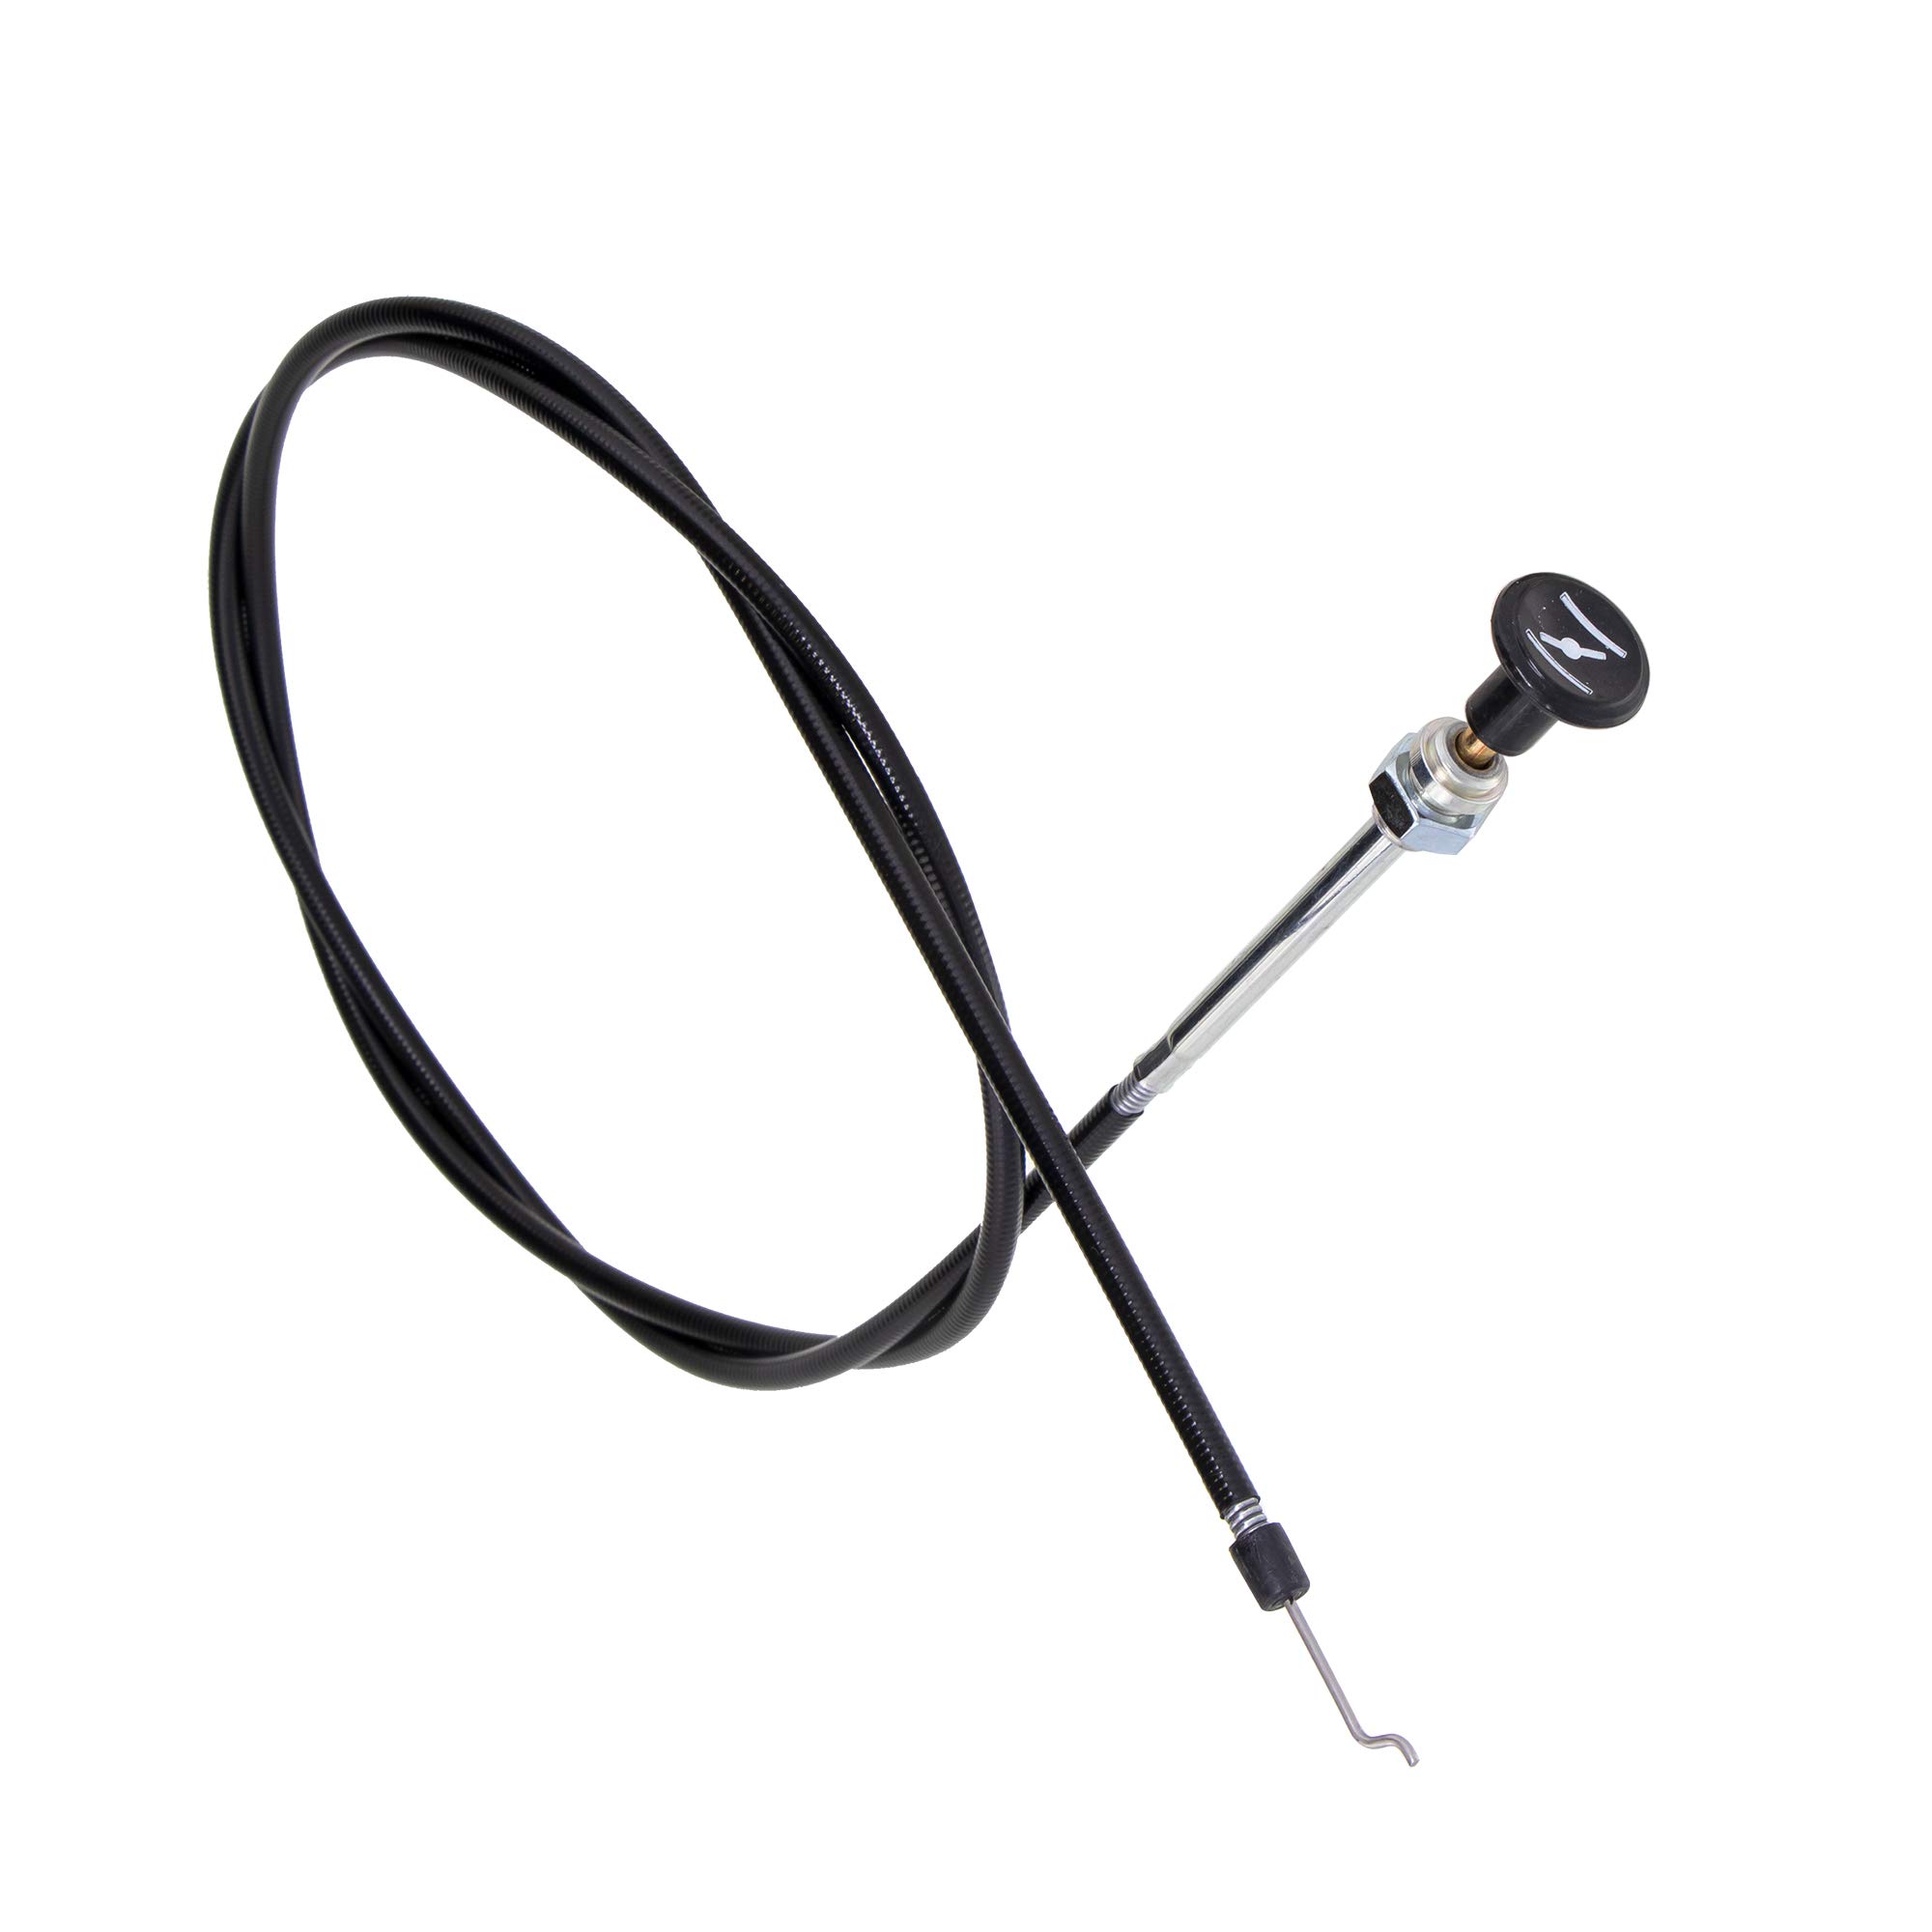
Figure 1: The Exmark 135-5707 Choke Cable. This image shows the coiled black cable, the silver metal housing with a nut, and the black knob at one end, along with the hook-shaped metal end for carburetor connection.
4. Operation
The choke cable's primary function is to assist in starting a cold engine by restricting airflow to the carburetor, creating a richer fuel-air mixture. Once the engine starts and warms up, the choke should be gradually disengaged.
- Cold Start: Engage the choke fully before attempting to start a cold engine.
- Engine Warm-up: As the engine begins to run, gradually disengage the choke. If the engine falters, re-engage the choke slightly until it runs smoothly.
- Normal Operation: Ensure the choke is fully disengaged during normal engine operation to prevent excessive fuel consumption and carbon buildup.
Refer to your Exmark Z-Spray equipment's owner's manual for specific starting procedures and choke usage recommendations.
5. Maintenance
Regular inspection and maintenance of the choke cable can extend its lifespan and ensure reliable engine starting.
- Visual Inspection: Periodically inspect the entire length of the cable for signs of fraying, kinks, corrosion, or damage to the outer casing.
- Lubrication: Apply a light lubricant to the inner wire of the cable and its connection points to ensure smooth operation. Use a lubricant recommended for control cables.
- Cleanliness: Keep the cable and its connection points free from dirt, debris, and excessive grease buildup.
- Adjustment: Ensure the cable has the correct tension and adjustment as specified in your equipment's service manual. An improperly adjusted cable can lead to poor choke performance.
- Replacement: Replace the choke cable immediately if any damage is observed or if it operates stiffly or inconsistently.
6. Troubleshooting
If you experience issues with your choke cable, consider the following common troubleshooting steps:
- Choke Not Engaging/Disengaging Fully:
- Check for kinks or bends in the cable routing.
- Inspect for debris or corrosion at the carburetor linkage or control panel connection.
- Verify proper cable adjustment and tension.
- Lubricate the cable if it feels stiff.
- Engine Hard to Start (Cold):
- Ensure the choke cable is fully engaging the choke plate on the carburetor.
- Check for proper fuel delivery and spark. (These may be unrelated to the choke cable but are common starting issues).
- Engine Runs Rough or Smokes (Choke Disengaged):
- Verify the choke cable is fully disengaging the choke plate. A partially engaged choke will cause a rich mixture.
If troubleshooting steps do not resolve the issue, consult a qualified service technician or refer to your equipment's service manual.
7. Specifications
| Part Number: | 135-5707 |
| Manufacturer: | Exmark |
| Product Dimensions: | 16 x 10 x 1 inches |
| Item Weight: | 5.6 ounces |
| ASIN: | B08B3ZG4HT |
8. Warranty and Support
For warranty information regarding the Exmark 135-5707 Choke Cable, please refer to the documentation provided with your original equipment or contact Exmark customer support directly. Warranty terms and conditions may vary.
For additional support, genuine Exmark parts, and accessories, visit the official Exmark Store:
Video: An official Exmark video showcasing various genuine Exmark replacement and maintenance parts, including fuel additives, lubricants, blades, belts, filters, and accessories. This video highlights the importance of using authentic Exmark parts for optimal equipment performance.


