
Igzyz IQ19E
Igzyz Mini Spy Camera User Manual
Model: IQ19E | Brand: Igzyz
1. Product Overview
This Igzyz Mini Spy Camera, model IQ19E, is a versatile and portable surveillance device discreetly designed as a 10000mAh power bank. It features 1080P video recording, night vision, motion detection, and a gravity sensor for upright video capture. Engineered for discreet home security and office surveillance, it is suitable for both indoor and outdoor use.

Image: The Igzyz Mini Spy Camera, appearing as a standard power bank with a subtle camera lens.
2. Package Contents
Please verify that all the following items are included in your package:
- Igzyz Mini Hidden Camera (Power Bank style)
- USB Data Cable
- 2 Black Stickers
- Card Reader
- 32GB Micro SD Card (pre-inserted)
3. Product Diagram
Familiarize yourself with the components of your Igzyz Mini Spy Camera:

Image: A detailed diagram labeling the various ports, buttons, lens, and dimensions of the Igzyz Mini Spy Camera.
This diagram illustrates the various ports, buttons, and features of the device, including the USB power output, Micro USB power input, Type C power input, battery display, battery display switch, Button V, Button M, Reset Button, Indicator Light/MIC, Lens, Micro SD Card Slot, Micro USB Data Transmission Interface, and Infrared Night Vision Lamps.
4. Setup
- Initial Charging: Before first use, fully discharge the device, then fully charge it for at least 8 hours using a 5V/1A or higher charger. The battery display may be inaccurate until this initial cycle is complete. If the indicator is not lit due to excessive discharge, connect to a computer via data cable until the light appears.
- SD Card Insertion: Ensure the included 32GB Micro SD card is properly inserted into the Micro SD Card Slot. The device supports 8GB-256GB SD cards; a 64GB/128GB card is recommended for extended recording.
- Power On: Press and hold the 'V' button for 2 seconds to power on the device and enter standby status.
5. Operating Instructions
5.1. Ordinary Recording
- Start Recording: From standby status, press the 'V' button to begin ordinary recording.
- Pause Recording: Press the 'V' button again to enter standby status.
- Resume Recording: Press the 'V' button again to resume recording.
5.2. Motion Detection Recording
- Enter Motion Detection Standby: From standby status, press the 'M' button.
- Start Motion Detection Recording: Press the 'V' button to start recording when motion is detected.
- Enter Motion Detection Standby (from recording): Press the 'V' button to enter motion detection standby.
- Resume Motion Detection Recording: Press the 'V' button again to resume recording.
5.3. Night Vision Activation
During loop recording or motion detection recording, press the 'M' button to turn on night vision. The four F5 infrared lights will activate, providing a visible range of 3 meters in complete darkness.
5.4. Saving Files and Power Off
From any state (standby, recording, motion detection standby), press and hold the 'V' button for 2 seconds. The device will save all current files and shut down.

Image: A flowchart illustrating the steps for ordinary and motion detection recording modes.
6. Key Features Explained
6.1. Motion Detection
The camera initiates recording only when it detects movement, conserving storage space and battery life. It can record approximately 50 hours in standard mode and 30 hours with night vision enabled.
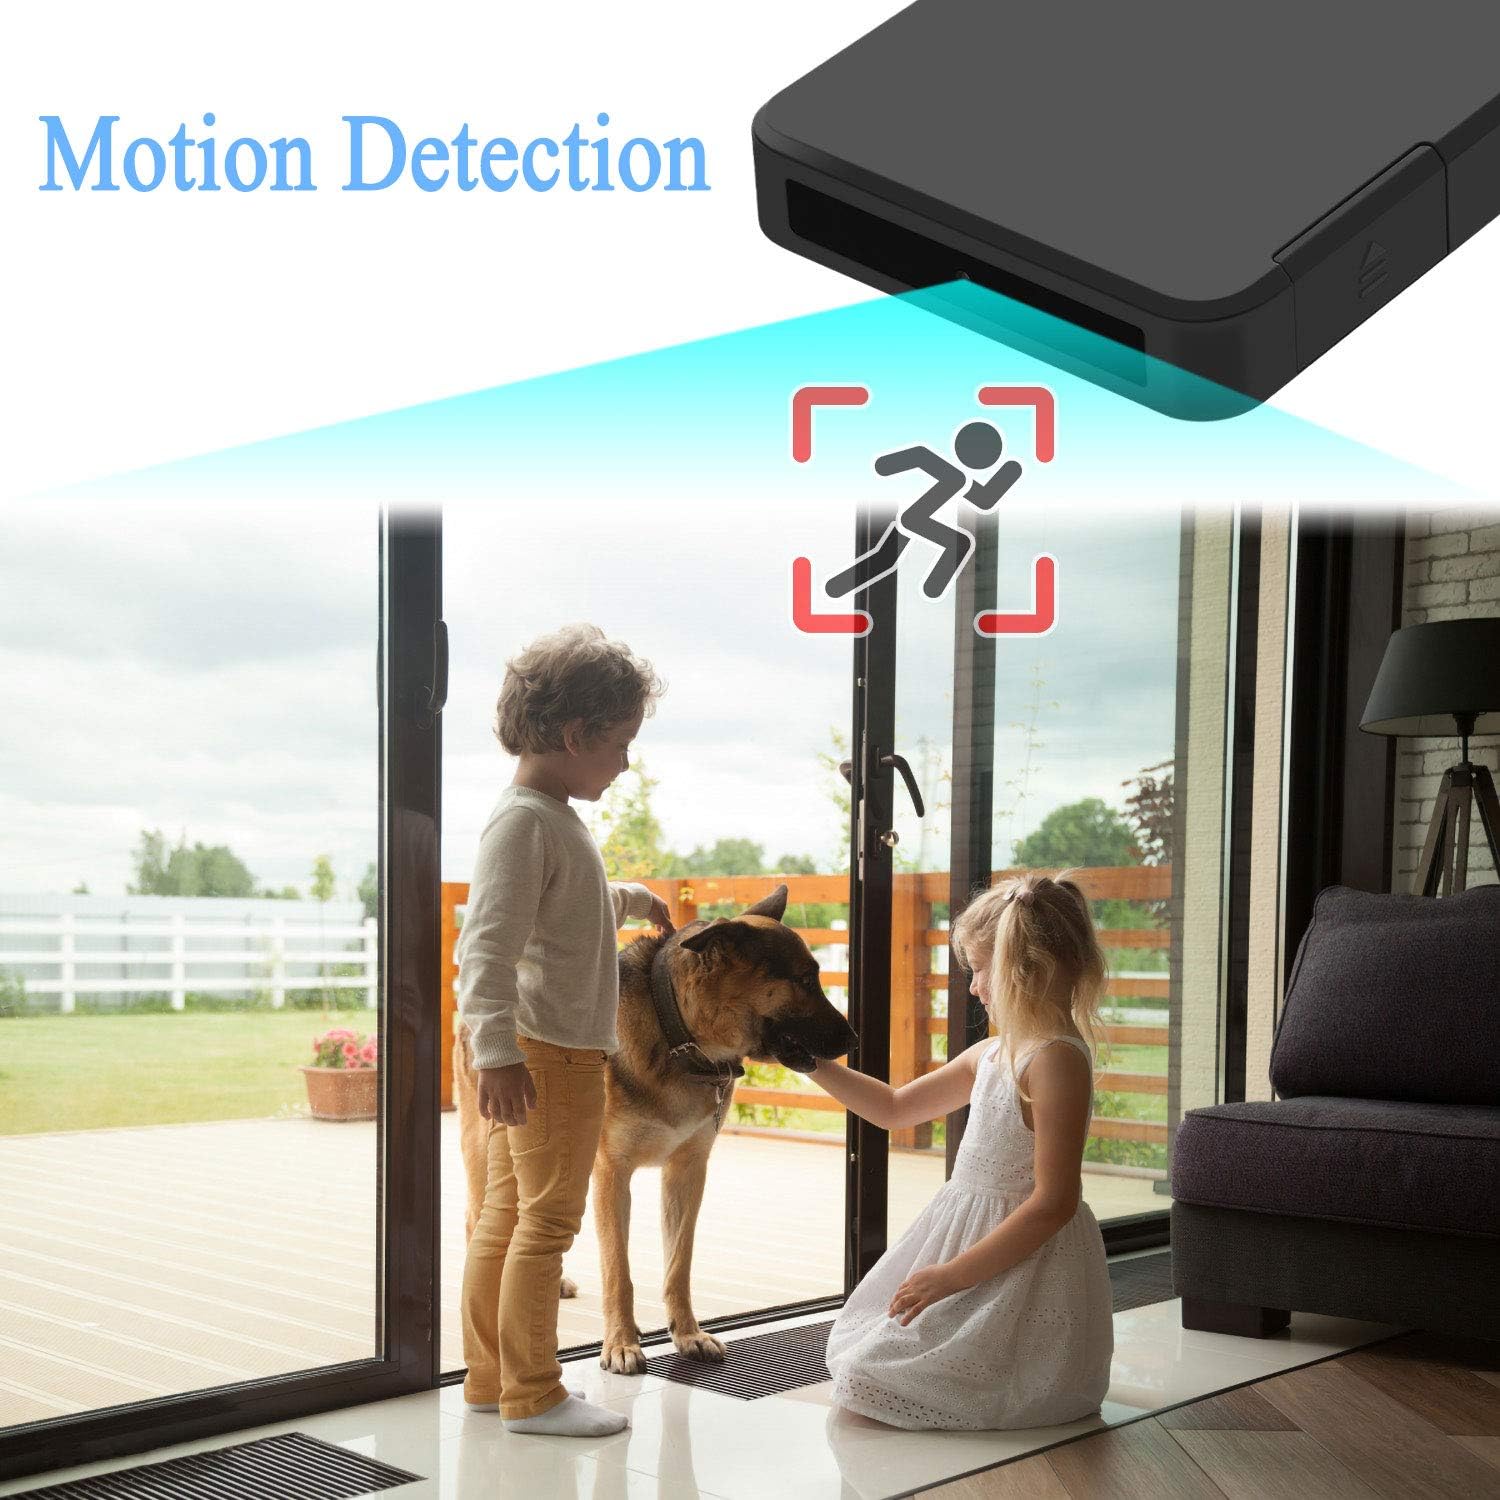
Image: An illustration depicting the camera's motion detection capability, showing a detection zone.
6.2. Night Vision
Equipped with four F5 infrared lights, the camera provides clear video recording in low light or complete darkness, with a visible range of up to 3 meters.

Image: A split image demonstrating the difference between a well-lit room and a dark room, highlighting the effectiveness of night vision.
6.3. Gravity Sensor (180° Flip)
The integrated gravity sensor ensures that recorded video scenes remain upright even if the camera is flipped 180 degrees during recording, eliminating the need to manually adjust orientation.

Image: An illustration showing how the gravity sensor automatically corrects video orientation when the device is rotated 180 degrees.
6.4. Power Bank Functionality
Beyond its surveillance capabilities, the device functions as a 10000mAh power bank, capable of charging smartphones and other USB-powered devices.

Image: The Igzyz Mini Spy Camera connected via USB cable, charging a smartphone, demonstrating its power bank function.
7. Maintenance
- Cleaning: Use a soft, dry cloth to clean the device. Avoid liquid cleaners or abrasive materials.
- Storage: Store the device in a cool, dry place away from direct sunlight, high humidity, and extreme temperatures.
- Battery Care: For optimal battery life, perform a full discharge and recharge cycle periodically. Avoid prolonged storage with a completely depleted or fully charged battery.
- SD Card Management: Regularly back up important recordings and format the SD card to maintain optimal performance and prevent data corruption.
8. Troubleshooting
| Problem | Possible Cause | Solution |
|---|---|---|
| Device not powering on | Battery depleted or incorrect charging method. | Fully charge the device as per initial setup instructions (Section 4.1). Ensure you are using a 5V/1A or higher charger. |
| Recording not starting | SD card not inserted, full, or corrupted. | Ensure the SD card is properly inserted. Check available storage space. Format or replace the SD card if necessary. |
| Video appears upside down | Device flipped more than 180 degrees. | The gravity sensor supports only 180° flips. Ensure the device is within this orientation for automatic correction. |
| Poor night vision quality | Insufficient darkness or obstruction of infrared lights. | Ensure the environment is sufficiently dark for night vision to be effective. Check if the infrared lights are obstructed. |
| Motion detection not triggering | Sensitivity too low or incorrect mode selected. | Ensure the device is in motion detection standby mode (Section 5.2). Check for any obstructions in the detection area. |
9. Specifications
| Feature | Detail |
|---|---|
| Video Resolution | 1920 x 1080 pixels (1080P) |
| Frame Rate | 30 fps |
| Battery Capacity | 10000mAh |
| Recording Time | Approx. 50 hours (standard), Approx. 30 hours (with night vision) |
| Night Vision Range | 3 meters |
| SD Card Support | 8GB-256GB (32GB included) |
| Connectivity | No WiFi (USB for data transfer) |
| Dimensions (L x W x H) | 15 x 7 x 1.5 cm |
| Package Weight | 0.29 Kilograms |
| Operating Temperature | Up to 60°C |
| Voltage | 5 Volts |
| Wattage | 1 Watt |
10. Warranty and Support
This product comes with a 12-month warranty. Defective products will be replaced free of charge.
For any issues during use, please contact the service team via email: sales@anviker.com. Support will be provided within 12 hours.
Ask a question about this manual
Ask about setup, troubleshooting, compatibility, parts, safety, or missing instructions. Manuals+ will review the question and use this page’s manual context to help answer it.