Introduction
Thank you for purchasing the Gdrasuya10 SYF-C008 23-inch Flush Mount Ceiling Fan with LED Light. This manual provides essential information for safe installation, operation, and maintenance of your new ceiling fan. Please read all instructions carefully before beginning installation or use, and retain this manual for future reference.
Safety Information
To reduce the risk of electric shock, fire, or injury to persons, read and follow all instructions carefully.
- Always turn off the power supply at the main circuit breaker before installation or maintenance.
- Ensure all electrical connections comply with local codes and ordinances, and national electrical codes. If you are unfamiliar with electrical wiring, consult a qualified electrician.
- The mounting structure must be capable of supporting the weight of the fan (approximately 10.93 lbs).
- Do not touch the surface of the high-power patch LED by hand, as it may cause burns or damage.
- Keep children away from the fan during operation.
Package Contents
Verify that all components are present before beginning installation:
- Ceiling Fan Unit with Integrated LED Light
- Remote Control (2 x 12V batteries included)
- Mounting Bracket
- Installation Hardware (screws, anchors)
- User Manual

Image: Unboxing the Gdrasuya10 ceiling fan, showing the remote control, mounting hardware, and instruction manual.
Specifications
| Feature | Specification |
|---|---|
| Brand | Gdrasuya10 |
| Model Number | SYF-C008 |
| Product Dimensions | 23"L x 23"W x 8.2"H (58.4cm L x 58.4cm W x 20.8cm H) |
| Color | Gray |
| Light Source Type | SMD LED |
| Wattage | 48 watts |
| Brightness | 4500 Lumens |
| Color Temperature | 3000K (Warm White), 4500K (Natural White), 6000K (Cool White) |
| Dimmable Range | 10%-100% |
| Fan Speeds | 3 (Low, Medium, High) |
| Control Method | Remote Control |
| Timing Setting | 1H, 2H |
| Noise Level | Ultra Quiet (<30db) |
| Material | Acrylic, Metal |
| Installation Type | Semi Flush Mount |
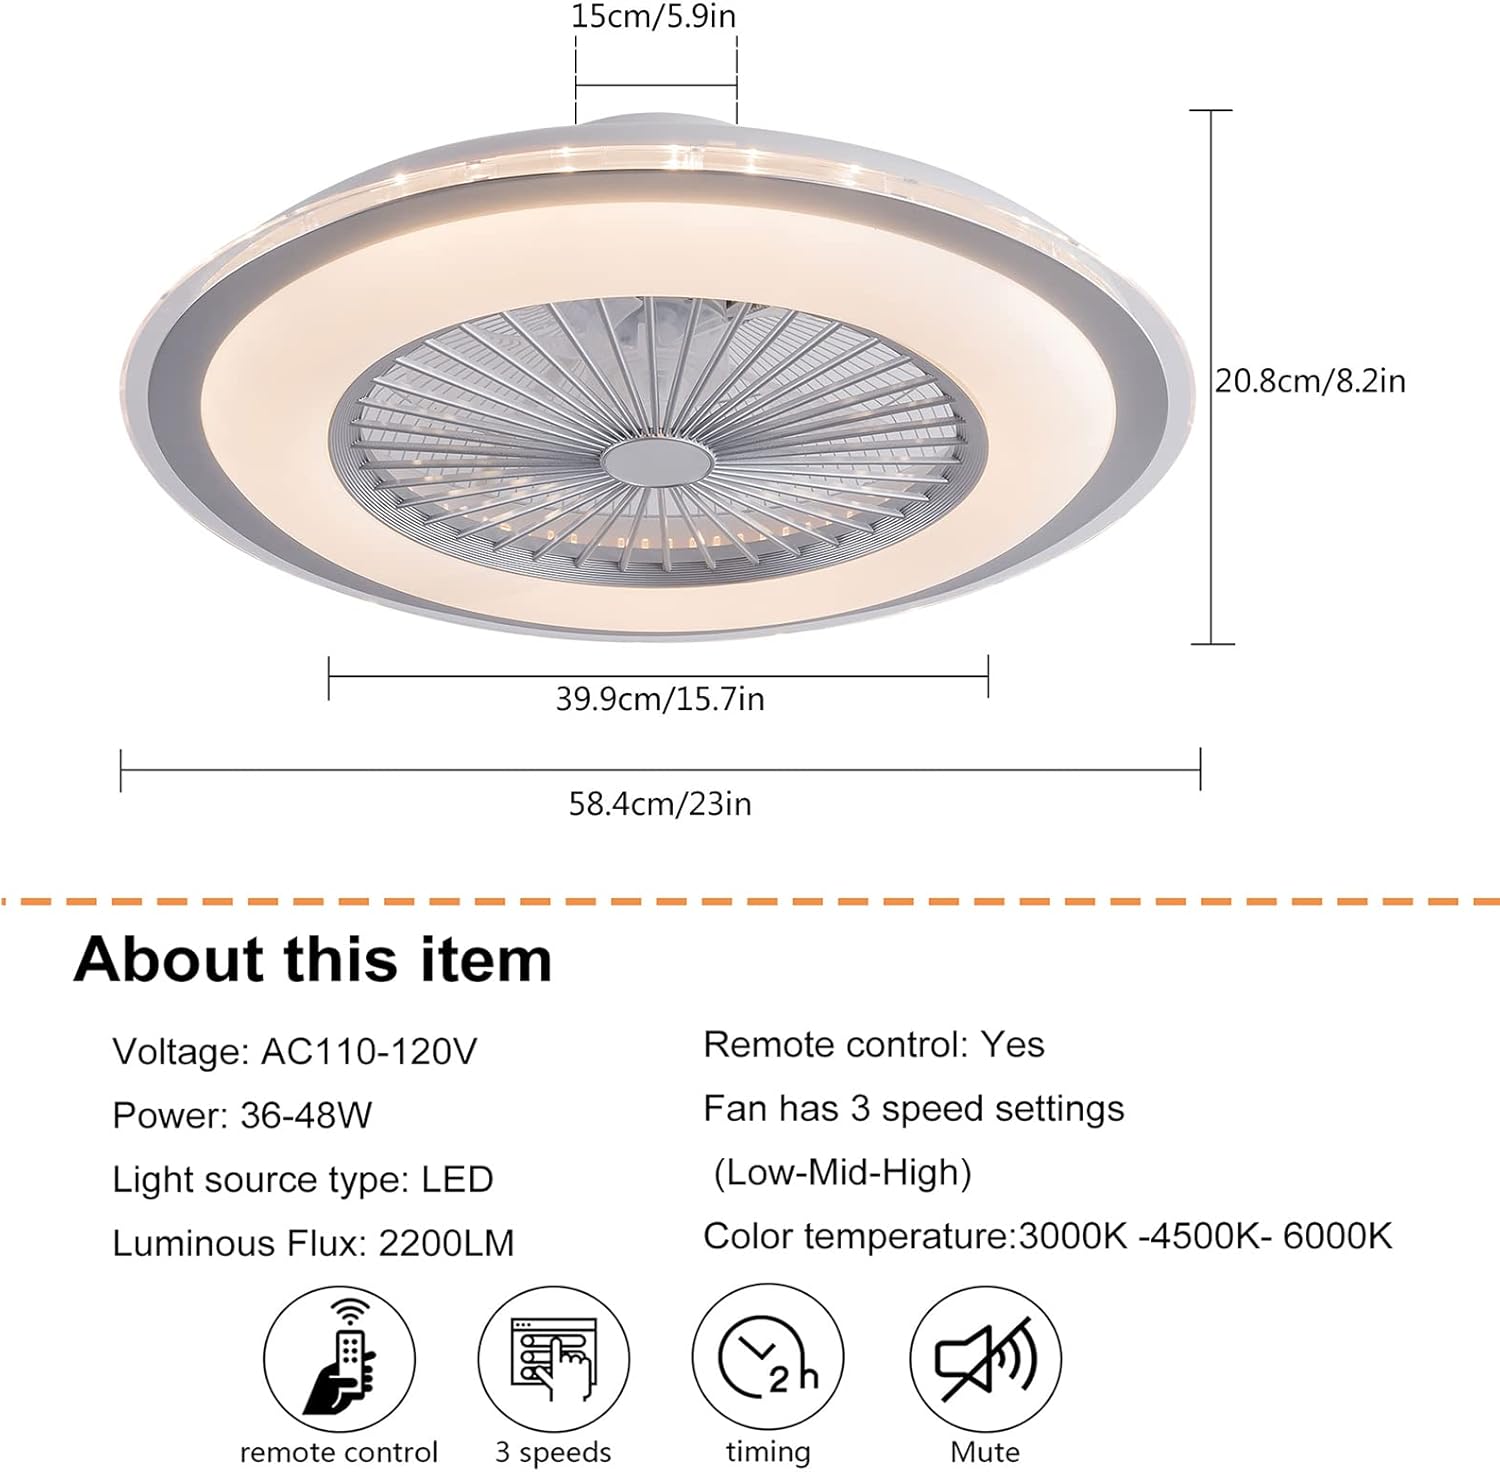
Image: Product dimensions overview.

Image: Detailed specifications and remote control functions.
Installation
Professional electricians are recommended for installation. Always ensure the power supply is disconnected before installation.
- Prepare the Mounting Bracket: Remove the mounting bracket from the fan unit. Securely attach the mounting bracket to the ceiling junction box using appropriate screws and anchors. Ensure the bracket is firmly fixed and can support the fan's weight.
- Wiring Connections: Connect the fan's electrical wires to the household wiring. Typically, this involves connecting the live (black), neutral (white), and ground wires. Use wire nuts to secure connections.
- Mount the Fan Unit: Carefully lift the fan unit and align it with the installed mounting bracket. Secure the fan unit to the bracket using the provided screws. Ensure all screws are tightened to prevent the fan from falling.
- Final Check: Once mounted, double-check all connections and ensure the fan is securely attached to the ceiling.
Video: Detailed installation guide for the 23-inch ceiling fan with light. This video demonstrates the steps for mounting the bracket, wiring, and securing the fan to the ceiling.

Image: Detailed view of fan components and installation suggestions.
Operation
The fan and light functions are controlled via the included remote control.
Remote Control Functions:
- Power ON/OFF: Press the power button to turn the fan and light on or off.
- Light ON/OFF: Independently control the light.
- Color Temperature Adjustment: Cycle through 3000K (Warm White), 4500K (Natural White), and 6000K (Cool White) settings.
- Brightness Adjustment: Dimmable from 10% to 100% for the LED light.
- Fan Speed Control: Select from 3 fan speeds: Low, Medium, High.
- Timing Function: Set the fan to turn off automatically after 1 hour or 2 hours.

Image: Light On/Off comparison.

Image: Color temperature and fan speed settings.
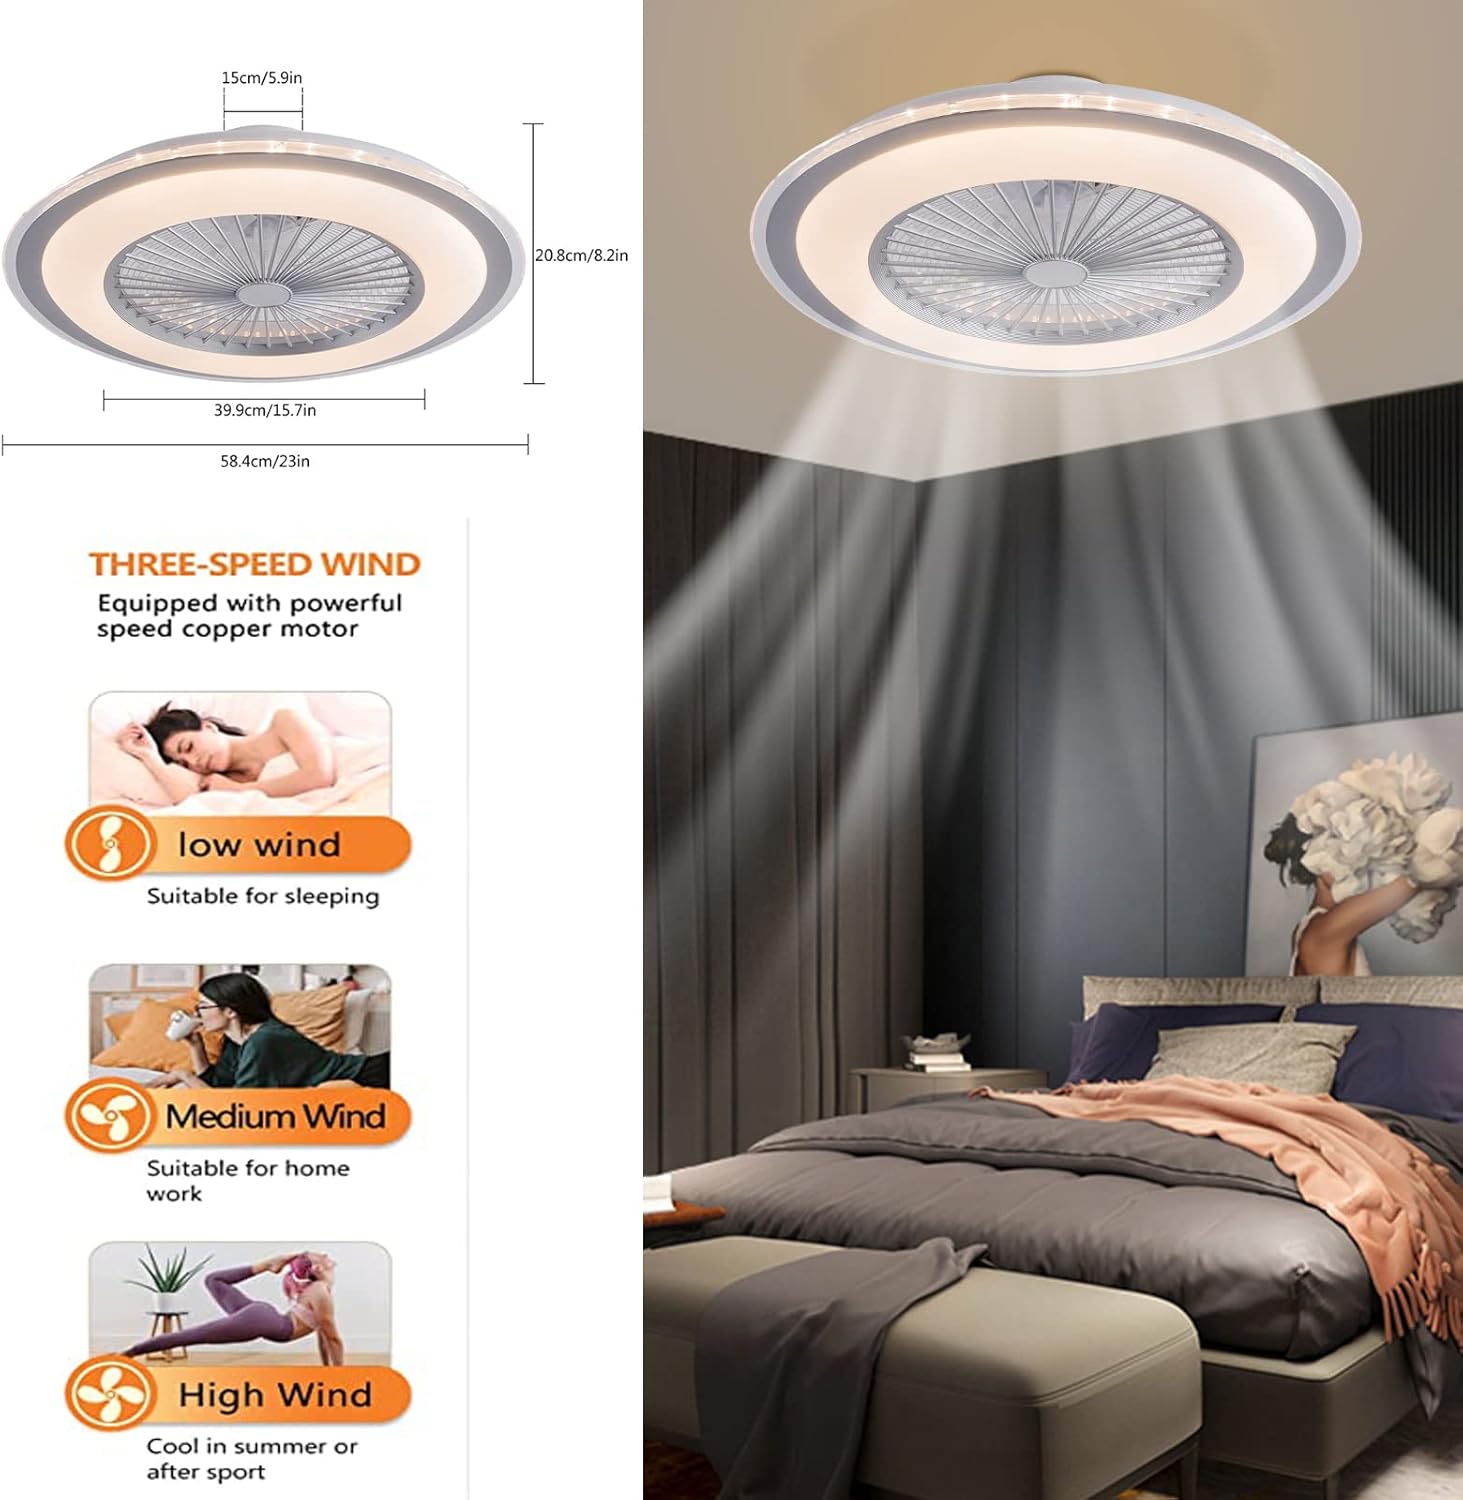
Image: Three-speed wind settings.
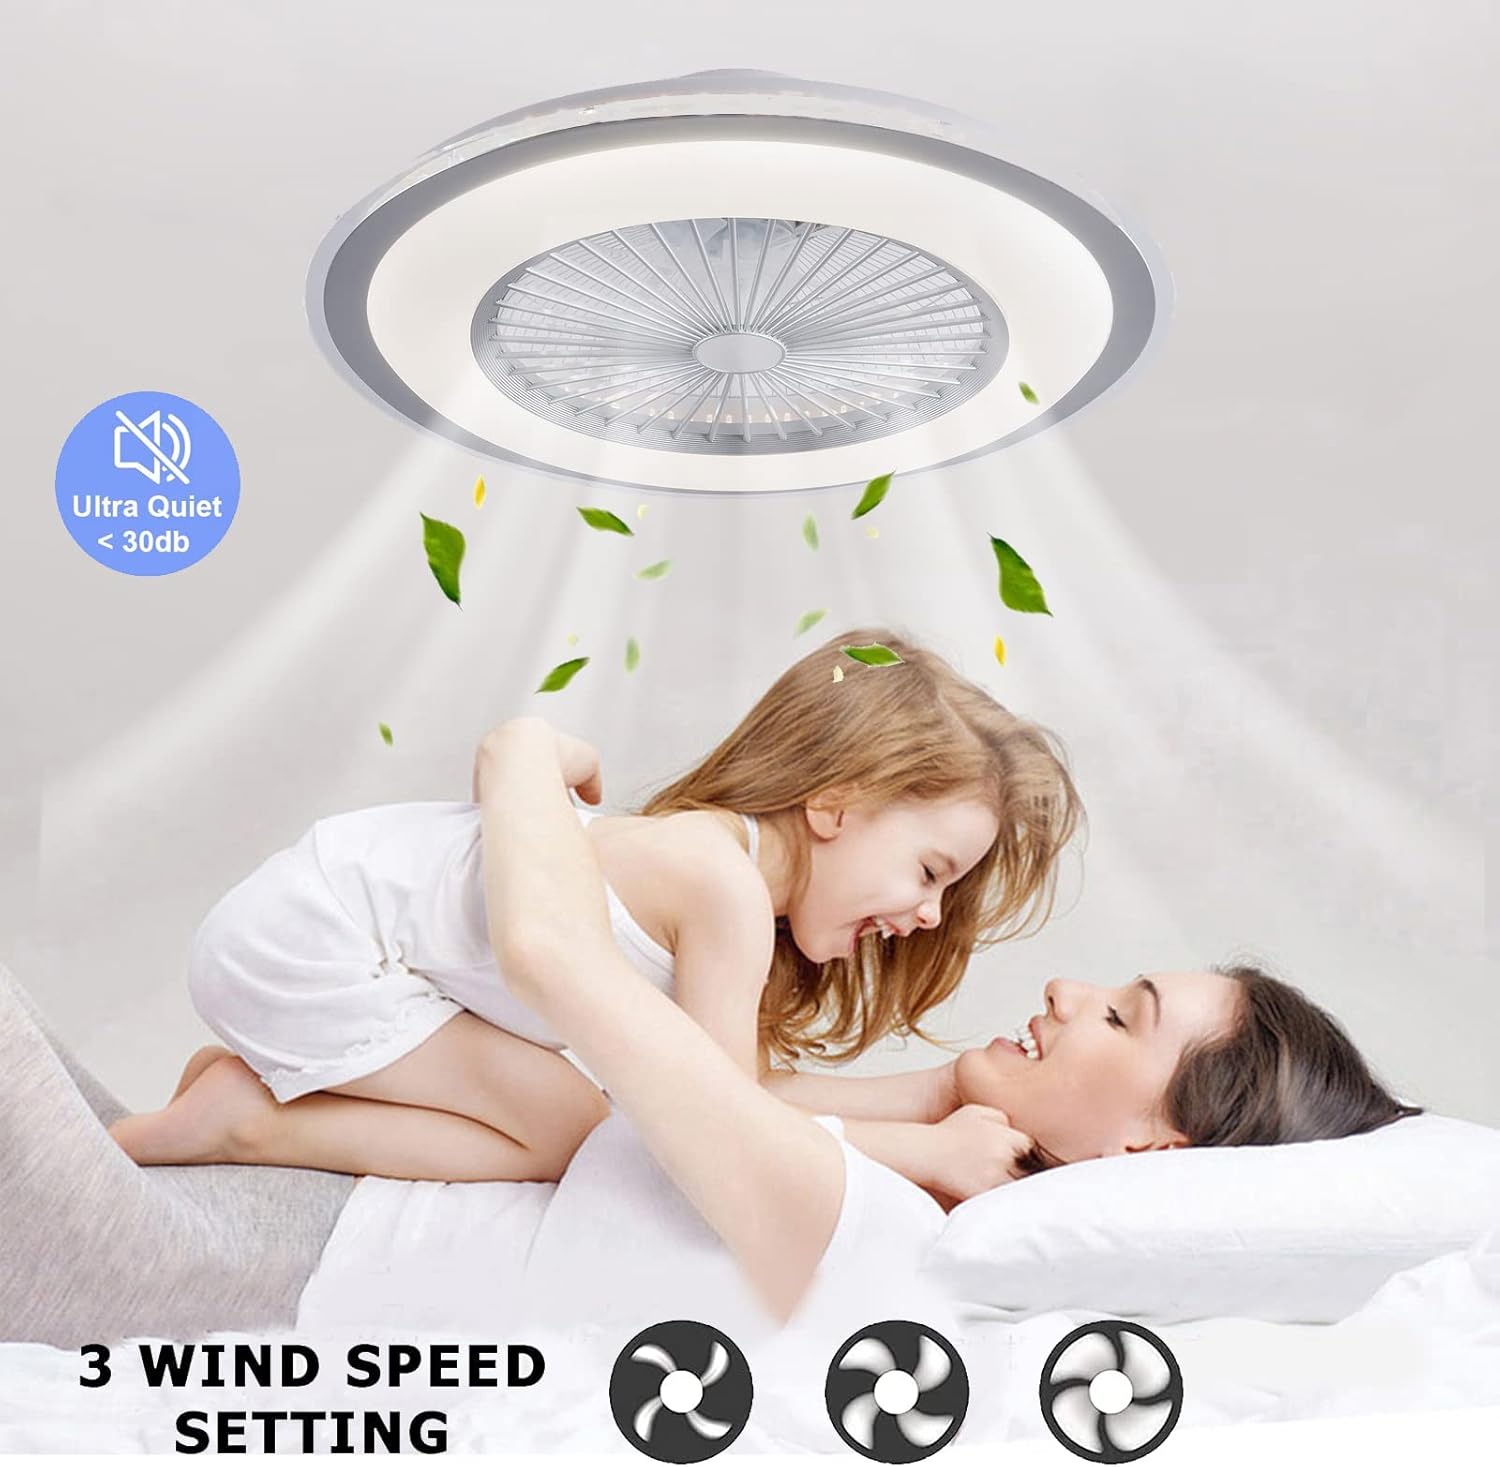
Image: Ultra-quiet operation and 3 wind speed settings.
Maintenance
Regular maintenance ensures optimal performance and longevity of your ceiling fan.
- Cleaning: To clean the unit, ensure the power is off at the circuit breaker. Use a soft, damp cloth to wipe down the exterior surfaces. Do not use abrasive cleaners or solvents.
- Dust Removal: Periodically remove dust from the fan blades and light cover to maintain airflow and light output.
- Inspection: Annually check all connections and mounting screws to ensure they are secure.
Note: To thoroughly clean the internal components, the unit may need to be removed from the ceiling. This should be done by a qualified professional.
Troubleshooting
If you experience issues with your fan, refer to the following common problems and solutions:
| Problem | Possible Cause | Solution |
|---|---|---|
| Fan does not turn on | No power, loose wiring, remote control battery dead | Check circuit breaker, ensure wiring is secure, replace remote control batteries. |
| Light does not turn on | No power, loose wiring, LED module failure | Check circuit breaker, ensure wiring is secure. If LED module is faulty, contact customer support. |
| Fan makes excessive noise | Loose mounting screws, unbalanced fan blades | Tighten all mounting screws. Ensure fan blades are clean and free from obstructions. |
| Remote control not working | Dead batteries, remote not paired | Replace batteries. Refer to remote control pairing instructions (if applicable, usually involves turning power off/on and pressing a button on the remote). |
Warranty and Support
For warranty information or technical support, please refer to the documentation included with your purchase or contact Gdrasuya10 customer service directly. Keep your purchase receipt as proof of purchase.


