1. Introduction
Thank you for choosing the IPOTOOLS OL-BKY26-A011A2 Portable Air Conditioner. This manual provides essential information for the safe and efficient operation, installation, and maintenance of your appliance. Please read it thoroughly before use and keep it for future reference.

Figure 1: Front view of the IPOTOOLS OL-BKY26-A011A2 Portable Air Conditioner. The unit is white with a black control panel on top and horizontal vents on the front.
2. Product Overview
The IPOTOOLS OL-BKY26-A011A2 is a versatile 3-in-1 portable air conditioner designed to provide cooling, ventilation, and dehumidification. It features a compact design, remote control operation, and an environmentally friendly R290 refrigerant.
Key Features:
- 3-in-1 Functionality: Cooling, Ventilation, and Dehumidification.
- Cooling Capacity: 9000 BTU (2600 W) suitable for rooms 12-40 m².
- Dehumidification: Up to 52 liters per day.
- Temperature Range: Adjustable from 16°C to 32°C.
- Fan Speeds: 2 levels (High, Low).
- Convenience: 24-hour timer, Sleep mode, Remote control.
- Refrigerant: Environmentally friendly R290.
- Noise Level: Approximately 65 dB in normal mode.
Components:

Figure 2: Side view of the unit, showing its sleek, white design and integrated handle.

Figure 3: Back view of the unit, showing the air intake and exhaust ports.

Figure 4: Remote control for convenient operation.

Figure 5: Included accessories: exhaust hose, window kit components, and remote control.
3. Specifications
| Feature | Specification |
|---|---|
| Brand | IPOTOOLS |
| Model Number | OL-BKY26-A011A2 |
| Dimensions (L x W x H) | 37.3 x 40.1 x 80.6 cm |
| Cooling Capacity | 9000 BTU (2600 W) |
| Energy Efficiency Class | A |
| Noise Level | 55 dB |
| Installation Type | Portable |
| Special Features | Dehumidifier |
| Color | White |
| Voltage | 230 Volts (AC) |
| Wattage | 2600 Watts |
| Refrigerant | R290 |
| Seasonal Energy Efficiency Ratio (SEER) | 14 |
4. Setup
Proper setup is crucial for optimal performance and safety. Follow these steps for installation:
- Unpacking: Carefully remove the air conditioner and all accessories from the packaging. Retain the packaging for future storage or transport.
- Placement: Place the unit on a flat, stable surface. Ensure there is at least 30 cm (12 inches) of clear space around the unit for proper airflow. Do not block the air inlets or outlets.
- Exhaust Hose Installation:
- Attach one end of the exhaust hose to the air outlet on the back of the unit. Twist clockwise until secure.
- Assemble the window sealing kit according to the instructions provided with the kit.
- Extend the exhaust hose and attach the window kit adapter to the other end.
- Insert the window kit into a compatible window opening, ensuring a tight seal to prevent warm air from entering the room.

Figure 6: Unit with exhaust hose properly installed in a window.
- Power Connection: Plug the power cord into a grounded electrical outlet. Ensure the voltage matches the unit's requirements (230V AC).
5. Operating Instructions
Your air conditioner can be operated using the control panel on the unit or the remote control.
Control Panel:

Figure 7: Detailed view of the control panel with various buttons and display.
- Power Button: Turns the unit ON or OFF.
- Mode Button: Cycles through Cooling, Fan, and Dry (Dehumidification) modes.
- Temperature Adjustment Buttons (Up/Down): Adjusts the desired temperature (16-32°C).
- Fan Speed Button: Selects between High and Low fan speeds.
- Timer Button: Sets the 24-hour timer for automatic ON/OFF.
- Sleep Button: Activates Sleep mode for quiet operation and optimized temperature during sleep.
Remote Control:
The remote control duplicates most functions of the control panel, allowing convenient operation from a distance.
Figure 8: Remote control layout.
Operating Modes:
- Cool Mode: Provides cooling to the set temperature. The compressor will cycle ON/OFF to maintain the desired temperature.
- Fan Mode: Circulates air without cooling. Choose between high and low fan speeds.
- Dry Mode (Dehumidification): Reduces humidity in the room. The fan operates at a low speed, and the compressor cycles to remove moisture.
- Sleep Mode: Gradually increases the set temperature over several hours to ensure comfortable sleep while saving energy. The fan operates at a low speed.
6. Maintenance
Regular maintenance ensures the longevity and efficiency of your air conditioner.
Cleaning the Air Filter:
The air filter should be cleaned every two weeks or more frequently depending on usage and air quality.
- Turn off the unit and unplug it from the power outlet.
- Locate the air filter panel on the back of the unit.
- Gently pull out the filter.
- Wash the filter with warm, soapy water. Rinse thoroughly and allow it to air dry completely before reinserting.
- Reinsert the dry filter and close the panel.
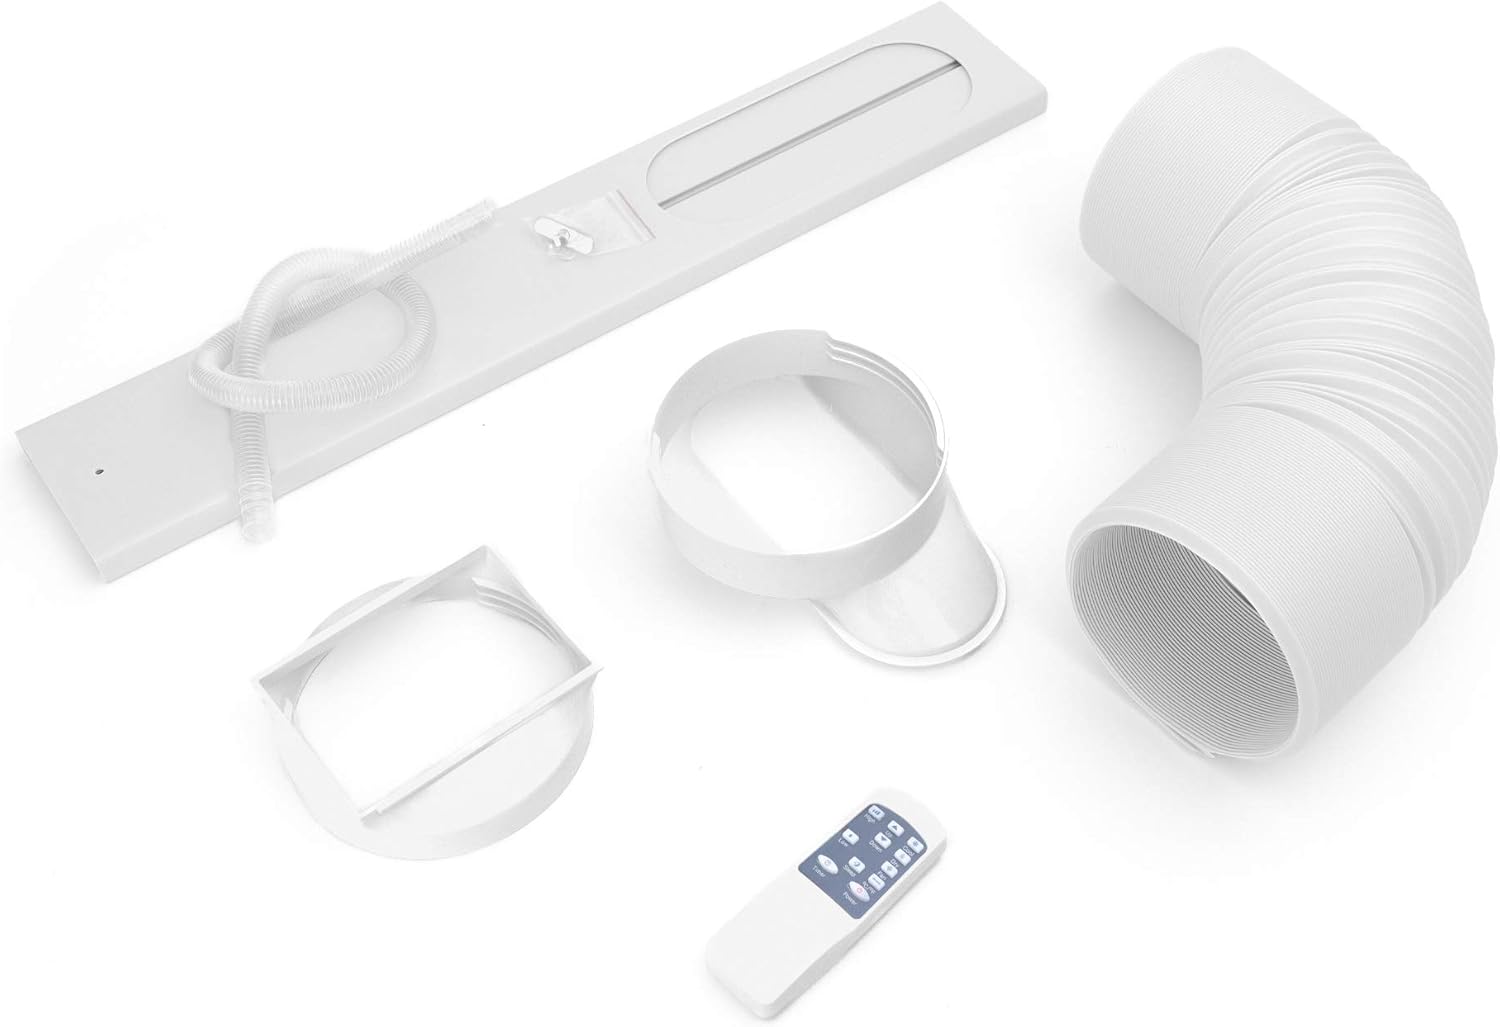
Figure 9: Removing the air filter for cleaning.
Draining Condensed Water:
In high humidity conditions or when using Dry mode, the internal water tank may fill up. The unit will stop operating and display an error code when the tank is full.
- Turn off the unit and unplug it.
- Place a shallow pan or container under the drainage port at the bottom rear of the unit.
- Remove the rubber stopper from the drainage port.
- Allow all the water to drain completely.
- Replace the rubber stopper firmly.

Figure 10: Draining condensed water from the unit.
7. Troubleshooting
Before contacting customer support, please refer to the following table for common issues and solutions:
| Problem | Possible Cause | Solution |
|---|---|---|
| Unit does not turn on | No power supply | Check if the power cord is securely plugged in and the outlet is working. |
| Unit not cooling effectively | Dirty air filter | Clean the air filter as described in the Maintenance section. |
| Window kit not properly sealed | Ensure the exhaust hose and window kit are securely installed and sealed. | |
| Room size too large | Ensure the unit's capacity matches the room size (12-40 m²). | |
| Water leakage | Drainage plug loose or tank full | Check the drainage plug for tightness. Drain the water tank if full. |
| Loud noise during operation | Unit not on a level surface | Place the unit on a flat, stable surface. |
8. Warranty and Support
For warranty information, technical support, or to order replacement parts, please refer to the warranty card included with your product or visit the official IPOTOOLS website. Keep your purchase receipt as proof of purchase.


