
Danby DPA140B3WDB-3
Danby 14,000 BTU 3-in-1 Portable Air Conditioner
Model: DPA140B3WDB-3
User Manual
Introduction
This manual provides detailed instructions for the safe and efficient operation, installation, and maintenance of your Danby 14,000 BTU 3-in-1 Portable Air Conditioner. This unit is designed to provide cooling, dehumidification, and fan-only operation for your indoor space. Please read this manual thoroughly before using your appliance and retain it for future reference.
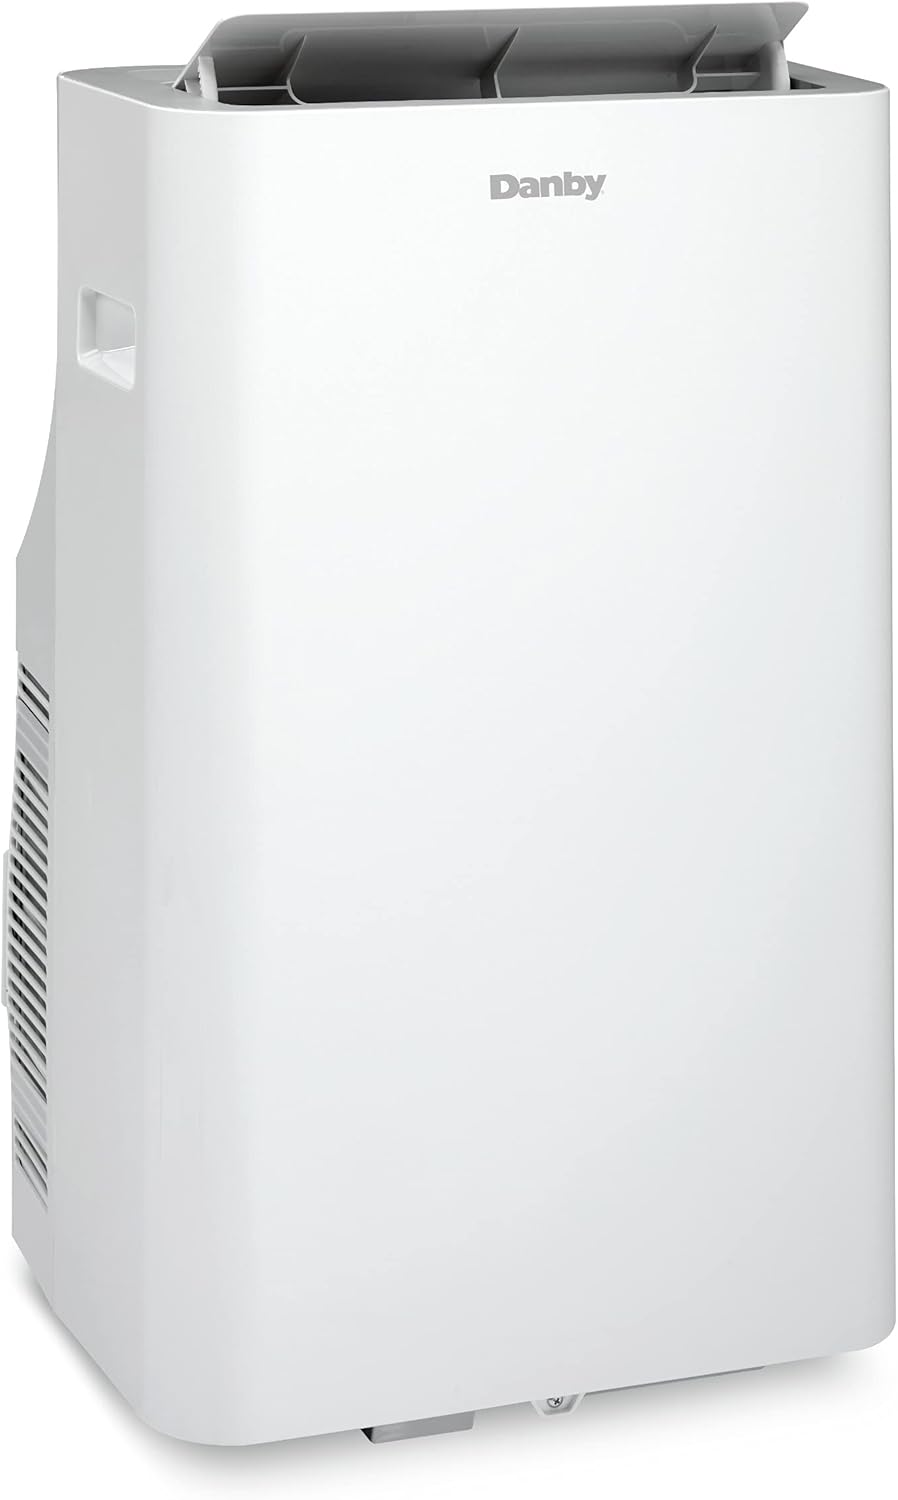
Front view of the Danby 14,000 BTU Portable Air Conditioner, showcasing its sleek white design.
Important Safety Information
Always follow basic safety precautions when using electrical appliances to reduce the risk of fire, electric shock, and injury to persons.
- Read all instructions before using the appliance.
- Connect to a properly grounded outlet only.
- Do not operate with a damaged cord or plug.
- Do not block air openings.
- Do not use in wet areas or near water.
- Unplug before cleaning or servicing.
- Keep children away from the appliance.
Package Contents
Verify that all components are present in the packaging:
- Portable Air Conditioner Unit
- Exhaust Hose
- Window Panel Kit (adjustable)
- Hose Adapters (for unit and window panel)
- Remote Control
- Drain Hose (for continuous drainage)
- User Manual
Product Overview
Familiarize yourself with the main parts and controls of your portable air conditioner.

Diagram illustrating the airflow within the portable air conditioner, with cool air exiting the top vent.
Key Components:
- Control Panel: Located on the top of the unit, with touch buttons and an LED display.
- Air Outlet: Adjustable louvers at the top for directing airflow.
- Air Intake Grille: Located on the back or sides, where air is drawn in.
- Exhaust Air Outlet: Connection point for the exhaust hose.
- Drainage Port: For removing condensed water.
- Casters: Wheels at the bottom for easy mobility.

Image showing the dimensions of the portable air conditioner: approximately 30 7/16 inches height, 14 7/8 inches depth, and 17 11/16 inches width.
Setup and Installation
Proper installation is crucial for optimal performance. Ensure the unit is placed on a flat, stable surface and has adequate clearance around it for proper airflow.
1. Choosing a Location:
- Place the unit near a window or sliding door for exhaust hose installation.
- Ensure there is at least 20 cm (8 inches) of space around the unit for proper air circulation.
- Avoid direct sunlight and heat sources.
2. Window Kit Installation:
- Assemble the window panel kit to fit your window opening. The kit is adjustable for various window sizes.
- Secure the window panel in the window frame.
- Attach the exhaust hose adapter to the opening in the window panel.

The portable air conditioner unit positioned next to a sliding glass door, with the exhaust hose connected to the window panel kit.
3. Exhaust Hose Connection:
- Extend the exhaust hose and attach one end to the unit's exhaust air outlet.
- Attach the other end of the hose to the adapter in the window panel.
- Ensure the hose is as short and straight as possible to maximize efficiency. Avoid kinks or sharp bends.

A Danby portable air conditioner with its exhaust hose properly installed and venting through a window, demonstrating a typical setup.
4. Drainage Setup:
The unit will collect condensation. For continuous drainage in dehumidifier mode or high humidity, connect the drain hose to the drainage port and direct it to a suitable container or floor drain.
Operating Instructions
Your portable air conditioner offers multiple operating modes and features for your comfort.
Control Panel and Remote Control:
The unit can be operated using the control panel on top of the unit or the included remote control.
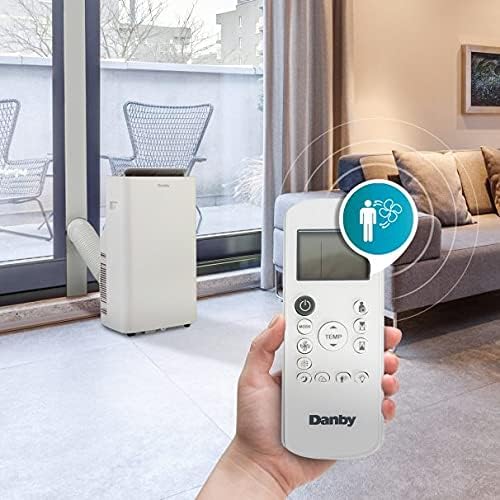
A hand holding the remote control for the Danby portable air conditioner, with the unit visible in the background.
Operating Modes:
- Cool Mode: Provides cooling. Set your desired temperature and fan speed.
- Dehumidify Mode: Removes moisture from the air. The fan speed is typically fixed in this mode.
- Fan Mode: Circulates air without cooling. Select desired fan speed.
Wireless Connect Feature:
This unit features Wireless Connect, allowing you to control it remotely via a smartphone application. Refer to the specific instructions in the app for pairing and usage.

A smartphone displaying the Danby app interface, used to control the portable air conditioner remotely via Wireless Connect.
Additional Features:
- Timer: Set the unit to turn on or off automatically after a specified period.
- Sleep Mode: Adjusts temperature and fan speed for quiet, energy-efficient operation during sleep.
- Auto Restart: The unit will automatically restart with the previous settings after a power outage.
- Silencer Technology: Designed for quieter operation.

Image highlighting the "Silencer Technology" feature on the Danby portable air conditioner, indicating quiet operation.
Maintenance
Regular maintenance ensures optimal performance and extends the lifespan of your air conditioner.
1. Air Filter Cleaning:
The air filter should be cleaned every two weeks or more frequently depending on usage and air quality.
- Unplug the unit from the power outlet.
- Remove the air filter from the back or side of the unit.
- Wash the filter with warm, soapy water. Rinse thoroughly.
- Allow the filter to air dry completely before reinstalling.
2. Draining Water:
The unit has an internal water collection tank. When full, the unit will stop operating and display an indicator. Drain the water manually or use continuous drainage.
- Place a shallow pan or bucket under the drainage port.
- Remove the drain plug to allow water to flow out.
- Replace the drain plug once the tank is empty.
3. Storage:
Before storing the unit for an extended period, ensure all water is drained, clean the air filter, and cover the unit to protect it from dust.
Troubleshooting
Before contacting customer service, refer to the following common issues and solutions:
| Problem | Possible Cause | Solution |
|---|---|---|
| Unit does not turn on. | No power; power cord unplugged; circuit breaker tripped. | Check power connection; reset circuit breaker. |
| Unit is not cooling effectively. | Air filter dirty; exhaust hose kinked or blocked; room too large; windows/doors open. | Clean air filter; straighten hose; ensure proper room size; close windows/doors. |
| Water leakage. | Drain plug loose; unit not level; continuous drain hose blocked. | Secure drain plug; place unit on level surface; clear drain hose. |
| Noisy operation. | Unit not on a level surface; internal components vibrating. | Ensure unit is on a flat, stable surface. |
Specifications
Technical specifications for the Danby 14,000 BTU Portable Air Conditioner:
- Model Number: DPA140B3WDB-3
- Cooling Capacity: 14,000 BTU
- Capacity: 1.1 Tons
- Voltage: 240 Volts
- Product Dimensions (D x W x H): 37.8 x 44.9 x 77.3 Centimetres
- Color: White
- Filter Type: Ionizer
- Special Features: Auto Restart, Dehumidifier, Silencer Technology, Wireless Connect
- Energy Efficiency: Energy Star certified, SEER 11.2
Warranty and Support
For warranty information or technical support, please refer to the warranty card included with your product or visit the official Danby website. Do not attempt to repair the unit yourself.
For further assistance, please contact Danby Customer Service.
Related documentsDPA140B3WDB-3


Ask a question about this manual
Ask about setup, troubleshooting, compatibility, parts, safety, or missing instructions. Manuals+ will review the question and use this page’s manual context to help answer it.